Oakes - Detailed: 2006 Evolution IX - 609hp overhaul
 08-30-2009, 11:17 PM
#1
1st Gear Member
Thread Starter

Join Date: Jul 2009
Location: Pennsylvania
Posts: 56
I bring you a complete overhaul of this 2006 Evolution IX in Tarmac Black, the vehicle has been washed once in the last year and was in desperate need of a proper detail. The vehicle needed to be done in preparation for a photoshoot so my task was to make sure nothing went untouched, having an entire week at my disposal I went over everything and also documented as much as possible. Both fortunately and unfortunately this Evo was an excellent candidate for paint correction, so I was able to use this to my advantage as you will see in the pics below.
This particular vehicle, just dyno'd 609hp 519tq making it quite a machine, now it looks just as good as it's dyno sheet.
Process:
Full wash/degrease/clay
Menzerna Power Gloss - Orange (heavier areas)
Menzerna Intensive Polish - Orange
Menzerna 203 - Green
Menzerna Final Polish II - White
Optimum Opti - Seal
Pure Caranuba wax
Blood, sweat, tears, sweat and dedication
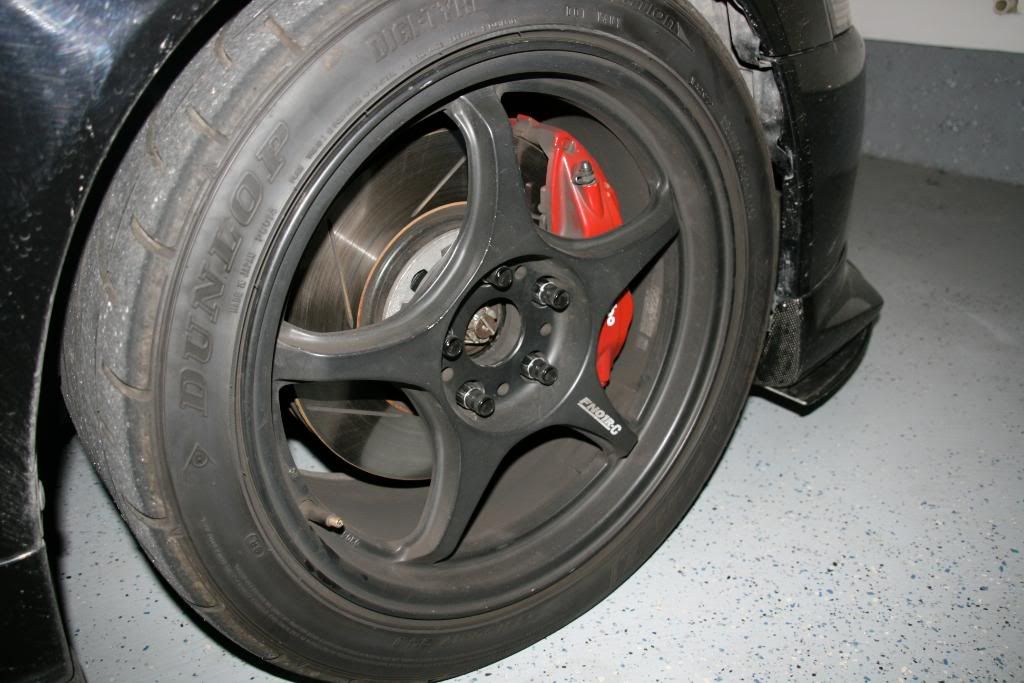
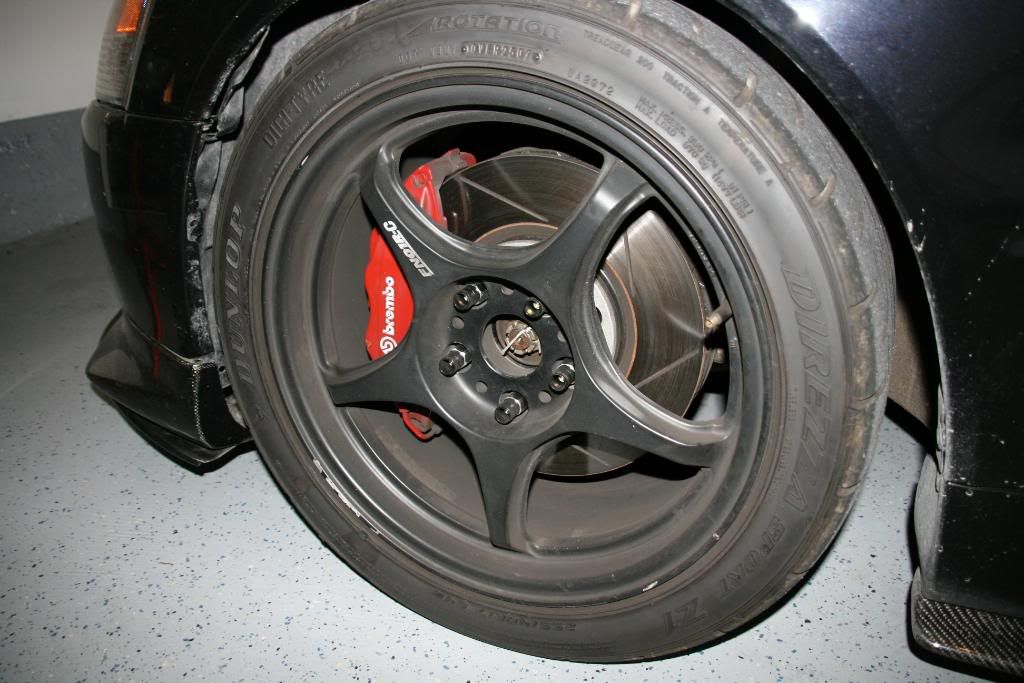
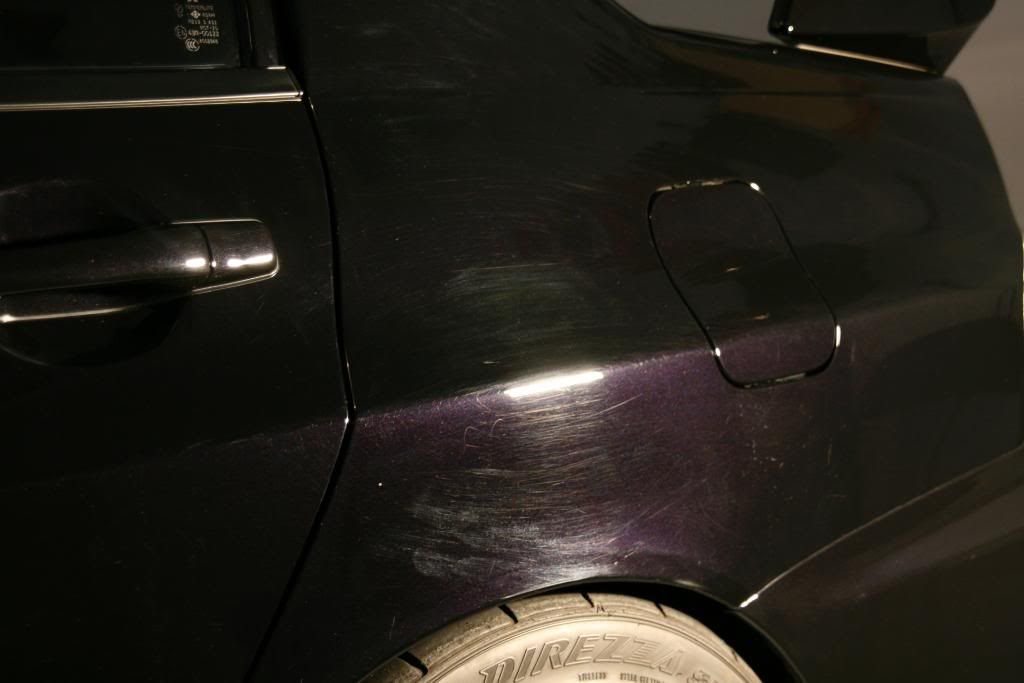
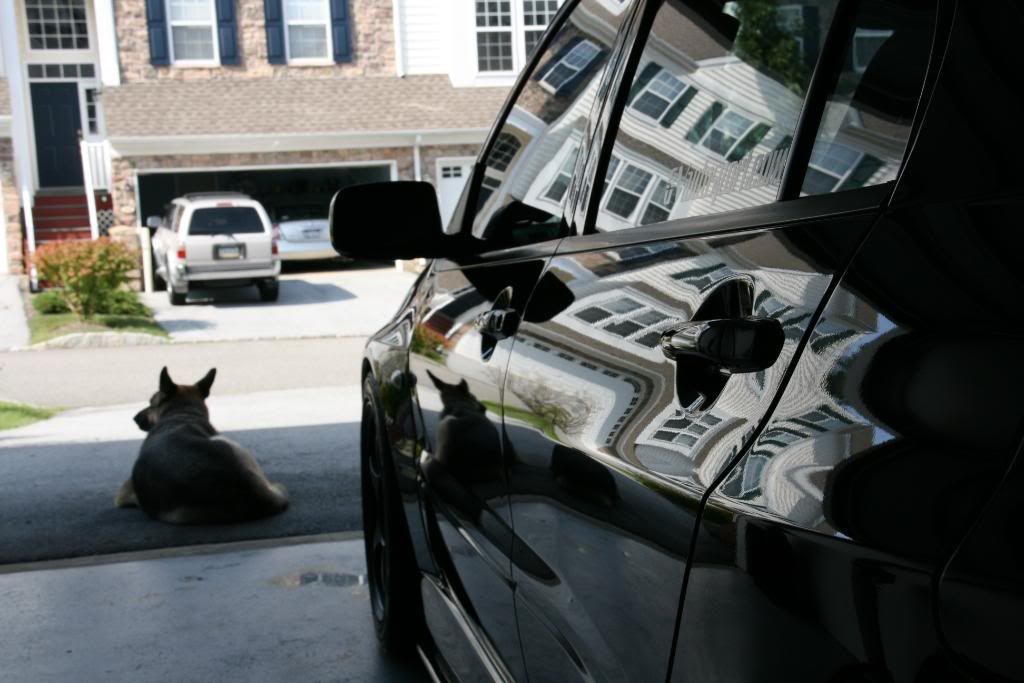
To start off, here are a few before photos of the car as it arrived, before the wash/degrease/clay of the vehicle
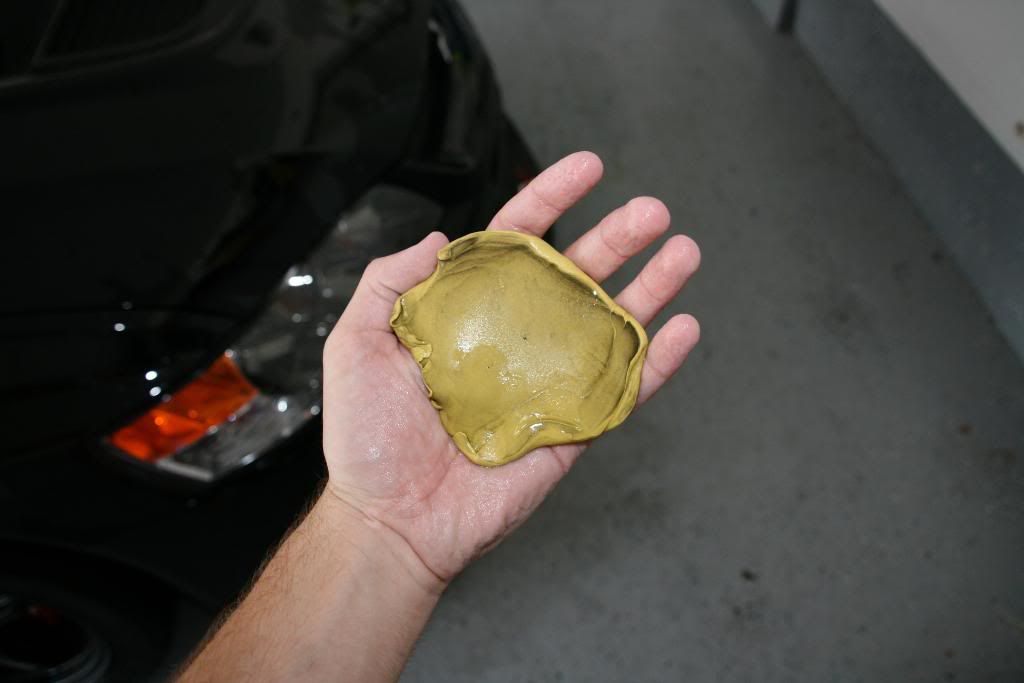
A quick snap of the clay bar
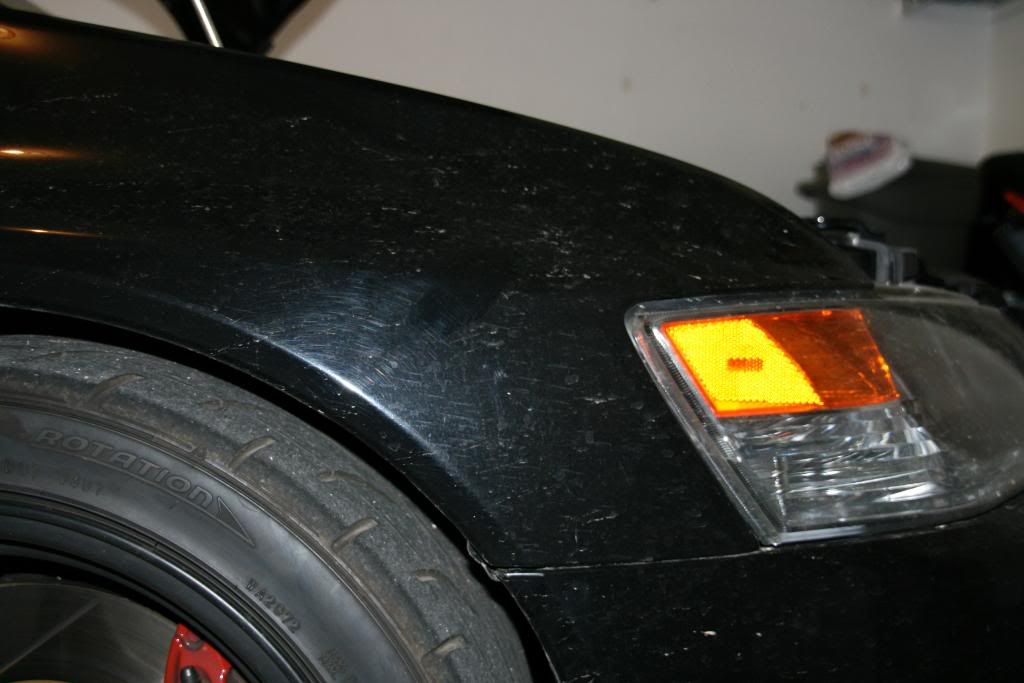
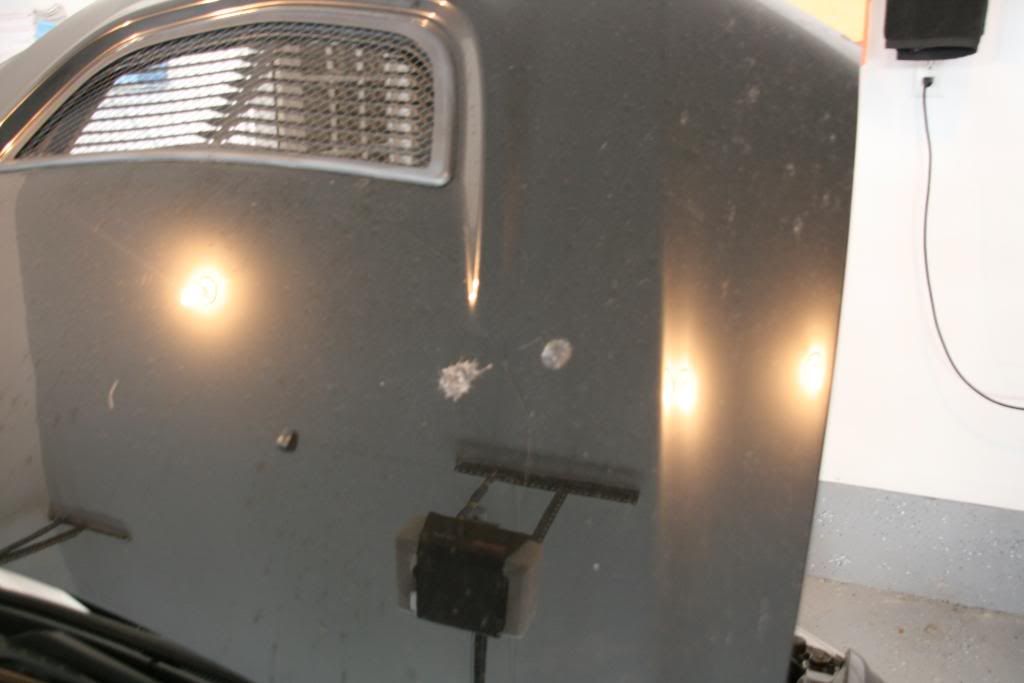
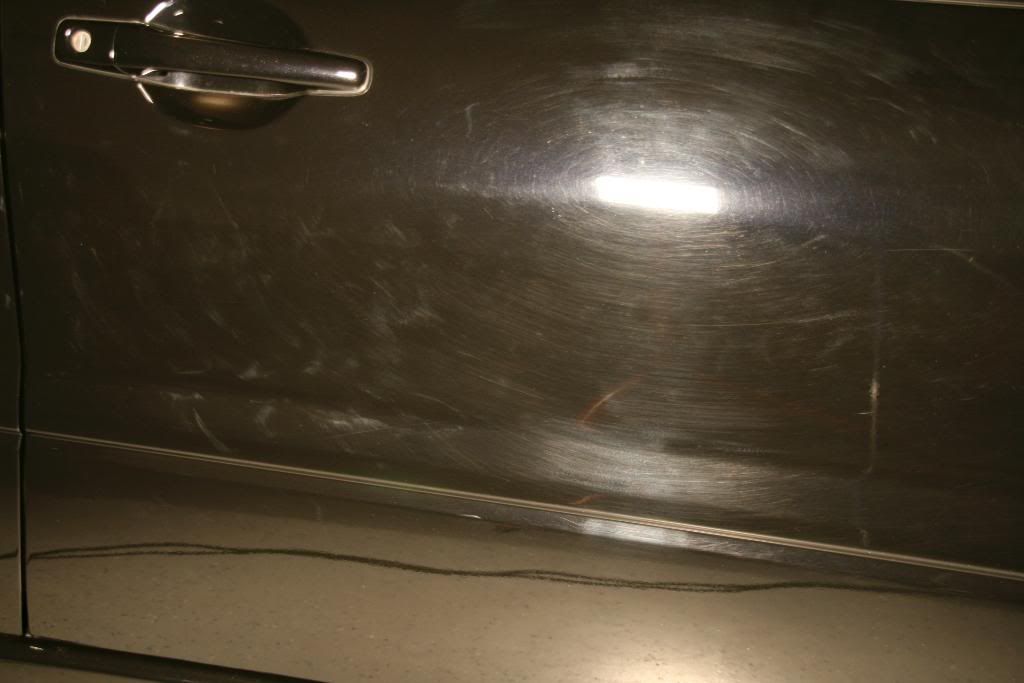
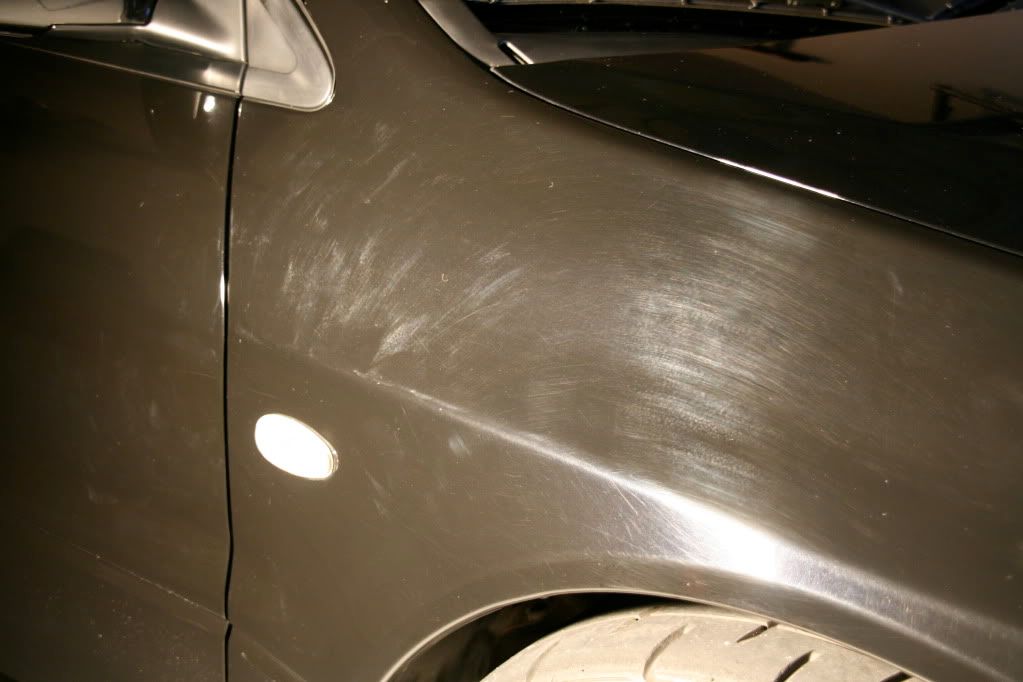
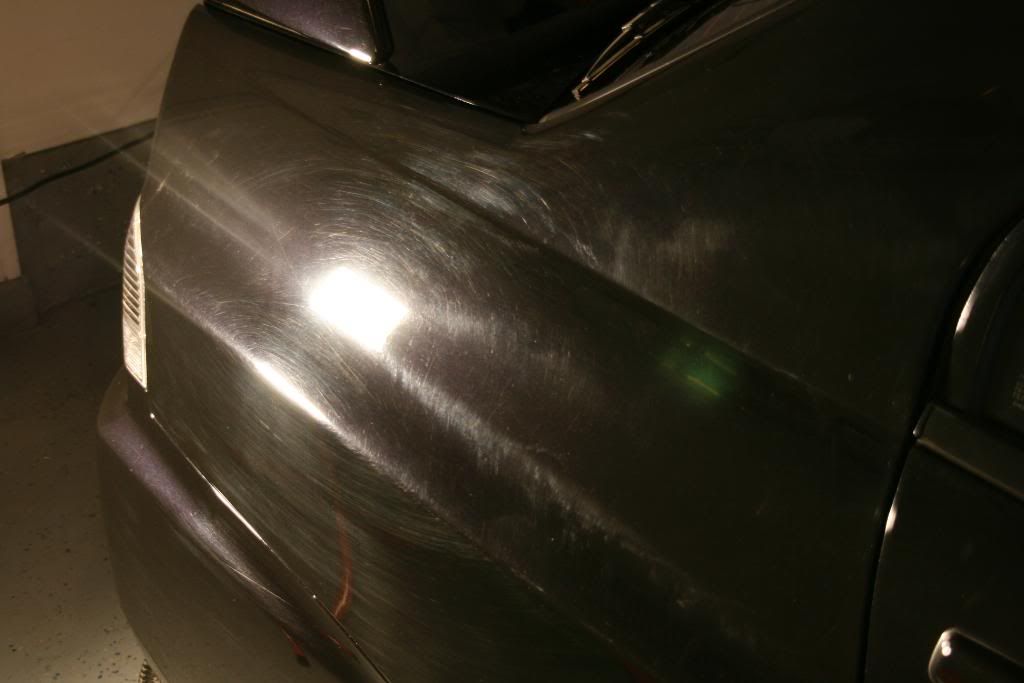
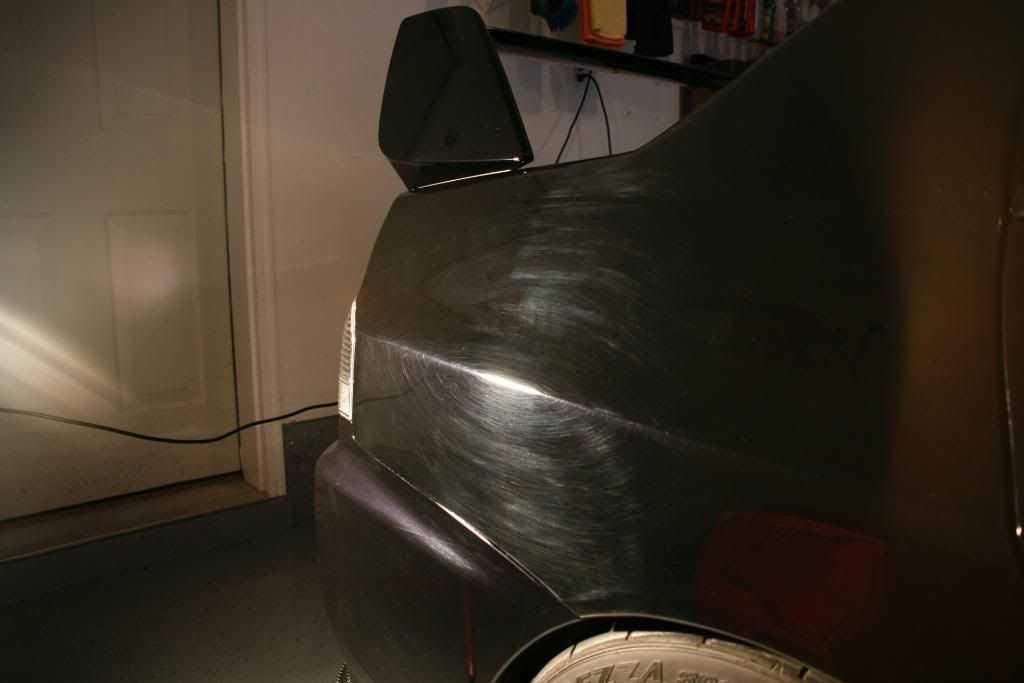
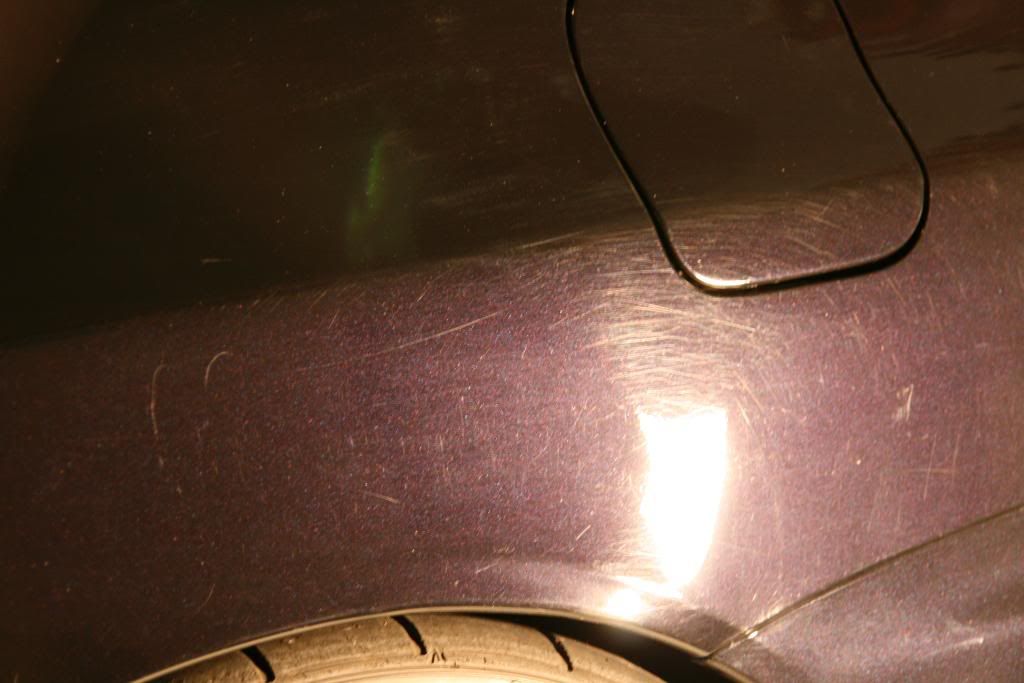
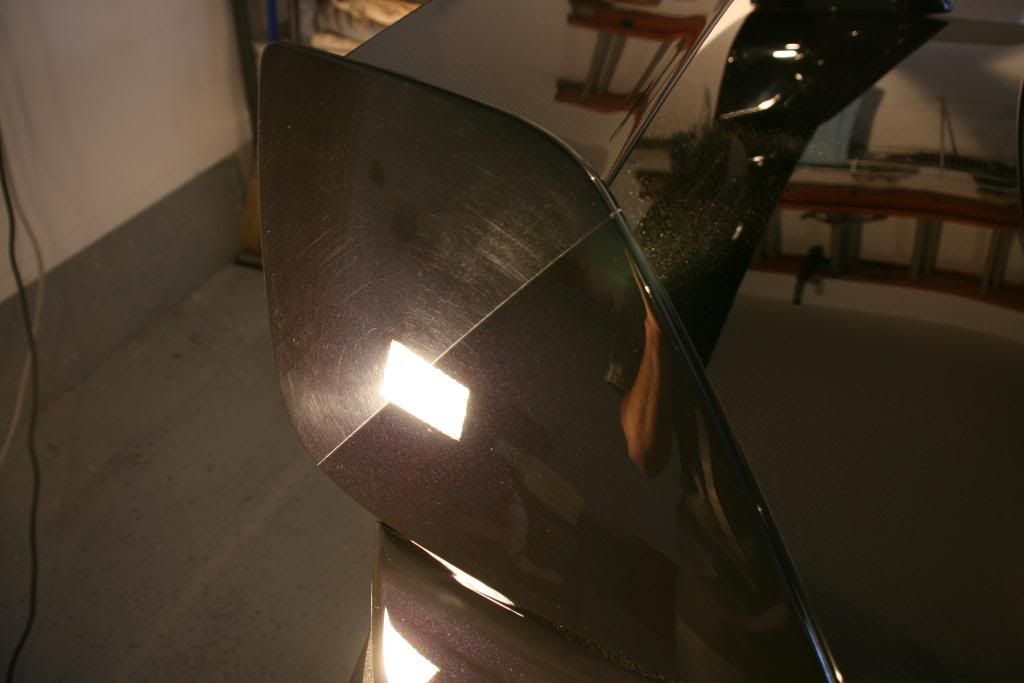
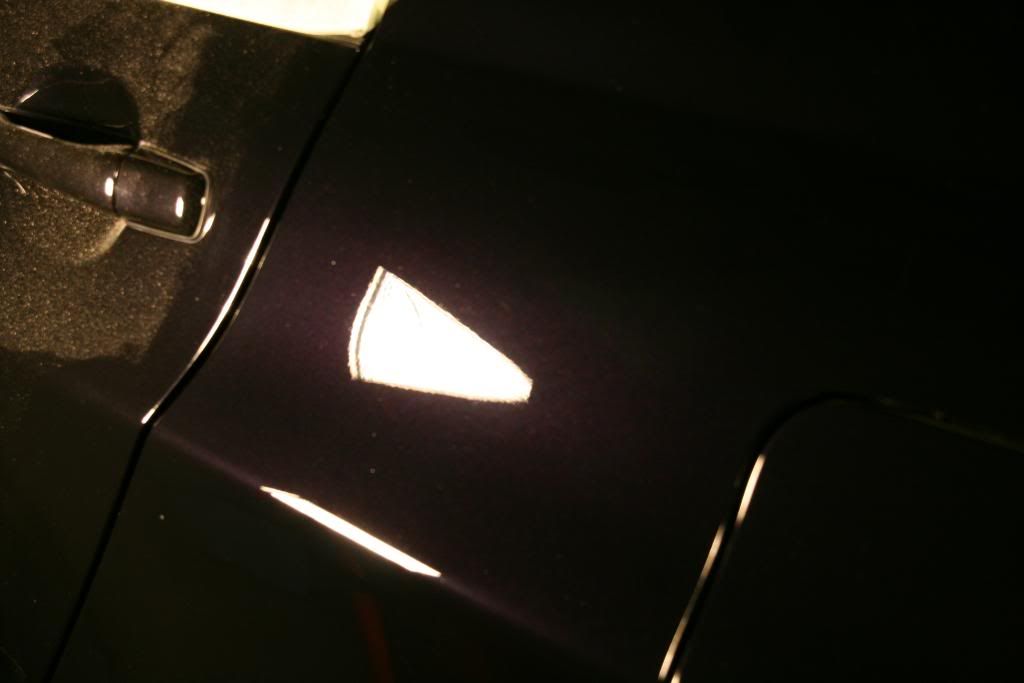
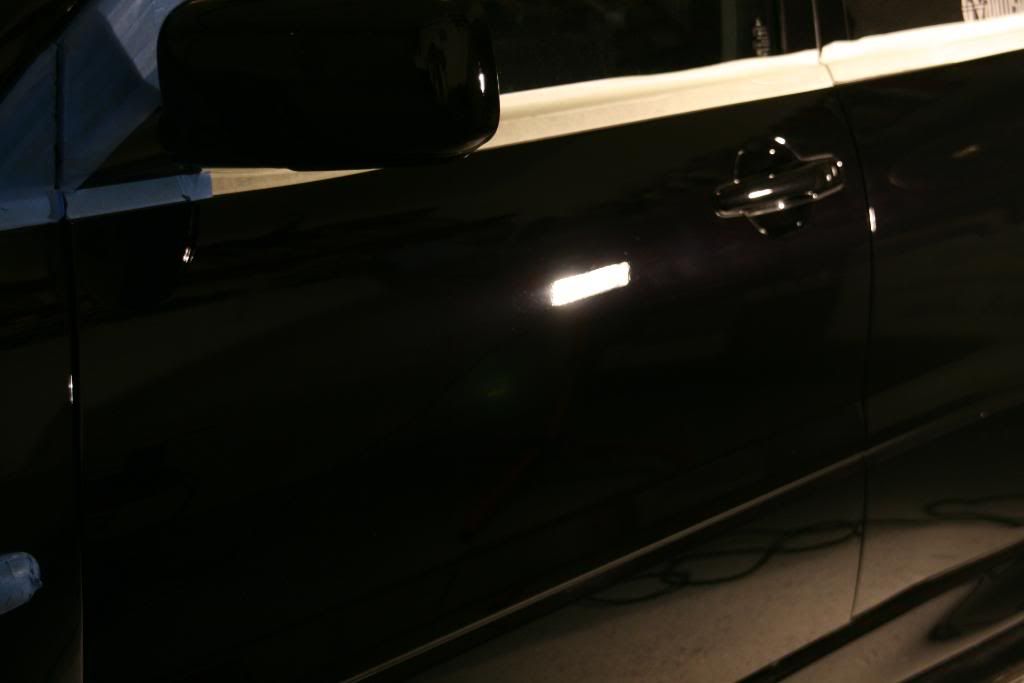
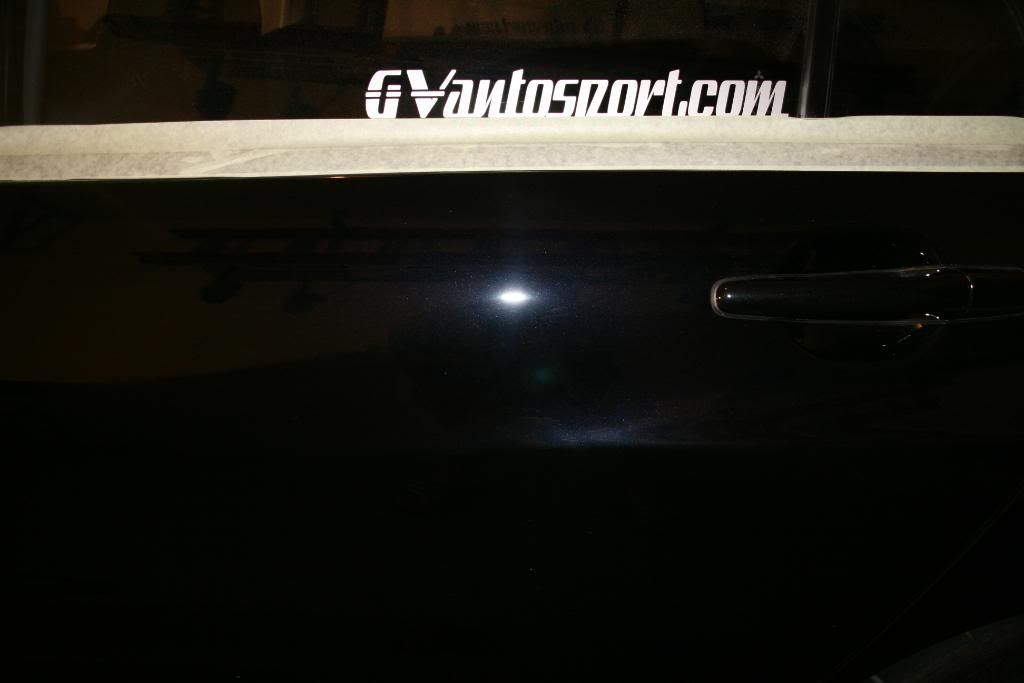
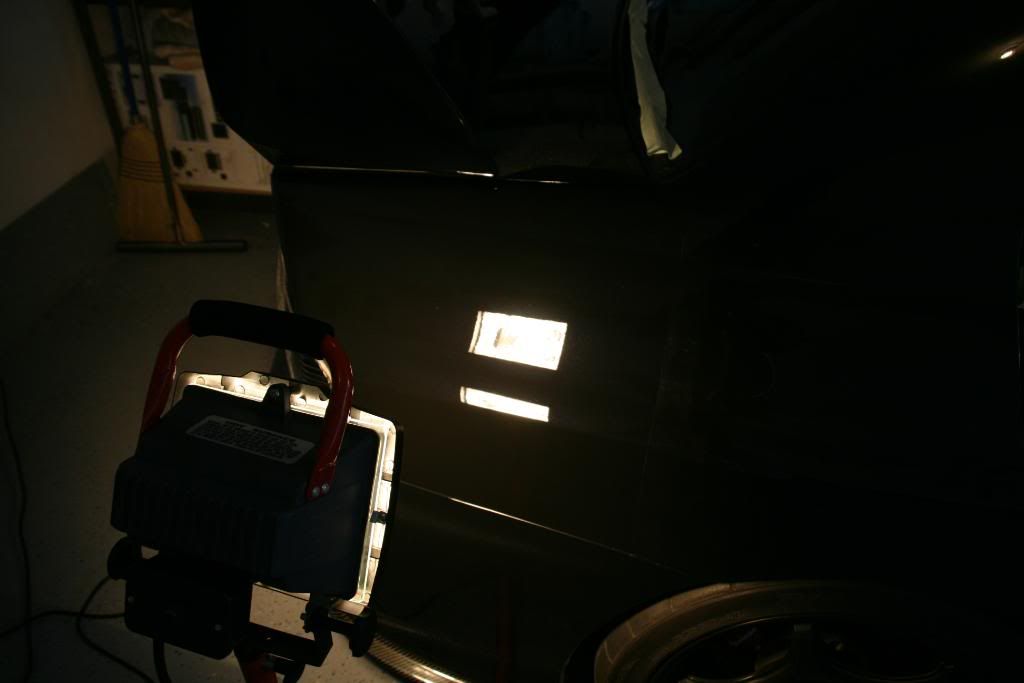
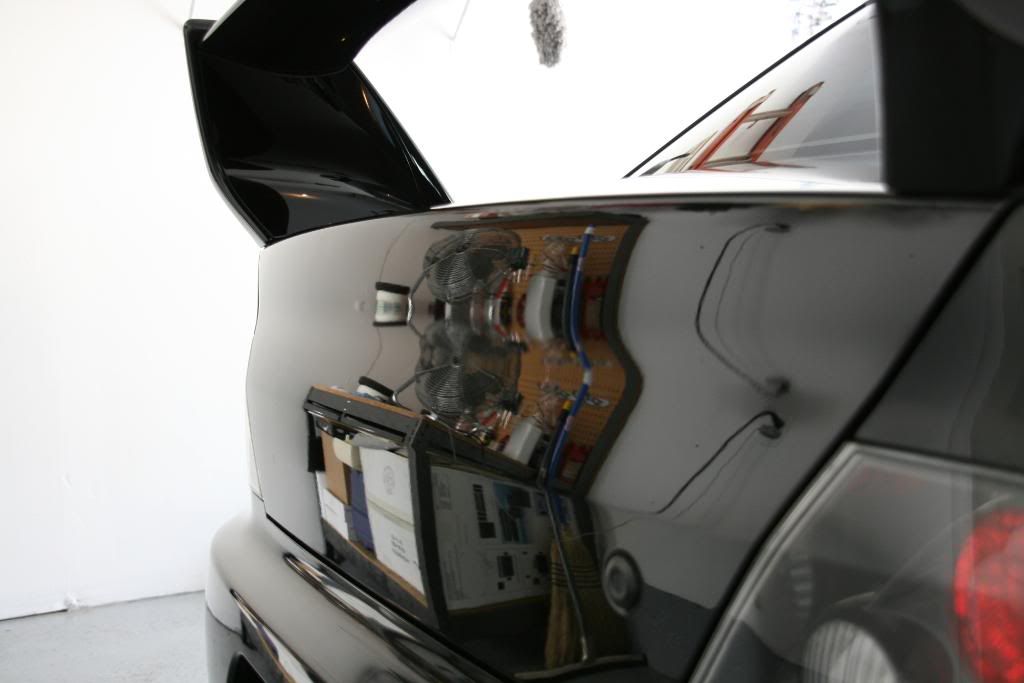
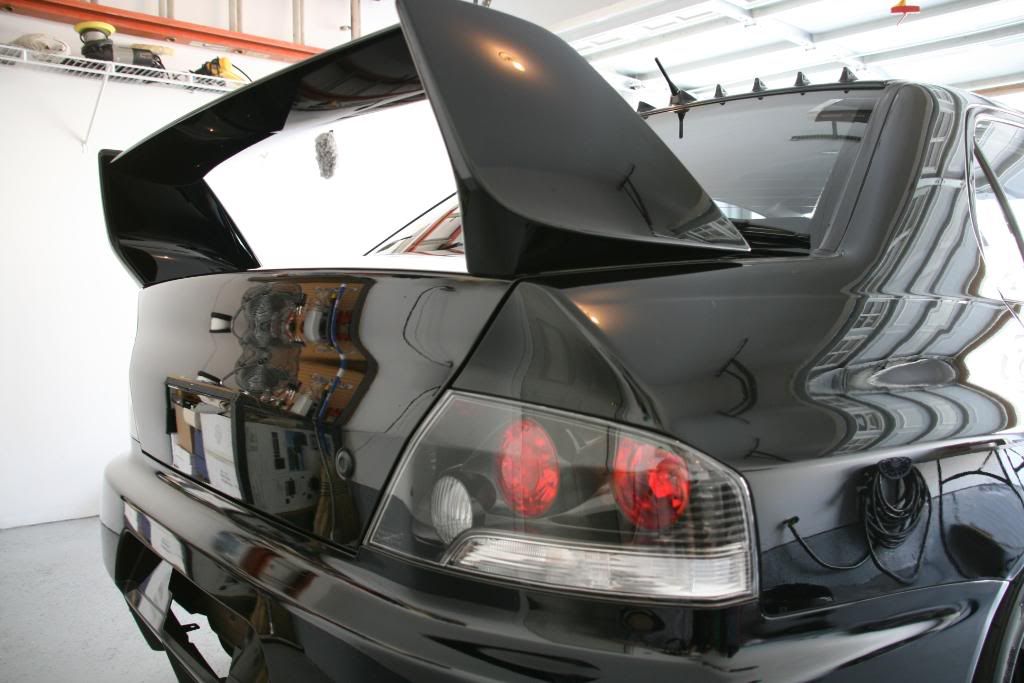
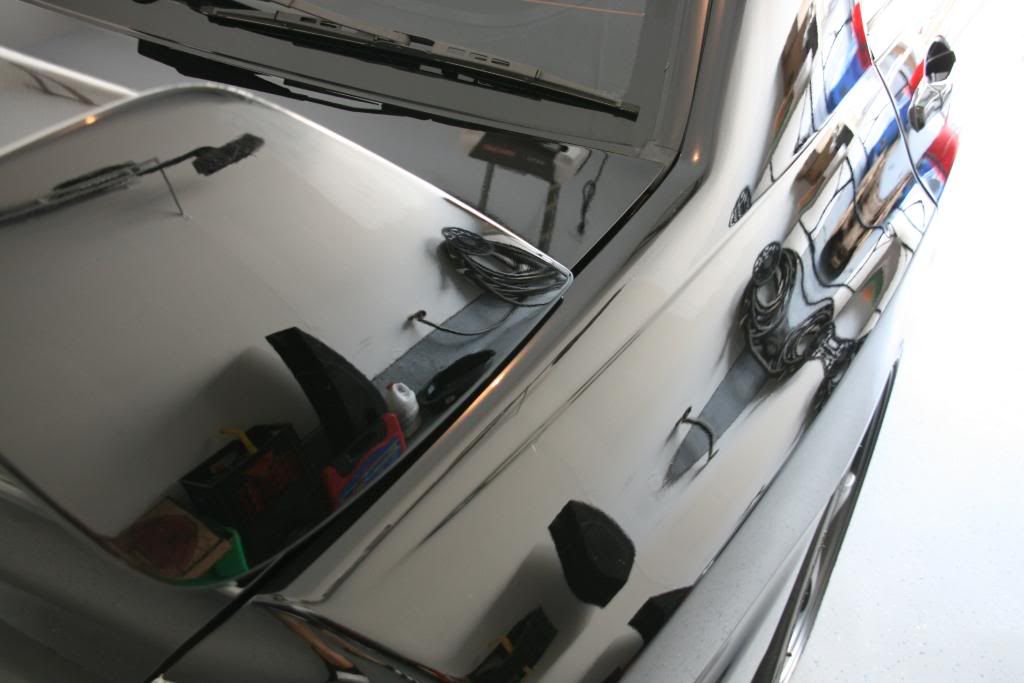
After the full degrease/wash/clay the vehicle was dried and then pulled outside in the remaining daylight to get an inspection of the paint condition. Once that was done, I pulled it back in to see how it looked under the spotlights...these photos show pretty well what I was up against.
Back inside:
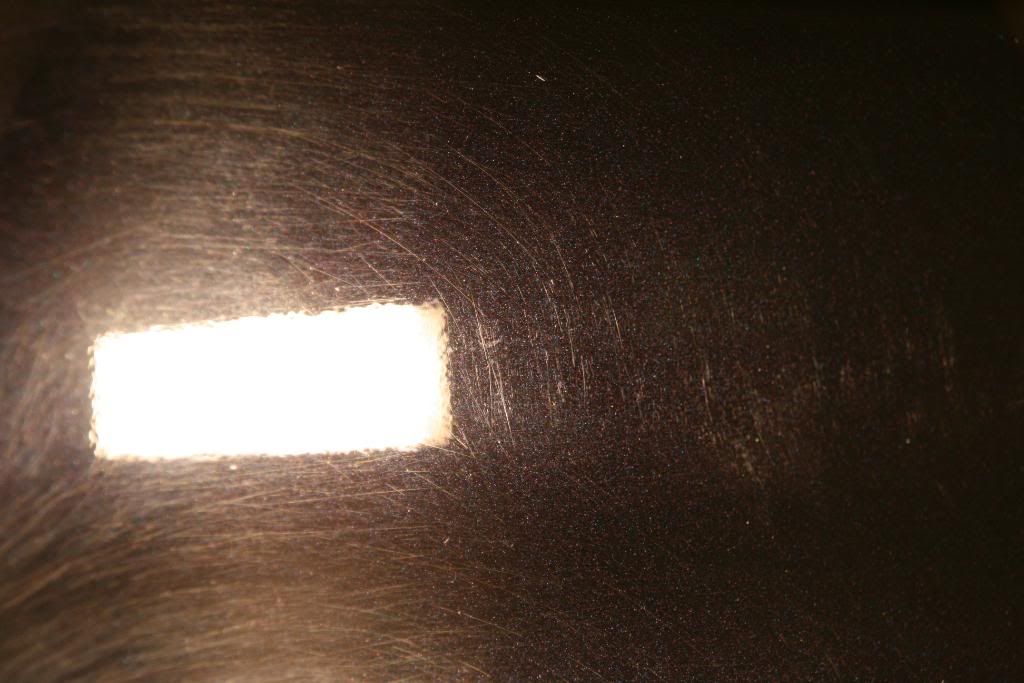
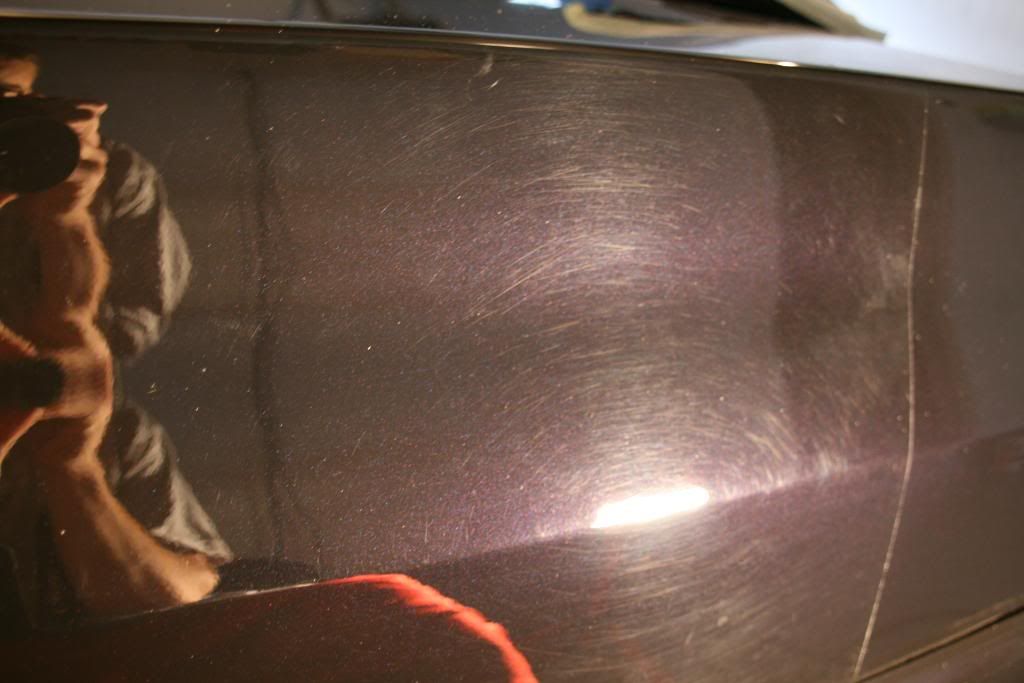
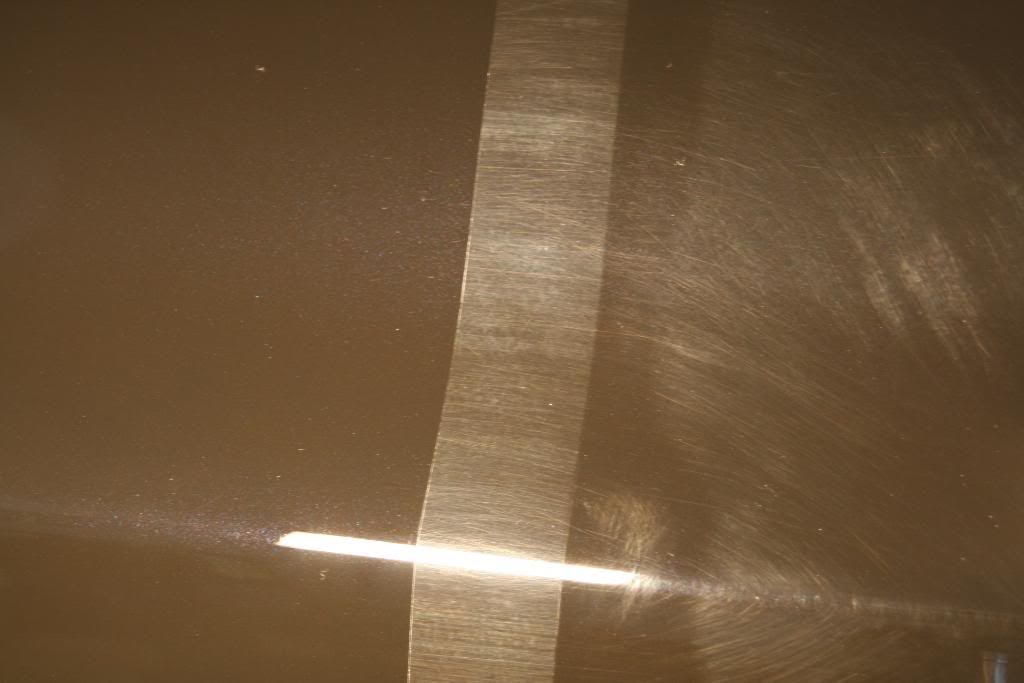
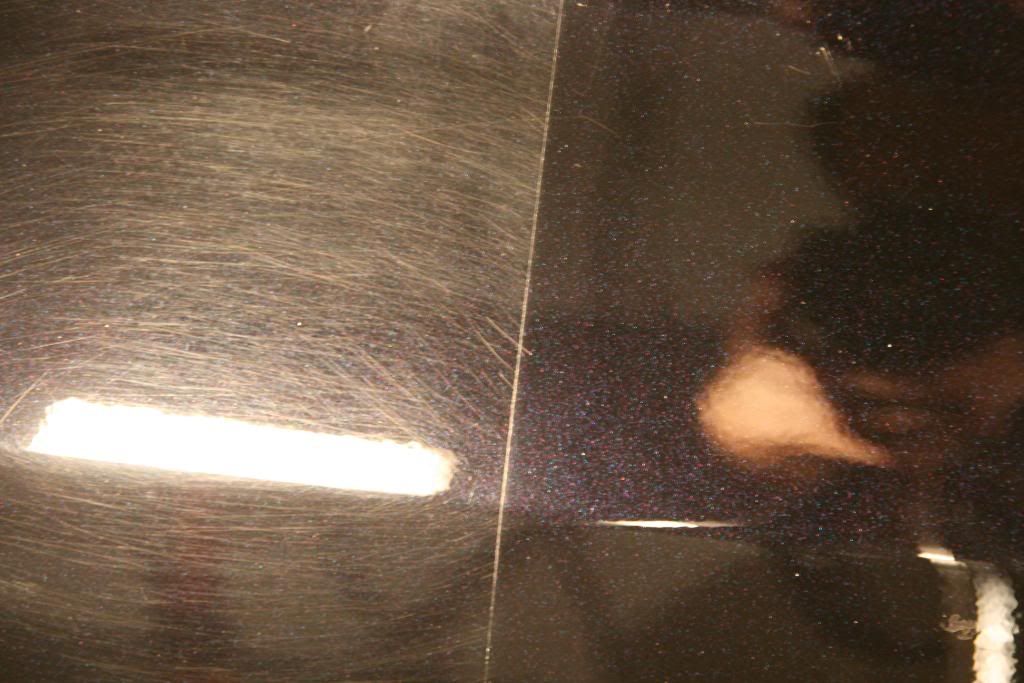
After figuring out the best combination of pads/polishes, the correction got under way. As you saw with the before pics of the paint above, these photos show the difference between the corrected and uncorrected portions of the panels. Now onto the 50/50 shots!
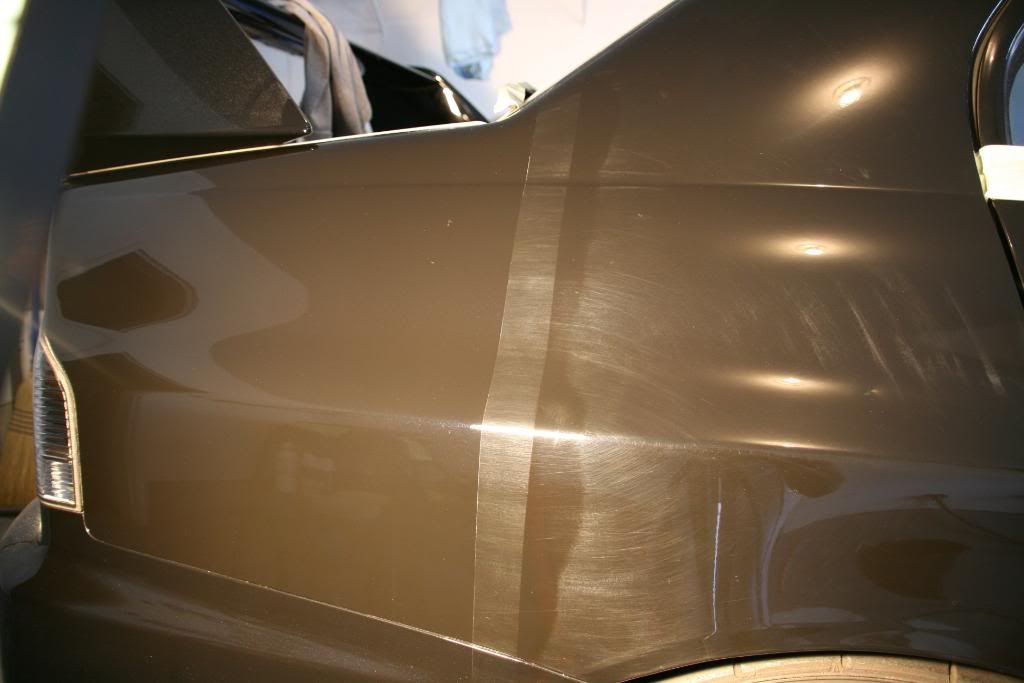
Starting off with the passenger rear quarter panel:
This particular vehicle, just dyno'd 609hp 519tq making it quite a machine, now it looks just as good as it's dyno sheet.
Process:
Full wash/degrease/clay
Menzerna Power Gloss - Orange (heavier areas)
Menzerna Intensive Polish - Orange
Menzerna 203 - Green
Menzerna Final Polish II - White
Optimum Opti - Seal
Pure Caranuba wax
Blood, sweat, tears, sweat and dedication
To start off, here are a few before photos of the car as it arrived, before the wash/degrease/clay of the vehicle
A quick snap of the clay bar
After the full degrease/wash/clay the vehicle was dried and then pulled outside in the remaining daylight to get an inspection of the paint condition. Once that was done, I pulled it back in to see how it looked under the spotlights...these photos show pretty well what I was up against.
Back inside:
After figuring out the best combination of pads/polishes, the correction got under way. As you saw with the before pics of the paint above, these photos show the difference between the corrected and uncorrected portions of the panels. Now onto the 50/50 shots!
Starting off with the passenger rear quarter panel:
 08-30-2009, 11:17 PM
#2
1st Gear Member
Thread Starter
Join Date: Jul 2009
Location: Pennsylvania
Posts: 56
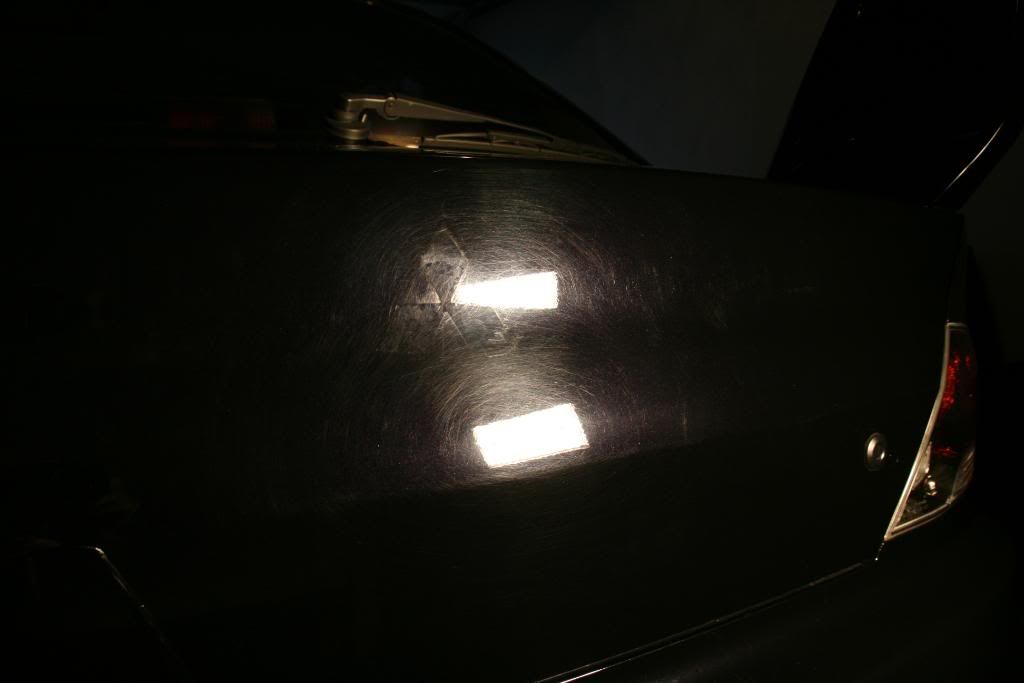
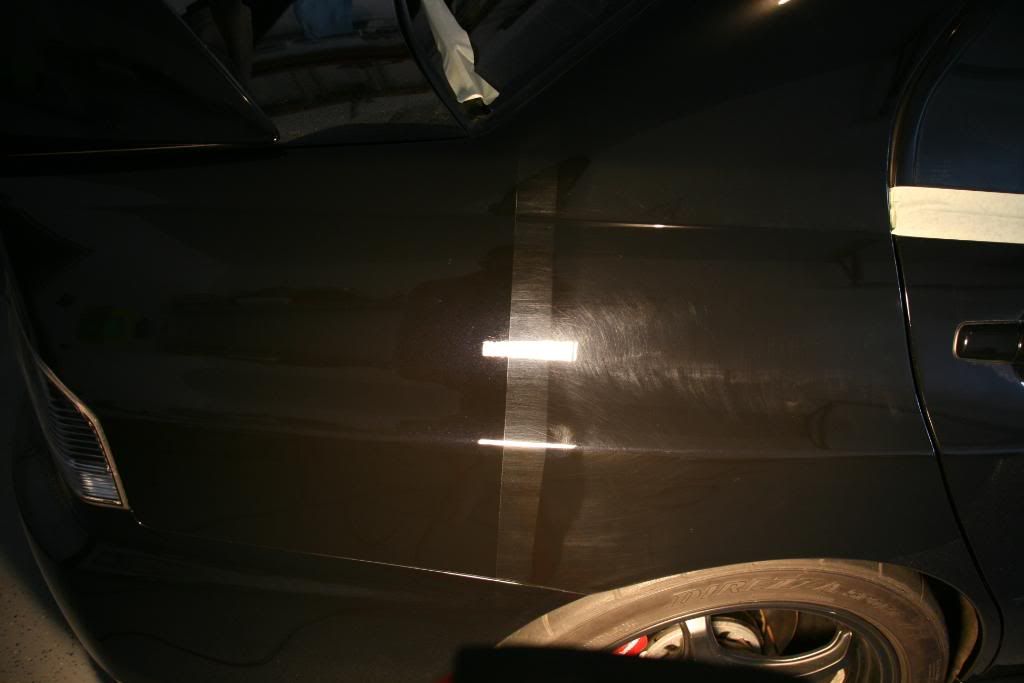
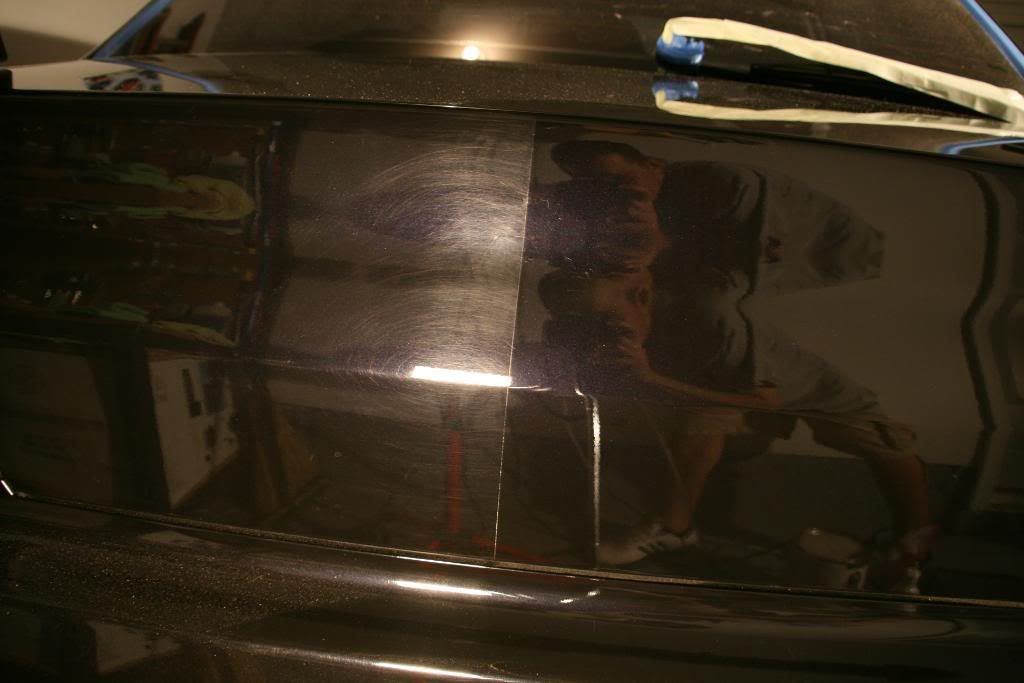
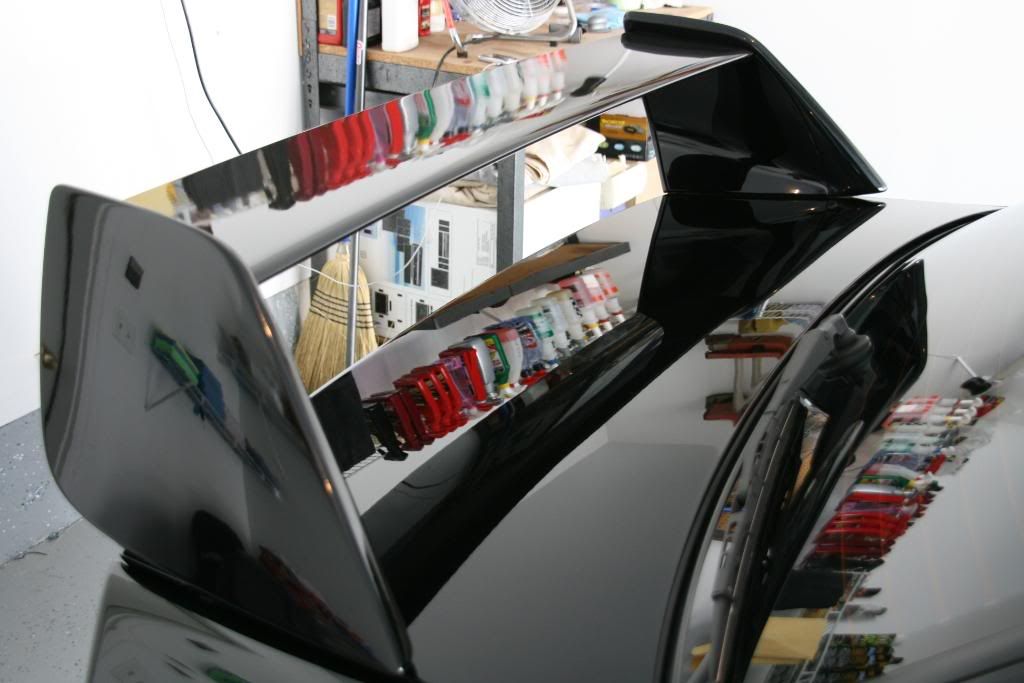
Now for the trunk 50/50 photos
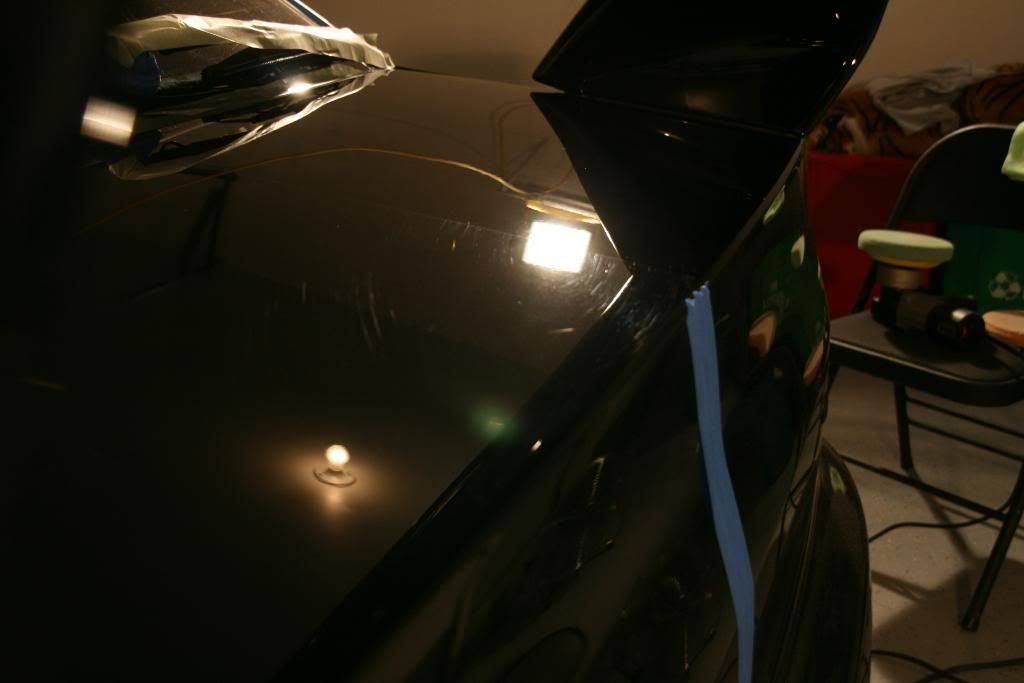
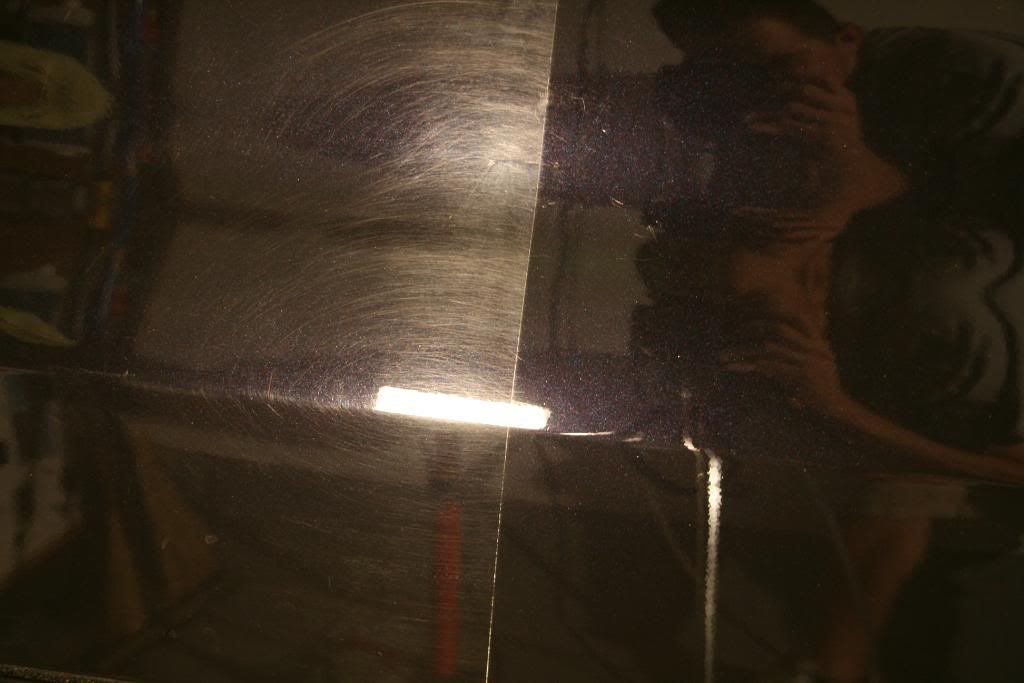
A brief half shot of the wing side blade
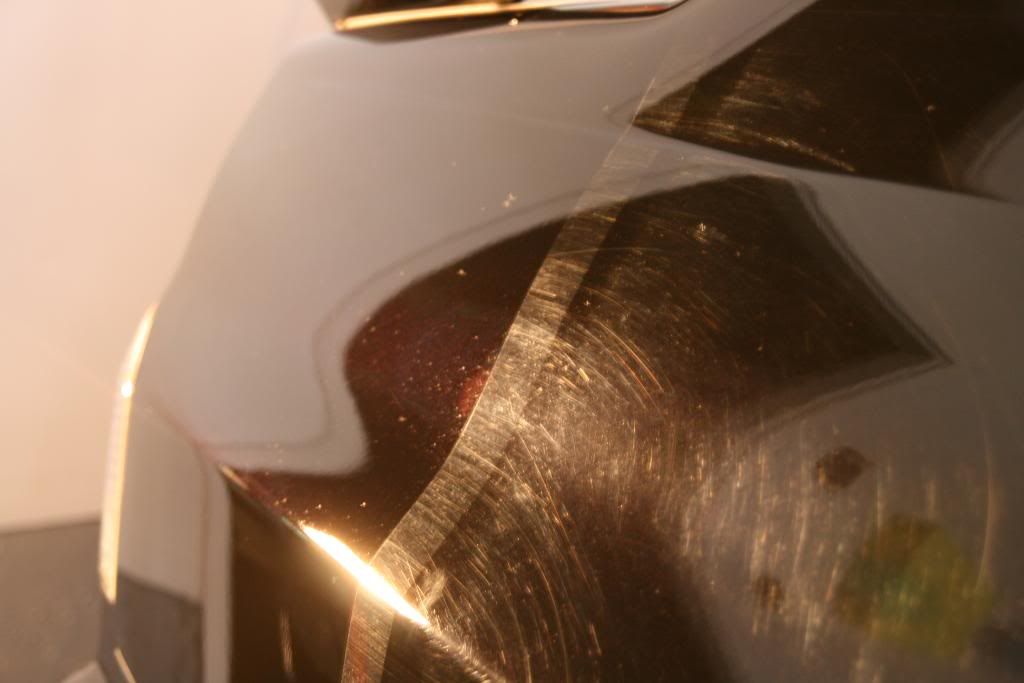
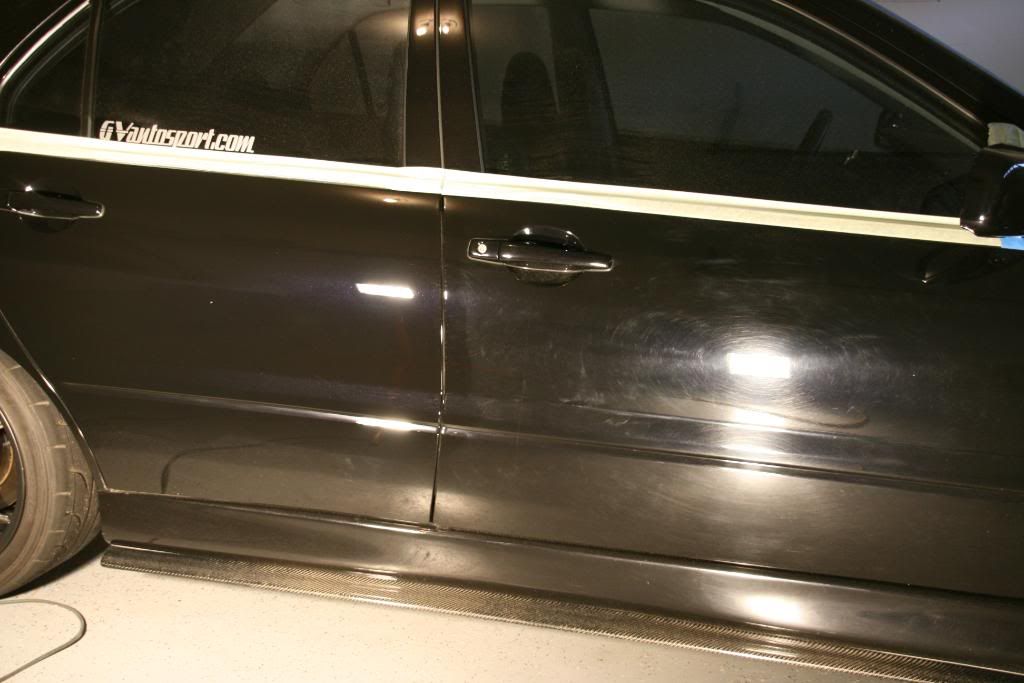
Here is a bigger scale 50/50, this shows the difference between the corrected rear as opposed to the uncorrected front door
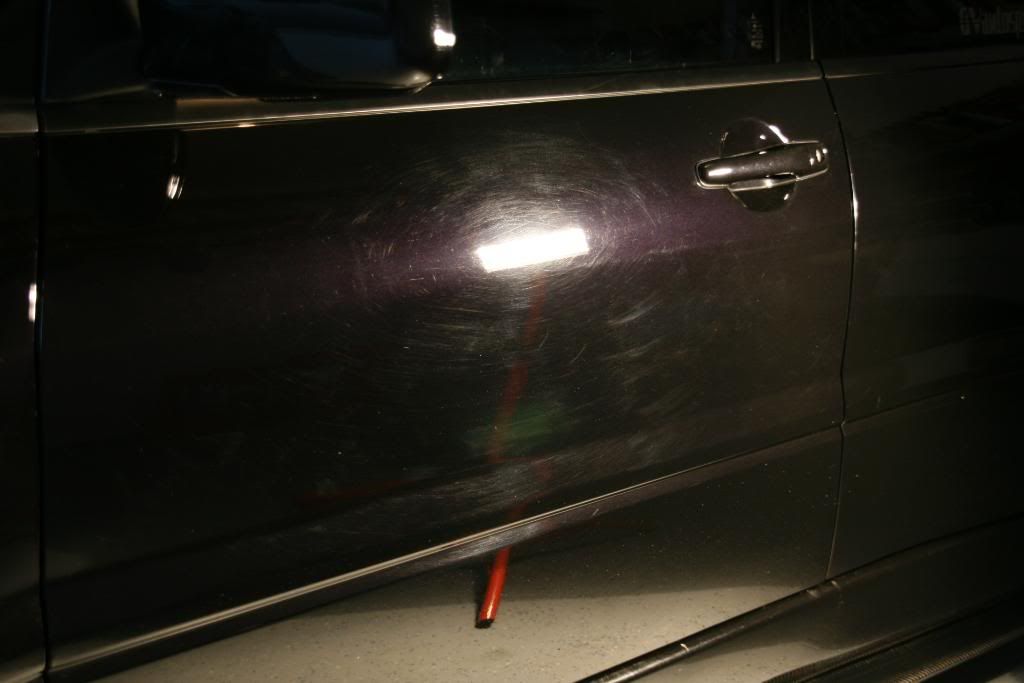
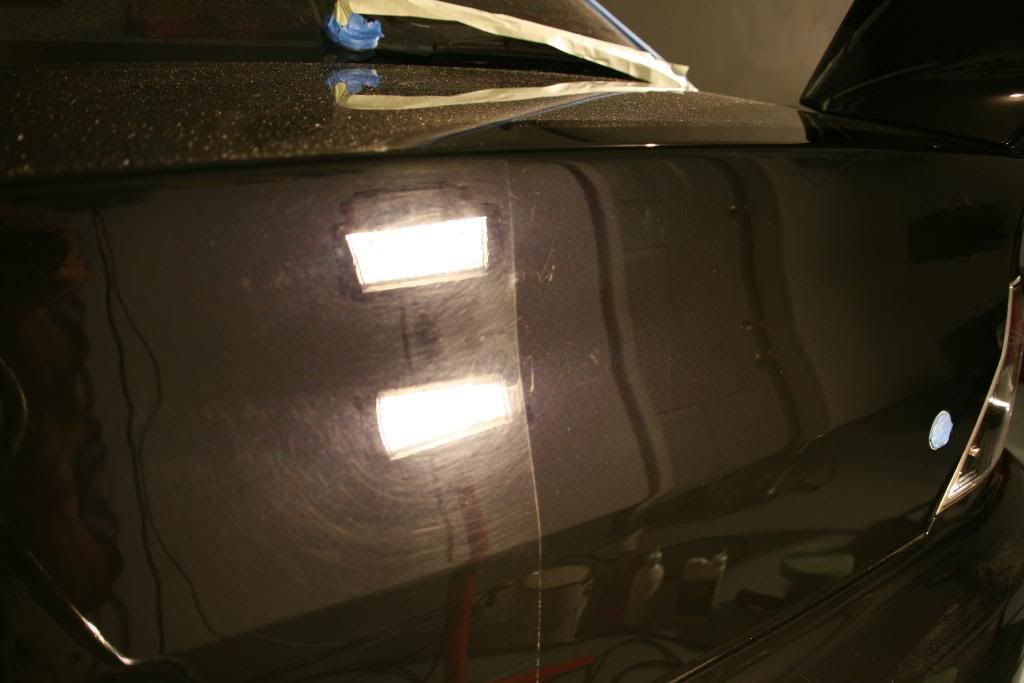
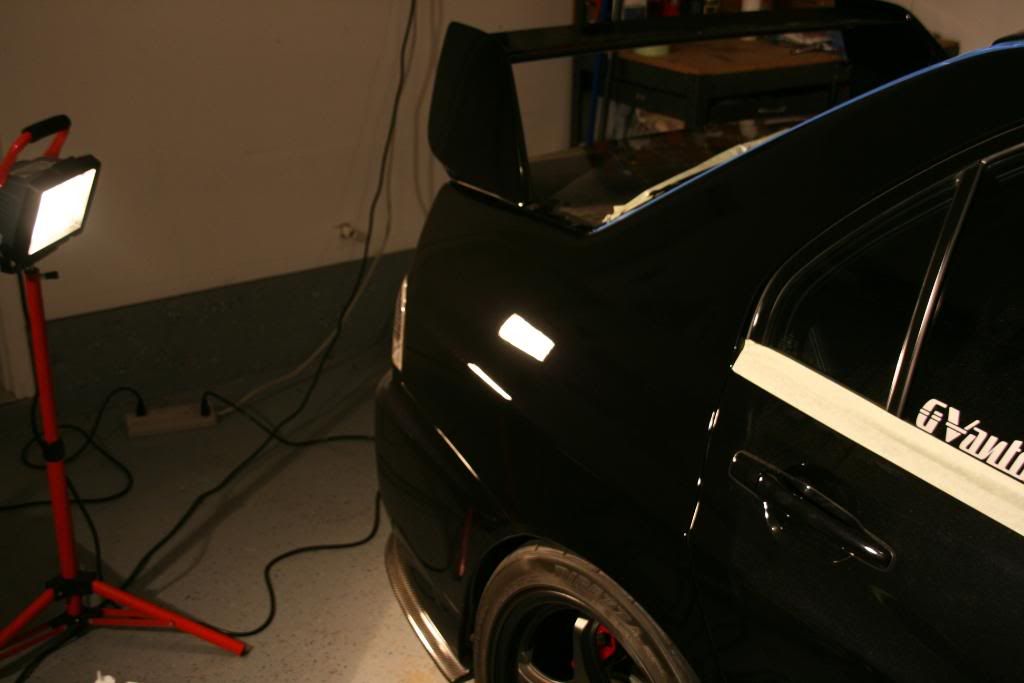
After almost a total of 25 hours spent just on the paint correction alone, these photos document the condition of the paint in comparison to the before photos above. Ran into a few hiccups, such as a pad failing and polish drying too fast or not at all, but the final result truly shows the work that was put in. These pictures were taken after the correction, but before the sealant and wax were applied, I'll let the pics do the talking...

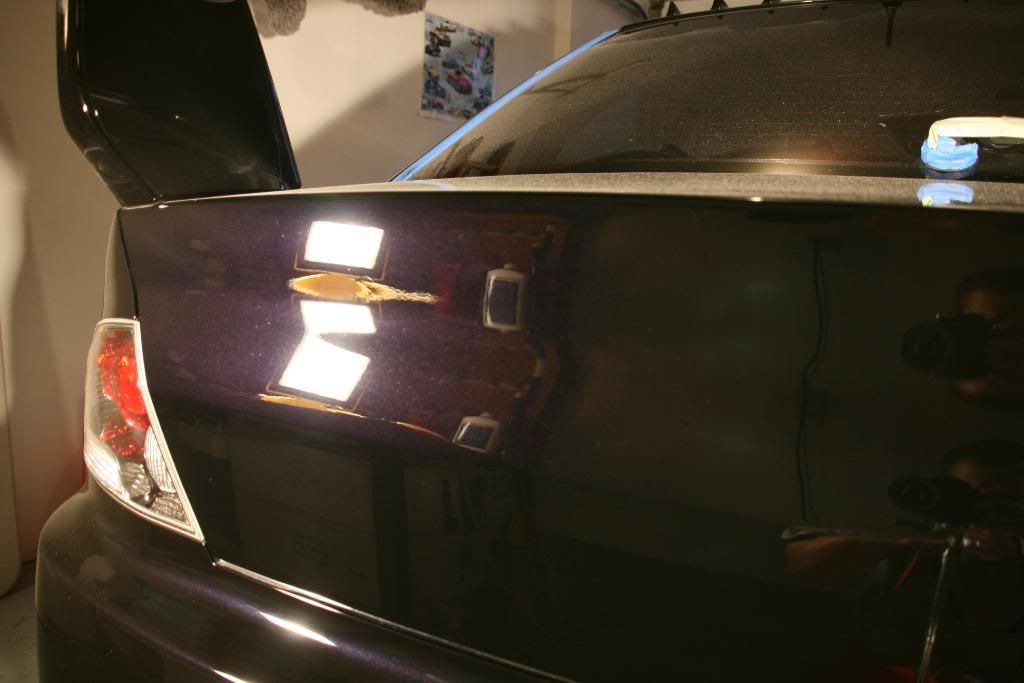
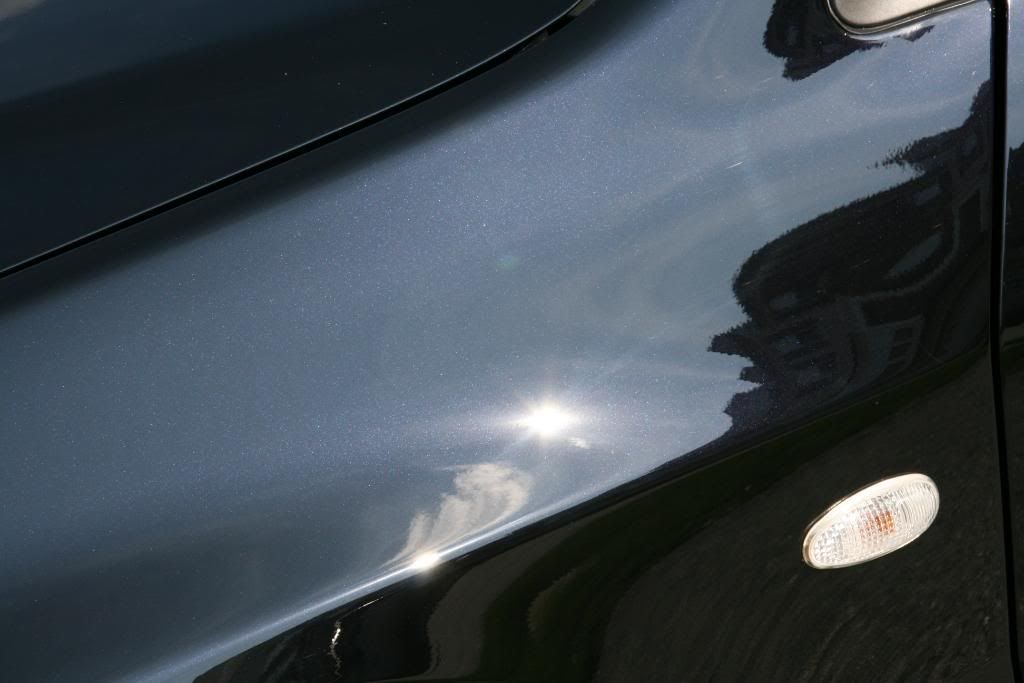
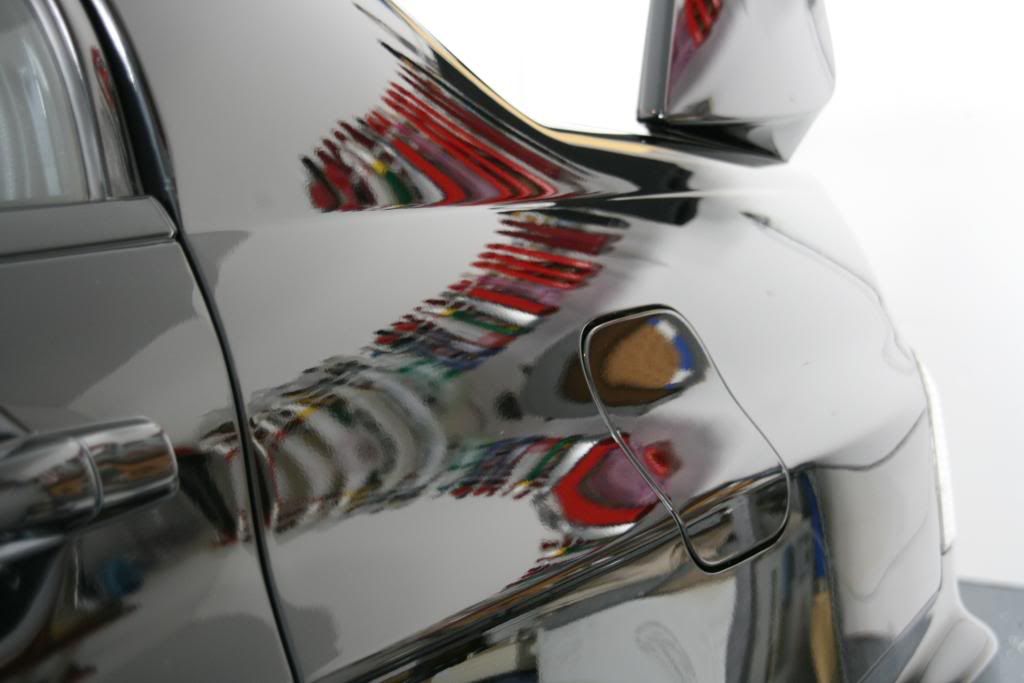
Some direct sun shots of the paint, reassurance that the job was done right.

 08-30-2009, 11:18 PM
#3
1st Gear Member
Thread Starter
Join Date: Jul 2009
Location: Pennsylvania
Posts: 56
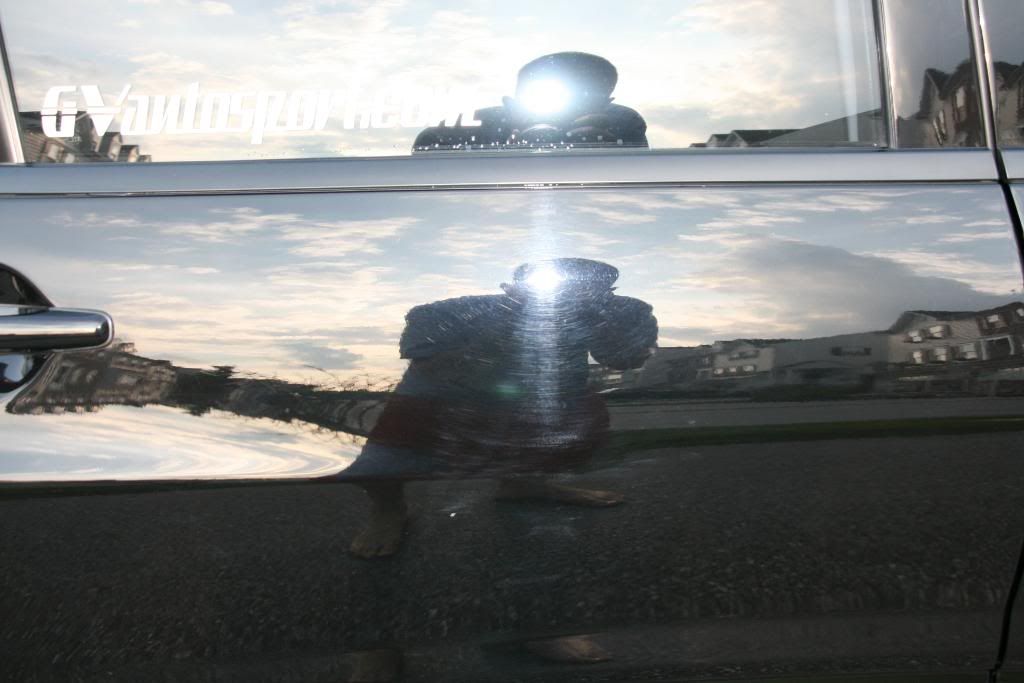
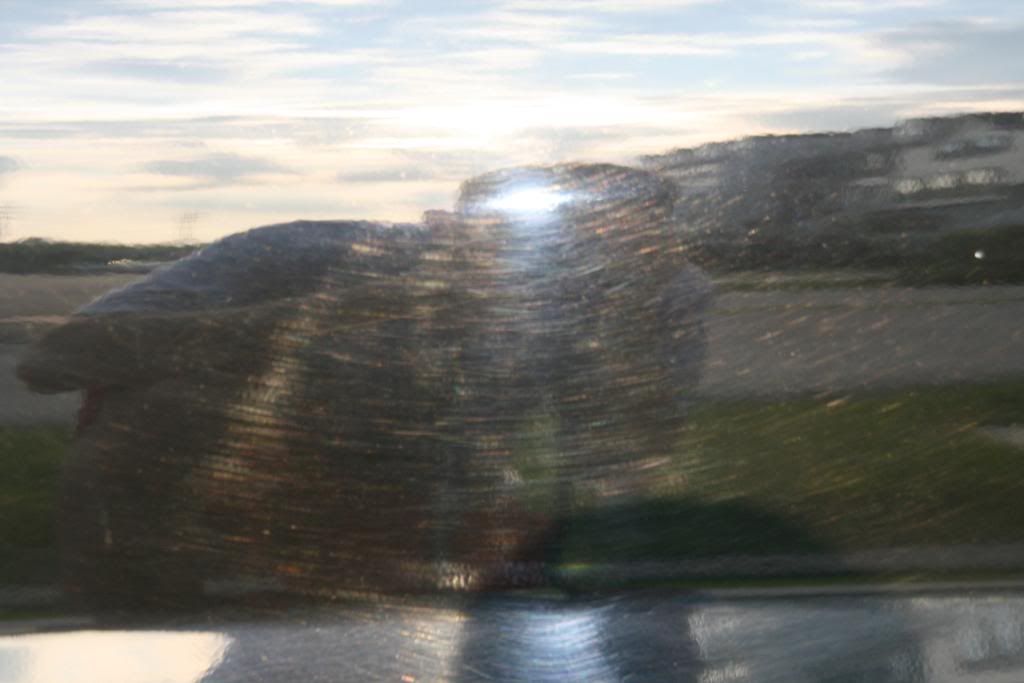
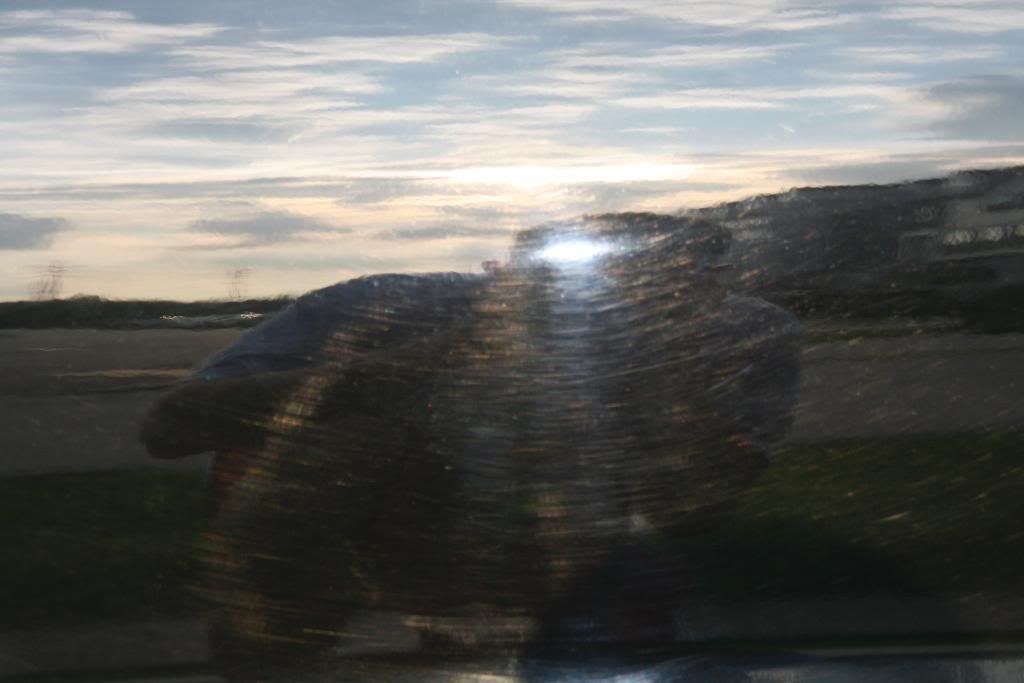
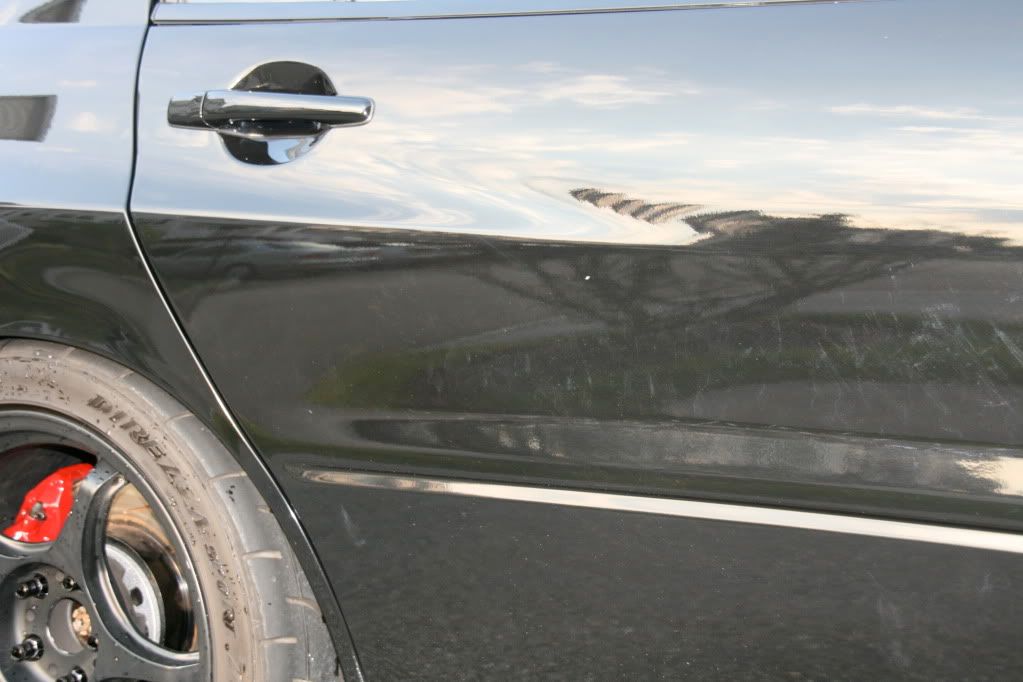
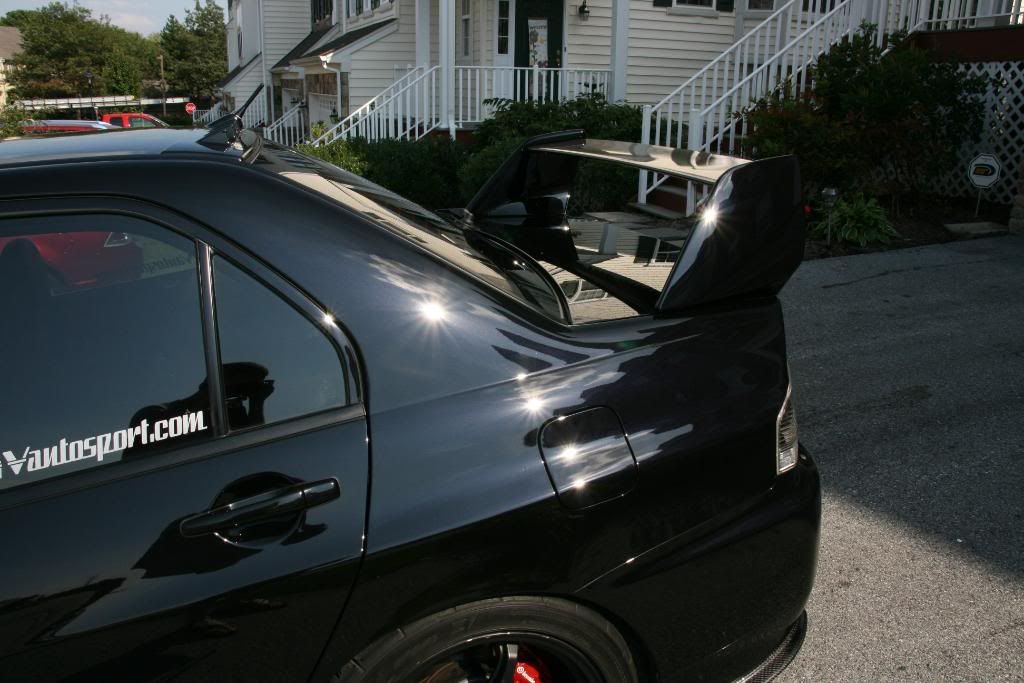
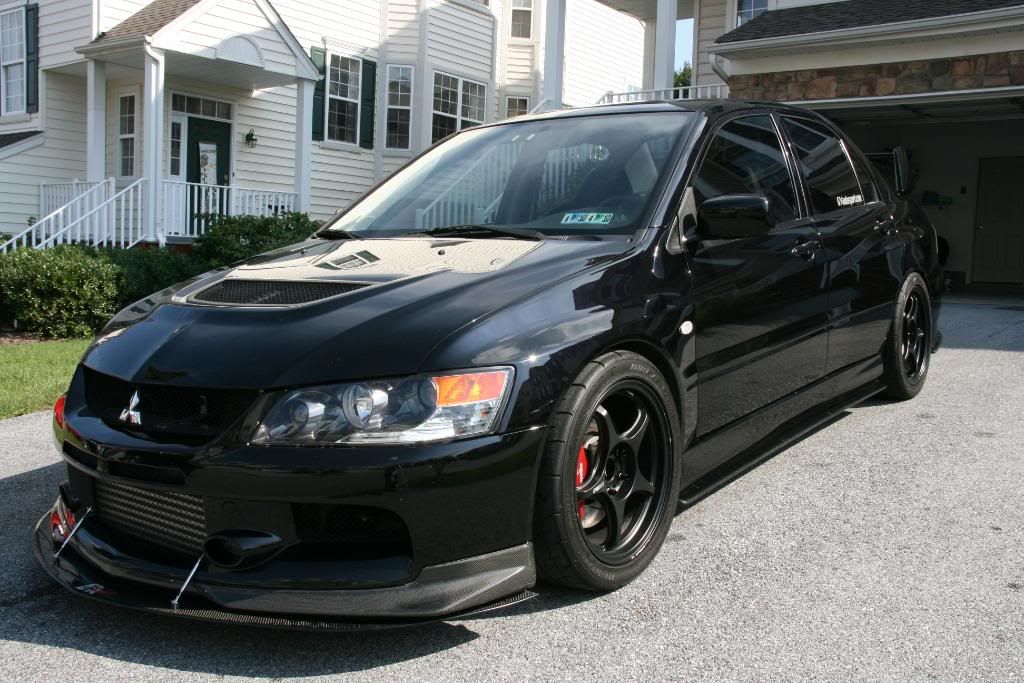
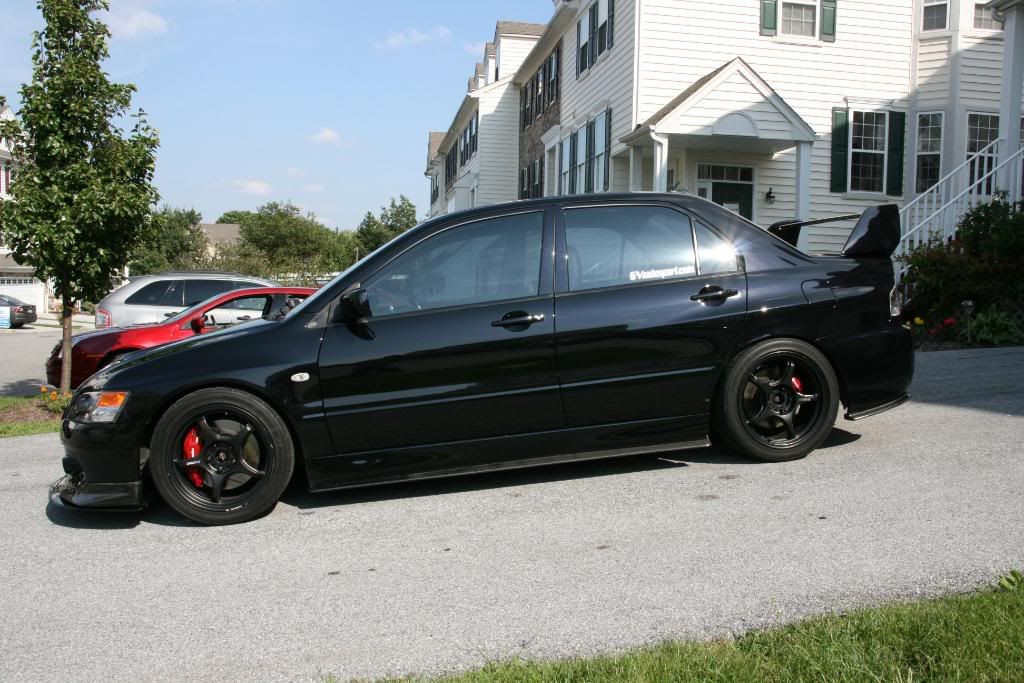
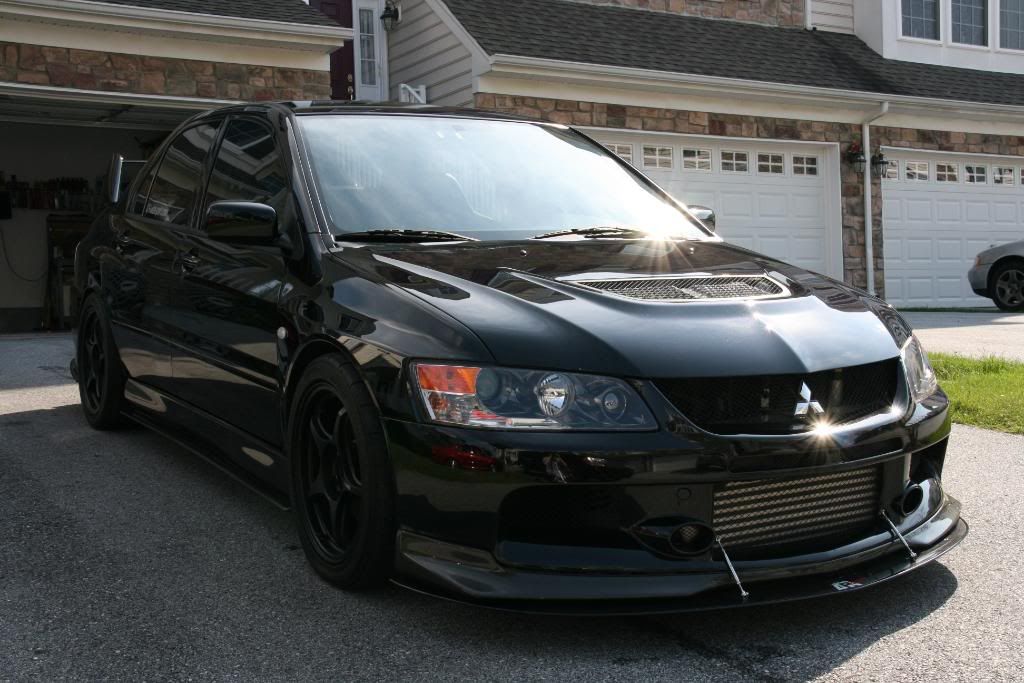
Everybody's favorite pics, the FINAL results, pictures were taken after the sealant/wax application and it's final wash, start it off with the reflection photos and then the all around vehicle photos. It is a HUGE relief to finally be done this particular Evo..
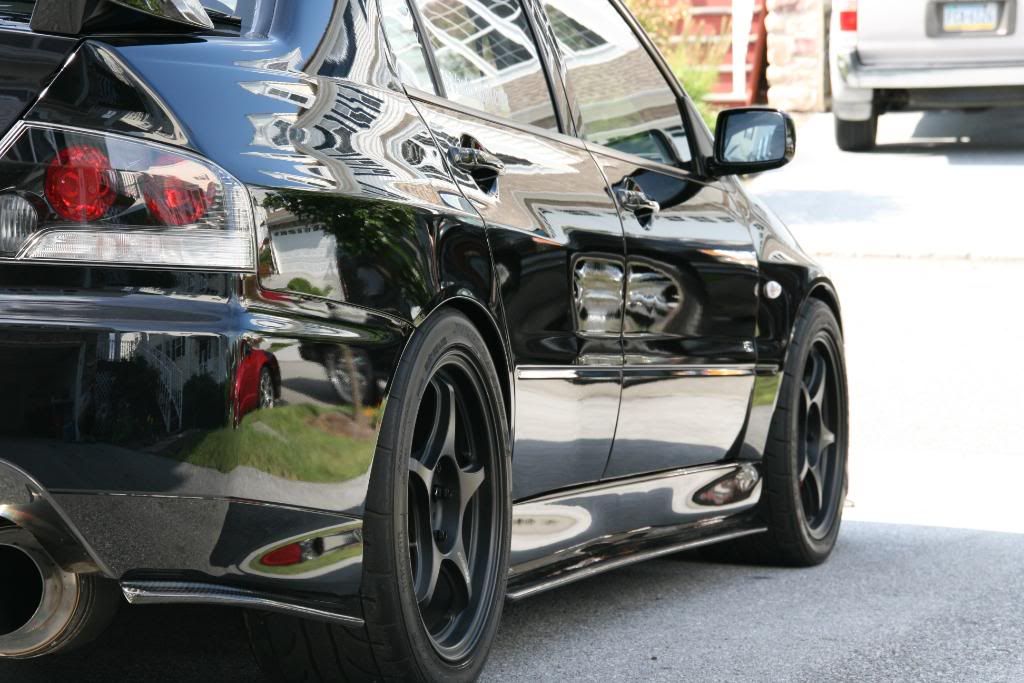
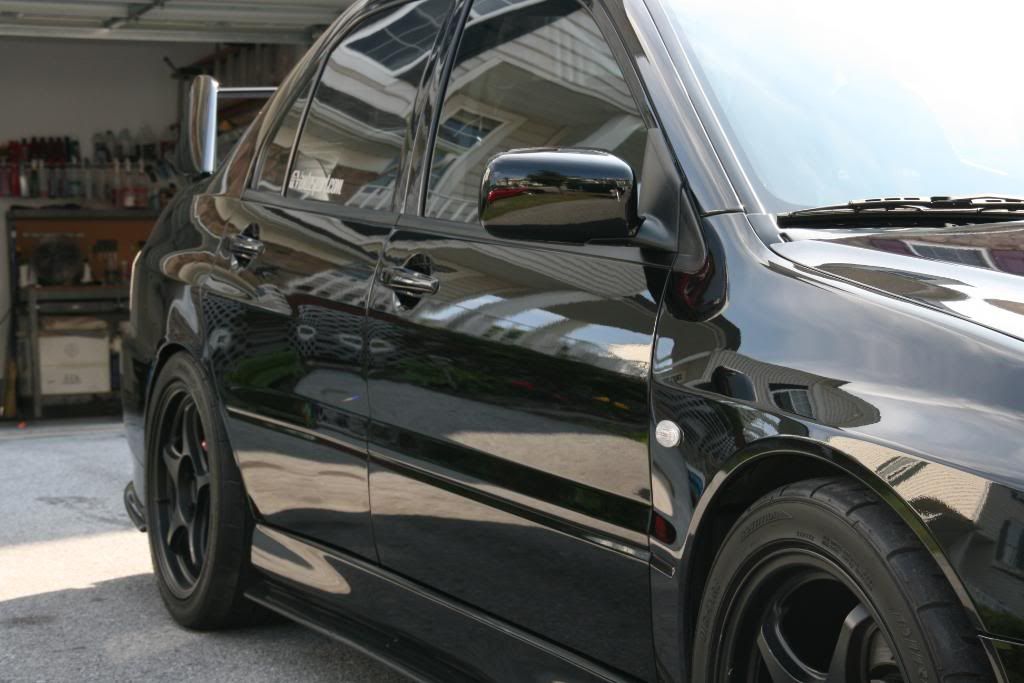
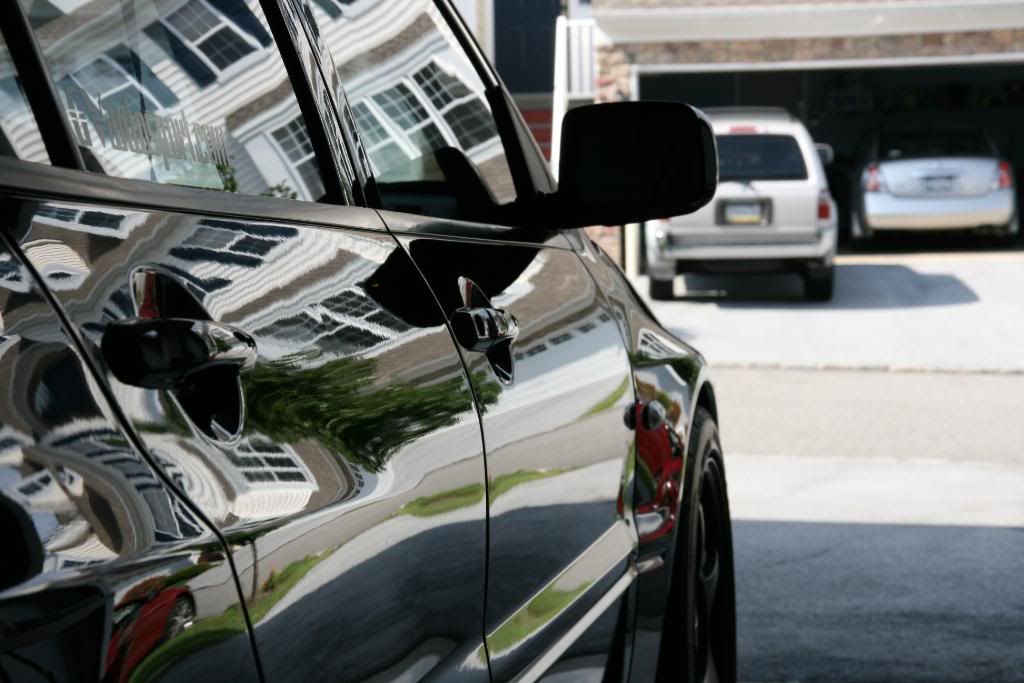

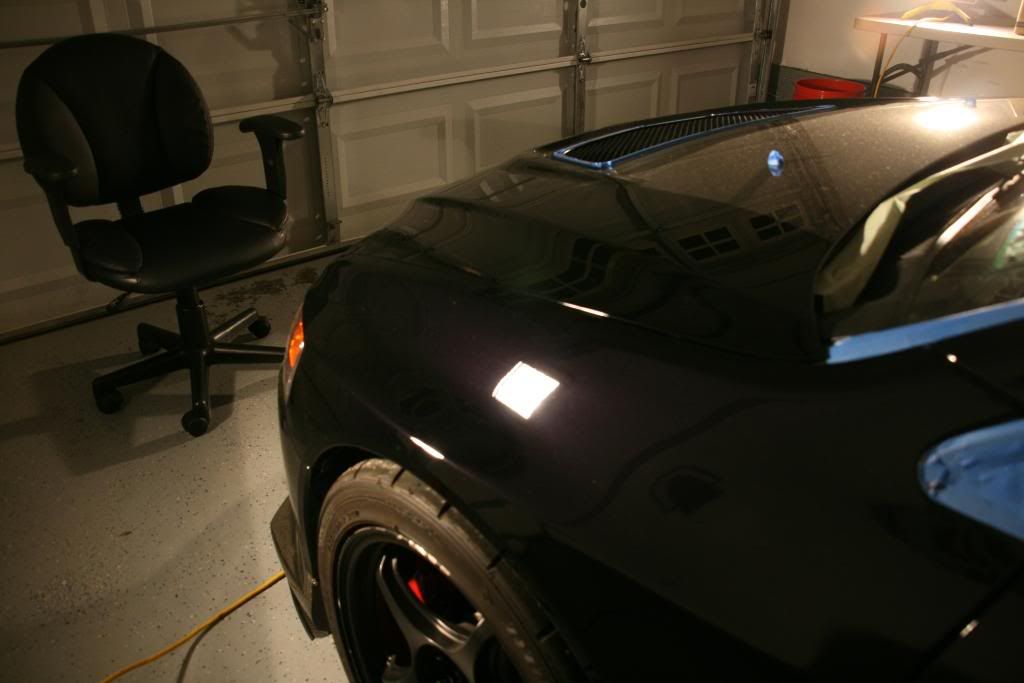
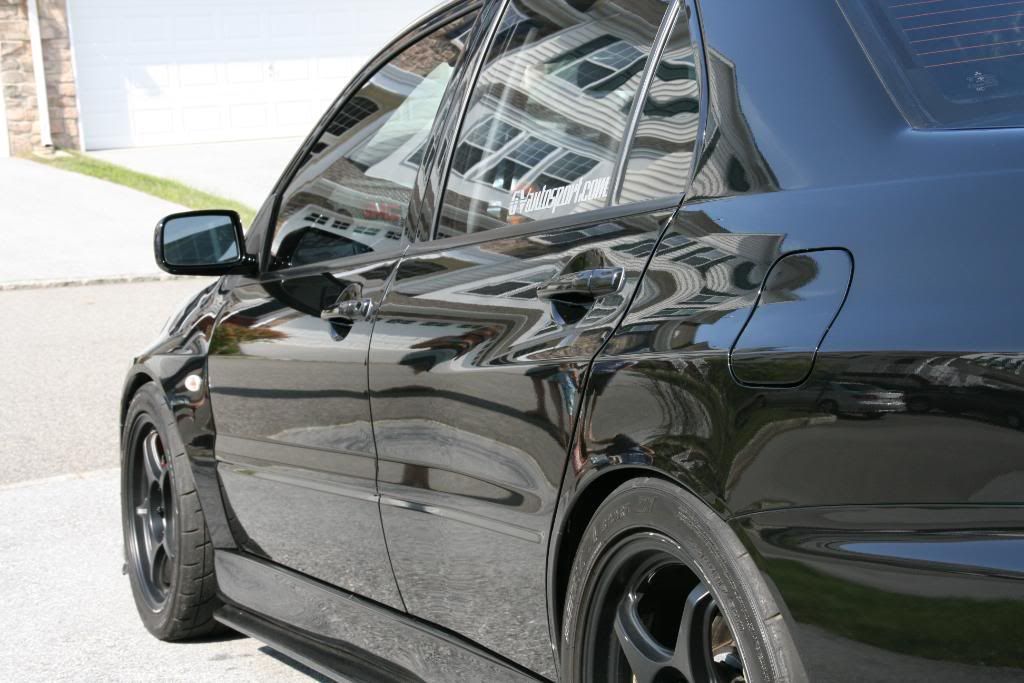
Full vehicle shots:
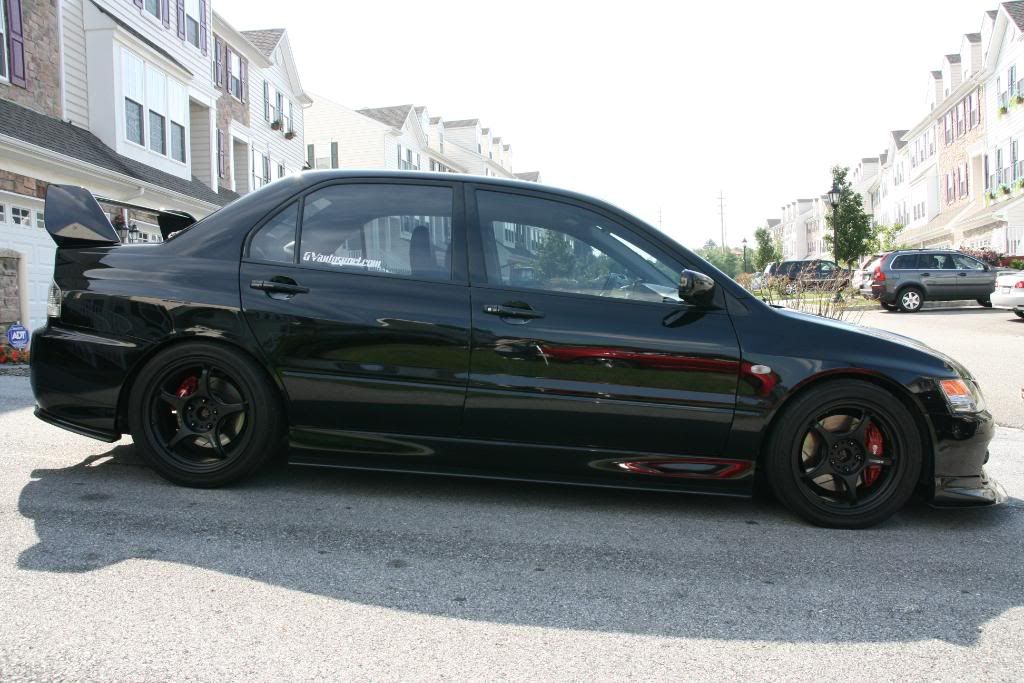
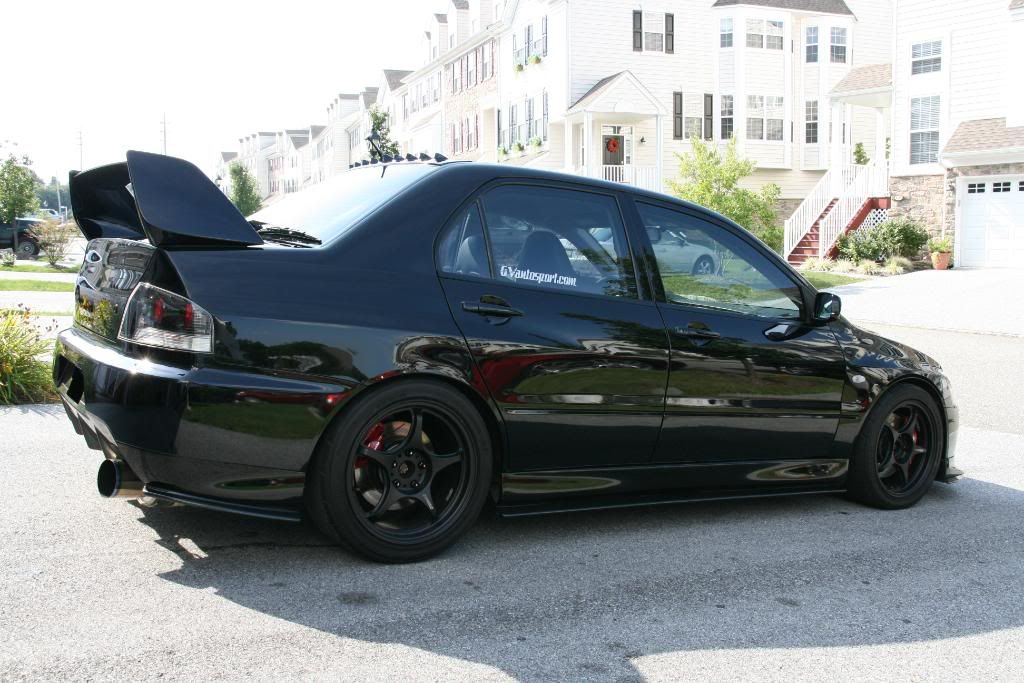

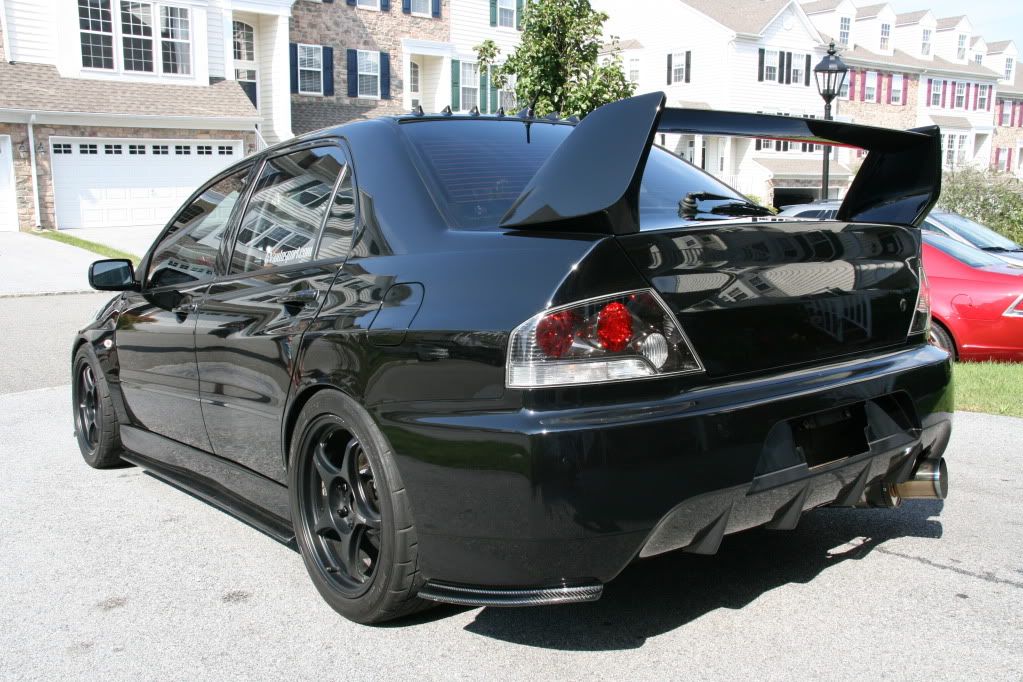
Hope you enjoyed looking! Comments appreciated!
-Oakes
Full vehicle shots:
Hope you enjoyed looking! Comments appreciated!
-Oakes
08-31-2009, 10:34 AM
#4
Wow. You do amazing work. I wish I could get those results with my paint. The front facia looks like a hell of a lot of fun with all those intricate panels and such. Your work never ceases to amaze me...
25 hours for correction alone holy chit
25 hours for correction alone holy chit
![Widowmaker[X]'s Avatar](data:image/svg+xml;utf8,<svg xmlns='http://www.w3.org/2000/svg' viewBox='0 0 50 50'><circle class='avatar-circle-default' fill='%23a7c460' cx='25px' cy='25px' r='20px'></circle><text class='avatar-text-default' x='49%' y='53%' fill='white' text-anchor='middle' alignment-baseline='middle'>W</text></svg>)
 08-31-2009, 04:03 PM
#7
1st Gear Member
Thread Starter
Join Date: Jul 2009
Location: Pennsylvania
Posts: 56
Thank you gentlemen!
I used a combo of the PC and the Cyclo on this vehicle, the paint isn't hard enough to call for a rotary. The front panels required very tedious attention but none-the-less they received it.
I appreciate the kind words, I love sharing my work!
I used a combo of the PC and the Cyclo on this vehicle, the paint isn't hard enough to call for a rotary. The front panels required very tedious attention but none-the-less they received it.
I appreciate the kind words, I love sharing my work!


