Ford Mustang GT 1996-2004: How to Replace Fuel Filter
A clogged fuel filter in the Ford Mustang GT will directly affect its acceleration and performance. Learn how to replace it here.
This article applies to the Ford Mustang GT (1996-2004).
The fuel filter is designed to prevent any dirt from going into your engine. With a dirty job like this, it's a matter of time before it gets completely clogged. As the fuel filter gets clogged in your Ford Mustang GT, it restricts the fuel flow going from the fuel tank to the engine, which gives the engine less fuel than it needs and that causes hesitation when you step on the gas. It's recommended that you change your fuel filter every 30,000 miles, and sometimes before that if you feel any signs of hesitation. The process is quick as well as easy, and the results are immediate. You will regain your Mustang's performance as soon as you put the new filter in. Read on to learn how to replace the fuel filter in your Mustang GT.

Materials Needed
- Fuel line disconnect tool
- Jack and jack stands
- Flat head screwdriver
- New fuel filter
Step 1 – Relieve fuel pressure
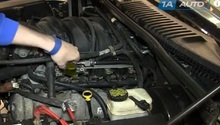
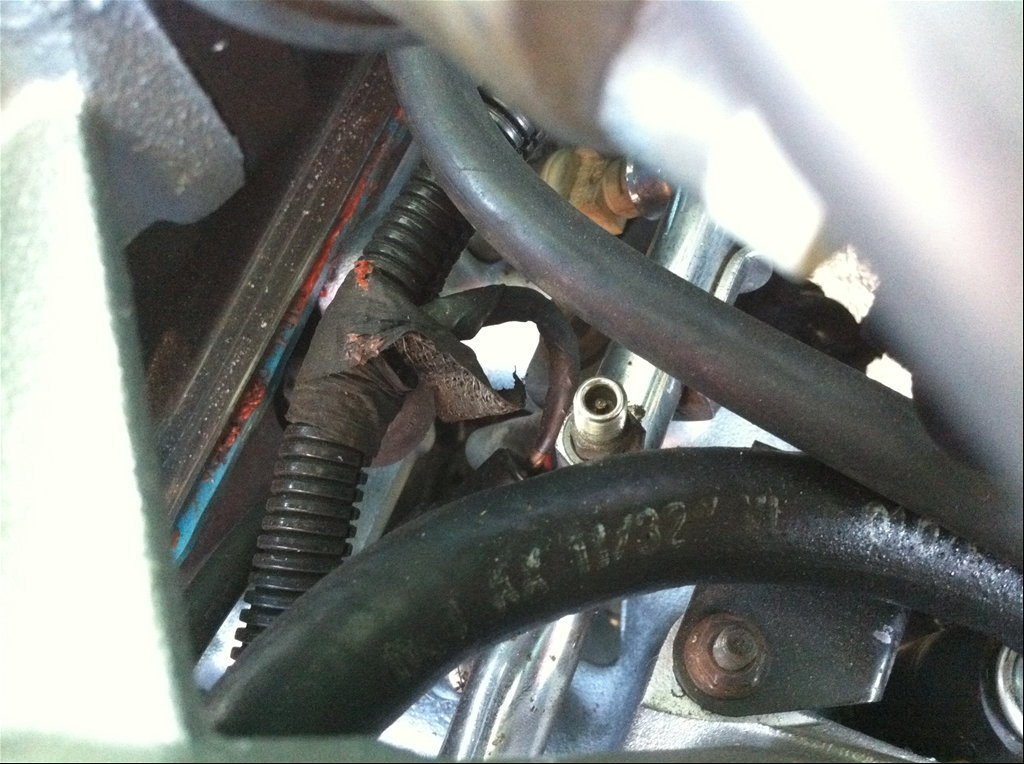
To relieve fuel pressure, you will need to let the car sit for a few hours. Locate the Schrader valve right behind the alternator, remove its cap, and press on it with a small flat head screwdriver to relieve the rest of the pressure.
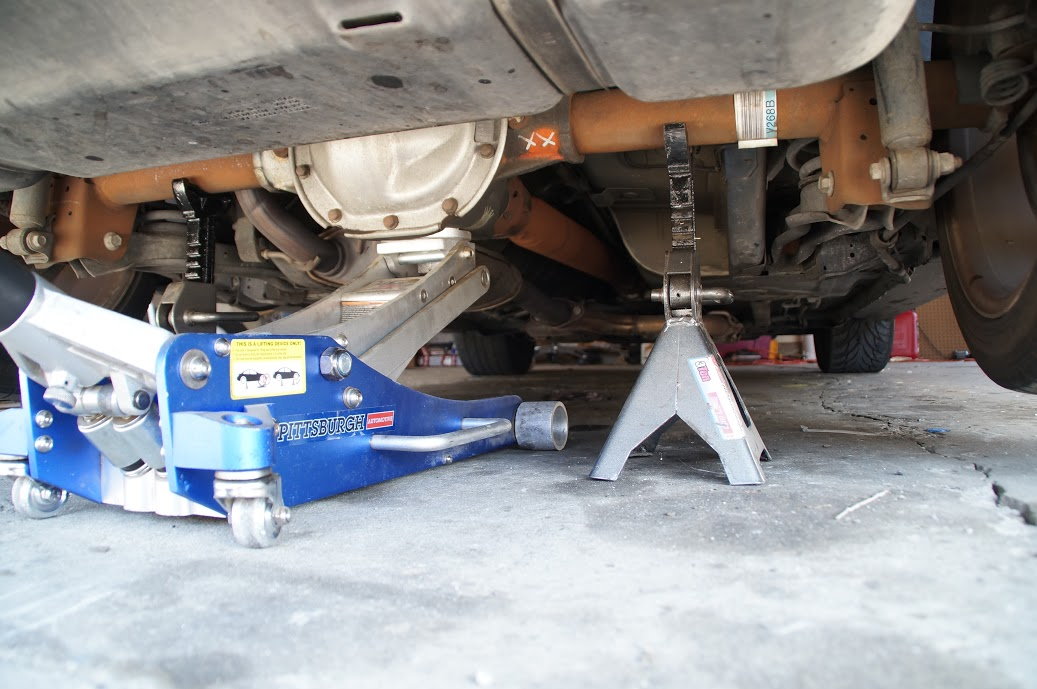
Step 2 – Jack up the rear
The fuel filter is located on top of the fuel tank, towards the inside of the car. To access the filter, you will need to raise the rear of the car. Place the jack in front of the differential and raise the rear axle slowly. When the car reaches the desired height, place two jack stands on the rear axle and lower the car on them to secure it.
Step 3 – Remove fuel filter
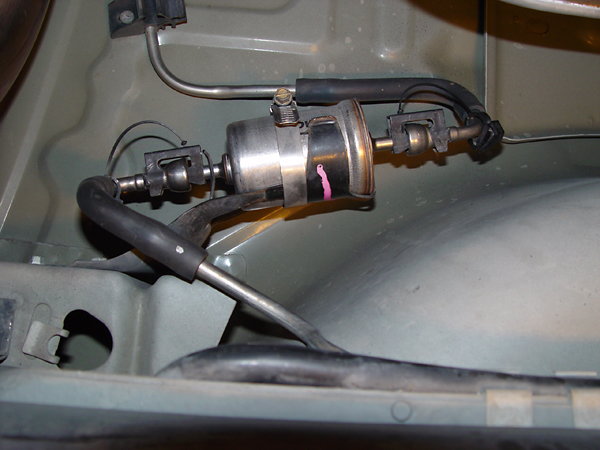
Locate the fuel filter, which is on the rear of the vehicle, on top of the tank on the side facing the front of the car. The filter will have two hoses connected to it on each end, so remove the two metal clips on each end by pulling them up with your hands.
Connect the fuel line disconnect tool on the metal part coming out of the filter, close the tool and pull away from the fuel filter. Be cautious because fuel will drip out as soon as the line un-clips. Wait for the filter to spill the fuel in the line, then unclip the other side of it the same way. Pull the filter off of the bracket to remove it.

Figure 4. Remove clip. 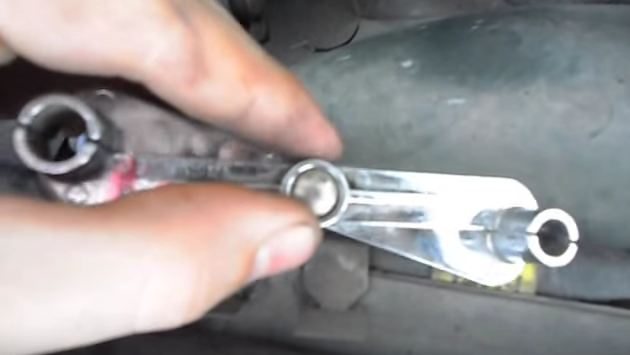
Figure 5. Line disconnect tool. 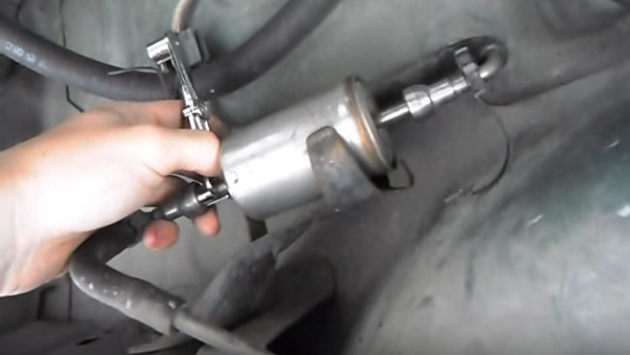
Figure 6. Connect tool. 
Figure 7. Watch for dripping gas.
Step 4 – Install new filter
Place the new filter in the bracket the same direction the old one was installed. Connect the two lines on both ends, simply align them in place and snap them in. Put the two clips back in place, lower the car, and test the new filter out.

Featured Video: How to Change Fuel Filter
Related Discussions
- How to Install Fuel Filter - MustangForums.com
- Changing Fuel Filter - MustangForums.com
- Fuel Filter Location - MustangForums.com