Ford Mustang V6 1994-2004: How to Replace Serpentine Belt
Changing out your serpentine belt doesn't have to be a scary proposition.
This article applies to the Ford Mustang V6 (1994-2004).
As part of your routine maintenance plan, checking the condition of your belts and hoses shouldn't be neglected. Often times, belts are given not much more than just a passing glance. It is particularly important to give your serpentine belt a close inspection when you are changing your oil, your battery, or any time you happen to be taking a look under the hood. Take a close look at the serpentine belt, noting any glazing or cracking, or any other signs of damage and wear. Taking these few minutes could save you many hours on the side of the road waiting for the tow truck to arrive. If you find that your belt is in need of replacement, don't fret; this is a very simple job that should take well less than an hour and no mechanical knowledge is necessary. A professional is going to charge you a good deal of money; save your hard earned cash and learn to tackle this easy job on your own terms.

Materials Needed
- Long handled ratchet or 18mm wrench
- 18mm socket
- Breaker bar
Step 1 – Disconnect battery (optional)
Pull the hood release latch under the steering column and pop the hood. From the front of the car, press down on the hood release lever to raise the hood. Use the retaining rod to secure the raised hood. Any time you are working in the engine compartment, you should disconnect your battery. This isn't a necessary step, but it is recommended.

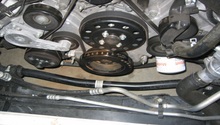
Step 2 – Locate the tensioner pulley
Find the tensioner pulley and the center 18mm nut. Use a long handled 18mm wrench, or ratchet with 18mm socket. If you have a hollow pipe to make a breaker bar, that will make this part a lot easier. Place the socket or wrench on the bolt so the handle is near the 4:00 or 5:00 position. With a firm grip on the handle, pull up to create slack in the belt.
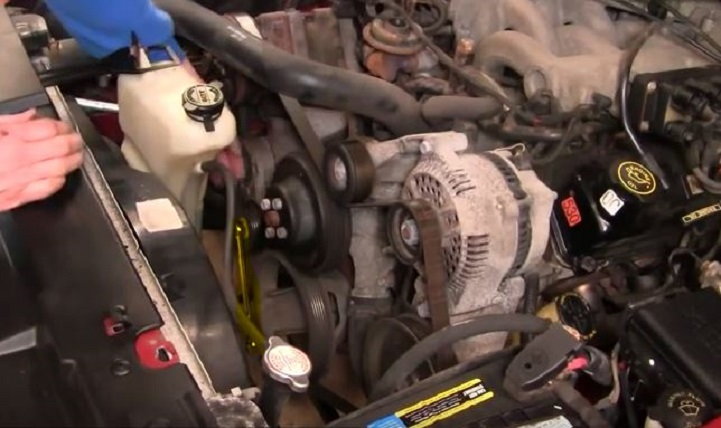
Figure 2. Put a wrench on the tensioner pulley bolt. 
Figure 3. With a firm grip on the handle, pull up to loosen the pulley.
Step 3 – Remove the old belt
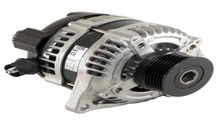
While pulling up on the wrench handle, thereby loosening the belt, remove the belt from the alternator pulley first. This will be the first part off and the last part of the belt to put back on. The idler pulley is just to the left of the alternator pulley. Slide the belt out from under the pulley while maintaining pressure on the wrench. After the belt is off the tensioner, slowly let the tension off the wrench. The belt is loose enough now to remove from the alternator pulley and then the rest of the pulleys. Discard the old belt.

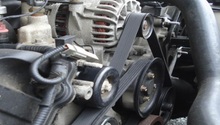
Step 4 – Install the new belt
Install the new belt according to the proper diagram, which is usually printed on the belt packaging. You'll have to put the wrench back to work. Create a loop in the belt and put it around the crankshaft pulley first, then work it clockwise. When you get to the idler pulley, you'll want to skip over the alternator and put the belt around the power steering pulley first. The alternator pulley will be the last pulley to put it around, as it will be the easiest to do with one hand while you are cranking up on the tensioner wrench to create enough slack to finish the job. Once it is over the alternator pulley, check that the belt is correctly installed on all the pulleys one last time before releasing the wrench on the tensioner.
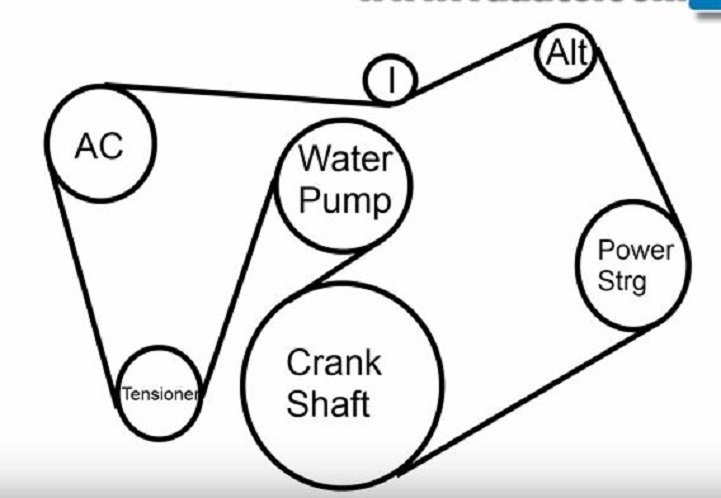
Figure 5. Install the new belt according to the proper diagram. 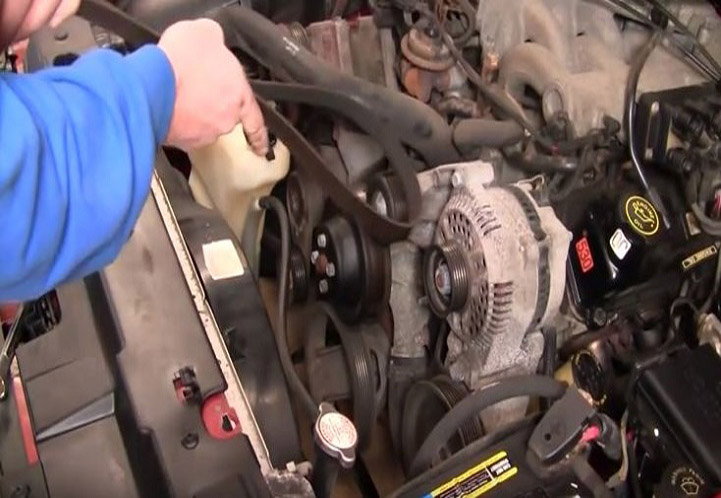
Figure 6. Make a loop in the new belt on the way down to the crankshaft pulley. 
Figure 7. Putting the belt around the alternator pulley last makes the job easier for a one-handed task. 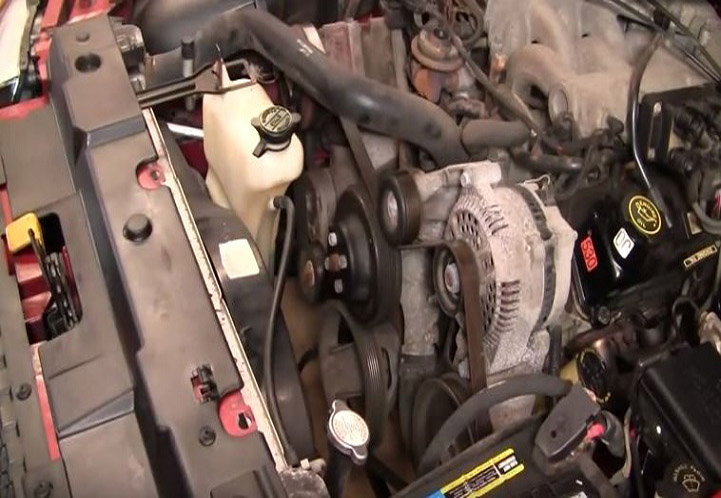
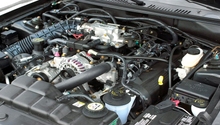
Figure 8. With new belt installed, reconnect battery (if you disconnected it) and start your engine to make sure of a job well done.
Featured Video: How to Replace Engine Serpentine Belt
Related Discussions
- Replace Serpentine Belt on 1996 V6 Mustang - MustangForums.com
- 98' V6 Serpentine Belt Change - MustangForums.com
- Serpentine Belt - MustangForums.com
- 3.8L Serpentine Belt - MustangForums.com
- How Often Should I Replace the Serpentine Belt? - MustangForums.com