Ford Mustang V6 1994-2014: How to Replace Brake Line
A cracked or leaky brake line can be detrimental to braking performance and can lead to terrible consequences. Replacing this line is not only easy, but you will be able to feel safer and more confident behind the wheel of your Mustang.
This article applies to the Ford Mustang V6 (1994-2014).
Over years of use, the chance of your brake lines cracking or being damaged in general becomes greater and they should be inspected. Cracked brake lines can allow air to enter your power braking system, which creates a soft pedal and terrible braking performance. If you notice a decreased level of brake fluid, it is also a good idea to check your line for leaks. Driving with cracked brake lines is extremely dangerous and should not be attempted. Options for replacing your brake lines are expansive, but the two most common lines are stainless steel braided lines and OEM replacements. Stainless steel lines are more durable and are more resistant to heat that occurs during performance driving.

Materials Needed
- 10mm and 11mm wrench
- 13/16" socket and torque wrench
- Jack and jack stands
- Flat screwdriver
- Pliers
- Pan to collect brake fluid
Step 1 – Lift vehicle and secure with jack stands
Loosen your lug nuts with your 13/16" socket. Then lift the vehicle with a jack and secure with jack stands. Remove your front wheels so you can access the brake lines.
Pro Tip
Make sure to secure the car with jack stands on a frame point, so you do not damage your Mustang.
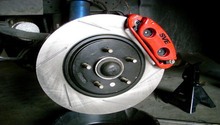
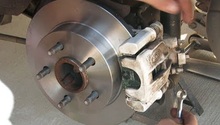
Step 2 – Remove caliper-side of brake line
Use your 10mm wrench and remove the bolt holding the brake line onto the caliper. Refer to Figures 2 and 3 for the location of this bolt. Have your pan ready to collect any brake fluid that might spill from removing this fitting.
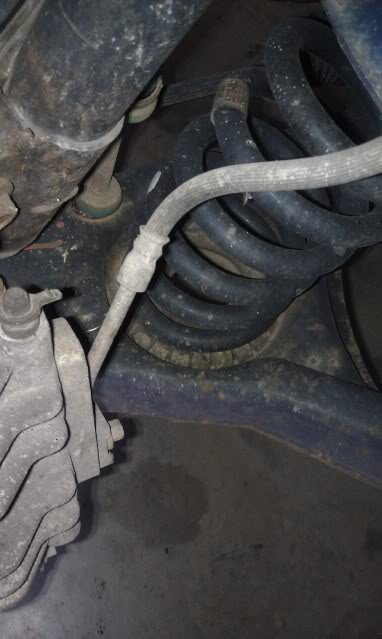
Figure 2. Caliper side brake line fitting. 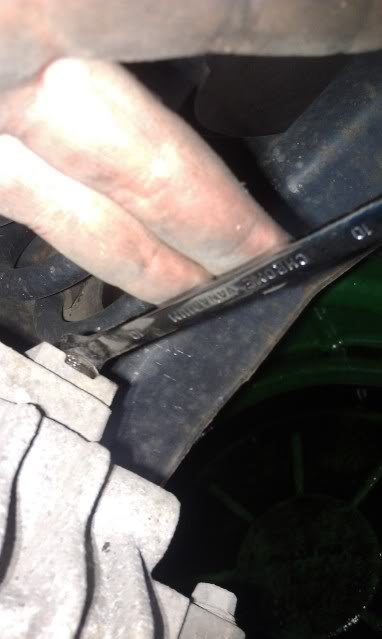
Figure 3. 10mm wrench location.
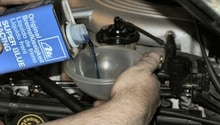
Pro Tip
Brake fluid is extremely corrosive, especially towards paint, so be weary of where it is landing!
Step 3 – Remove brake line hose from hard line
The brake line hose on the hard line side is connected using a clip and a 11mm threaded fitting. Now, using your pliers, remove the clip as shown in Figure 4. The OEM line is now free to be un-threaded from the hard line, which is done by loosening it with a 11mm wrench and rotating the line counterclockwise.

Step 4 – Install new brake line
Installing the new brake line is the exact reversal of the removal process. First, thread the new brake line onto the hard line fitting, and insert clip to retain the brake line. Then, the brake line can be attached to the caliper again with the 10mm bolt. Congrats, you have installed a new brake line and can be back on the road safely!

Pro Tip
Label your hardware when removing the brake line so you know exactly how and where it re-installs.
Related Discussions
- Steel Braided Brake Lines - MustangForums.com
- Replacing Brake Lines Urgent - MustangForums.com
- Removing Soft Brake Line -