Ford Mustang V6 and Mustang GT 1994-2004: How to Paint Interior Trim
A simple coat of paint can greatly enhance the look of your Mustang's interior.
This article applies to the Ford Mustang V6 and Mustang GT (1994-2004).
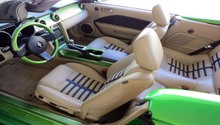
We all know the right color paint can help any vehicle stand out in the city or highway, but have you considered how a couple fresh coats of paint could help to modify the look and feel of your Mustang's interior? The trick is to use a high-quality paint product that stays flexible while holding up against discoloration and fading. You should also consider the general wear and tear that is often associated with an aging product. While we recommend using an SEM Color Coat aerosol product, the truth is there are a number of paint products on the market that you can use to spruce up the interior of your vehicle. So, whether you want a sleek interior, or a bold and patterned interior, the truth is you have countless options! Let's get started on the actual painting process, and what you should do to achieve maximum results.

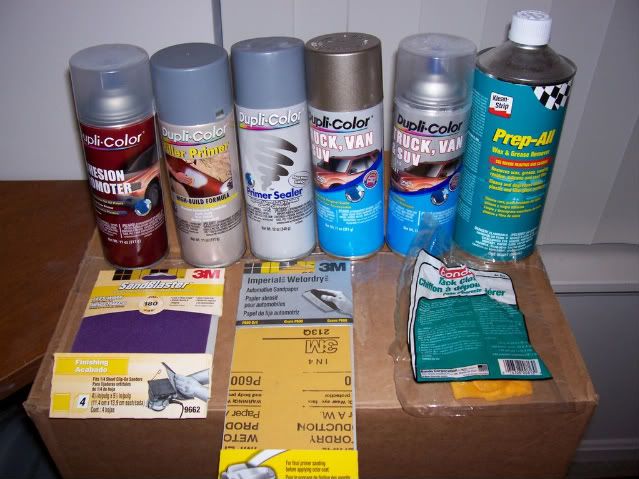
Materials Needed
- Wax and grease remover
- Lint-free cloth
- Tack cloth
- 400, 600 and 2,000 grit wet/dry sandpaper
- Dupli-Color Paint (adhesion promoter, filler primer, primer sealer, color paint and clear coat)
- 3M automotive tape
Step 1 – Clean the trim piece
- Remove all traces of dirt, debris or other contaminants from the trim using a high-quality trim and plastic cleaner. You can also use soap and water.
Pro Tip
Mother's Car Care and Meguiar's Quick Detailer Interior are the go-to brands for the Ford Mustang. Each is made with a patented, high-performance formula that delivers a "just detailed" look.
Step 2 – Sand the trim piece down
- Remove any trim panels that you wish to have painted.
- If you cannot remove the trim panel(s) due to its size, it's recommended that you mask off the surrounding area so you can prevent paint from landing on unwanted sections.
- Wet the trim with water and begin wet-sanding one section at a time using 400 grit sandpaper.
- Go over the entire trim for one pass.
- Wet the trim again with water, and then wet-sand the entire area once more using 600 grit sandpaper.
- Remove any remaining sanding residue using a wax as well as grease remover and a clean, lint-free cloth.
- Allow the trim to dry for 10 to 15 minutes. Make sure not to touch the trim from here on out with your bare hands.
- Tape off any areas you don't want painted.
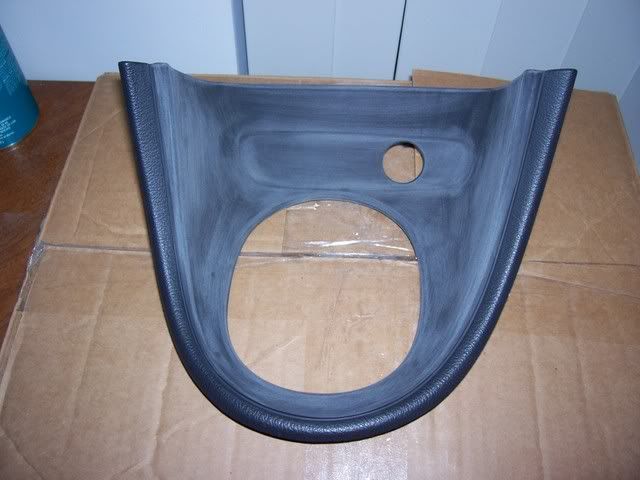
Step 3 – Prep the trim piece for color
- Apply a coat of adhesion promoter to ensure a strong bond between the primer and your trim.
- Apply two to three additional light coats using a steady and even motion.
- Allow the trim to dry for 10 to 15 minutes.
- Next, apply a filler primer to the trim using the same technique of adding light, even coats, and allow the trim to dry when you're done.
- Do the same for the primer sealer.
- You can wipe down the trim after each coat has completely dried using a clean tack cloth to remove any fallen dust.
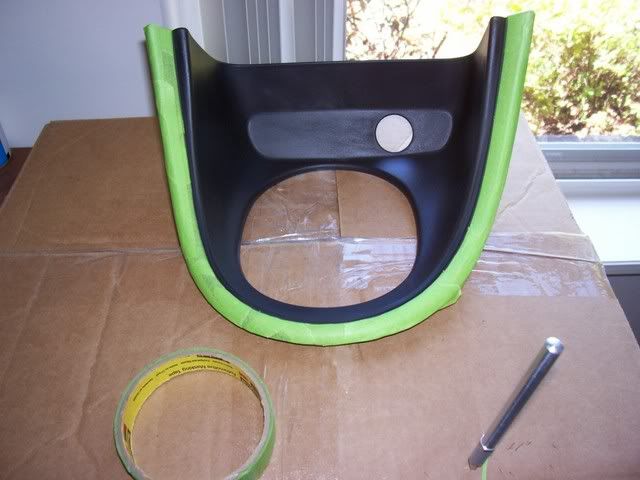
Figure 3. Apply adhesion promoter to the trim. 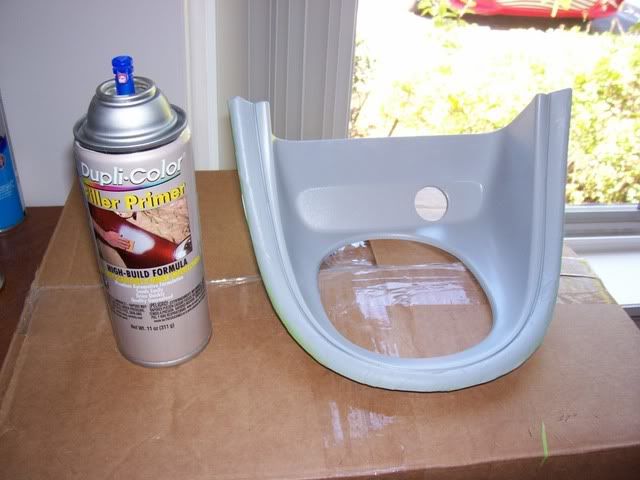
Figure 4. Apply the filler primer. 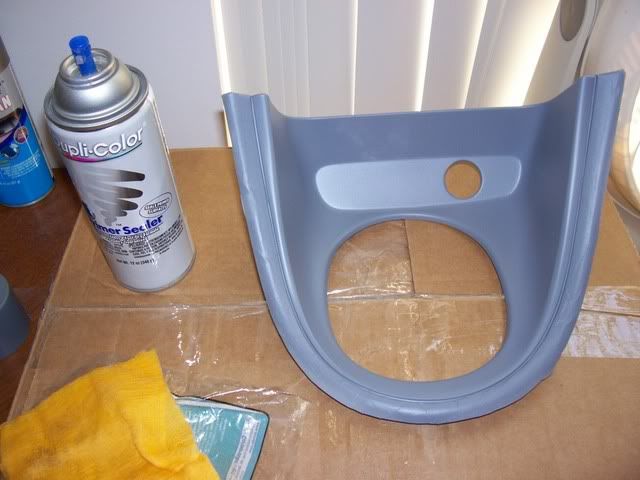
Figure 5. Apply a primer sealer.
Step 4 – Paint the trim piece
- Give the trim piece one last wipe down before adding your first color coat.
- Apply the color coat by spraying the trim evenly and lightly until the entire area is covered.
- Remember to cover all the edges, including areas between any creases or corners.
- Allow the color coat to dry.
- Wipe down the trim using your tack cloth. You can wet sand the trim using 2,000 grit sandpaper, but do so lightly.
- Apply your clear coat once the trim is completely dry, and then repeat for three to five coats. Allow the trim to dry.
- It could take up to three to five days for the paint to properly cure.
- Apply a spray wax after one to two weeks for a professional finish.
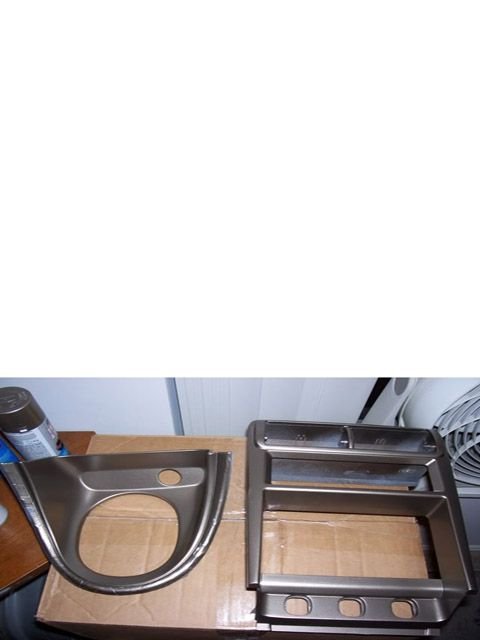
Figure 6. Apply a color coat of paint. 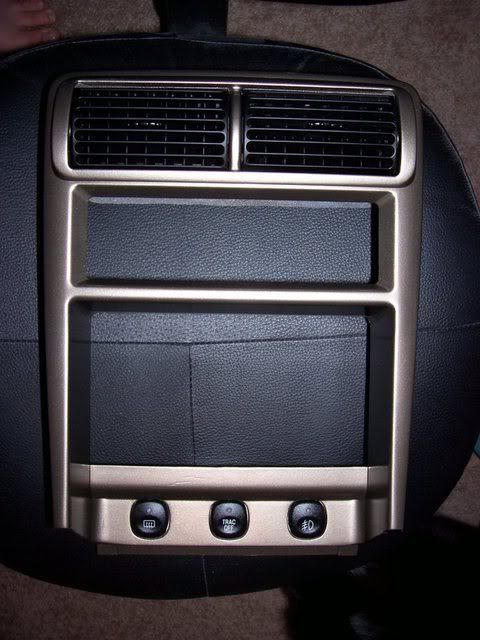
Figure 7. Painted head unit trim piece. 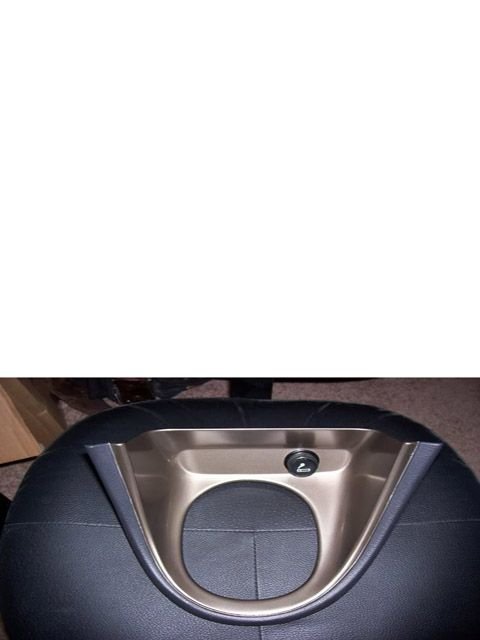
Figure 8. Painted center console trim piece.
Pro Tip
If any air bubbles appear during the drying process, allow the paint to dry, wet-sand the area, and repaint.
Related Discussions
- How to Paint Interior Trim - MustangForums.com
- Not Your Average Interior Swap - MustangForums.com