Ford Mustang V6 and Mustang GT 1994-2004: How to Repair Ignition Switch
Ignition switch repair work can be done at home with minimum tools.
This article applies to the Ford Mustang V6 and Mustang GT (1994-2004).
Fixing a problematic ignition does not necessarily require making a visit down to your local garage or Ford dealership. Using a few simple tools, you can fix the problem on your own, saving you hundreds of dollars in the process. In most cases, you will only be fixing a loose or missing pin in the steering shaft, which is easy once you know how to reach it and what steps to take to resolve the issue once and for all.

Materials Needed
- 13mm socket wrench
- 8mm socket wrench
- Torx bit 20, 27, 47
- Screwdriver
- Phillips screwdriver
- Zip ties
Step 1 – Disconnect and remove the battery
Pop the hood of your Mustang and remove the battery. To do this, you'll need to first loosen the nut on the negative connector (black), and then do the same for the positive connector (red).

Step 2 – Remove trim
- Using your 8mm socket wrench, remove the side front lower knee panel, located on the driver's side beneath the dashboard. Do the same for the column trim.
- Start from the bottom and remove all four screws, using a Phillips screwdriver.
- Push back the driver's side seat and kneel down beneath the dashboard.
- Remove the ignition module, which is located on the left-hand side of the column when facing your steering wheel and dashboard; you can't miss it.
- Disconnect the two connections that you see. Don't use force, however.

Figure 2. Remove the trim completely. 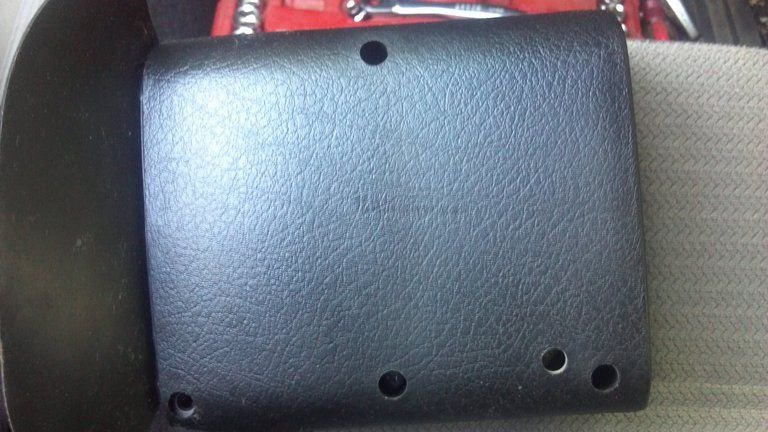
Figure 3. This is the column panel. 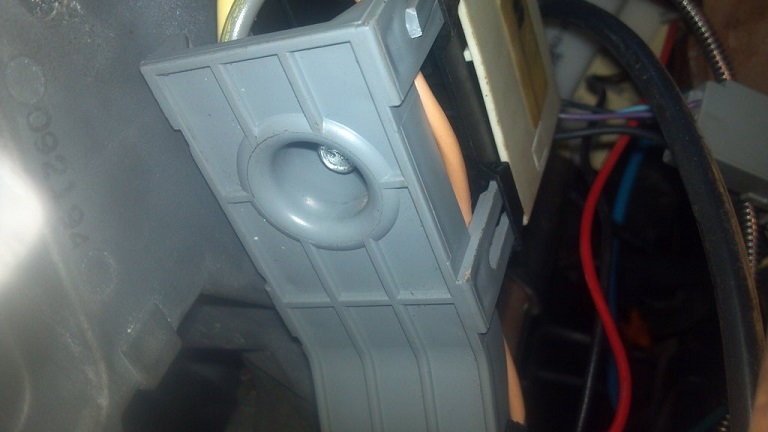
Figure 4. Unscrew, and then pull away the ignition module. 
Figure 5. One of the connections is for the driver's side air bag.
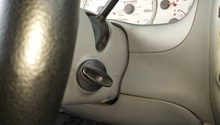
Step 3 – Insert your key into the lock cylinder
- Insert your key into the lock cylinder, and then turn it clockwise to turn it on.
- Using the tip of a small screwdriver, push in the button located on the bottom-side of the lock cylinder to release it.
- Remove the lock cylinder by hand once it's loosened.
- Pull off the upper portion of the trim.
- Using torx bit 20, remove the turn signal switch.
- Using torx bit 47, disconnect the steering shaft from the steering assembly by removing the connecting bolt.
- Disconnect all remaining connectors, so electricity is not able to flow to the area while you work.
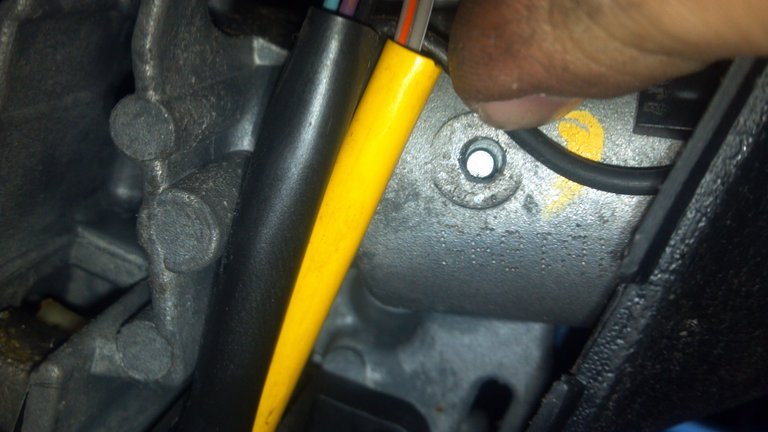
Figure 6. Your key goes directly into the lock cylinder. 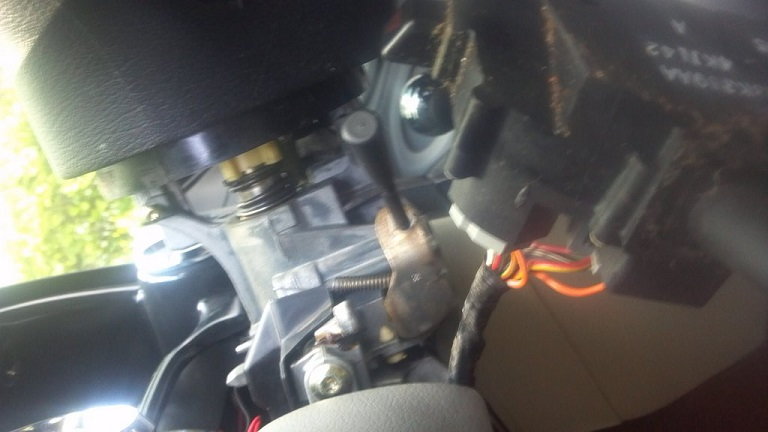
Figure 7. Remove the upper panel by hand. 
Figure 8. All connectors should be disconnected at this time.
Step 4 – Remove the steering wheel assembly
- Remove the steering wheel assembly from the dashboard by loosening the four connecting bolts.
- You'll need a 13mm socket wrench to remove the assembly, and then you'll need to support it while pulling it away from the dashboard.
- Take the assembly apart bolt by bolt, using torx bit 27.
- Make sure the steering wheel doesn't spin wildly while you work. As well, it's recommended that you secure the clock spring under the airbag to protect it from damage.
- Remove the two bolts located on the bottom of the steering wheel, using the same tox bit.
- There is a small retaining spring; remove it.
- Slide the shaft out of the assembly by hand, but don't allow the steering wheel to spin.

Figure 9. Take the steering wheel assembly apart. 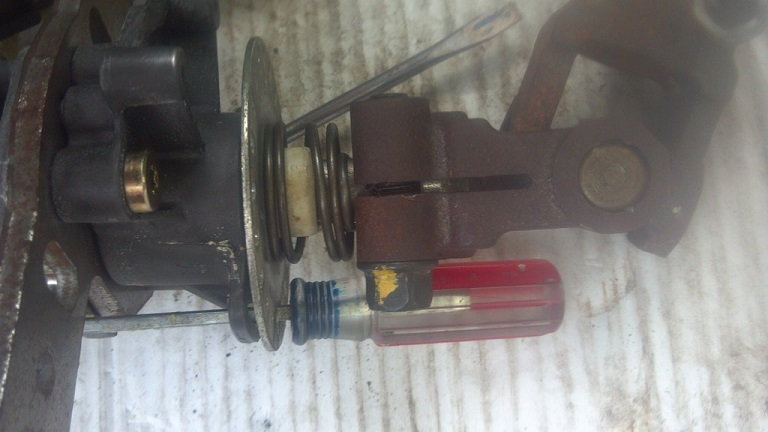
Figure 10. Use a torx bit 27 to remove the bolts here. 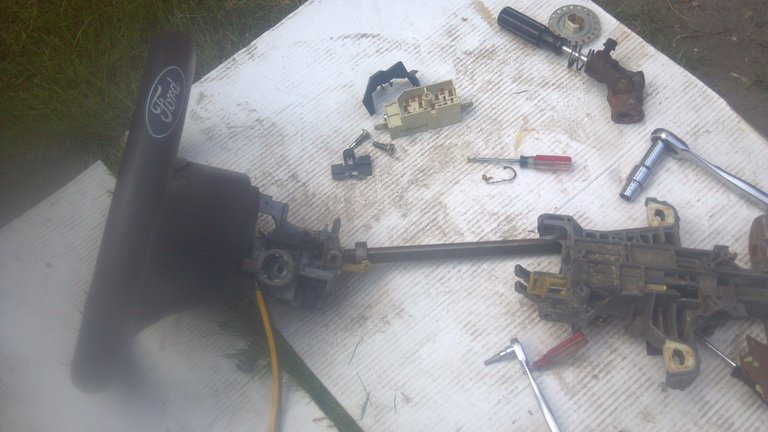
Figure 11. Slide the shaft out of the assembly.
Step 5 – Check the pin
- The likely culprit is the pin that holds the two plastic shafts together has come out.
- This pin is important because it fits within the slider and engages the engine module so your ignition works.
- Remove the ignition module using torx bit 20 to access the lower plastic slider.
- Insert the pin into the upper portion. Doing so will combine the lower and upper portions as one, so they work freely together without further incidence.

Figure 12. Did your pin come out? 
Figure 13. This pin is very important. 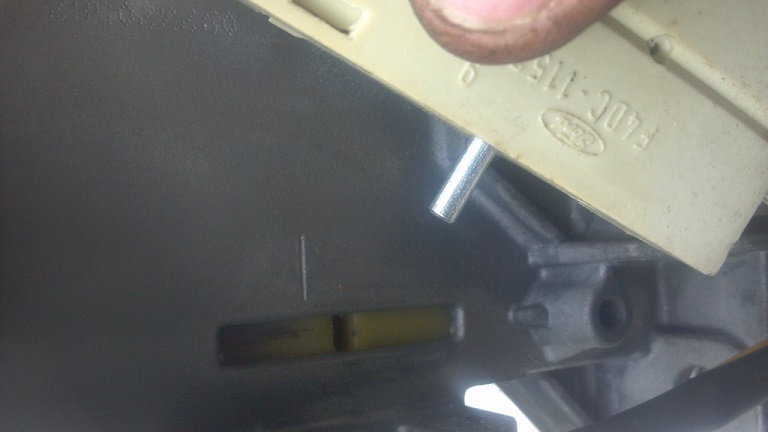
Figure 14. Remove the ignition module. 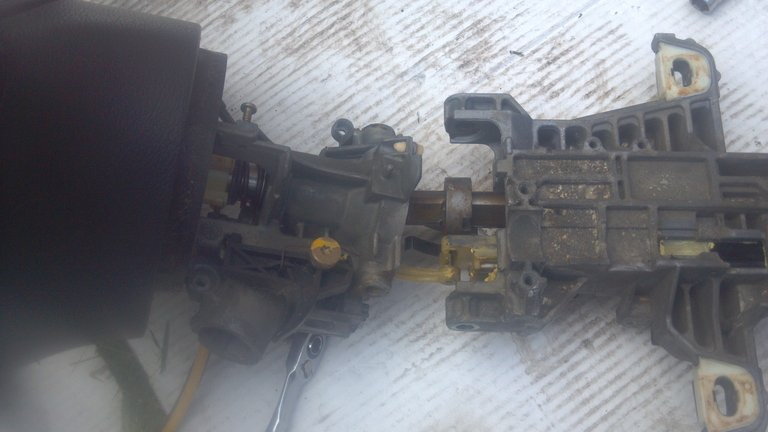
Figure 15. Combine both portions.
Step 6 – Reassemble the steering wheel
- Reassemble the steering wheel, moving in reverse order of how you disassembled it.
- Combine the upper and lower portions of the tilt joint and then reinstall all of the bolts.
- Reinstall every part that you've removed, including bolts, washers and retaining springs.
- Finish by bolting the assembly together.
- Fit the assembly back into the dashboard, making sure the steering shaft is fully aligned and all your connectors are jointed together.
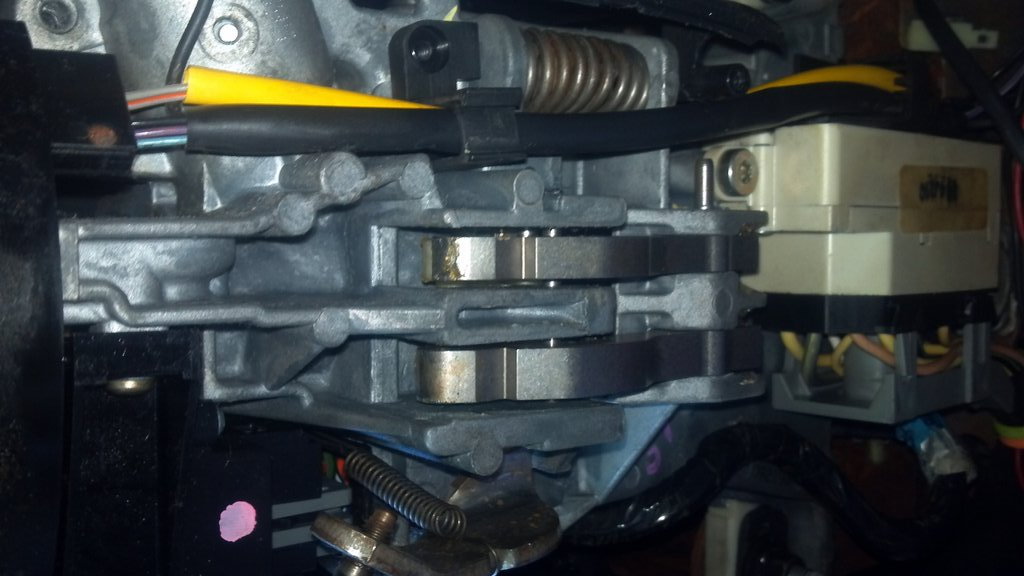
Figure 16. Finish up the job! 
Figure 17. You're almost done!
Related Discussions
- DIY Ignition Repair - MustangForums.com
- Ignition Switch Wiring Diagram - MustangForums.com
- Starter Problems/Ignition - MustangForums.com