Ford Mustang V6 and Mustang GT 2005-2014: How to Install Radar Detector
In this article, we will go through wiring a radar detector to your Ford Mustang. Read on to learn how to do it and stay a step ahead.
This article applies to the Ford Mustang V6 and GT (2005-2014).
The Ford Mustang is a beast of a car, so while you think you can always watch your speed, you will always want to step on the gas pedal and just do what the Mustang was intended to do. The best thing to do is to pay attention to your speed; however, the second best thing is to install a radar detector in your car. The radar detectors come ready, and all that you need to do is wire it. That is, of course, if you want to run it on the battery, in which case its reliability factor decreases. Radar detectors are legal in all states except Virginia and Washington DC. Note that radar jammers are illegal in all 50 states; this article addresses radar detectors.


Materials Needed
- Pliers
- Flat head screwdriver
- Wire stripper
Step 1 – Install radar detector
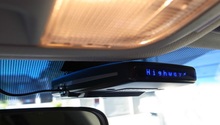
Radar detectors either come with a suction cup so it can mount to the windshield, or a clip that connects to the rearview mirror. Attach it to the windshield or your mirror.

Figure 2. Suction cup. 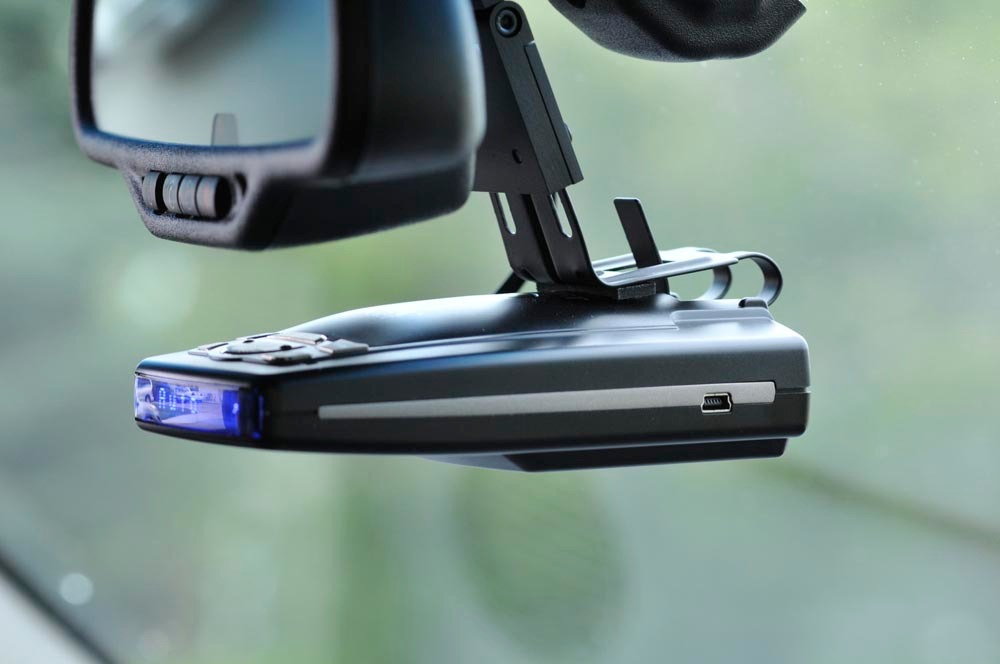
Figure 3. Mirror clip.
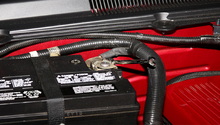
Step 2 – Run wire to fuse box
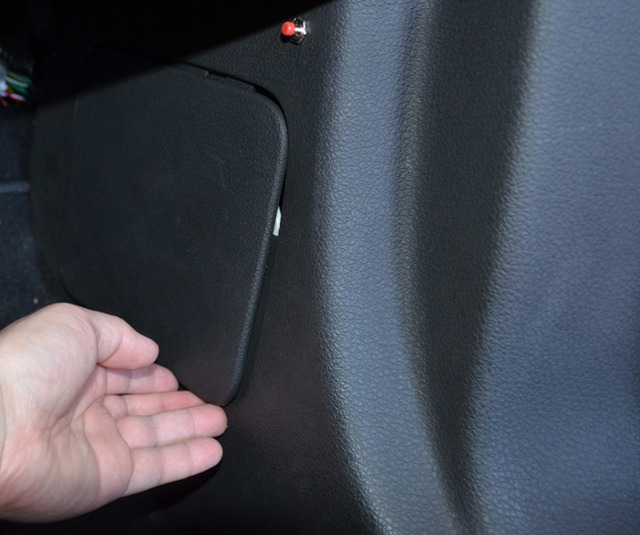
Run the wire from the radar detector to the fuse box. You can tuck it in between the windshield and the dashboard, running it along side both and down to the fuse box on the passenger's side floor board.
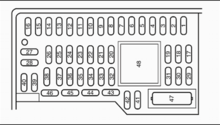
Step 3 – Connect wire to fuse
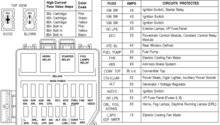
This is the part where you hard-wire your radar detector. Look on the inside of the fuse box cover, and pick a fuse that is only on when the car is on, like the radio for instance.
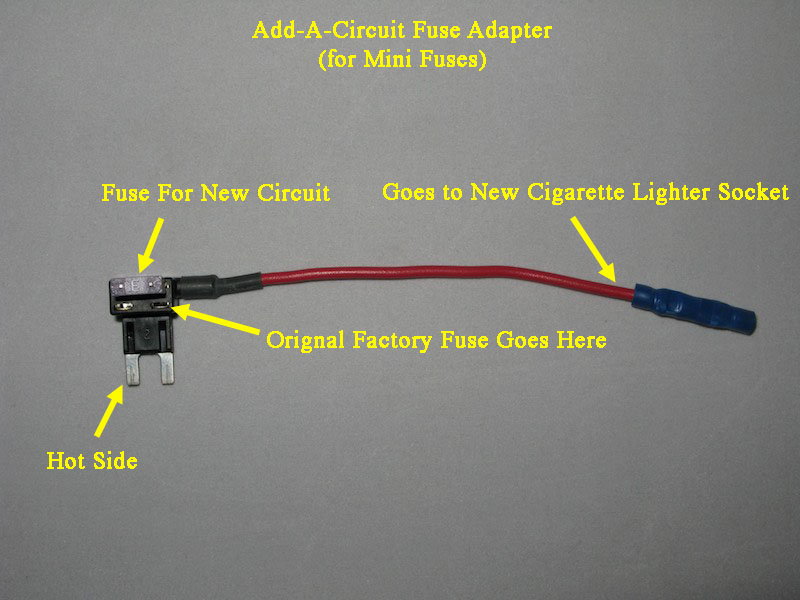
Remove the fuse you just picked and put the hard-wire into it. When it's connected into the fuse, put it back in its slot. Turn the car on and test your new radar detector. Most detectors come with an add-a-circuit adapter, which makes the process rather easy.
Related Discussions
- Radar Detector Install - MustangForums.com
- Radar Detector Installation - MustangForums.com