Official Build/Rebuild Thread of my 69FB
 03-27-2013, 09:04 PM
#81

(Blows the dust off the thread)
Okay been awhile since I have had anything to update about my project, but I finally got some good news...
I finished paying off the car and even had some money from my birthday to put towards the car.

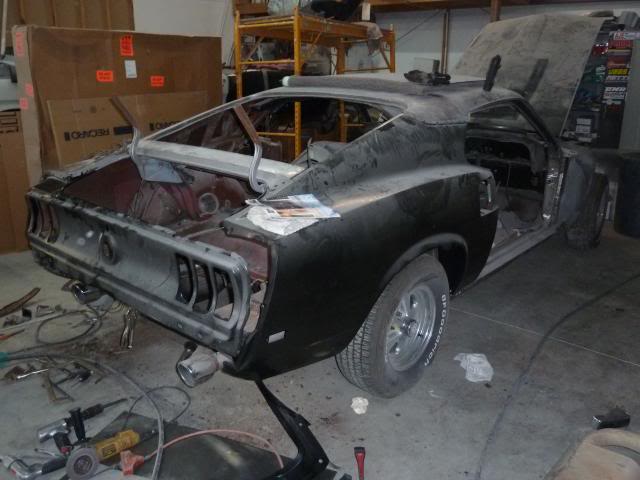
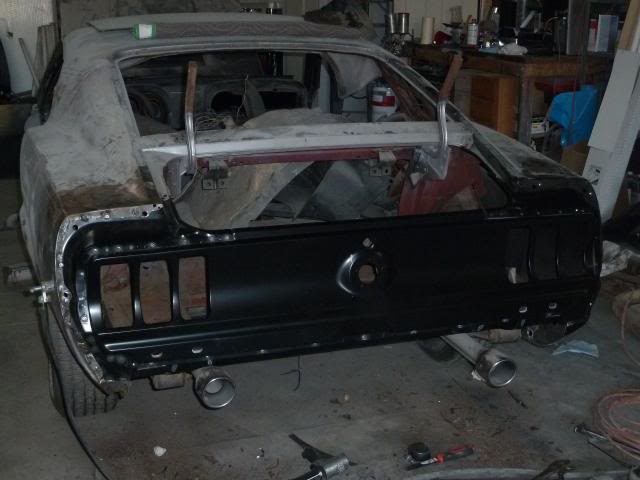
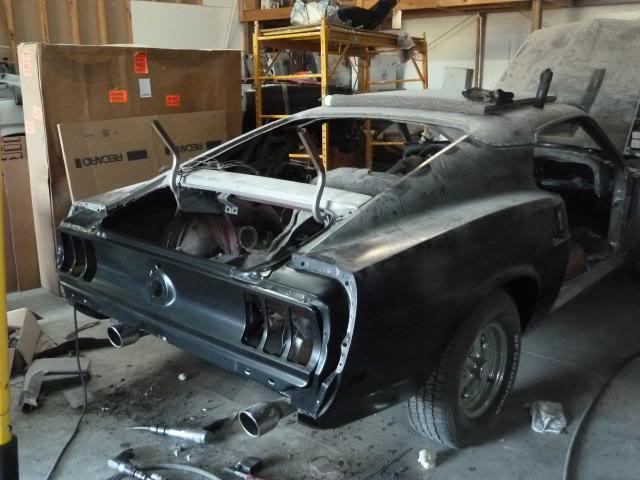
This is the back of my car as it sits today. They cut out the rest of the rot and started putting in the new sheetmetal. In hindsight I should have gotten a picture of what was there today but I will post that later.
The left side is welded in place and looks great. If I had the tools and knowledge I'd love to do it myself but I'm glad to have friends that have the skills to do it right.
Tail panel mocked up
Right side has not been done but I'm happy to have progress being done, especially since funds are low with me in school still.
Gas tank had rust in it. I know it's a shock but instead of waiting for something to happen to the engine due to the amount of rust we're going to replace it. The owner of the shop has a 65-68 gas tank he would put in and we can swap it out when I go with EFI later on, or I can just buy a new 69 tank (since they are not real expensive) and use it till we're closer to swapping. Oh the trunk lid was rusted as well so next time he has a big order he's going to add the trunk lid so he doesn't have to charge me shipping.
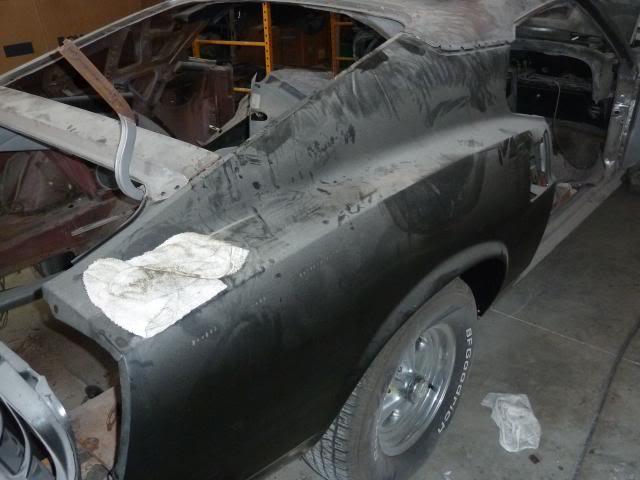
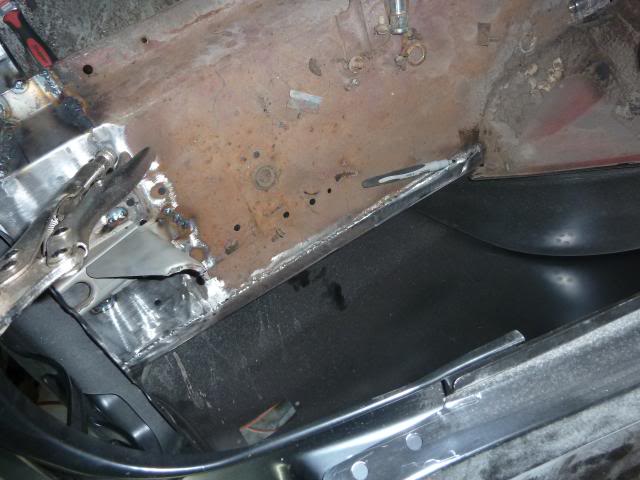
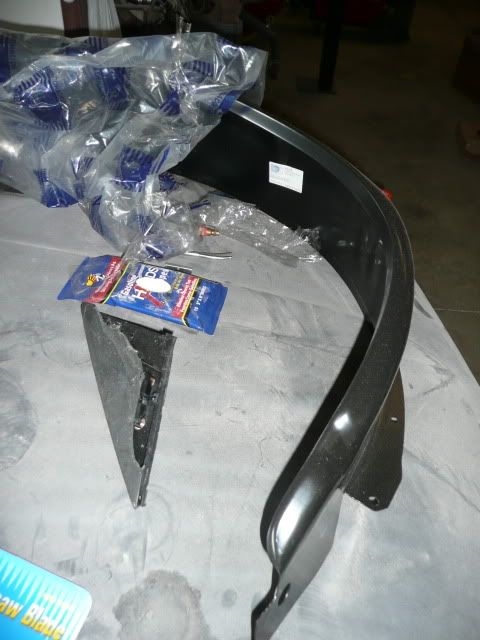
New bracket extension. The piece that was their looked terrible but he's got this fixed and looking shiny. I tend to like the shiny things better anyways.
I will post more as soon as I can. Hoping to have it done for the 50th Mustang Anniversary and head to Charlotte NC next April. If not I'll ride shotgun in my brothers 07 Shelby GT/SC.
Next step after getting the tail panel in is to clean up the entire trunk and start Dynamating it.
Okay been awhile since I have had anything to update about my project, but I finally got some good news...
I finished paying off the car and even had some money from my birthday to put towards the car.
This is the back of my car as it sits today. They cut out the rest of the rot and started putting in the new sheetmetal. In hindsight I should have gotten a picture of what was there today but I will post that later.
The left side is welded in place and looks great. If I had the tools and knowledge I'd love to do it myself but I'm glad to have friends that have the skills to do it right.
Tail panel mocked up
Right side has not been done but I'm happy to have progress being done, especially since funds are low with me in school still.
Gas tank had rust in it. I know it's a shock but instead of waiting for something to happen to the engine due to the amount of rust we're going to replace it. The owner of the shop has a 65-68 gas tank he would put in and we can swap it out when I go with EFI later on, or I can just buy a new 69 tank (since they are not real expensive) and use it till we're closer to swapping. Oh the trunk lid was rusted as well so next time he has a big order he's going to add the trunk lid so he doesn't have to charge me shipping.
New bracket extension. The piece that was their looked terrible but he's got this fixed and looking shiny. I tend to like the shiny things better anyways.
I will post more as soon as I can. Hoping to have it done for the 50th Mustang Anniversary and head to Charlotte NC next April. If not I'll ride shotgun in my brothers 07 Shelby GT/SC.
Next step after getting the tail panel in is to clean up the entire trunk and start Dynamating it.
 03-28-2013, 01:10 PM
#83
4th Gear Member
Join Date: Apr 2010
Location: Madison, Georgia
Posts: 1,643
Great to hear news of an update! Looks like things are going smoothly! I know you were beating yourself up on the price and issues you had in the past, but you're damn sure doing this car right! Leaving it to the guys who have the skills is definitely a good idea. Wish I could afford that. 
But you picked the perfect year car. '69FB is my favorite mustang, and I wish I could own one. So just rest assured that even though you might have a good chunk of change in this car and the repairs, you are going to have a BEAUTIFUl car in the end. I'm seriously jealous of the car as you have it sitting now!
Keep up the good work!
03-28-2013, 02:42 PM
#84
Thanks Hightower. 69 is my favorite year for the mustang as well. I like all the 65-70 models but something menacing about the larger 69-70 models. I have the parts paid for and these guys are great.
Plan currently is to get everything back together with the parts I've already paid for and drive it while I save up for the fun stuff. They cut me deals and I'm even learning some things from them so I can say I helped. I plan on taking some mechanics classes or helping them out on the weekends when I'm done with school and back at work.
I bought an 2004 4.6L engine block from them but have decided (much later down the road) to drop a newer Coyote engine in for power.
Like I stated earlier I'm hoping to be able to drive it to Charlotte next April.
03-28-2013, 07:21 PM
#85
Okay more progress today.
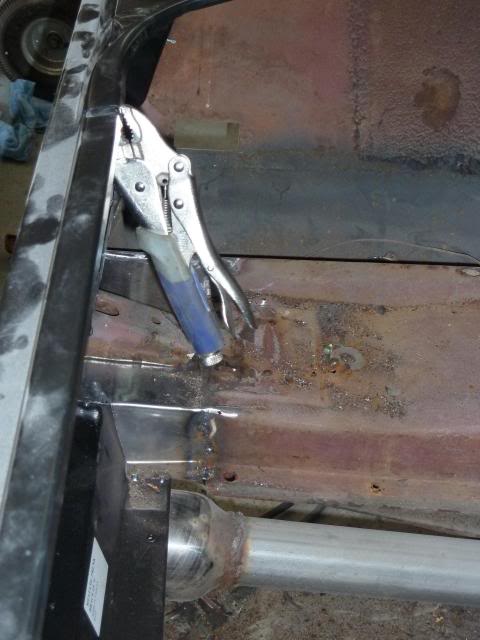
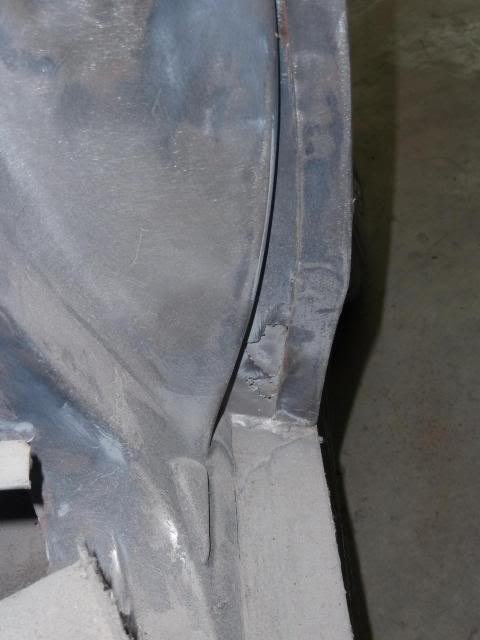
Tail panel is welded in now. They had to create an extension on the right side as well.

They had to create the edge here to make sure everything fit well.
Beautiful spot welds on the right side of the tail panel
And along the bottom edge.
Tail panel sitting pretty now.
Next step is to get the passenger door on to line up the quarter panel and inner wheel housing for welding.
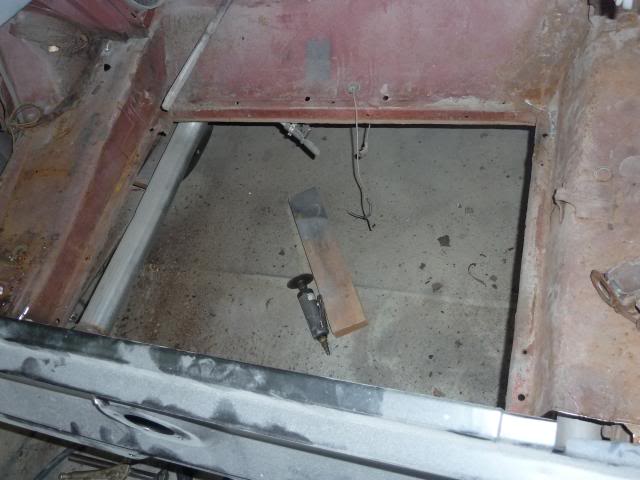
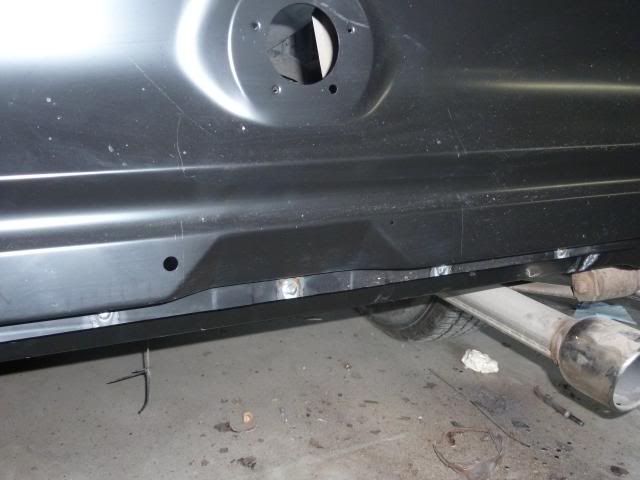
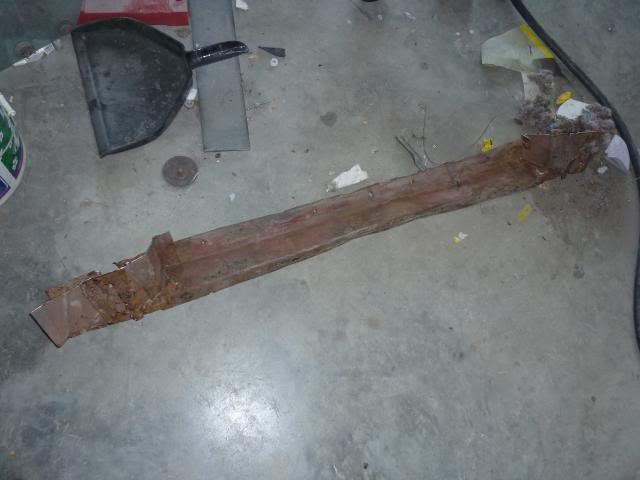
Since I did not get a picture of it yesterday here is the rear cross member that was cut out and replaced.
Tail panel is welded in now. They had to create an extension on the right side as well.
They had to create the edge here to make sure everything fit well.
Beautiful spot welds on the right side of the tail panel
And along the bottom edge.
Tail panel sitting pretty now.
Next step is to get the passenger door on to line up the quarter panel and inner wheel housing for welding.
Since I did not get a picture of it yesterday here is the rear cross member that was cut out and replaced.
04-01-2013, 01:48 PM
#86
5th Gear Member

Join Date: Aug 2006
Location:
Posts: 2,447
I promised pictures here are some of the inner wheelhousing, dynaliner and stereo equipment going into the car.
Here is the inner wheelhousing
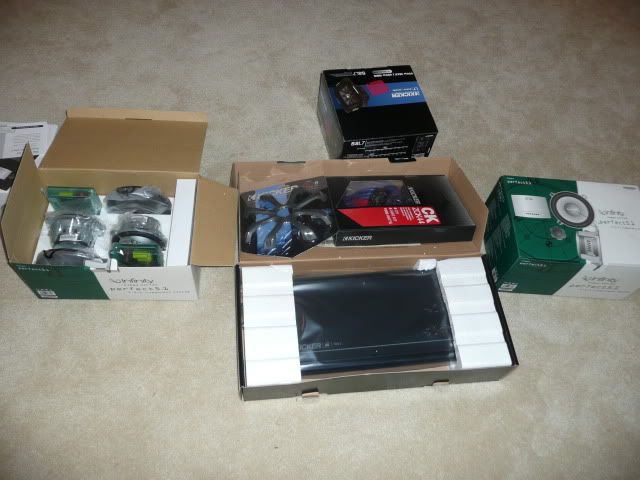
Kicker 5 channel amp, 8" subwoofer and wiring kit. Infinity Kappa Perfect component speakers. When I do get to drive it again if I ever get tired of listening to the engine I will have some nice music to turn to.
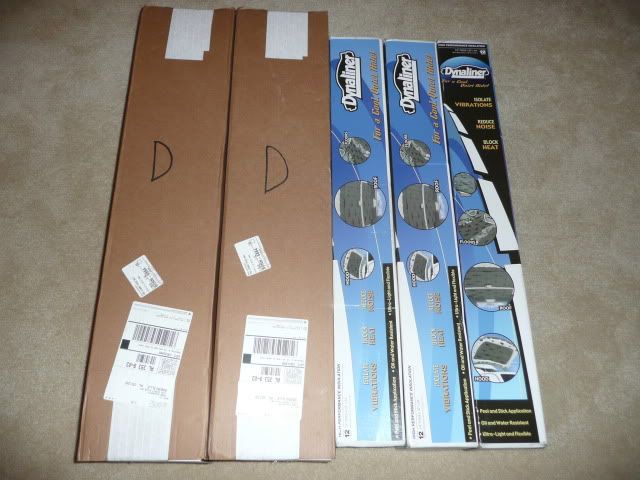
Dynaliner both 1/2" and 1/4". Never done so much to one car but I'm hoping it pays off in the end. This stuff is expensive even with the deep discount I got.
Here is the inner wheelhousing
Kicker 5 channel amp, 8" subwoofer and wiring kit. Infinity Kappa Perfect component speakers. When I do get to drive it again if I ever get tired of listening to the engine I will have some nice music to turn to.
Dynaliner both 1/2" and 1/4". Never done so much to one car but I'm hoping it pays off in the end. This stuff is expensive even with the deep discount I got.
 04-03-2013, 07:28 PM
#90
Thanks NoReigns. Been eagerly keeping up with your thread to see the fruition of your project.
A few more updates today.
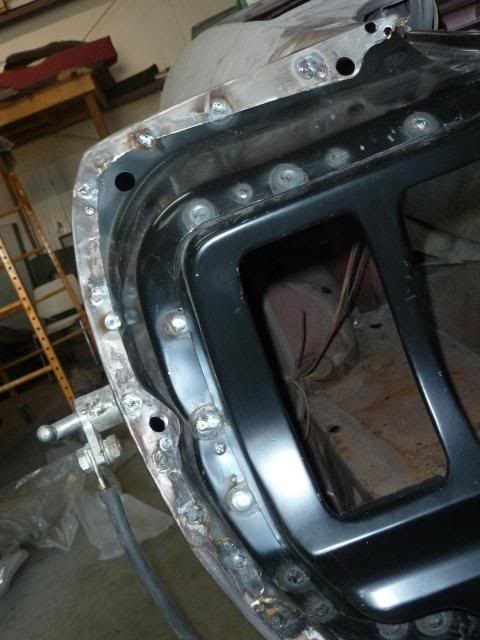
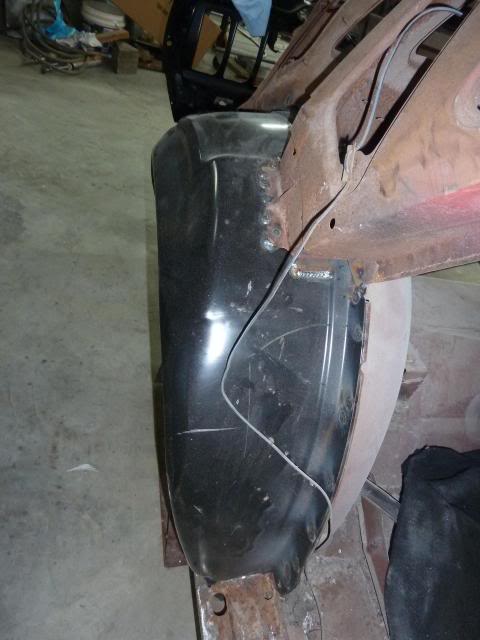
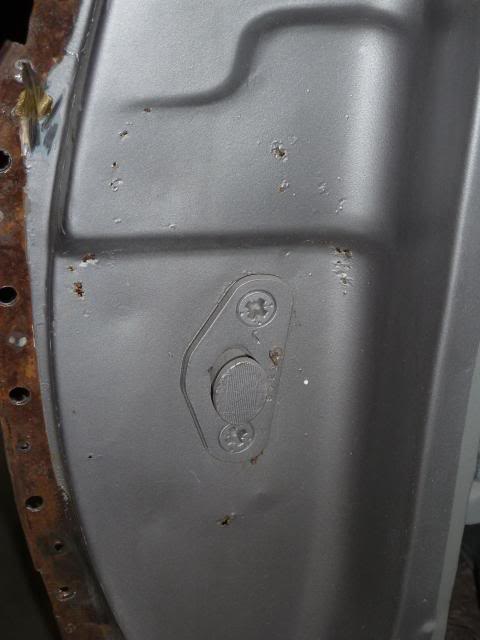
Inner Wheelhouse welded in place.
Passenger Door Jam repair.
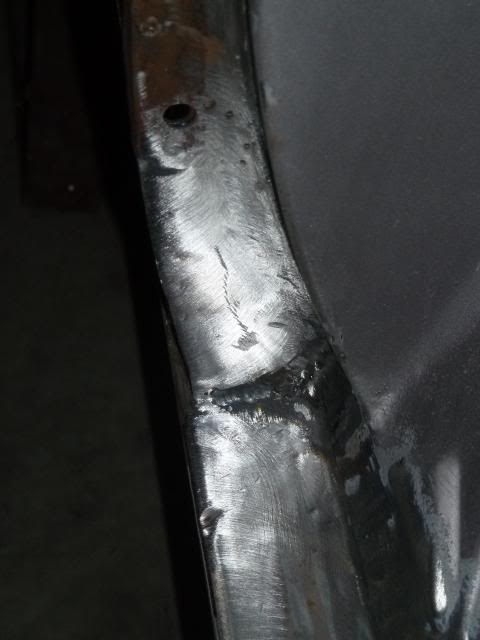
Still have some work to do on the passenger door jam. You can see a few rust holes peeking out.
Drivers side is going to need some work as well.
A few more updates today.
Inner Wheelhouse welded in place.
Passenger Door Jam repair.
Still have some work to do on the passenger door jam. You can see a few rust holes peeking out.
Drivers side is going to need some work as well.