66 coupe resto - redstang
 08-27-2010, 07:57 PM
#1
4th Gear Member
Thread Starter

Join Date: Apr 2010
Location: NJ
Posts: 1,027
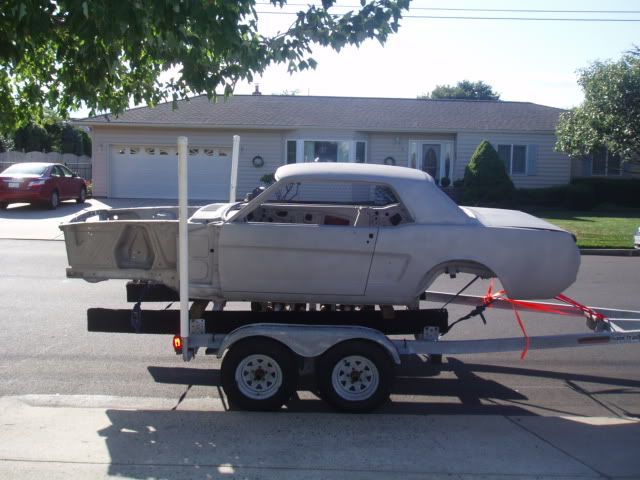
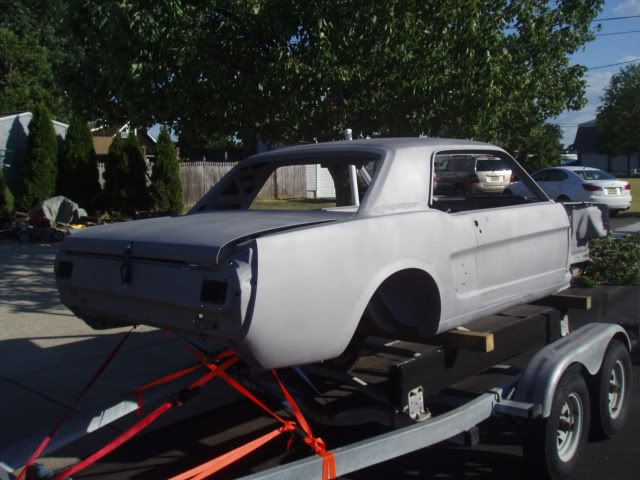
Had some time tonight so I thought I would get the thread going on our 66 resto project. Took delivery of the car at the beginning of summer.
Here is what she looked like when we rolled her off the tailer. Not bad but we're taking her down to bare metal.
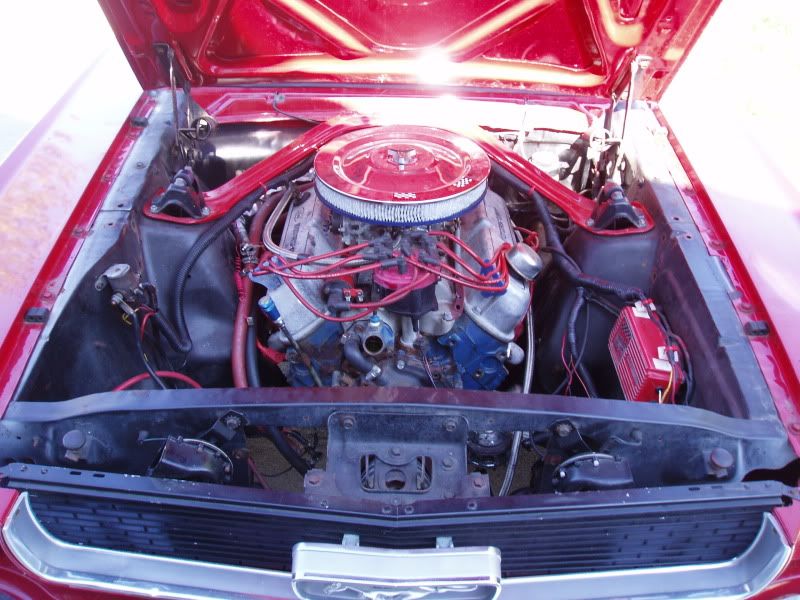
Blown 289
Here is what she looked like when we rolled her off the tailer. Not bad but we're taking her down to bare metal.
Blown 289
Last edited by mr_velocity; 09-13-2010 at 01:18 PM.
 08-27-2010, 08:01 PM
#2
4th Gear Member
Thread Starter
Join Date: Apr 2010
Location: NJ
Posts: 1,027
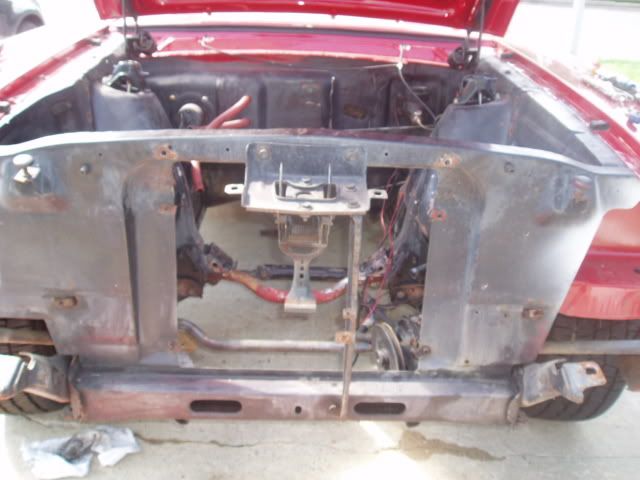
First step was getting the motor and trans out
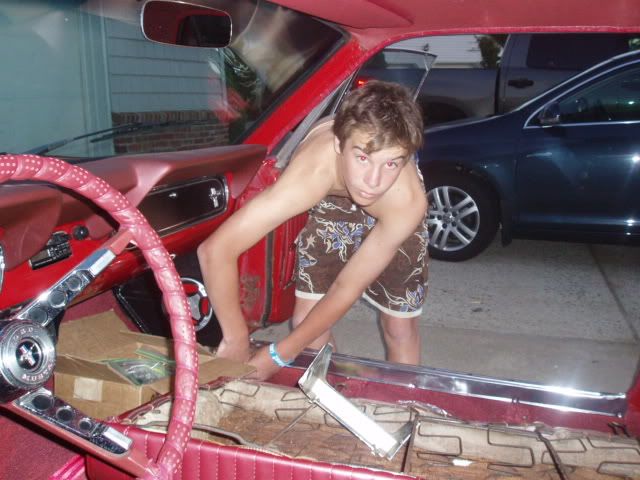
My son hard at work stripping the inside. He better work since its his car.
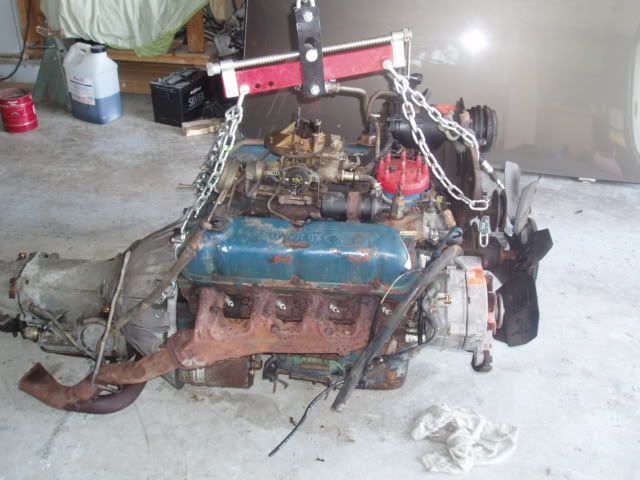
Here's the 351w we thought we were going to rebuild and put into the car. Plans do change
My son hard at work stripping the inside. He better work since its his car.
Here's the 351w we thought we were going to rebuild and put into the car. Plans do change
Last edited by mr_velocity; 09-15-2010 at 02:47 PM.
08-27-2010, 08:04 PM
#3
4th Gear Member
Thread Starter
Join Date: Apr 2010
Location: NJ
Posts: 1,027
Fast foward a bit, here she is just back from Hyers and media blasting.
Quickly got a couple of coats of Dupont zinc chromate epoxy on her. Too bad you can't buy this product anymore, its tough and one of the best primers to fill over.
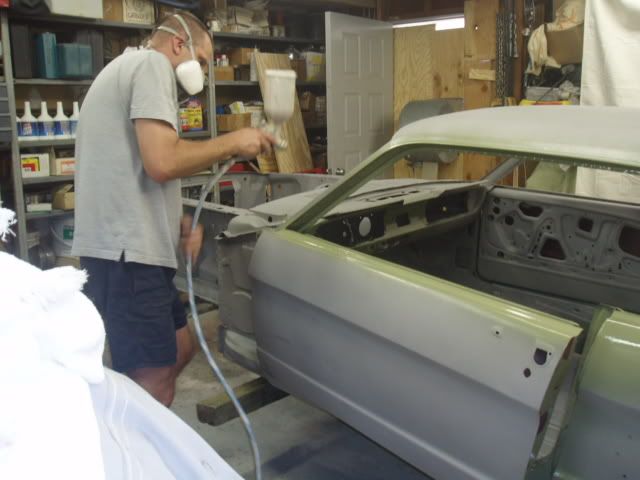
Quickly got a couple of coats of Dupont zinc chromate epoxy on her. Too bad you can't buy this product anymore, its tough and one of the best primers to fill over.
08-27-2010, 08:09 PM
#4
4th Gear Member
Thread Starter
Join Date: Apr 2010
Location: NJ
Posts: 1,027
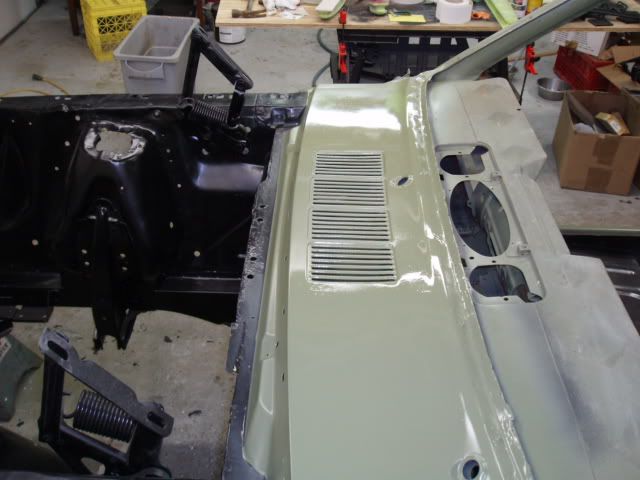
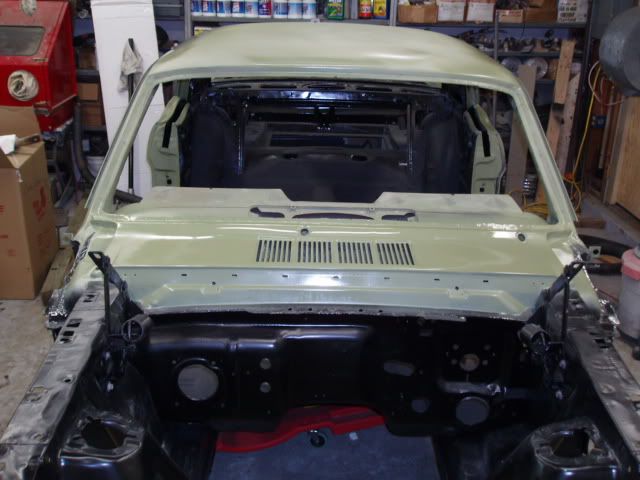
After welding in the SpinTech subframe connectors flipped the car on it side to paint the bottom with POR15 (2 coats) followed by SEM bed liner.
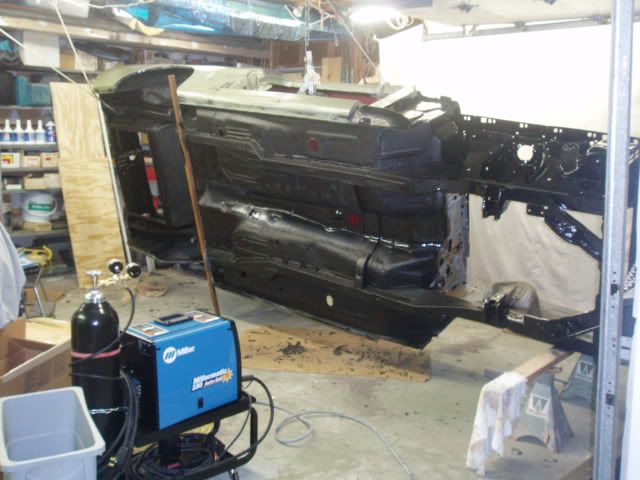
Forgot about the torque boxes so we had to go back and weld them in too.
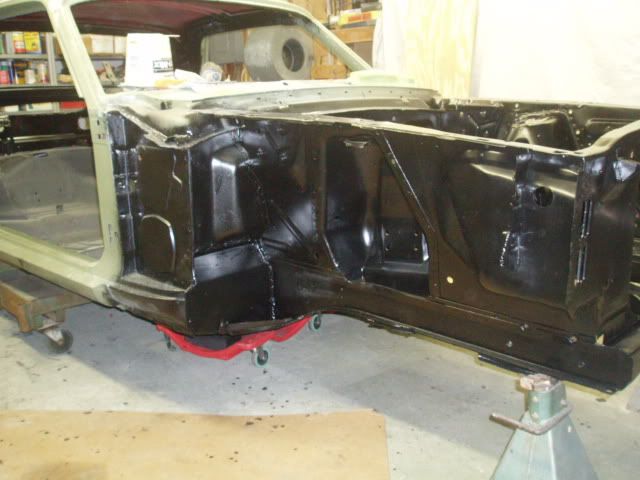
Engine bay also POR15 followed by POR Chassis black
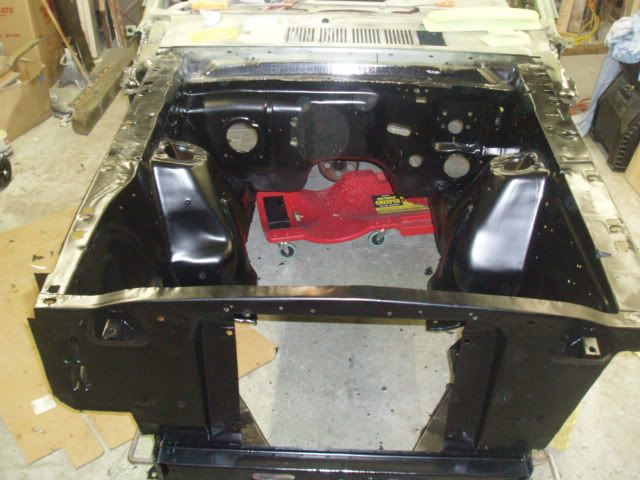
Floor as well as everywhere I could reach got POR15, the floor then got a few coats of Lizard Skin
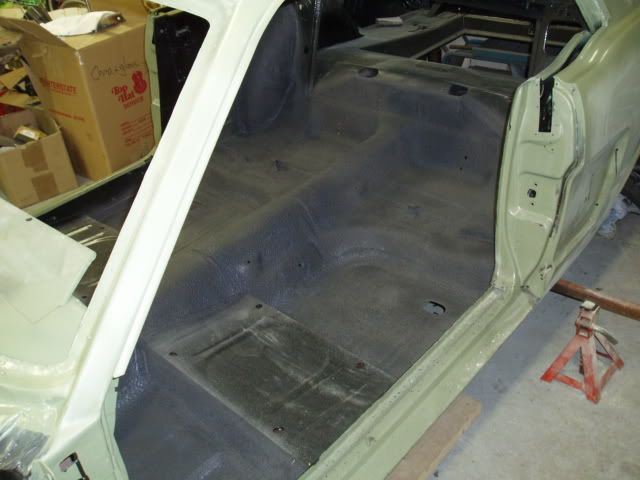
Even the roof

Forgot about the torque boxes so we had to go back and weld them in too.
Engine bay also POR15 followed by POR Chassis black
Floor as well as everywhere I could reach got POR15, the floor then got a few coats of Lizard Skin
Even the roof
08-27-2010, 08:13 PM
#5
4th Gear Member
Thread Starter
Join Date: Apr 2010
Location: NJ
Posts: 1,027
The previous owner had cut open the cowl and replaced all the rot. I wanted to get back in there to clean things out, add POR15 to everything as well as SEM epoxy seam sealer. We cut out the 2 end vents then just filled the holes in. Was just enough access to do what I need to get done.
Not original but I think she looks ok missing 2 vents.
Not original but I think she looks ok missing 2 vents.
Last edited by mr_velocity; 08-28-2010 at 08:14 AM.
08-28-2010, 01:23 PM
#7
3rd Gear Member
Join Date: Jul 2009
Location: Smyrna, TN
Posts: 678
Man, wish I would have gone to the bone with mine now, full media blast, etc. My biggest regeret was not doing my engine bay/frame with POR15, test fitted the engine/headers and now have scratches showing the gray primer under the black all over the engine bay. Never would have been able to scratch the POR15 and with a top coat of black over POR it won't be obvious if you scratch your top coat.
You're doing it right the first time!
Jon
You're doing it right the first time!
Jon
08-31-2010, 10:14 PM
#8
4th Gear Member
Thread Starter
Join Date: Apr 2010
Location: NJ
Posts: 1,027
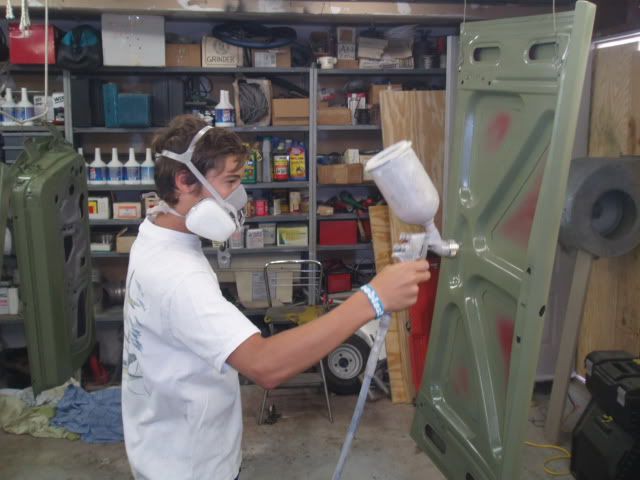
Had a chance to shoot the test panel for the paint with my new Iwata LPH400 gun. Wow, what a difference over my old Devilbiss JGA gun. I've never had paint lay out that flat before, this has to be one of the best investments I've made to date in tools......maybe not but its up there.
Having a tough time getting a good picture of the panel so everyone can see the color. 2 coats of base covered perfectly and it looks like 4 coats of mid get us to the color we want. Just to finish things off sprayed 2 coats of clear on it.
Now I just have to get through all this body work. Looks like Earl will wash out this weekend but it will give me a chance to get the new compressor (Quincy QR-325) hooked up......if the deal doesn't fall through.
09-02-2010, 10:55 AM
#9
4th Gear Member
Thread Starter
Join Date: Apr 2010
Location: NJ
Posts: 1,027
Always looking for an excuse to buy new tools and the mustang is as good a reason as any. Got my new Quincy home last night, all 700lbs of her. Hopefully I'll get it bolted to the floor this weekend.
