3d Carbon Fender Vents


 06-18-2009, 10:31 PM
#22
1st Gear Member
Join Date: Jun 2008
Location: Cybertron
Posts: 136
no...Im not going to mold them in. They will be installed as intended and fron the looks of it I think we will be pretty happy.
I marked the grates prior to paint so I could reinstall with no issues.
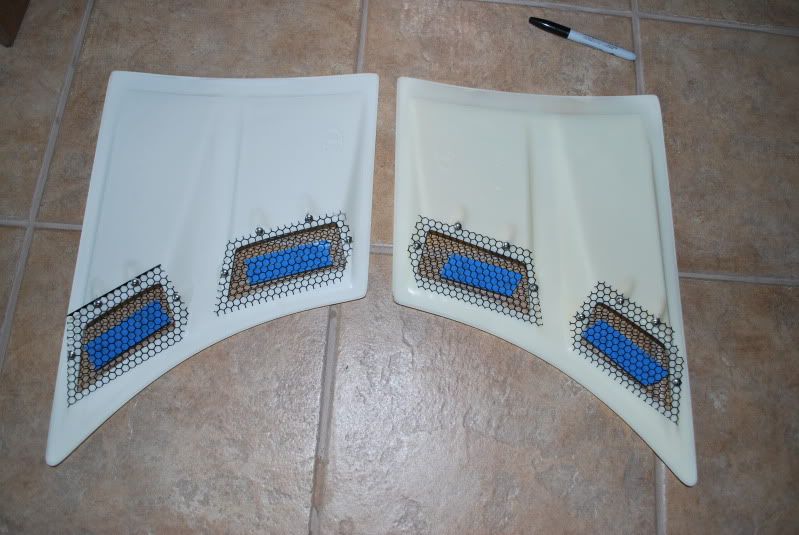
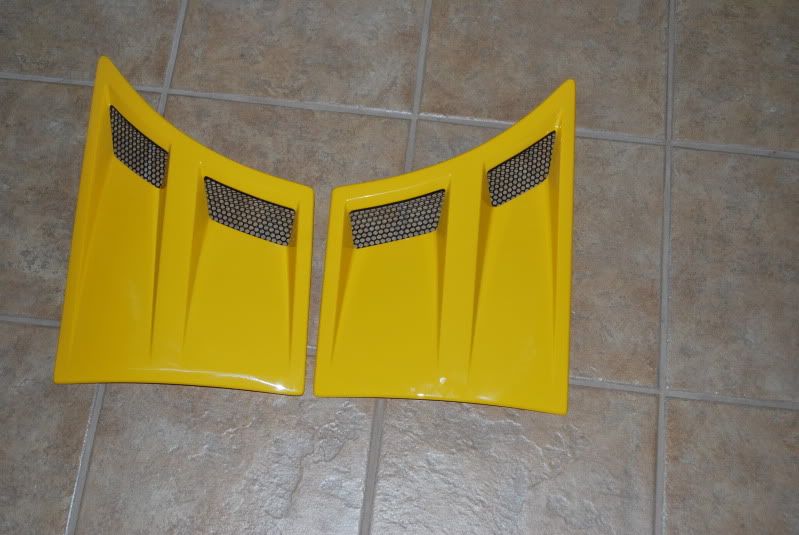
Painting is done!!
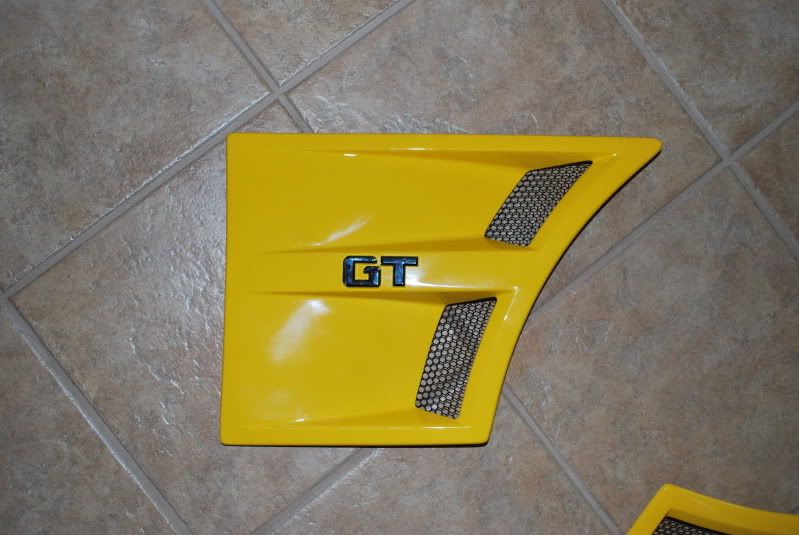
I was playing around with a smaller GT....but I dont think Im digging it.

Install is next.
I marked the grates prior to paint so I could reinstall with no issues.
Painting is done!!
I was playing around with a smaller GT....but I dont think Im digging it.
Install is next.
 06-19-2009, 11:11 AM
#25
1st Gear Member
Join Date: Jun 2008
Location: Cybertron
Posts: 136
Im contacting my airbrush guy...but it may cost too much and delay the install by months.
Yes he is that busy.
Ill see what he says but Im guessing it will cost too much to do.
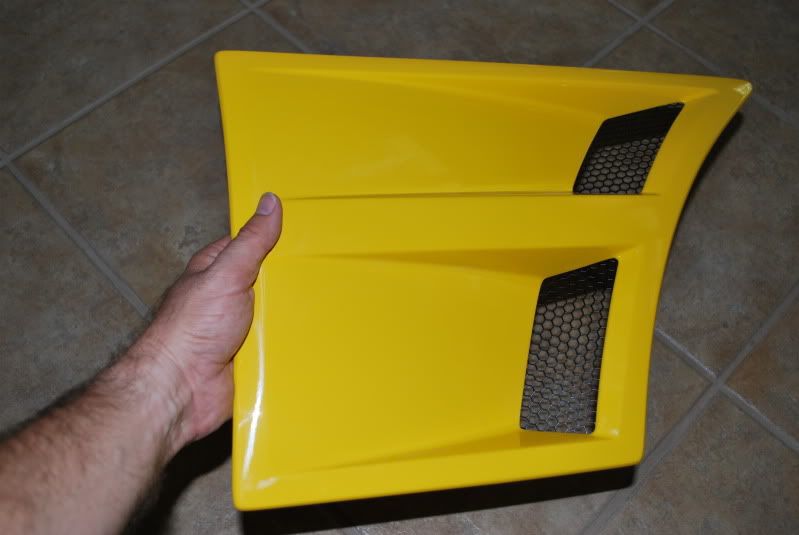
I only have 1-1/4" of height right there.
Yes he is that busy.
Ill see what he says but Im guessing it will cost too much to do.
I only have 1-1/4" of height right there.
06-19-2009, 04:06 PM
#26

Join Date: May 2009
Location: Arizona
Posts: 29
Tip for making the aftermarket 3D vents fit perfectly flush.
Before painting them ( or after since they are painted )... use a grease pencil on the car body. Fit the part up against the body and slightly wiggle it, not a lot but some. Now look at the backside of the part, see where the grease pencil transfered some color to the vent and did not transfer in other areas.. the areas where it transfered use a ridged sanding block with 220 grit sandpaper to sand down those areas that do have grease pencil marks. Little by little keep repeating until they fit up against the fender perfect.
If the grease pencil does not transfer then 320 wet sand the back edges of the 3D vent beforehand, try again.
wd-40 will safely remove the grease pencil marks from the paint if it is gloss paint. I never tried wd on matte finish paint.
Where did you buy the cool new vents from and how much $ before painting them? I have a sick idea
Last edited by CarbonCreation; 06-19-2009 at 04:15 PM.
06-19-2009, 04:16 PM
#27
Join Date: May 2009
Location: Arizona
Posts: 29
Tip for making the aftermarket 3D vents fit perfectly flush.
Before painting them... use a grease pencil on the car body. Fit the part up against the body and slightly wiggle it, not a lot but some. Now look at the backside of the part, see where the grease pencil transfered some color to the vent and did not transfer in other areas.. the areas where it transfered use a ridged sanding block with 220 grit sandpaper to sand down those areas that do have grease pencil marks. Little by little keep repeating until they fit up against the fender perfect. Last step... paint them.
If the grease pencil does not transfer then 320 wet sand the back edges of the 3D vent beforehand, try again.
06-19-2009, 05:33 PM
#28
2nd Gear Member

Join Date: Nov 2006
Location: California
Posts: 188
I have the Extreme Dimensions one. Here is an old picture of the fender before painting. There are fitment issues. My body shop said the dimensions were off by 3/4 inch in some areas and had to use washers and longer bolts to make it look as OEM as possible.