Ford Mustang V6 1994-2004: How to Replace Brake Fluid
Having air or moisture in your brake fluid can be extremely dangerous and lead to a soft brake pedal. Replacing your brake fluid is not only easy and can be done in your garage, but it will improve your confidence while driving as well as make your Ford Mustang much safer.
This article applies to the Ford Mustang V6 (1994-2004).
Your power braking system relies on the movement of hydraulic brake fluid to compress the pistons in your brake caliper and eventually stop the car. In an ideal situation, you will have no moisture or air in this system; however, over time, tiny amounts of air and water can leak into the system and cause a soft brake pedal as well as loss of braking performance. If you inspect your brake lines and find that they are fine, then you are ready to replace your brake fluid. This process is easier with two people; this method will be outlined in this article. Follow your owner's manual recommendation on brake fluid to ensure the best braking performance.

Materials Needed
- Jack and jack stands
- 3/8" wrench
- 13/16" socket and torque wrench
- Rags
- 1/4" inner diameter clear tubing and cup
- Syringe or turkey baster
- Cup or jar
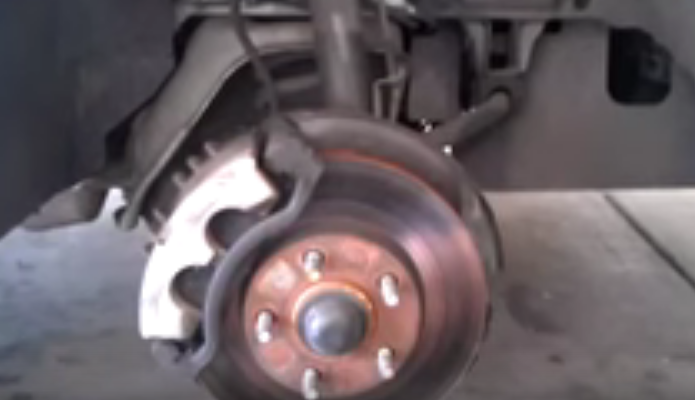
Step 1 – Lift rear of vehicle and remove wheels
Loosen the lug nuts on the rear wheels with your torque wrench using your 13/16" socket. Then place a jack under your rear differential and lift your Mustang. Remove your wheels to expose your brakes. Place jack stands under the frame points to secure the vehicle safely.
Step 2 – Replace brake fluid
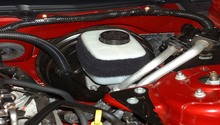
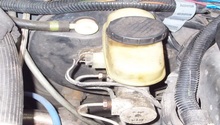
Remove your old brake fluid by attaching your clear tubing to your syringe and sucking out the old fluid from your brake master cylinder. Top off the master cylinder to the specified line with new brake fluid.
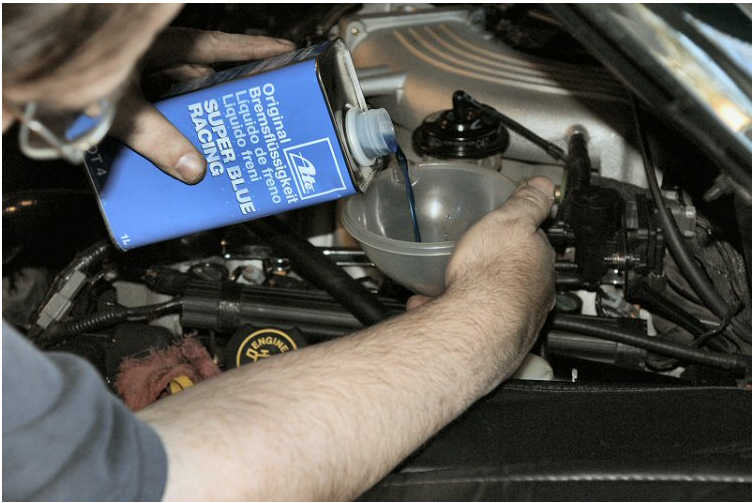
Pro Tip
Put rags around the master cylinder in case you drop any brake fluid in the engine bay, as brake fluid is extremely corrosive, especially towards paint.
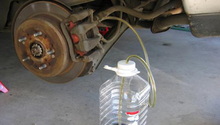
Step 3 – Bleed brakes
To do a full brake fluid flush, you will need to remove your old brake fluid through the brake lines. Go to the the rear passenger side caliper and locate the bleeder valve. Slip your clear tubing over the bleeder valve and put the other end into a cup or jar. Use your 3/8" wrench to slowly open up the valve. Now, have someone slowly pump the brake pedal to allow the flow of brake fluid through the clear tubing. Check on the master cylinder fluid level once in a while to make sure you do not let air through the system. Refill as necessary until clear fluid flows out of your clear tubing. Once clean fluid flows out, close the bleeder valve and make sure the brakes are firm. If they are still soft, check for air in the braking system. Repeat this step with the rear driver's side caliper, then the front passenger side caliper, and finally the front driver's side caliper. That's it, you have bled and flushed your braking system!

Pro Tip
Do not use old brake fluid, as it has a shelf life and will degrade once it is opened.
Related Discussion and Site
- Changing Brake Fluid How to Which one to Get - MustangForums.com
- Brake Fluid Flush - BullitArchive.com