Ford Mustang V6 and Mustang GT 1994-2004: How to Install HID Headlights
HID headlights are not only brighter, but are more efficient and longer-lasting than standard halogen lights. This article will show you how to make this upgrade.
This article applies to the Ford Mustang V6 and Mustang GT (1994-2004).
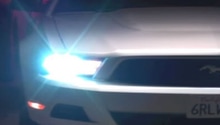
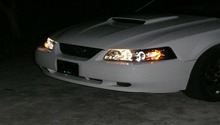
Halogen bulbs don't provide the greatest visibility at night. For those looking to maximize their view of the road, one can't go wrong with a pair of Xenon HID headlights. Xenon HIDs are twice as bright and last many times longer than halogen light bulbs. For many, having brighter light bulbs makes driving at night that much safer. The more of the road you can see, the more time you have to react when there's something in the way. Installing an HID kit is simple; they are often plug and play.

Materials Needed
- Xenon HID kit
- Ratchet w/ 8 mm & 10 mm sockets
- Phillips head screwdriver
- Flathead screwdriver
- Extra zip ties
Make sure that your HID kit comes with two type 9007 Xenon HID light bulbs, two ballasts, a wiring harness, mounting brackets, screws, and zip ties.
Step 1 – Remove the headlight housing and light bulb
Disconnect the battery by removing the negative battery terminal. There are two long clips holding down either headlight. Pull up the two clips then slide the headlight housing forward. Go ahead and remove the old headlight bulbs by twisting the cap and pulling out the headlight. Pry off the cap cover from the halogen lightbulb socket as you'll need to install it to your Xenon lights. Disconnect the halogen light from the headlight wiring harness.
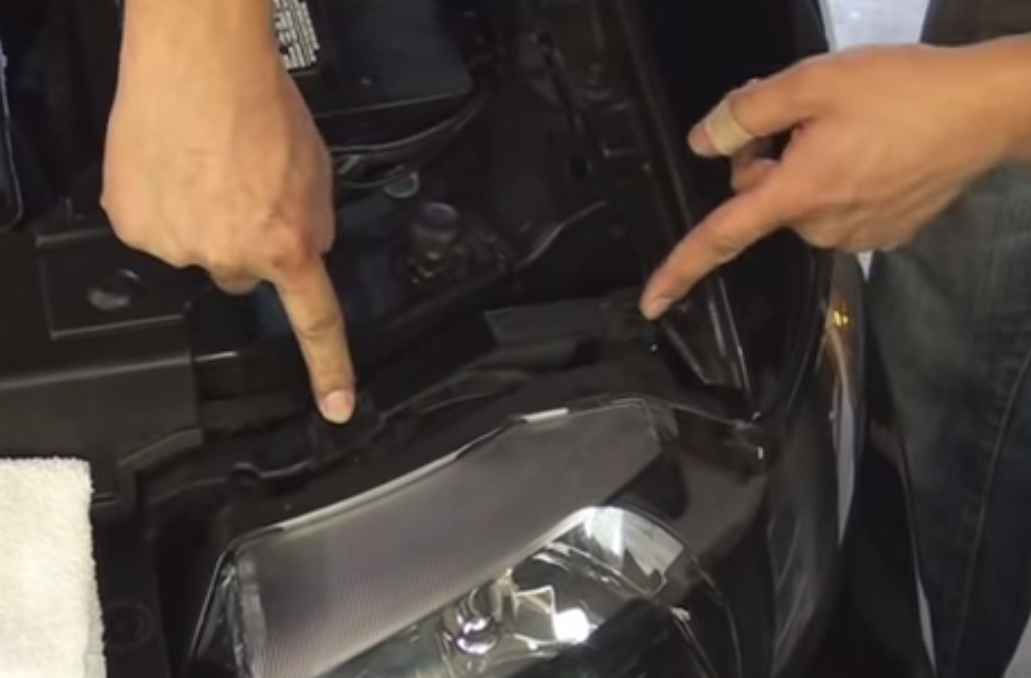
Figure 1. Remove the two clips on the headlight housing. 
Figure 2. Pull out the headlight housing. 
Figure 3. Remove the halogen bulb.
Step 2 – Install wiring harness and ballasts
The wiring harness should come with a connector for the factory harness. Attach the positive and negative leads of the factory harness to the kit harness. For the ground wire, find a screw or bolt that connects to the Mustang's chassis and tighten the ring connector to that. Connect the positive wire for the harness to either the positive terminal on the battery or an available terminal on the battery's accessory port.
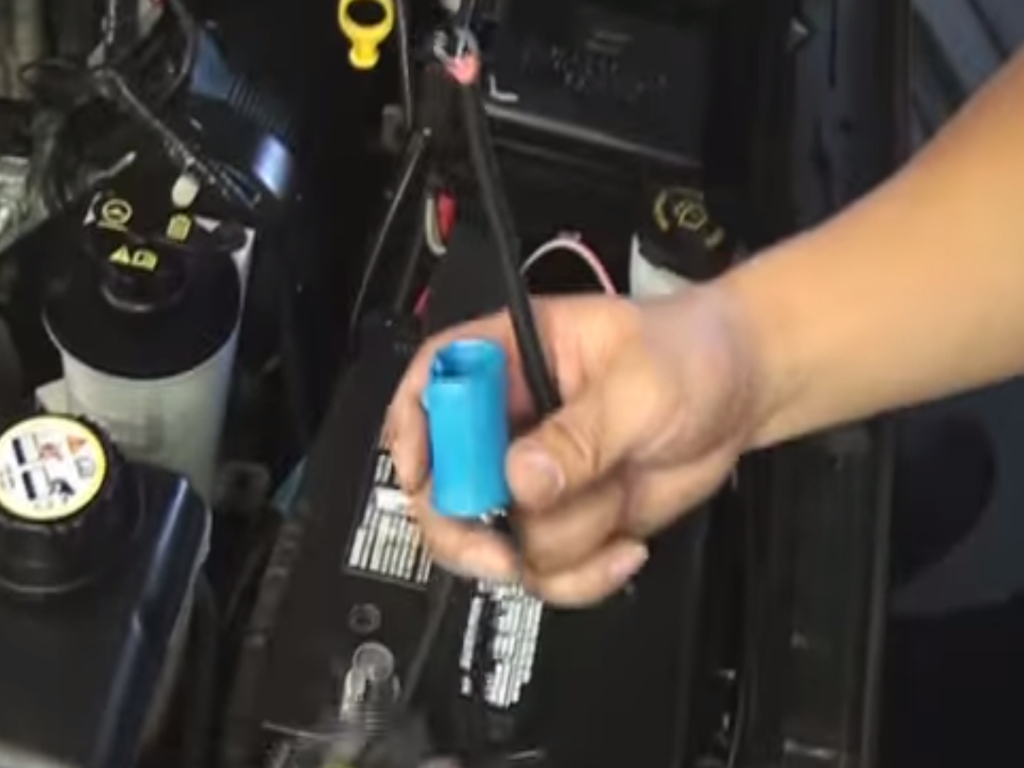
Figure 4. Connect the kit wiring harness to factory harness. 
Figure 5. Positive terminal connection. 
Figure 6. Ground terminal connection.
You're going to need to get creative with where you're going to install your ballasts. A good place to mount them is near the battery tray or towards the front where you can find a grounding screw you can mount the ballasts to. Once you have your ballasts mounted, plug the wiring harness into the ballast. Clean up your wires by bundling them together with zip ties.

Pro Tip
Keep your wires far away from any moving parts such as the cooling fans.
Step 3 – Install HID light bulbs
Take the cap cover and install it to the headlight housing. Twist the cap until it is tight. Then, take your new HID bulb and fit it to the headlight housing. Twist the socket to lock the light bulb to the headlight housing. Plug the wiring harness to the HID bulb socket. Push the headlight housing back into place then reinsert the two long clips. Reconnect the battery, and test your new HID Xenon headlights. You may want to adjust them since they are much brighter than the factory bulbs.

Pro Tip
Don't touch the light bulb. Similar to halogen bulbs, getting any kind of dirt or grease on a Xenon bulb will shorten its life span.
Featured Video: How to Install Bi-Xenon HID Headlights
Related Discussions
- HID Headlight / Fog Light Install - MustangForums.com
- Installed HIDs - MustangForums.com