DIY Tech: Brake Repair
— by Justin Banner
If you have never worked on your brakes before, the idea can seem pretty daunting at first. We are talking about something you rely on to keep you safe and stop you before you crash into things. However, replacing your own brakes and bleeding the system aren’t really as bad as they seem. We’ll show you here in this article and help you see that changing your brakes at home isn’t so bad.
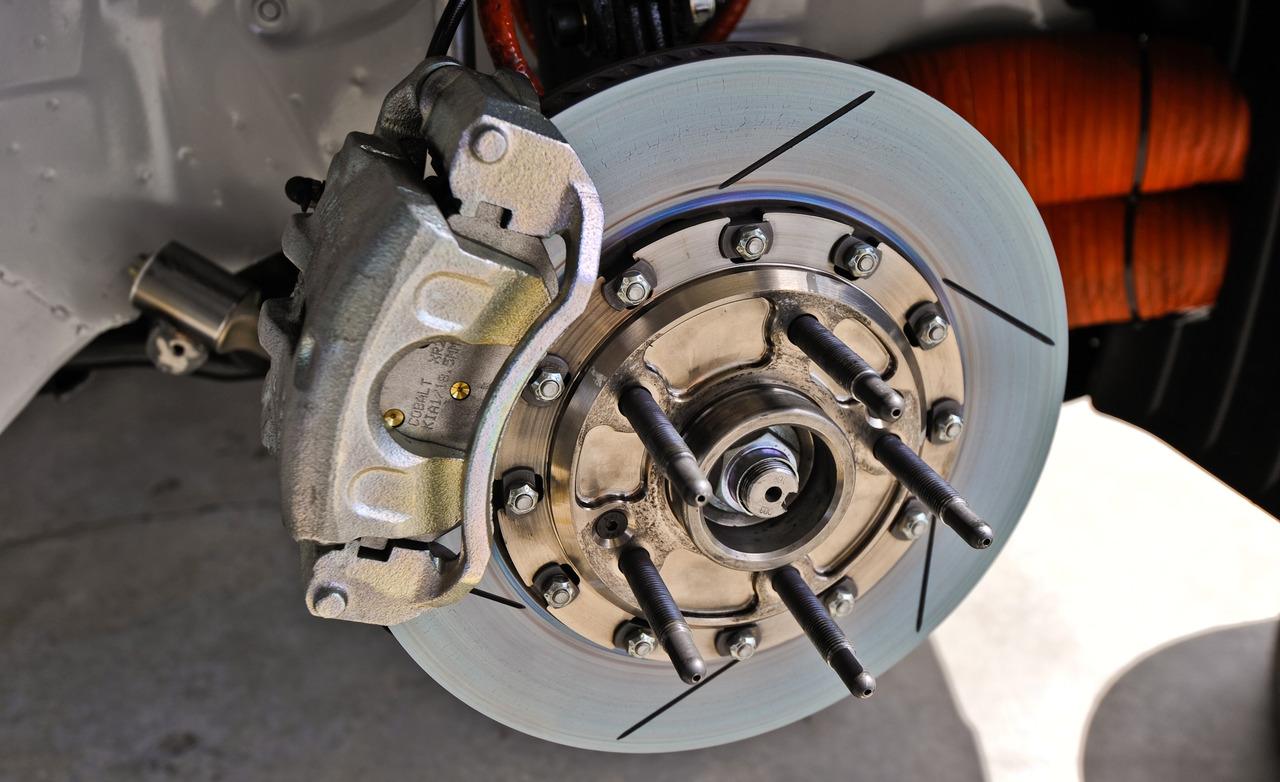
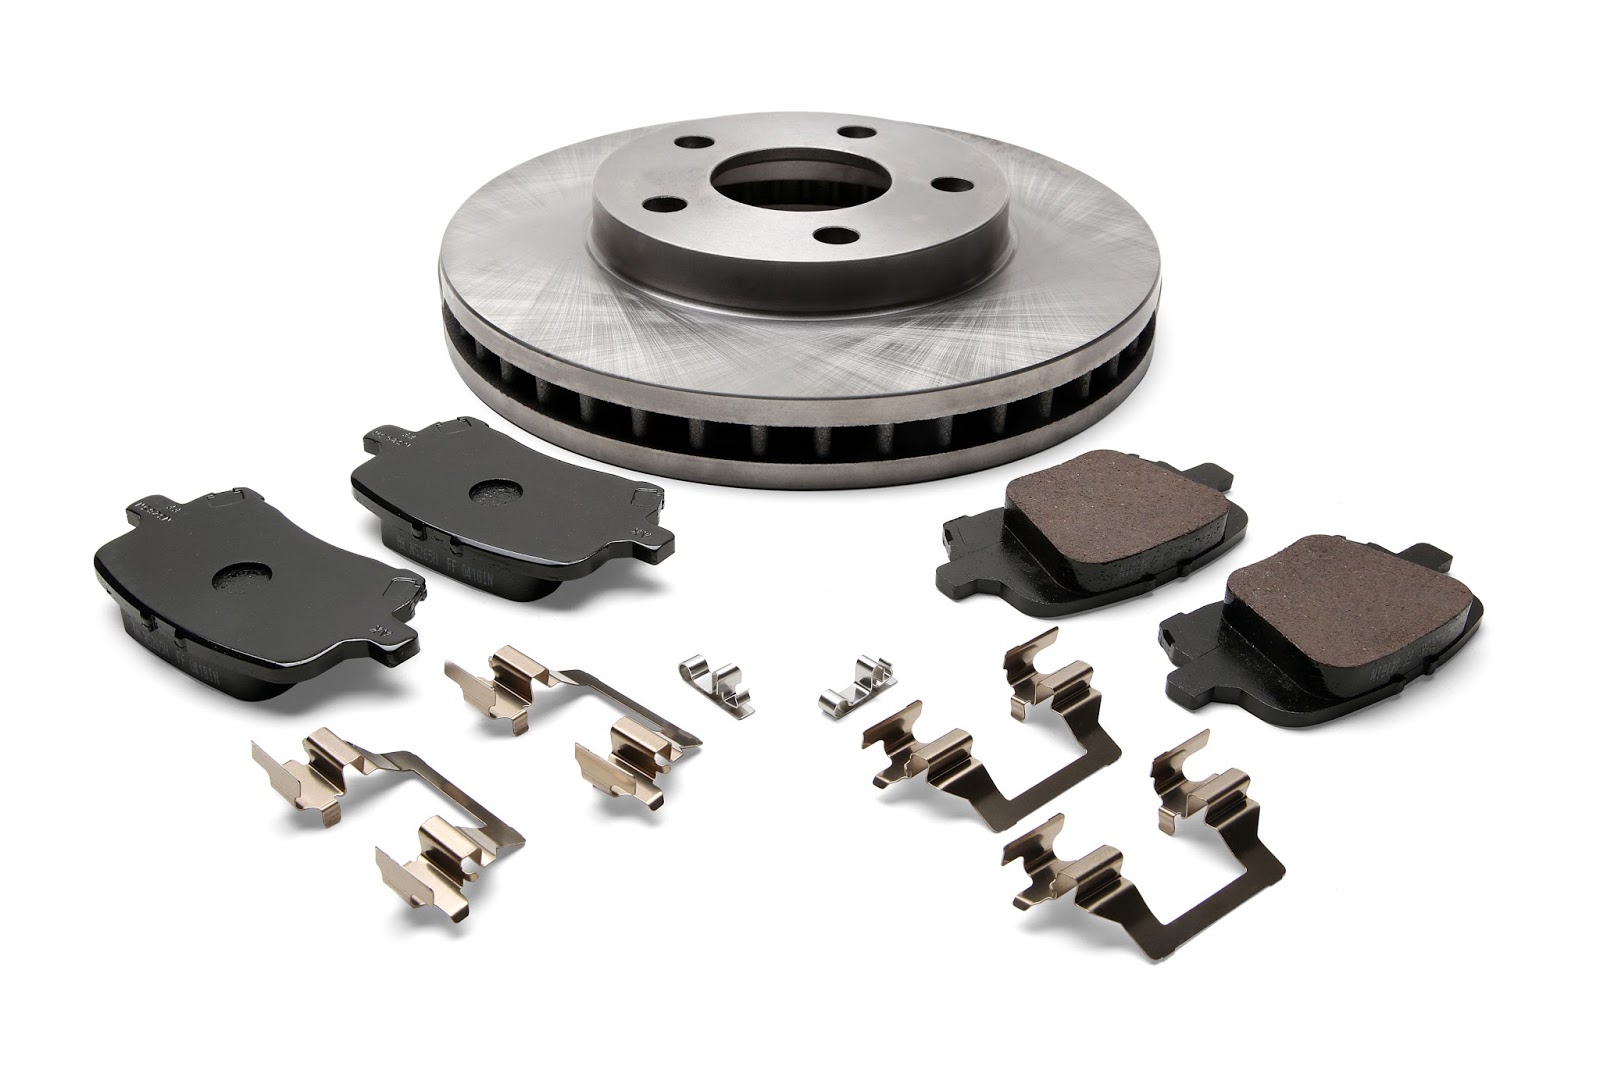
First, let’s start with replacing brake pads and rotors on a disc brake system. On floating caliper types, like many Ford trucks use, you’ll remove the two bolts that hold the caliper to its bracket. You may need a wrench to help hold the pins that the caliper rides on to keep them still. You don’t have to remove both, but it will become clearer why we recommend this in a moment. Take the caliper off and hang it using a wire or bungee cord as you don’t want the caliper to hang on the brake line, causing damage to it. Take your pads off of the caliper bracket and dispose of them properly.
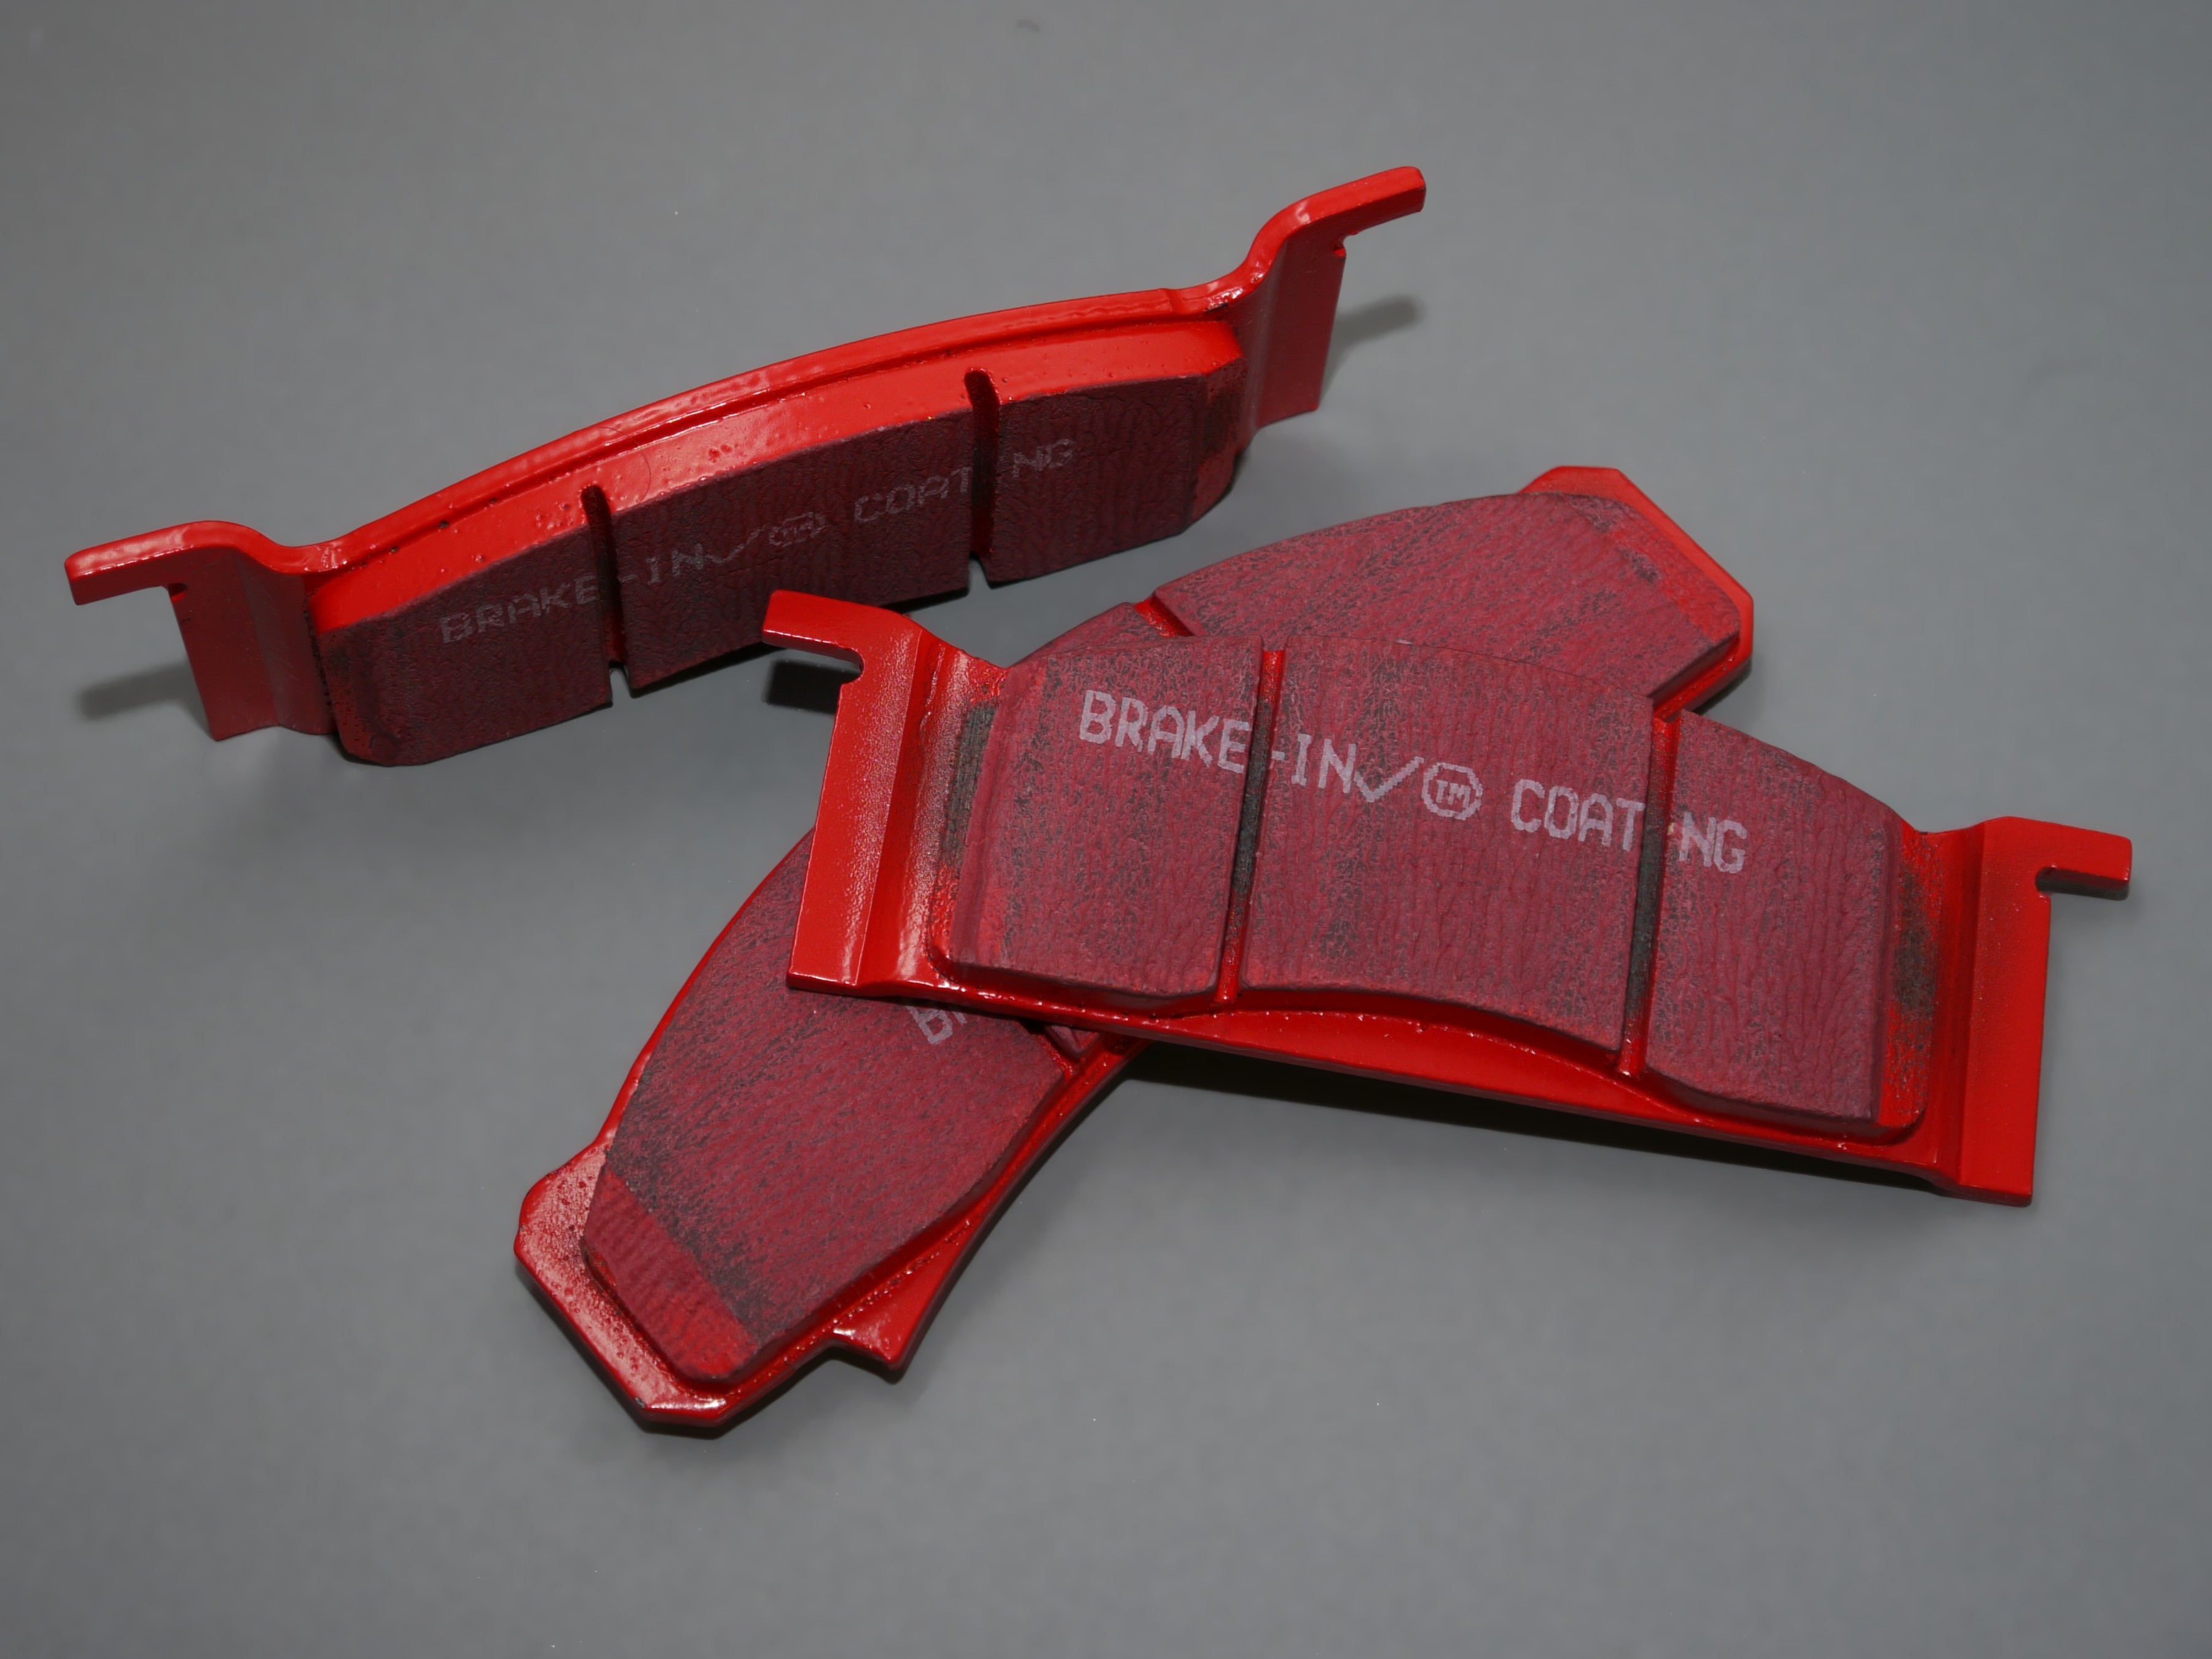
Before you put your new pads on, take some anti-seize and apply it to the portions the pads will slide on along with the pins from earlier. You’ll gently pull them out and apply anti-seize to them and then slide them back in. If the boots get torn or are dry-rotted out, replace them. You’ll then want to compress the pistons back into the calipers using a brake piston compressor. Put your new pads on and reinstall the caliper. Finally, before driving away, pump your brakes to set the pistons you just pushed back so they make proper contact before you need to use them.
If the pedal doesn’t feel right or stopping has become more random, it is possible that you have air in the system. Again, an easy fix, but you’ll need a friend to help. Starting at the wheel farthest away from the master cylinder, which should be the right rear, take a hose and a bottle and attach it to the bleeder nipple. Make sure the bottle and hose are clear as you’ll want to see the bubbles that are coming out of the system. Have your assistant pump the brakes until the pressure is the same and hold the brake pedal down. You will crack open the bleeder and watch the fluid come out. Your assistant should let you know when the pedal hits the floor and when it does, close the bleeder and do it again until there are no air bubbles coming out. You’ll do this to the left rear, then right front, then left front in that order. Also, as you bleed the brakes, check on the level of fluid in the master cylinder, and don’t let it go dry. If you do, you’ll have to start all over again.
Chime in with your thoughts on the forum. >>
images [Hot Rod]
You must be logged in to post a comment.