

 Oct 20, 2015, 10:32 AM
Last edit by: IB Advertising
See related guides and technical advice from our community experts:
Browse all: Exterior
- Ford Mustang V6 and GT 1994 to 2014 How to Install Spoiler
Step by step instructions for do-it-yourself repairs.
Browse all: Exterior

GT500 Spoiler Install!! Walkthrough and tons of pics
Thread Starter
4th Gear Member
Joined: Nov 2007
Posts: 1,700
From: Las Vegas, NV
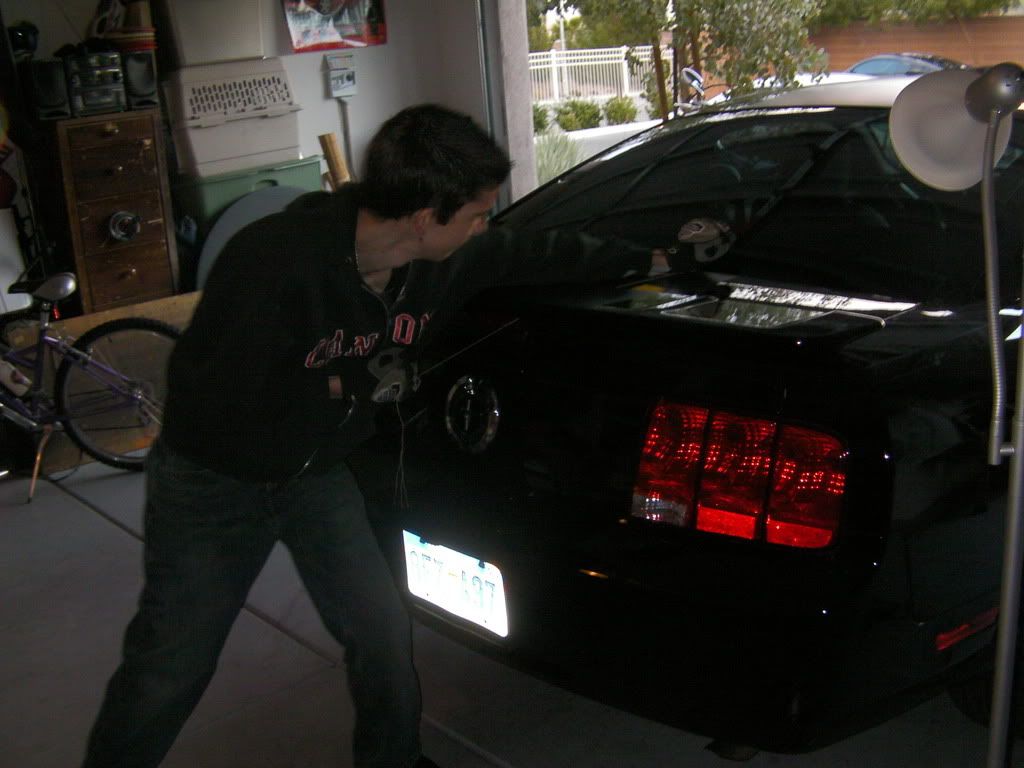
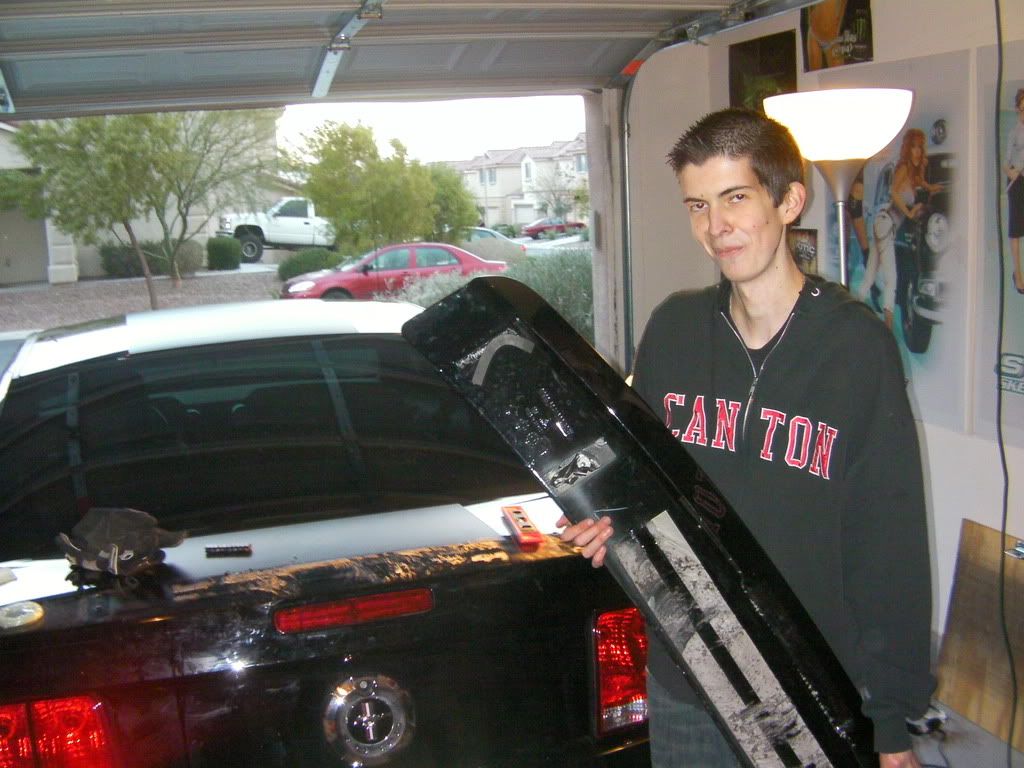
When I was out in michigan, I celebrated christmas with the other side of my family. I got a bunch of cool presents for my stang, one of my favorites being a gt500 spoiler. I had it shipped to my other house in vegas so that I wouldnt have to worry about transporting it around. I was so excited to get it and after a few days of waiting, it finally arrived. I called up my buddy snicksrolos and asked if he could help me with the install and since hes so cool, he agreed. We met up at his house and began the install............. removal of my stock v6 spoiler.
Step 1: Take off the mounting screws(4) on the inside of the trunk
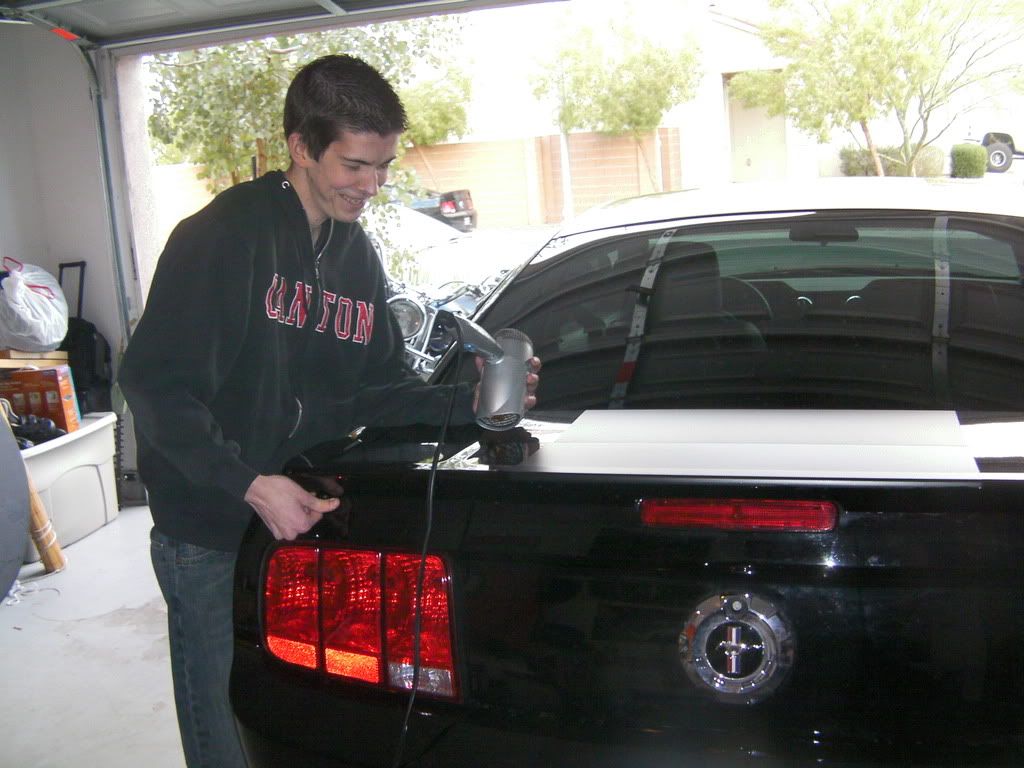
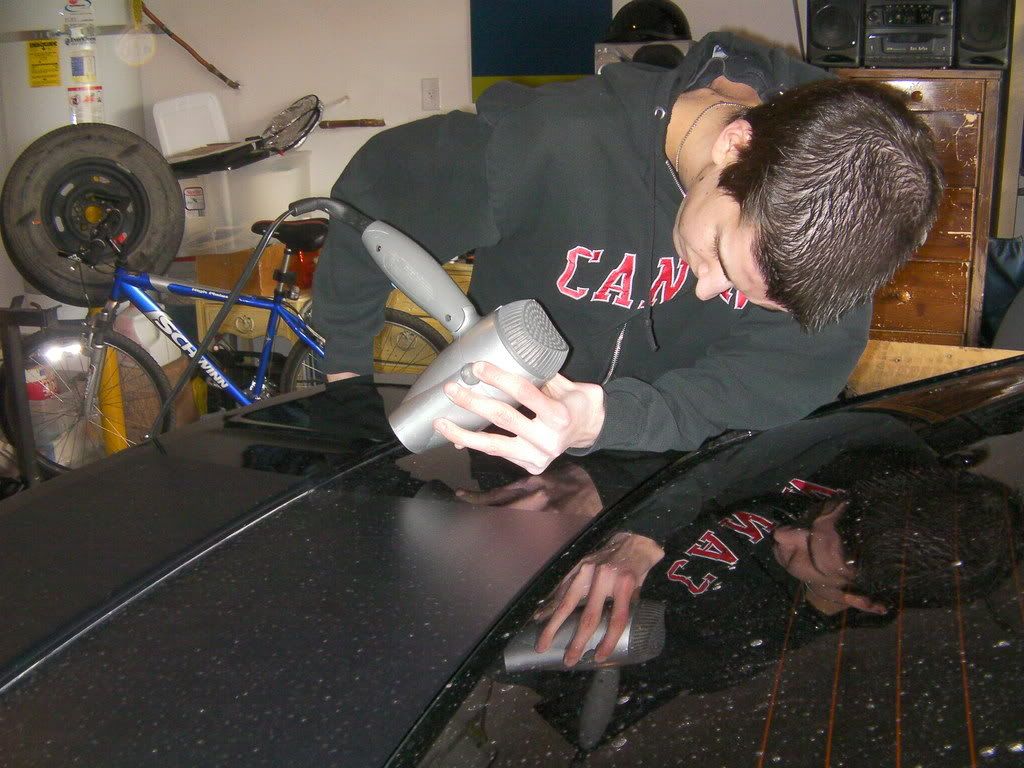
Step 2: Heat up the underside of the spoiler with a heat gun or hairdryer. Start off with where the screws are mounted and after those parts are loose, begin to heat up the middle of the spoiler above the rear taillight, that's where the most amount of tape is located.
Step 3: Spray adheasive remover underneath the whole spoiler and wipe away excess before it runs down the trunklid.
Step 4: As the spoiler gets loose, pry it up a bit and place something underneath it to prevent the tape from adhearing again. Be very careful when prying up and dont rock the spoiler or else you will dent the trunklid.
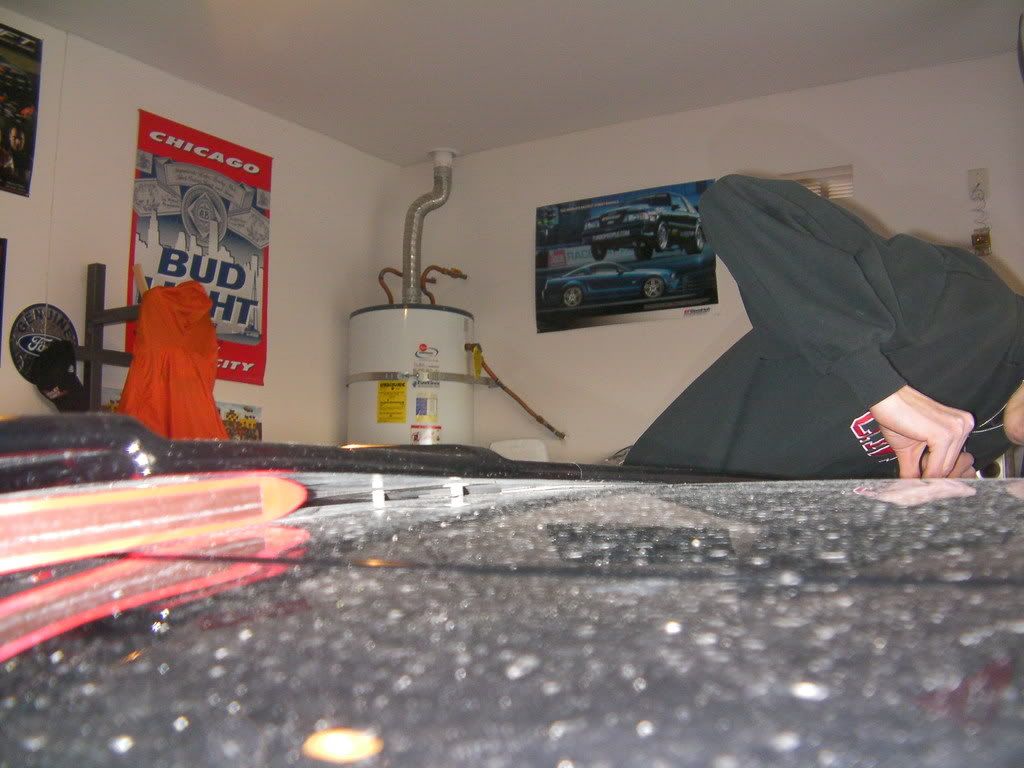
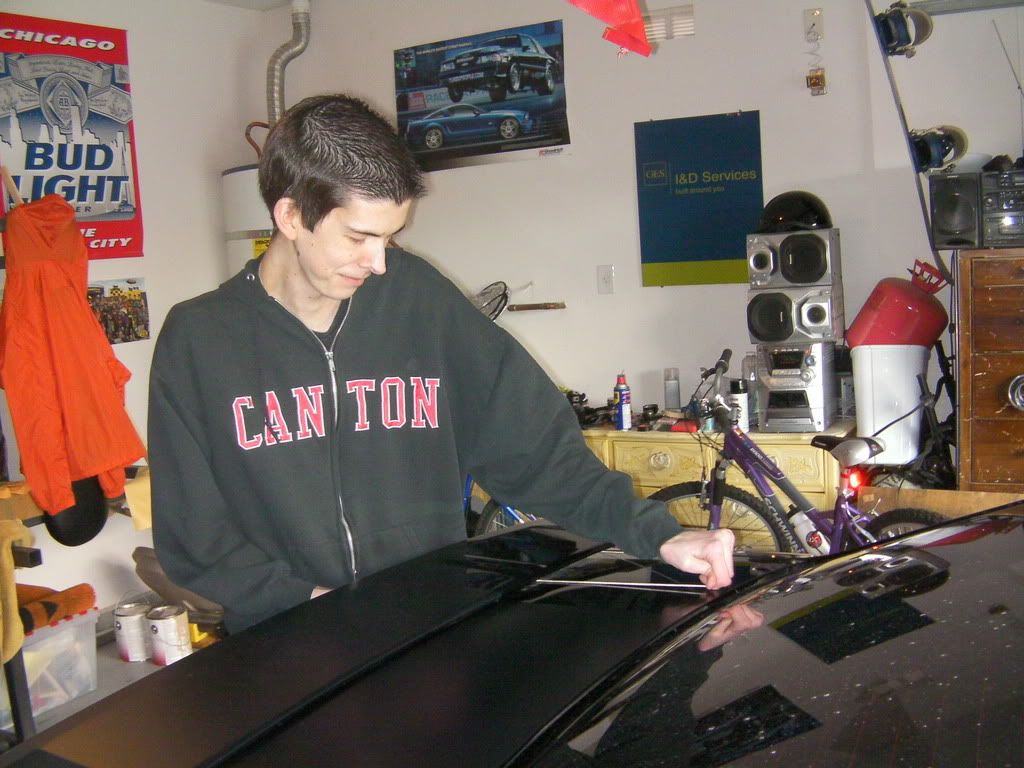
Step 5: Feed a small rope or braided fishing line underneath the spoiler and begin to saw at the remaining tape. Keep your motions straight and dont pull up on the rope(you will see why in a few steps) We didnt have any fishing line so we had to use this random rope I found in my house which myself and snickrolos deemed the "ghetto rope" haha. Take your time and don't angle the rope down either or else your trunklid will hate you
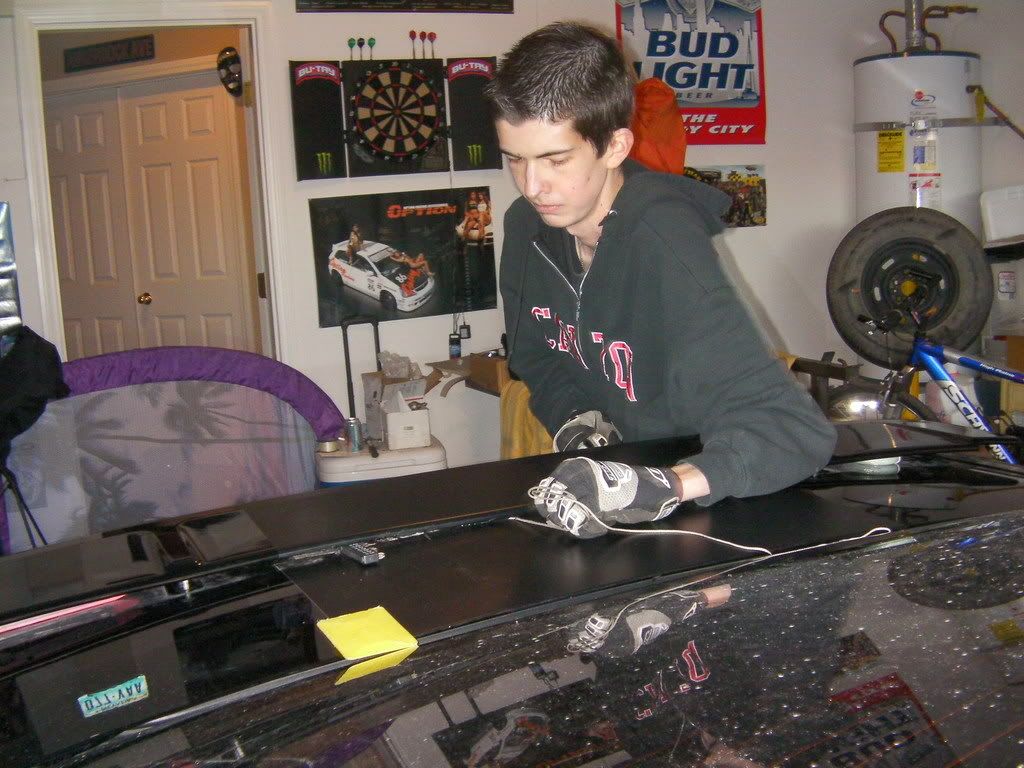
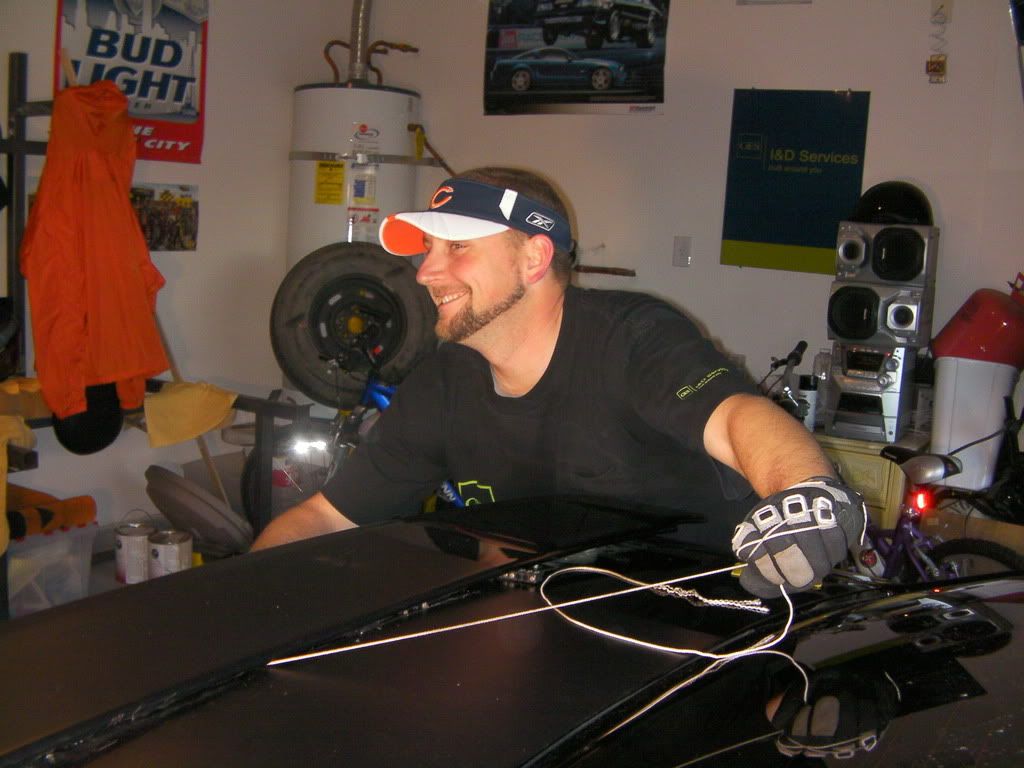
Toward the end of the spoiler, we were so sick of all this tape. Snicksrolos showed me how it was done. Look at the pics(yes that is smoke from the tape)
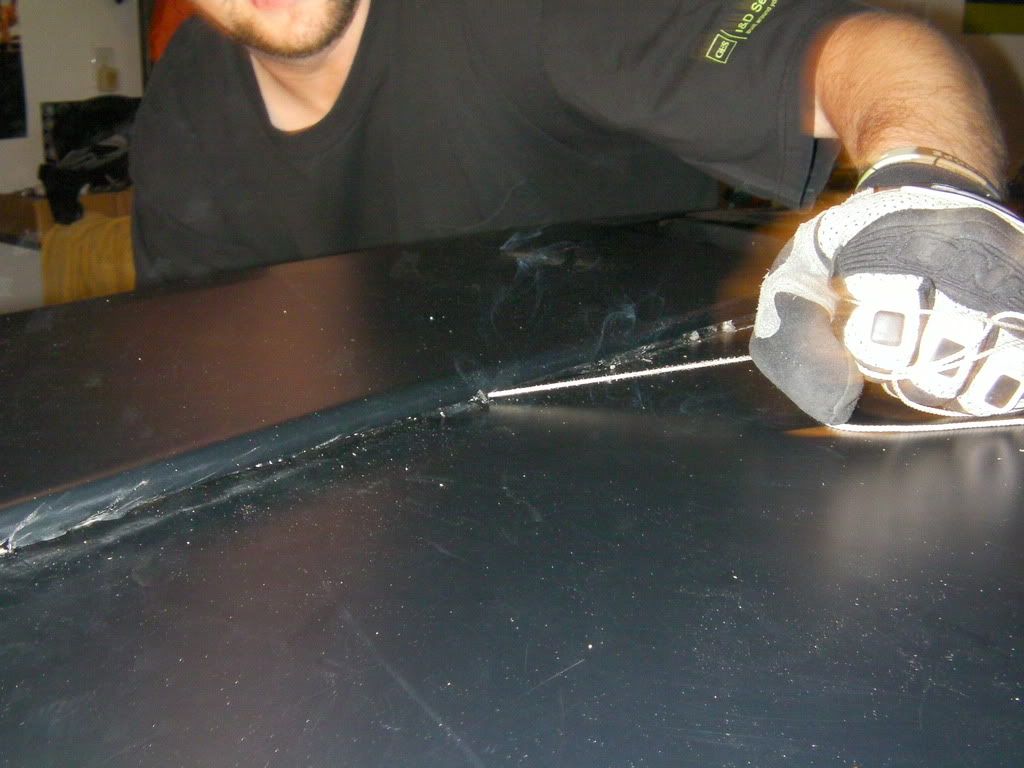
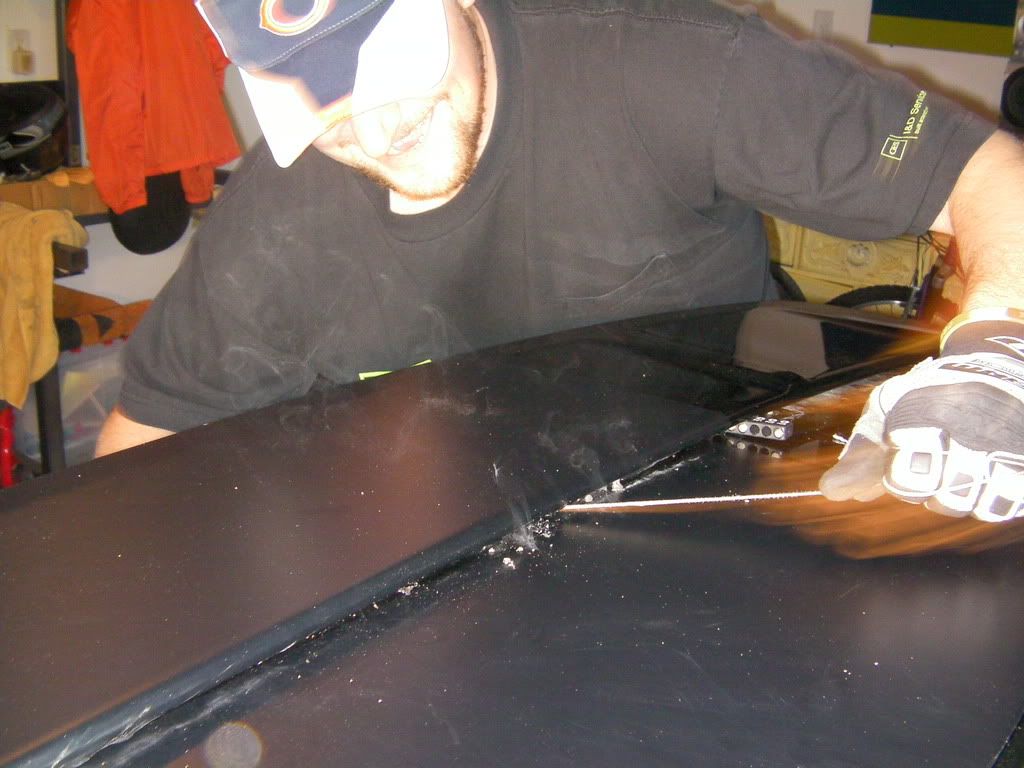
Step 6: Since all the tape has been sawed through, the spoiler should be pretty loose. Gently pry it up with even pressure and once again, dont rock or yank on the spoiler.
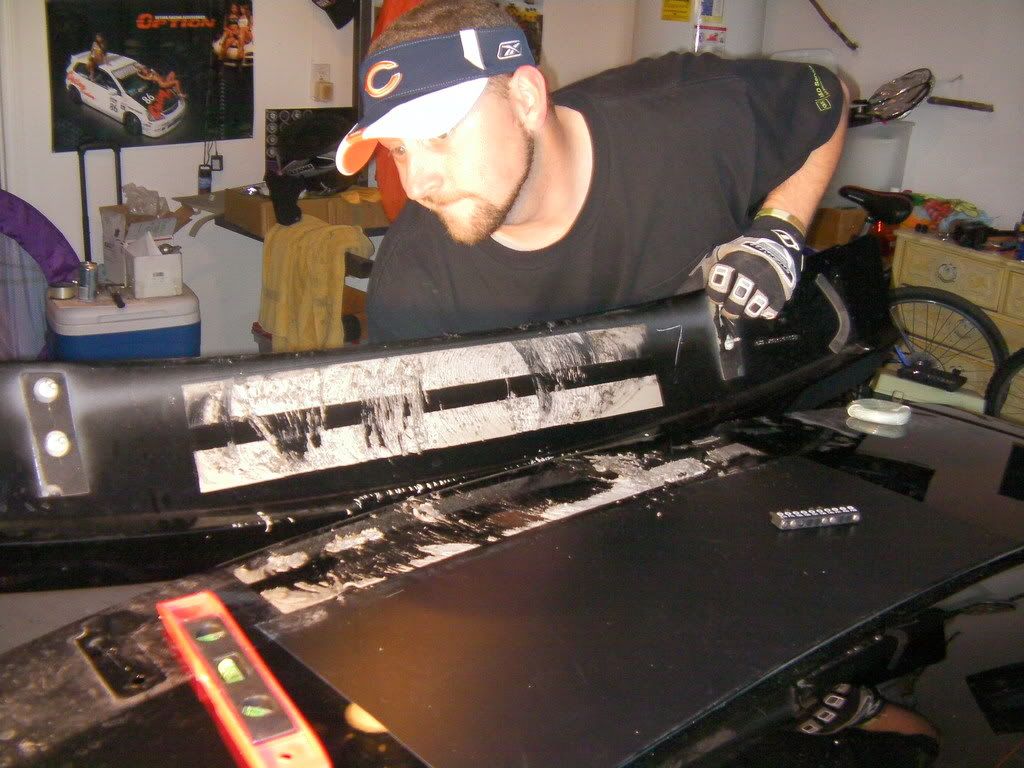
Step 7: Use adheasive remover to get the remaining tape off of the decklid. Use a credit card to help you pry it up. Let the remover soak in a bit before you start.
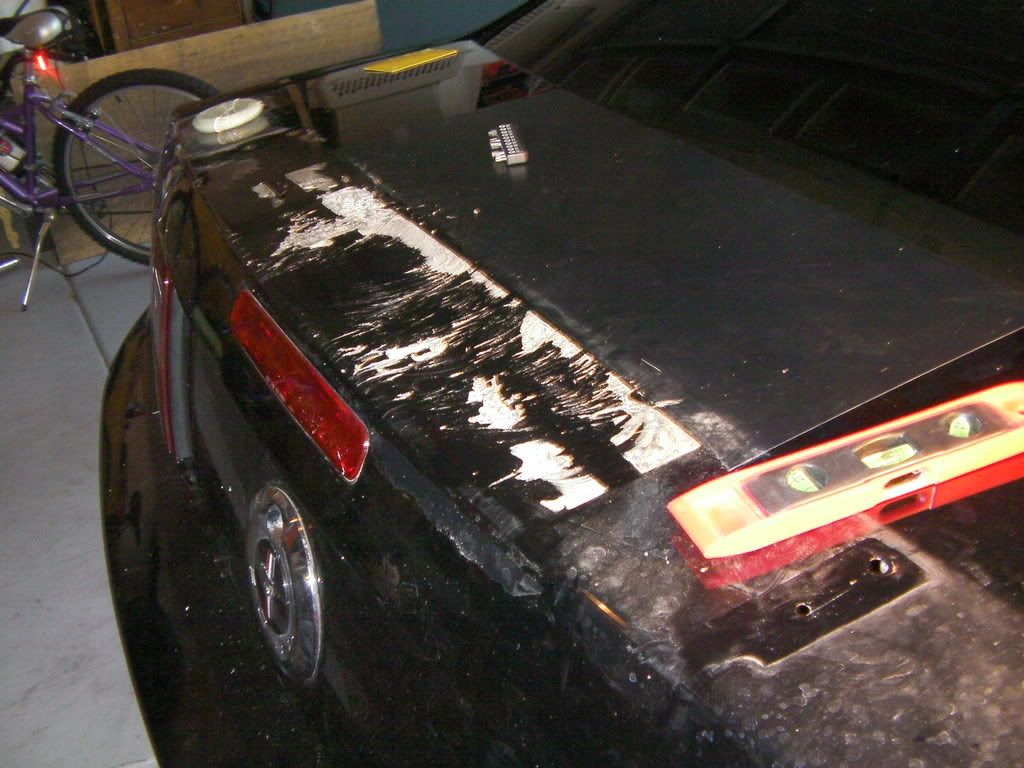

Step 8: Test fit spoiler and make sure everything lines up right. You may want to use a piece of tape to mark dead center.
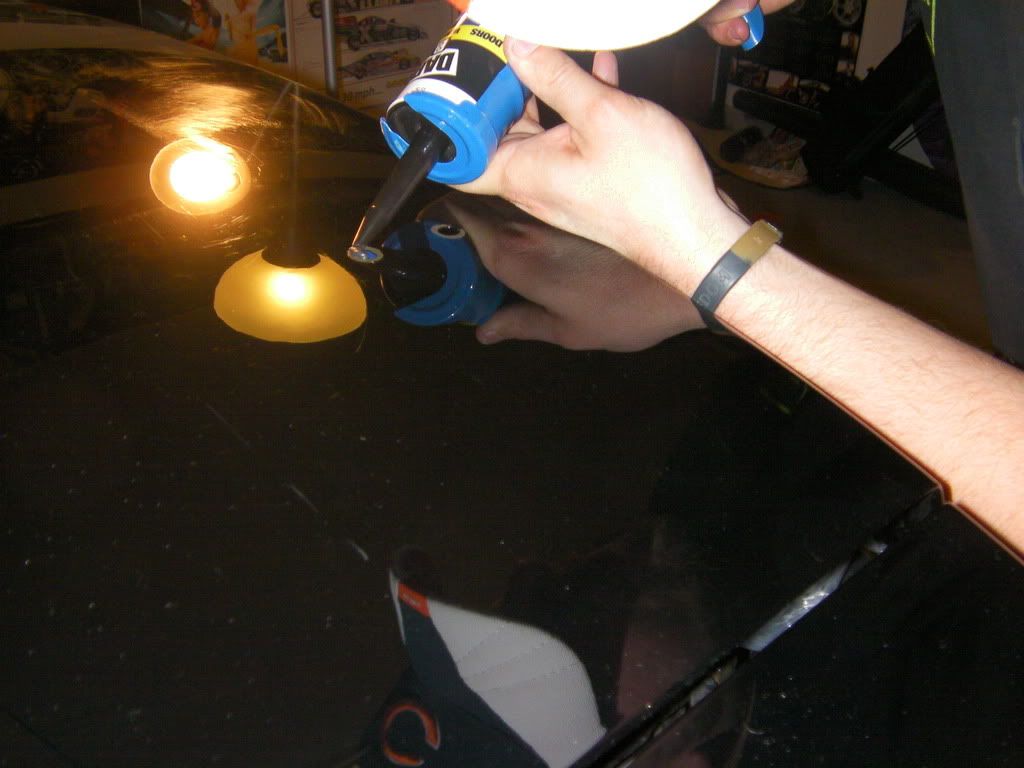
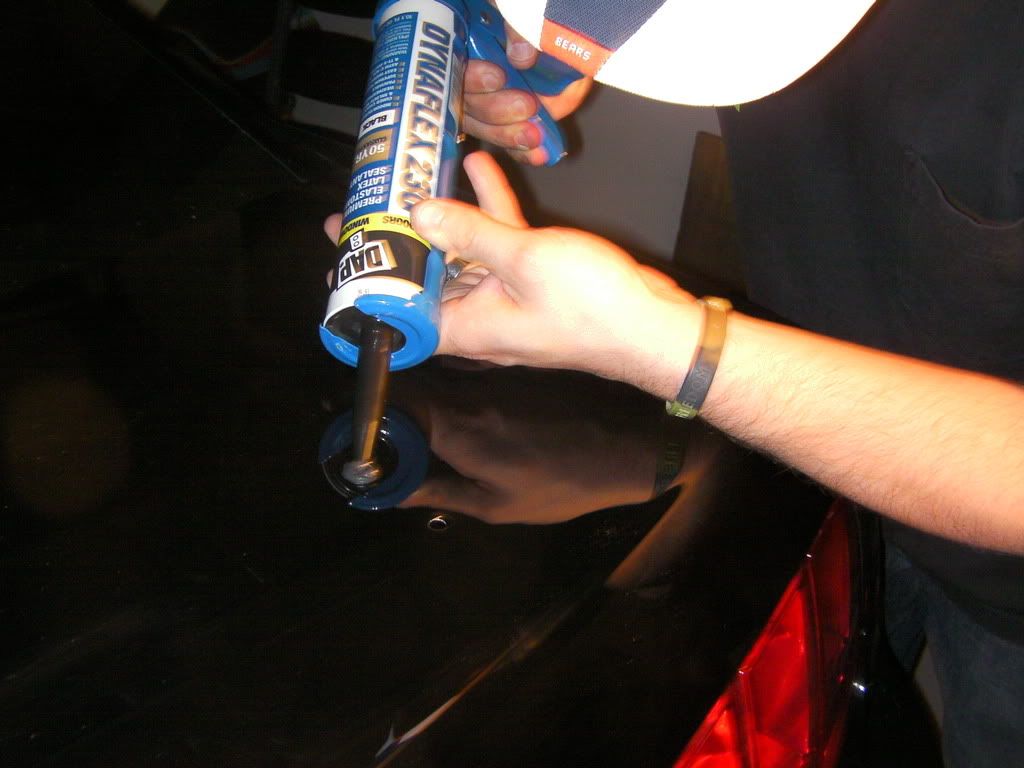
Step 9: Use silicone to seal the two holes that are not used by the spoiler. Place painters tape on the bottom side of the decklid to keep it from falling into the trunk.
Step 10: After the silicone has dried a bit. Remove tape from the spoiler and heat it to help it grip. Also apply supplied foam pads to spoiler for insulation. Put the spoiler's screws through the two holes you didnt seal and slowly line up the spoiler to the screws and tighten it to the trunklid. Just hand tight at first until you are sure it looks good. Then tighten until the screws and washers dont move when you touch them. Do not overtighten.
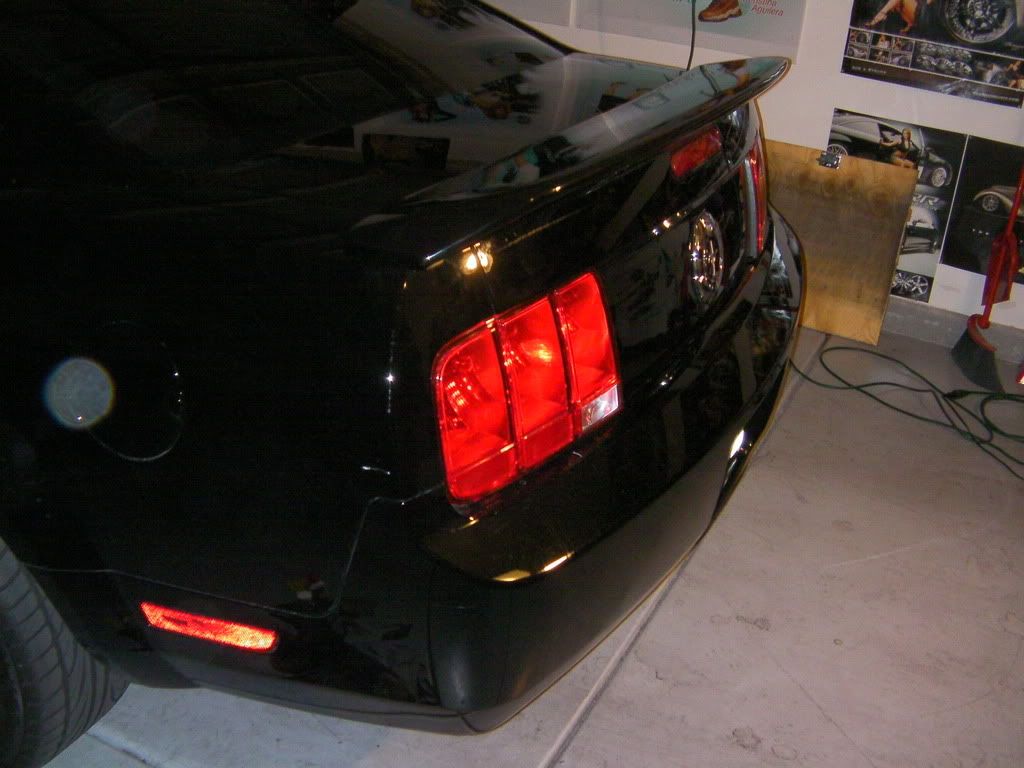
Step 11: Step back and check it out
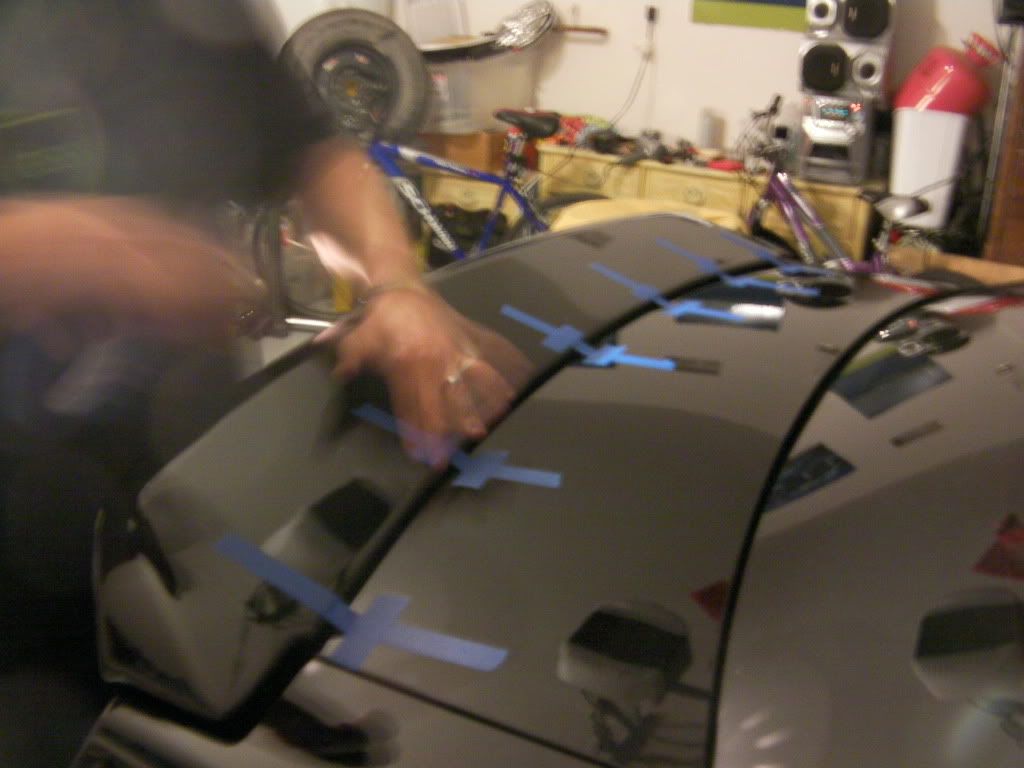
Step 12: Tape down the spoiler to keep it in place and held tight against the decklid on the drive home and to make sure the tape adheres good.
Thanks again to snicksrolos for all your help with this and with my sub install(writeup coming soon) I appreciate it so much man.
Step 1: Take off the mounting screws(4) on the inside of the trunk
Step 2: Heat up the underside of the spoiler with a heat gun or hairdryer. Start off with where the screws are mounted and after those parts are loose, begin to heat up the middle of the spoiler above the rear taillight, that's where the most amount of tape is located.
Step 3: Spray adheasive remover underneath the whole spoiler and wipe away excess before it runs down the trunklid.
Step 4: As the spoiler gets loose, pry it up a bit and place something underneath it to prevent the tape from adhearing again. Be very careful when prying up and dont rock the spoiler or else you will dent the trunklid.
Step 5: Feed a small rope or braided fishing line underneath the spoiler and begin to saw at the remaining tape. Keep your motions straight and dont pull up on the rope(you will see why in a few steps) We didnt have any fishing line so we had to use this random rope I found in my house which myself and snickrolos deemed the "ghetto rope" haha. Take your time and don't angle the rope down either or else your trunklid will hate you
Toward the end of the spoiler, we were so sick of all this tape. Snicksrolos showed me how it was done. Look at the pics(yes that is smoke from the tape)
Step 6: Since all the tape has been sawed through, the spoiler should be pretty loose. Gently pry it up with even pressure and once again, dont rock or yank on the spoiler.
Step 7: Use adheasive remover to get the remaining tape off of the decklid. Use a credit card to help you pry it up. Let the remover soak in a bit before you start.
Step 8: Test fit spoiler and make sure everything lines up right. You may want to use a piece of tape to mark dead center.
Step 9: Use silicone to seal the two holes that are not used by the spoiler. Place painters tape on the bottom side of the decklid to keep it from falling into the trunk.
Step 10: After the silicone has dried a bit. Remove tape from the spoiler and heat it to help it grip. Also apply supplied foam pads to spoiler for insulation. Put the spoiler's screws through the two holes you didnt seal and slowly line up the spoiler to the screws and tighten it to the trunklid. Just hand tight at first until you are sure it looks good. Then tighten until the screws and washers dont move when you touch them. Do not overtighten.
Step 11: Step back and check it out
Step 12: Tape down the spoiler to keep it in place and held tight against the decklid on the drive home and to make sure the tape adheres good.
Thanks again to snicksrolos for all your help with this and with my sub install(writeup coming soon) I appreciate it so much man.


3rd Gear Member
Joined: Nov 2007
Posts: 757
From: Buckeye, AZ
I see you used motocross gloves as well. I could only find left handed gloves in my garage so it looked pretty funny. I used fishing line and the AZ sun...burns like a **** when hot huh!? Damn PP spoilers and all that tape!
1st Gear Member
Joined: Jan 2009
Posts: 102
From: Alabama

