
Raxiom HID Retrofit & Install (Pic Heavy)

Thread Starter
2nd Gear Member
Joined: Jun 2011
Posts: 216
From: APO
I know this is a long read, but if you are looking for some pictures of how to take the bumper cover off then hopefully this will help a little.
I was able to pick up some Raxiom lights for a steal on Fleebay. I tried using them with the halogen projectors and they looked okay, but the intensity of the light output was almost the same as the stock halogens that they replaced. So, I decided to have them retrofitted with HID projectors so I could still keep the look with actual HID projectors and not HID bulbs in the halogen projectors.
I found a guy online who does this and he quoted me a reasonable price. I don�t know what the cost was for the HID light option on my 2012, and I�m probably over that price, but when everything was said and done I spent about $600 for the Raxioms and the retrofit. If I would of used my stock halogen lights for the retrofit then naturally that would have saved me some cash. However I always like to keep the stock parts for resale later on. It�s always done well for me in the past.
If any of you are interested I recommend Kris from HID Retrofit Lights (the guy will do anything you want and keeps you updated via email and pictures):
http://www.facebook.com/HRLights
Okay, now for the install. Kris supplied everything I needed for a fairly simple plug-n-play setup. He retrofitted Morimoto Mini-H1 Projectors with 4300K bulbs, Morimoto 3five Ballasts, and a Morimoto Bi-Xenon Harness. All I needed to do was remove the bumper cover, take out the old lights, put in the new ones and wire it up�simple right?
Well, I�ll try and take you step-by-step (for those that know how to remove the bumper cover on a 2011-2012 Mustang GT then you can skip to the end). Here�s where I make a few disclaimers; I�m not a photographer so please excuse the pics; I�m also not a mechanic nor an electrician so please excuse any mistakes that may be made in my little garage. If you have a better way of doing things then please fill us in. I�ve done minor mechanic things over the years and I can do simple stuff like struts, springs, and other minor visual mods, but that�s as far as it goes.
All of this was done in my garage with simple tools and without the use of ramps or jack stands (If you are just replacing your OEM halogens for Raxioms then this will apply to you as well):
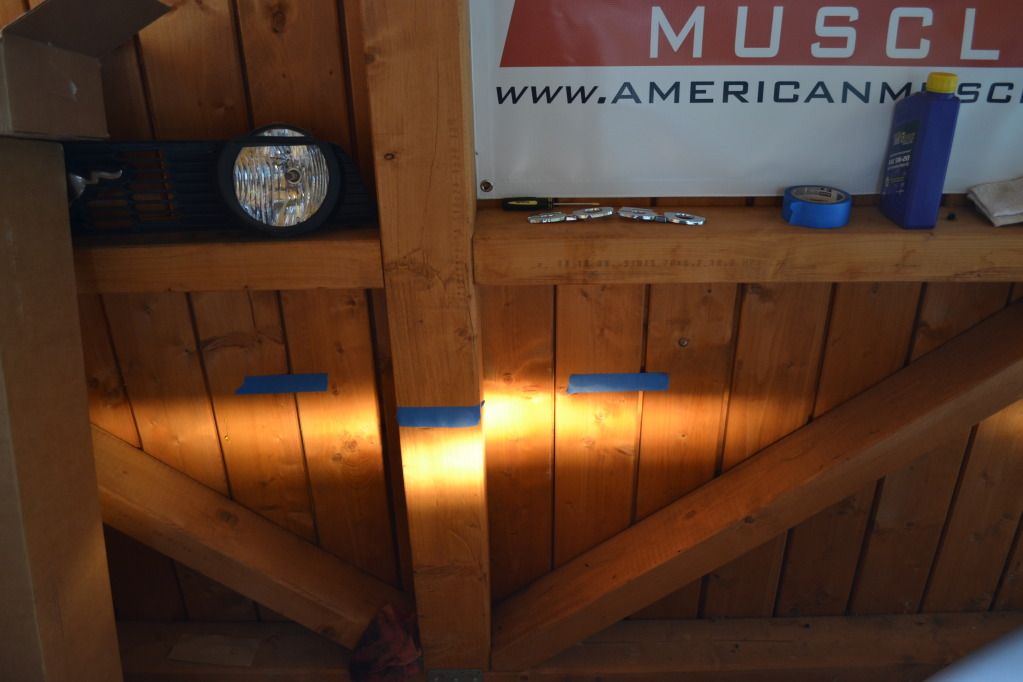
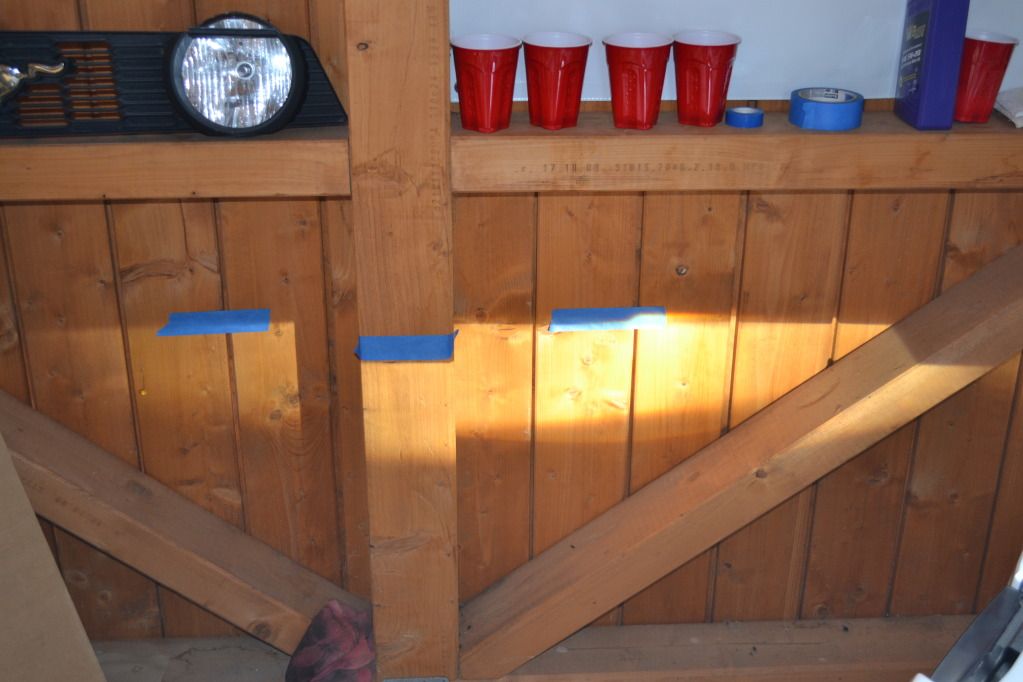
1. In my tiny little garage I first marked out the OEM halogen lights so I had a reference for later:
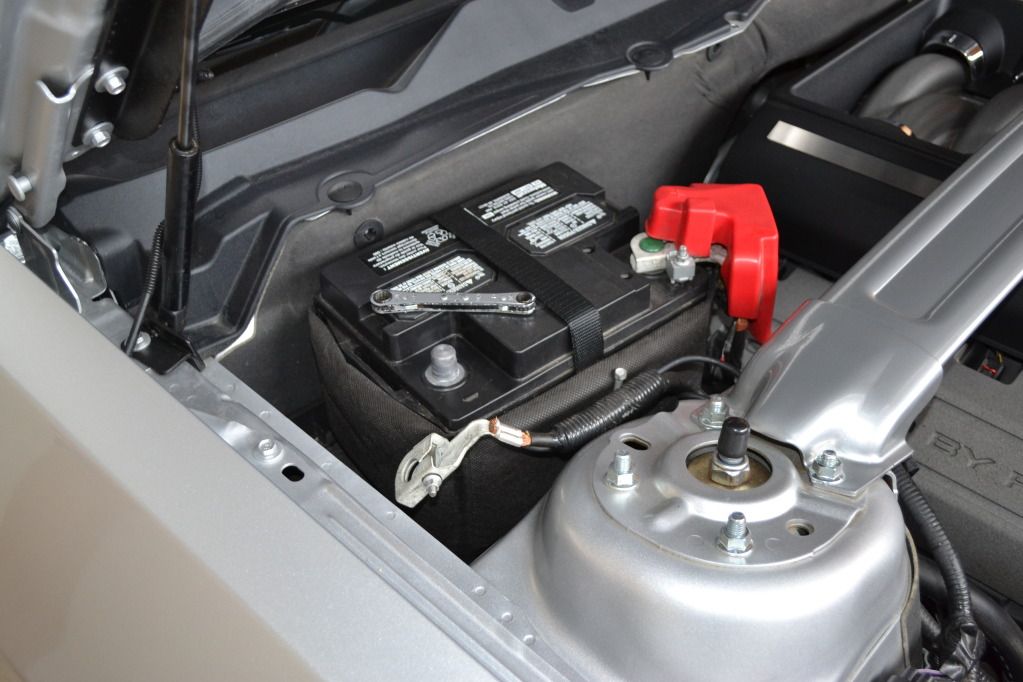
2. Next, since we�re working with electrical stuff, I figured it would be best to disconnect the negative terminal on the battery:
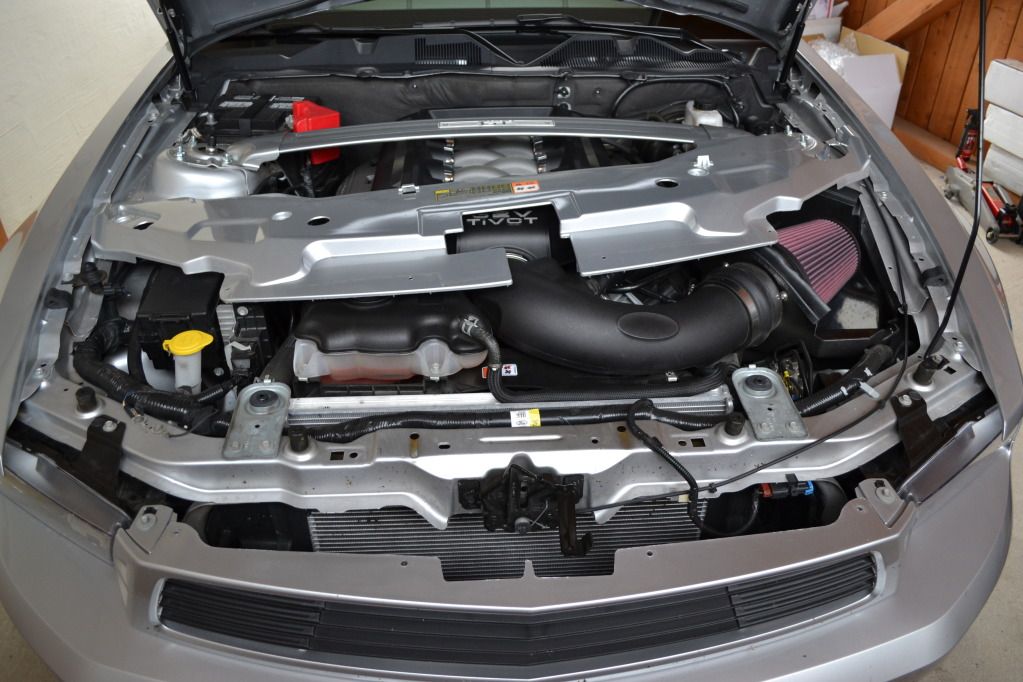
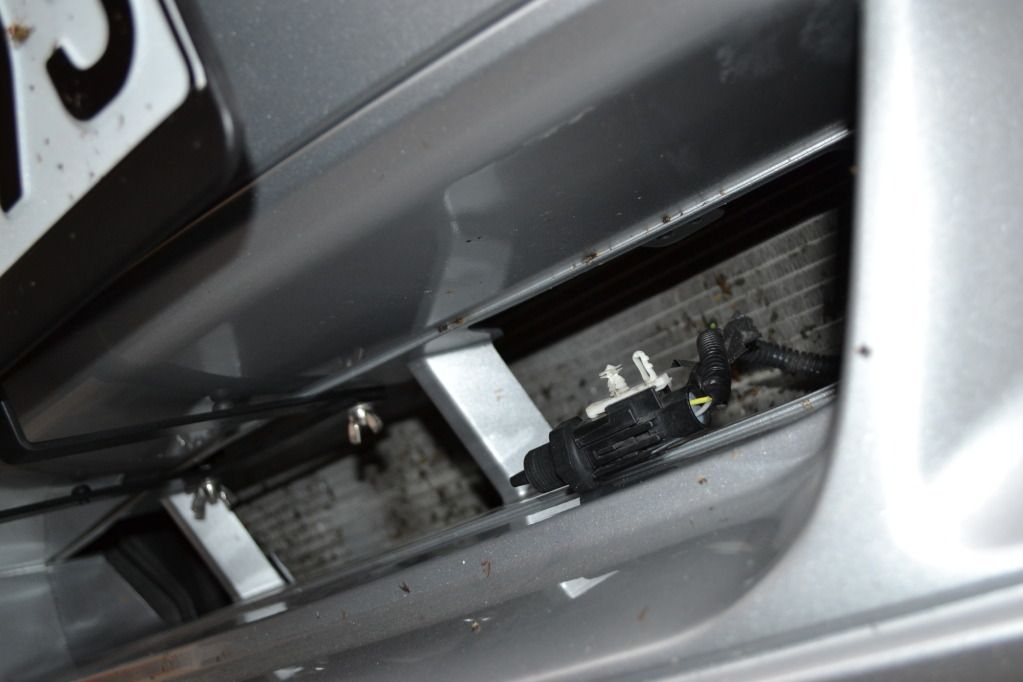
3. Taking off the radiator cover is removing simple push-pins; eight in total. :
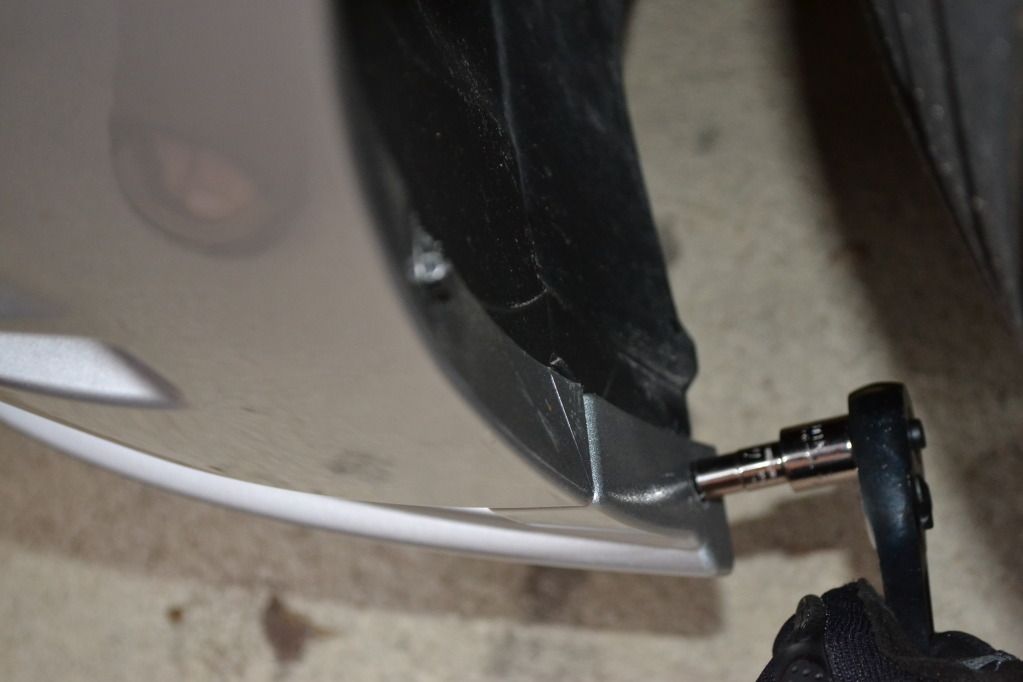
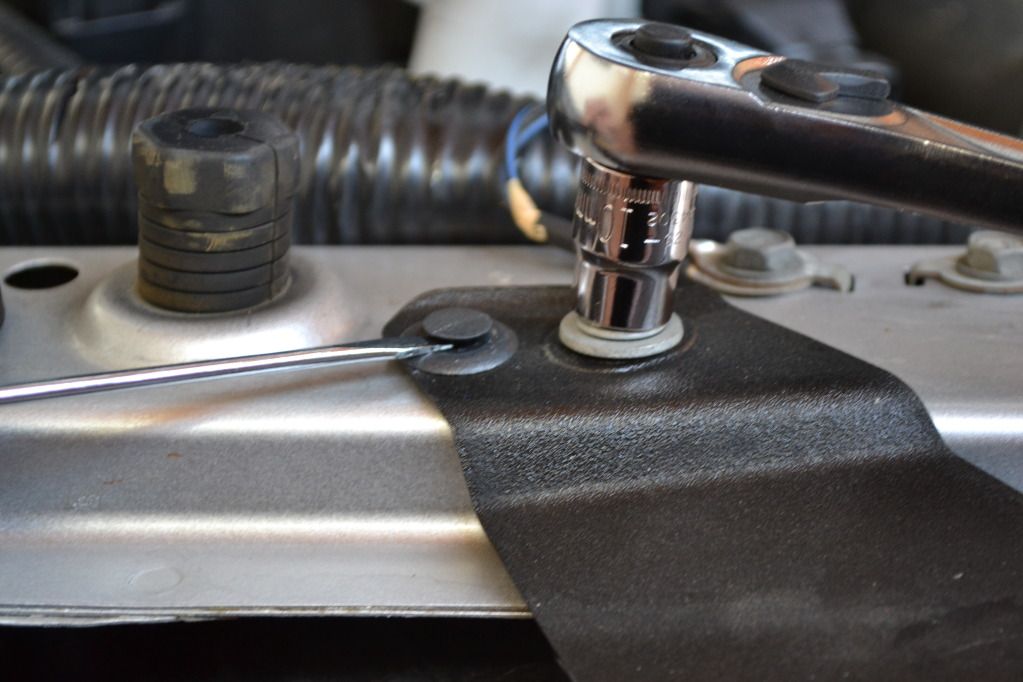
4. Remove the two screws from the bumper cover wheel well (2 on each side):
5. Remove the 4 screws from the underside of the cover (I was able to reach them even though my car is lowered):

While you�re down there you can disconnect the temp sensor that�s attached to the cover:
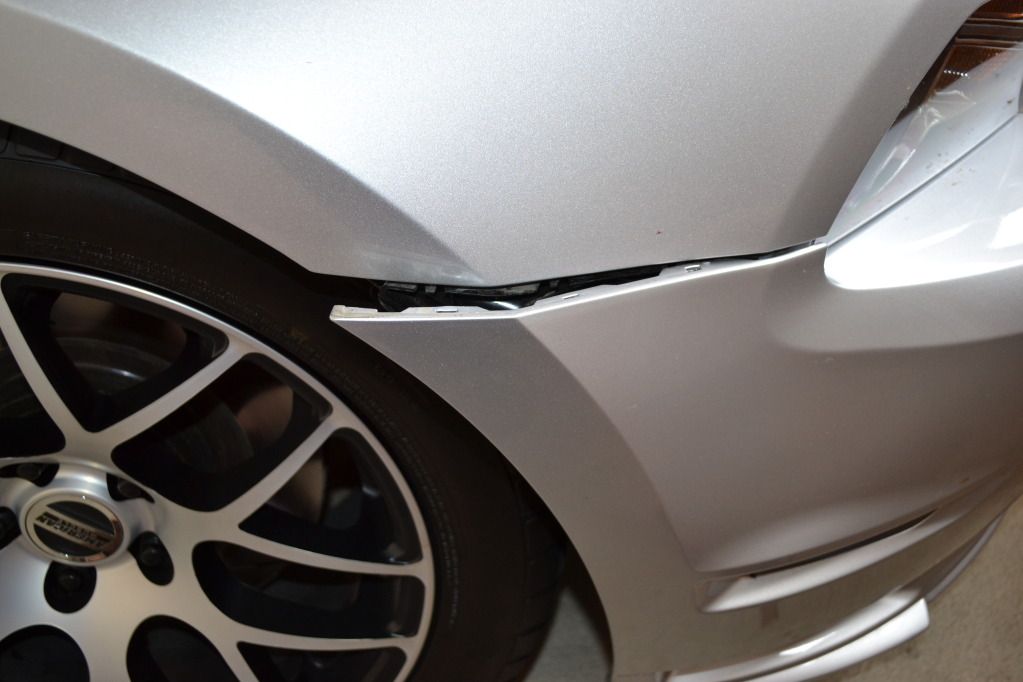
6. Remove the last two screws from the top of the cover (one on each side):

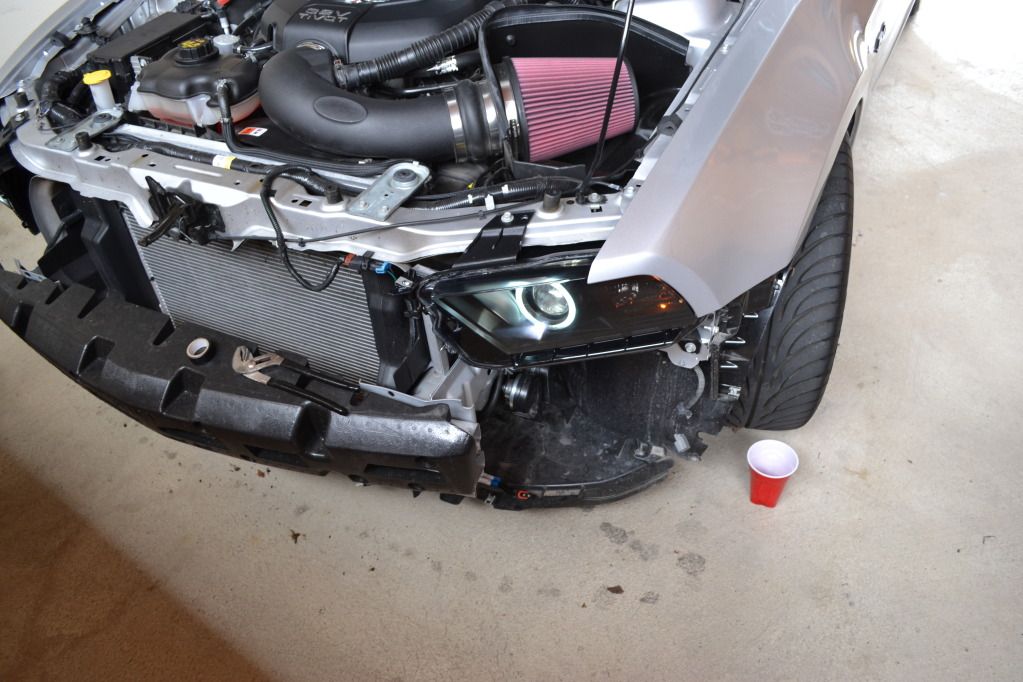
7. Here�s the hardest part�if you�ve never removed one of these bumper covers�you need to give a fairly forceful pull on the edge of the cover to separate it from the fender. There are three tabs and you will hear it �click� when it breaks free. It may feel like you are breaking it, but don�t be afraid to pull:
8. Remove the bumper cover (it�s hanging by two little tabs that are next to the last two screws you removed in the front; I didn�t take a picture of this, but you must disconnect the side marker light and the fog lights before removing the cover):
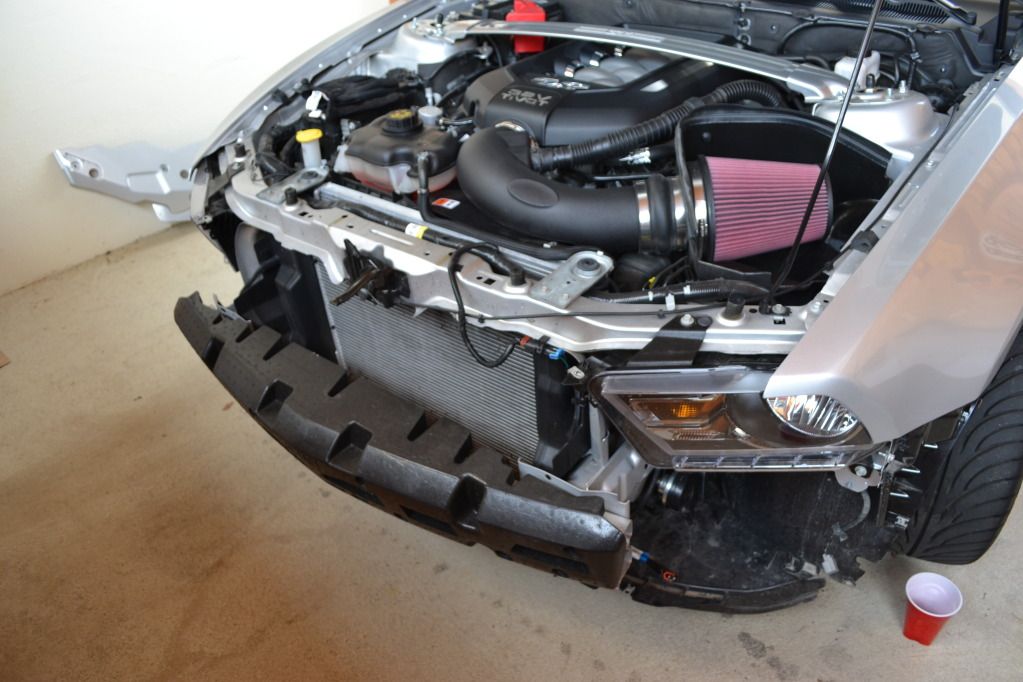
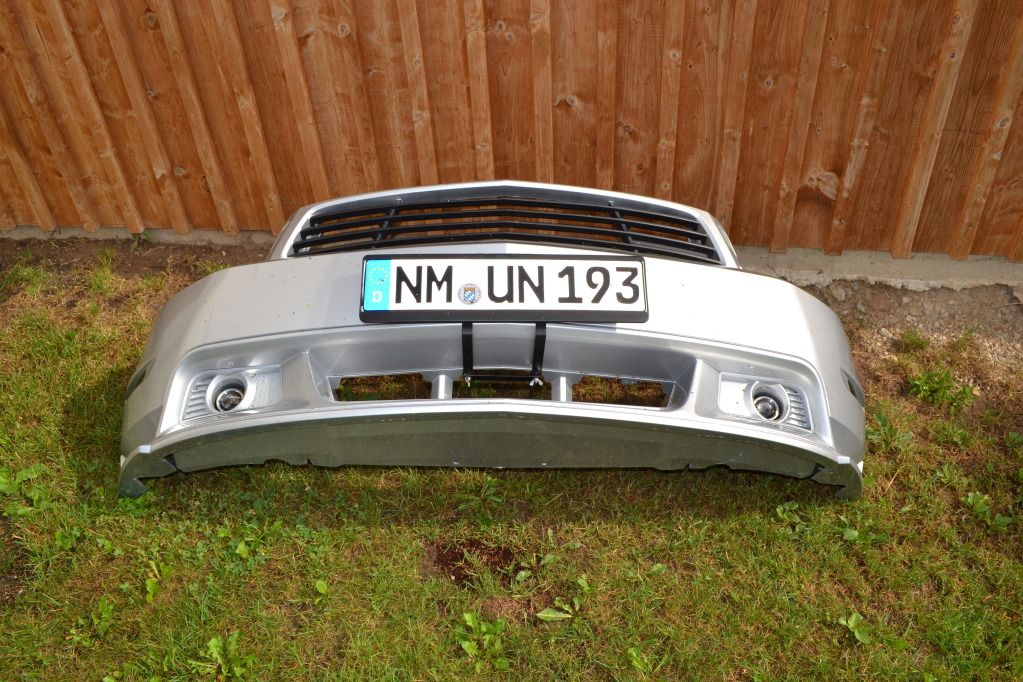
Have a place setup to put the cover so it doesn�t get scratched. I just placed it in my back yard:
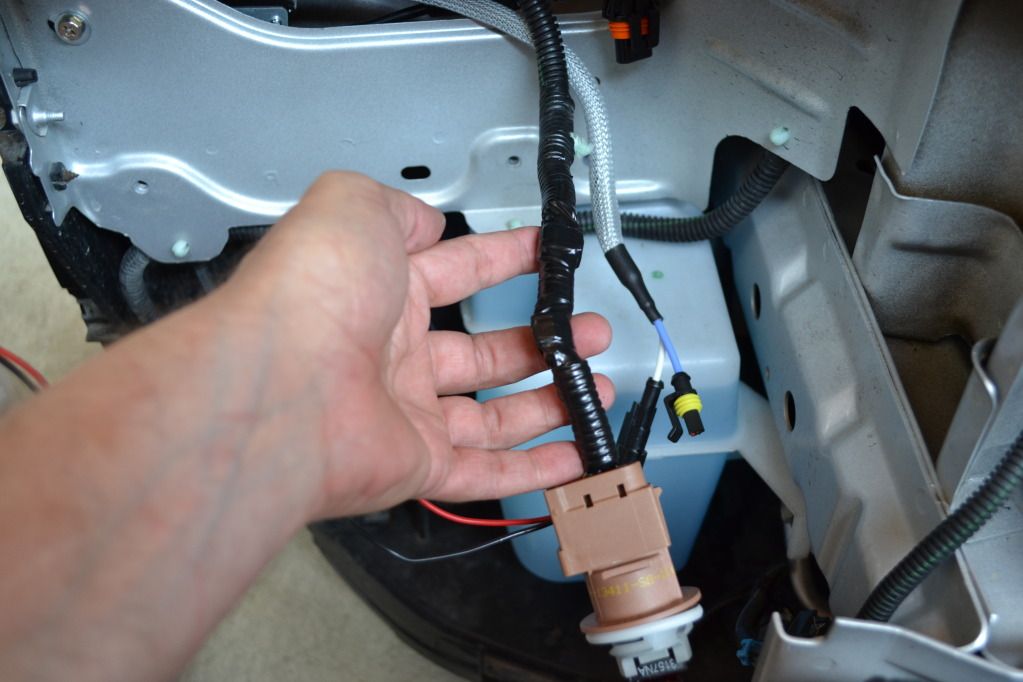
9. I then removed the stock headlights. 3 screws (one on top and two on the bottom) and a push pin is all that�s securing them:
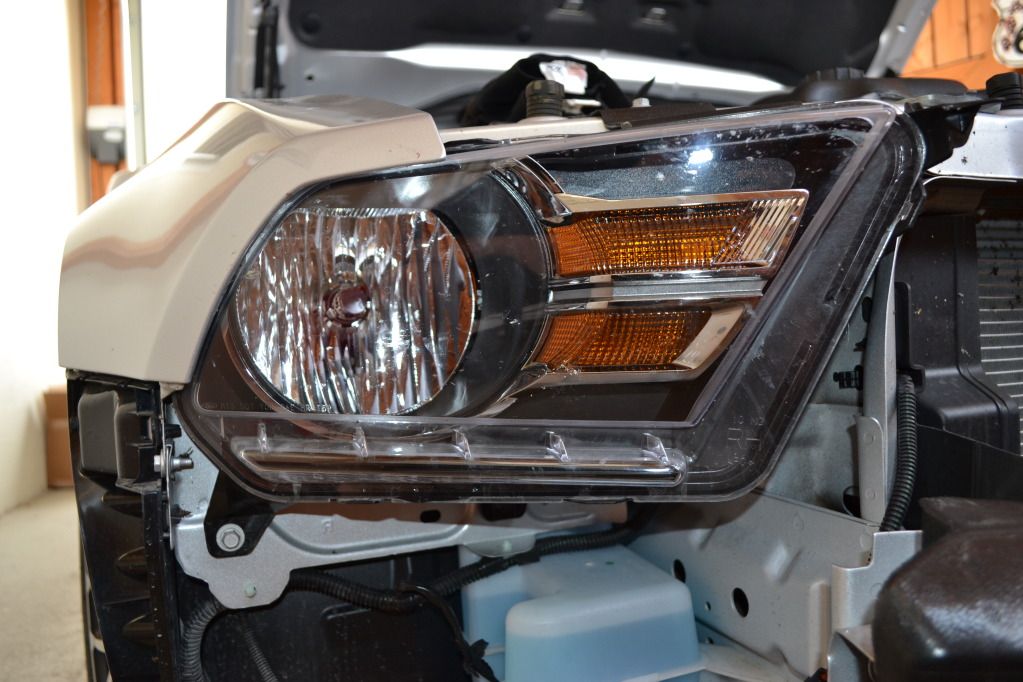
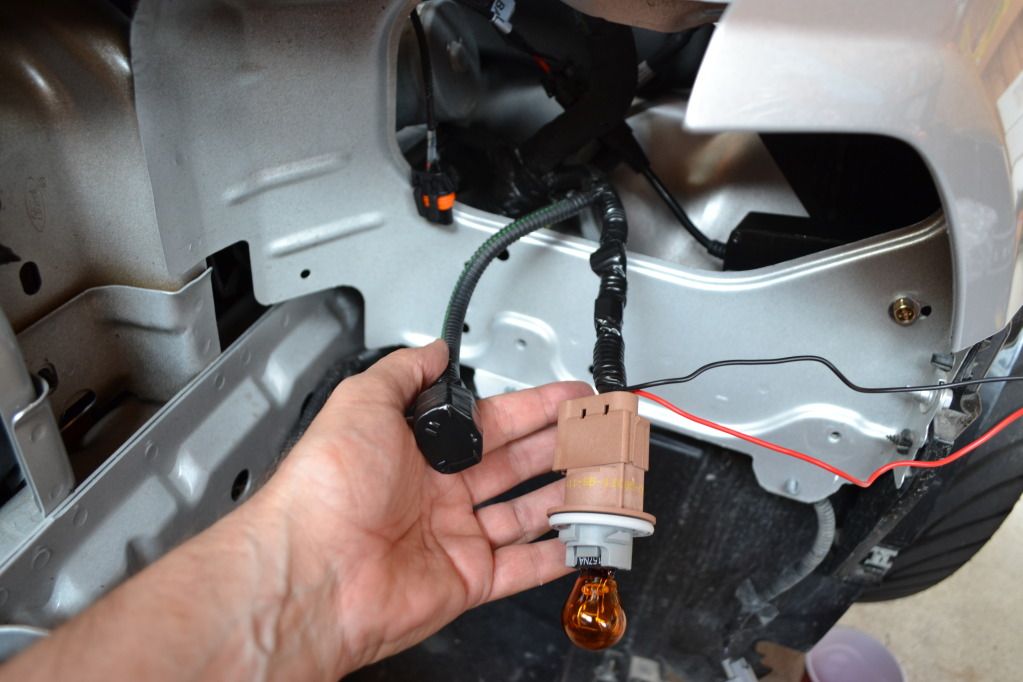
Here you can see the headlight connections. The grey one is for the main light and the square brown one that is hanging there is for the parking/direction signal. For the Raxiom lights you must replace the parking light with an amber bulb that is supplied with the lights:
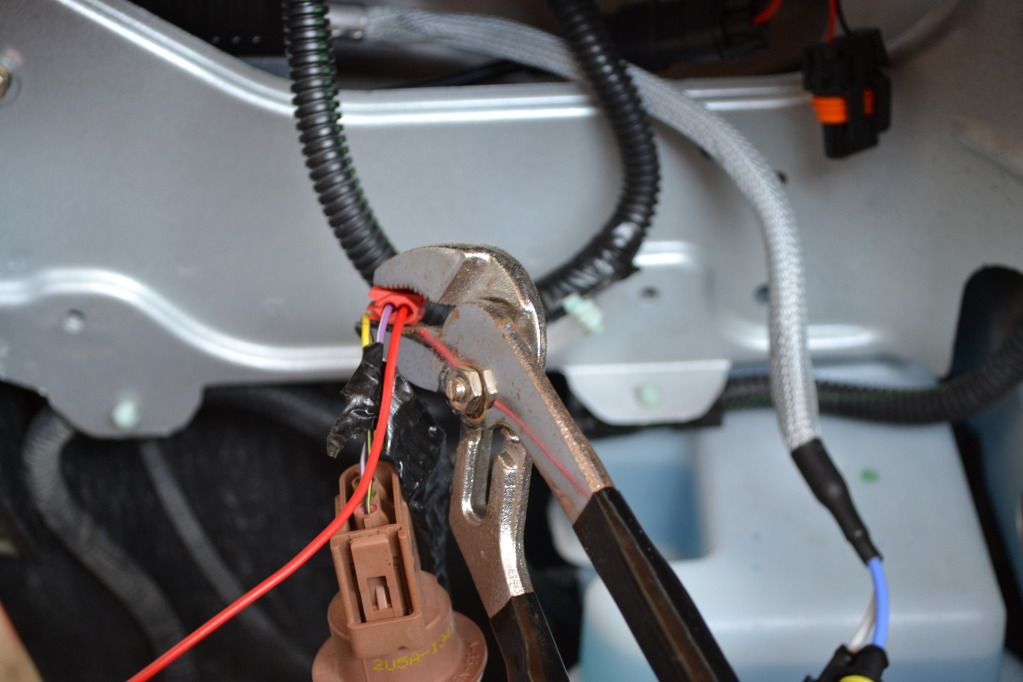
10. Next I start connecting the Raxiom HIDs to the ballasts and the harness. This part is easy since they were all marked. First, I needed to wire the halo to the parking light. These are pretty straight forward; purple wire to red wire from the Raxiom and black to black (I staggered them so it would be easier to tape):

While I was doing this, I used the boxes that the Raxioms were shipped in to hold the light:
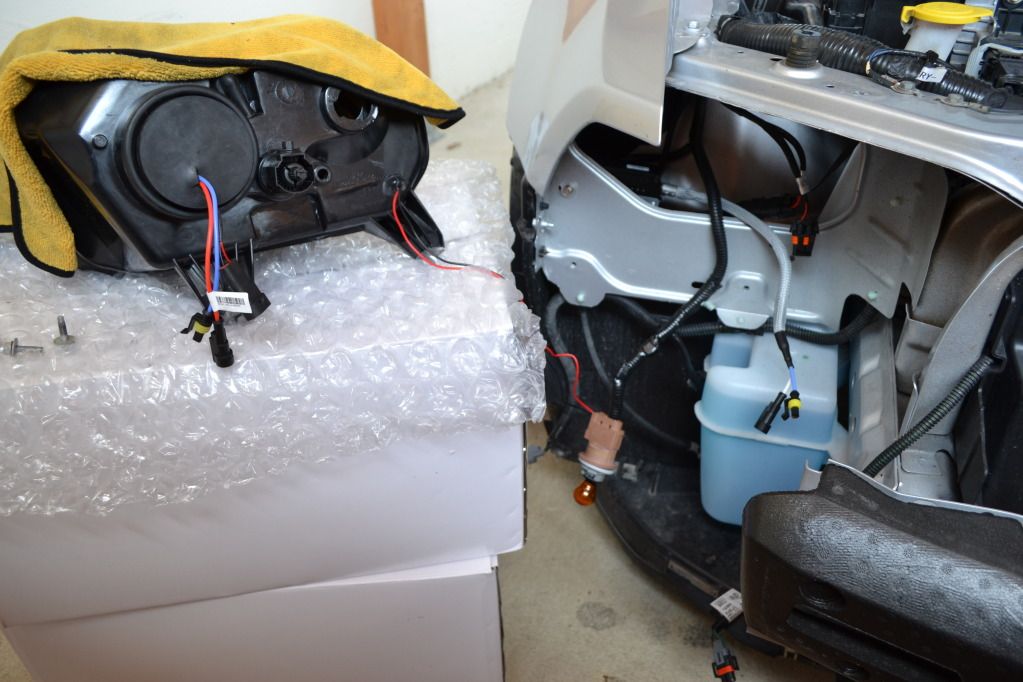
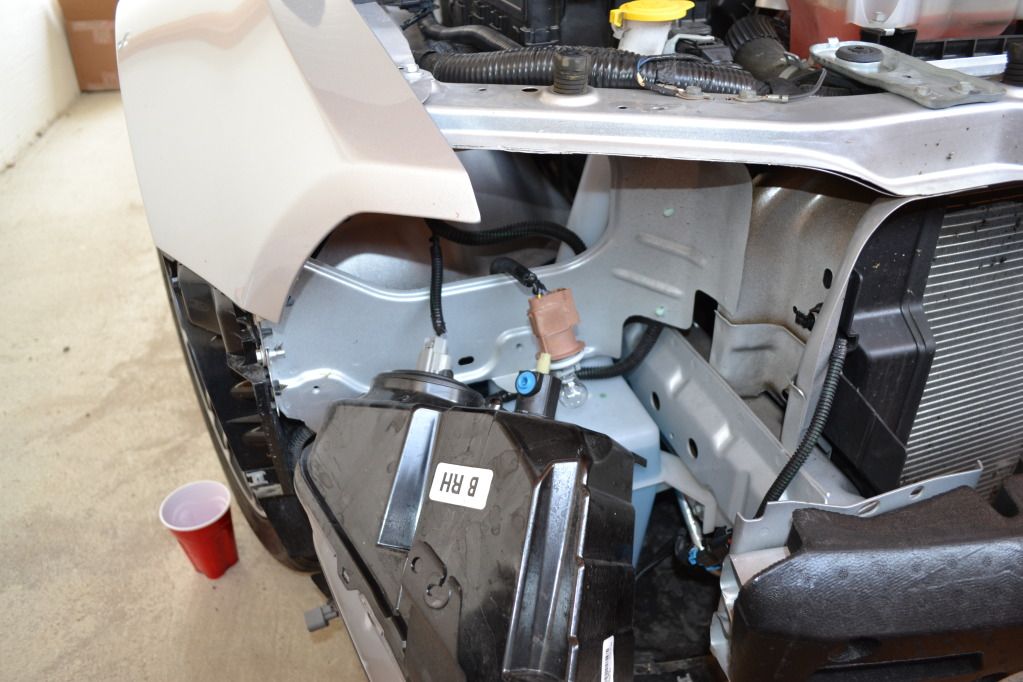
Because I�m using a Bi-Xenon harness then I needed to use the passenger side harness connector to plug into the passenger side OEM main light connector (the grey one I showed earlier). The driver�s side grey connector doesn�t get used in this install. I simply taped it up so water can�t get into it:
11. Once both lights were installed and wired then I tested them to make sure everything was working:
12. Next, I made sure all the wires from the harness were zip-stripped and orderly:
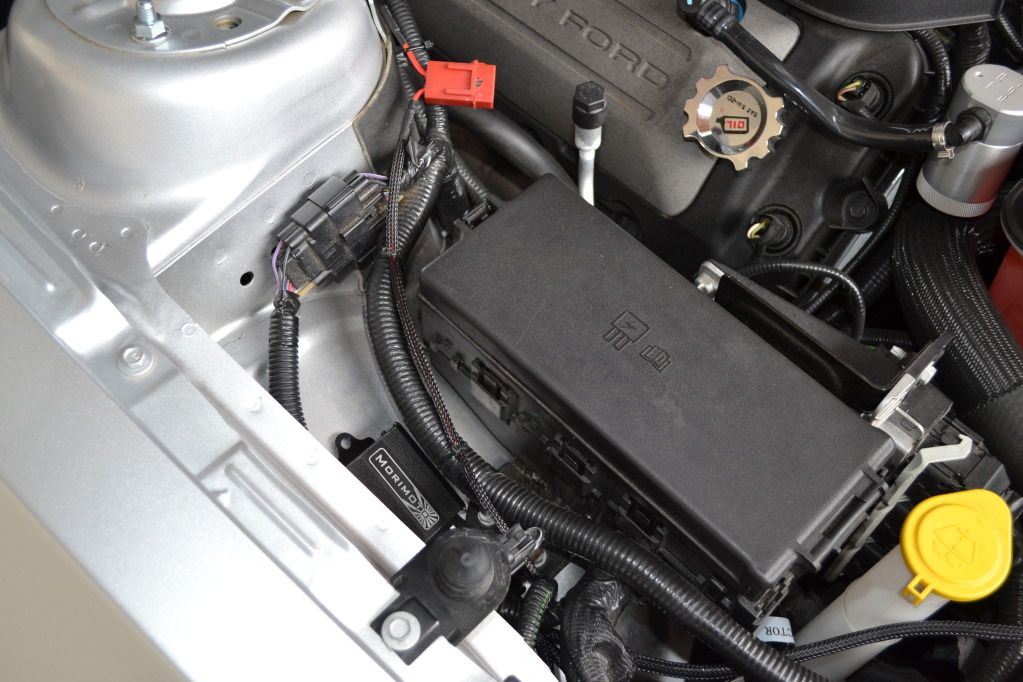
I didn�t have black zip-ties that were long enough in some places so I had to use white; however, since they will be under the radiator cover it�s no big deal:
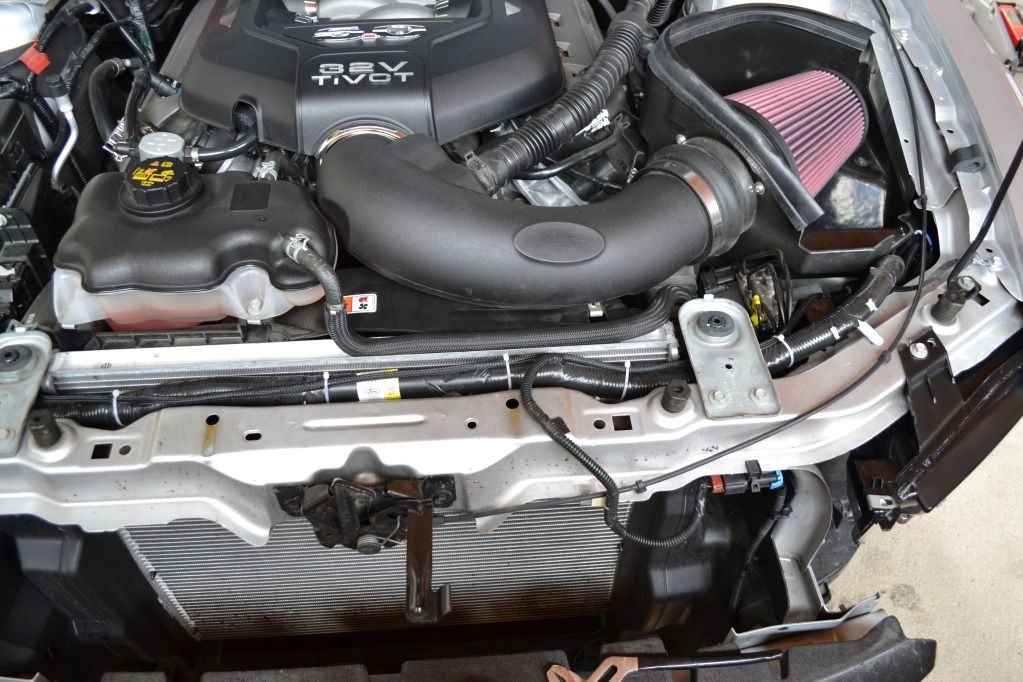
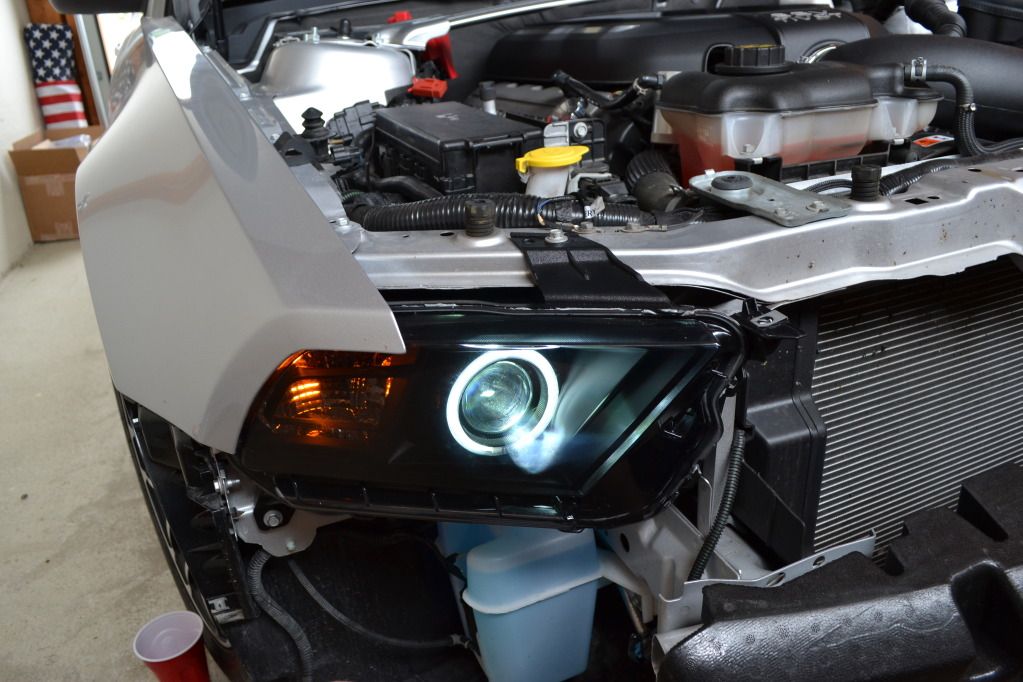
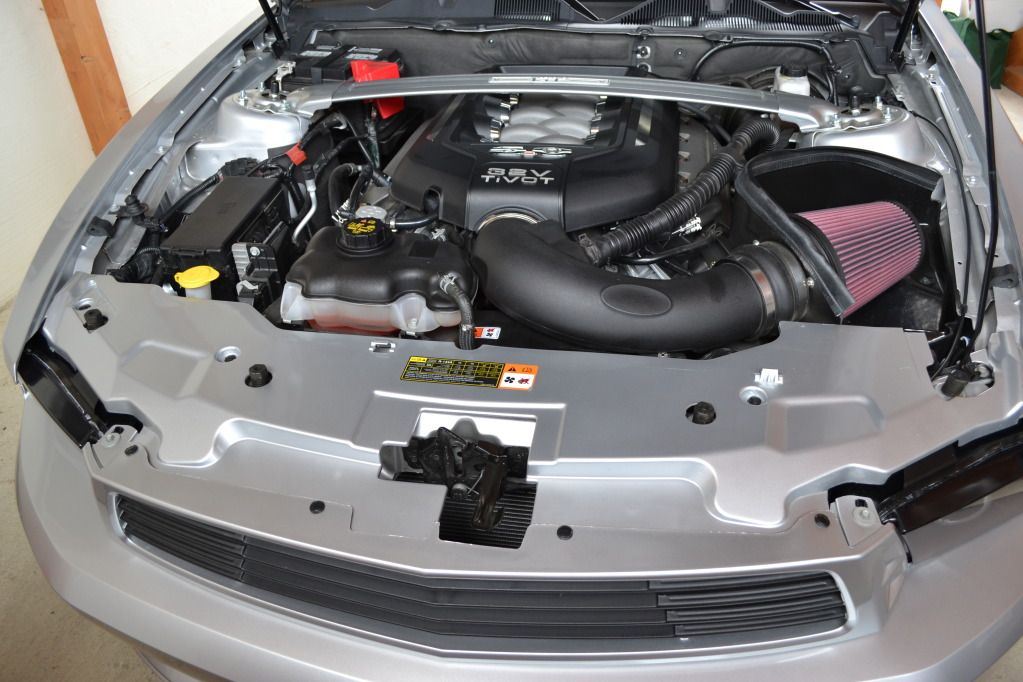
13. Replace bumper cover and radiator cover:
14. Adjusted the lights using my tape marks from step 1:
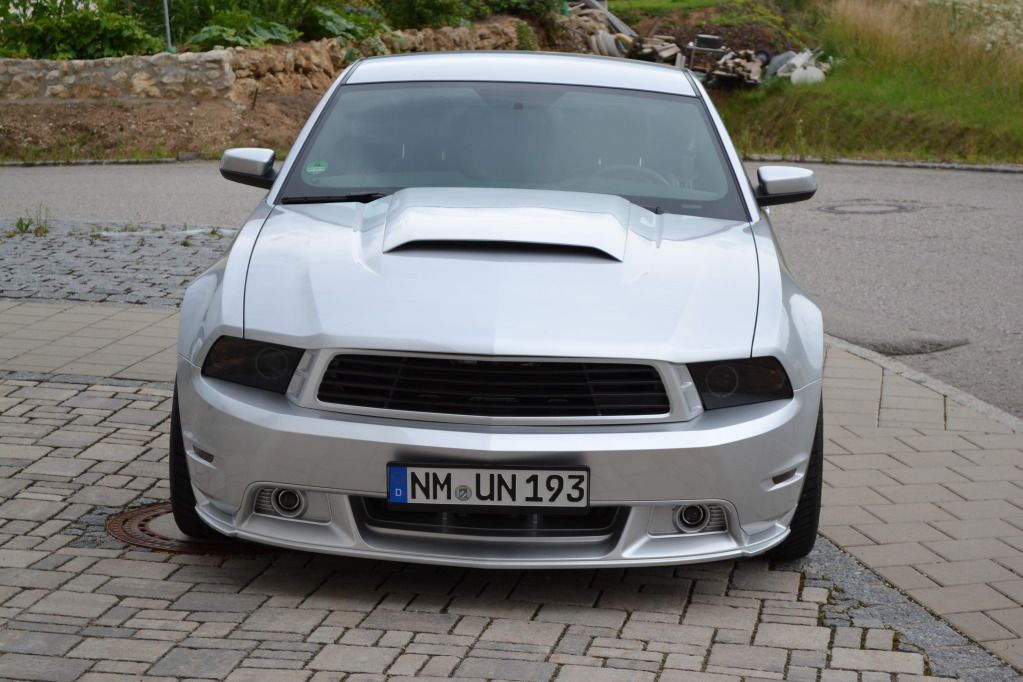
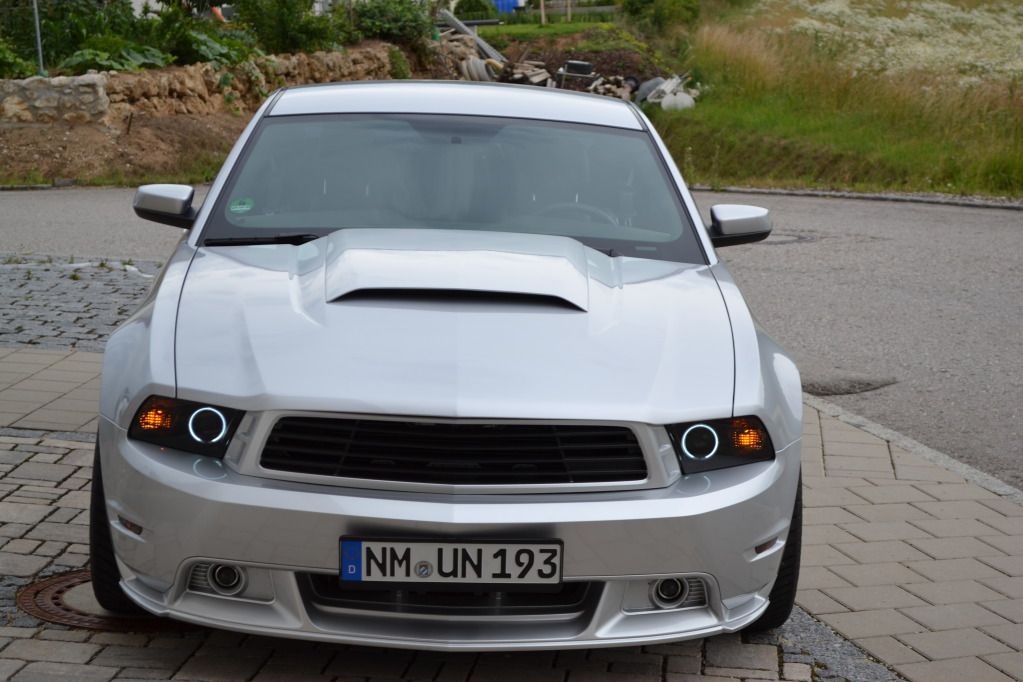
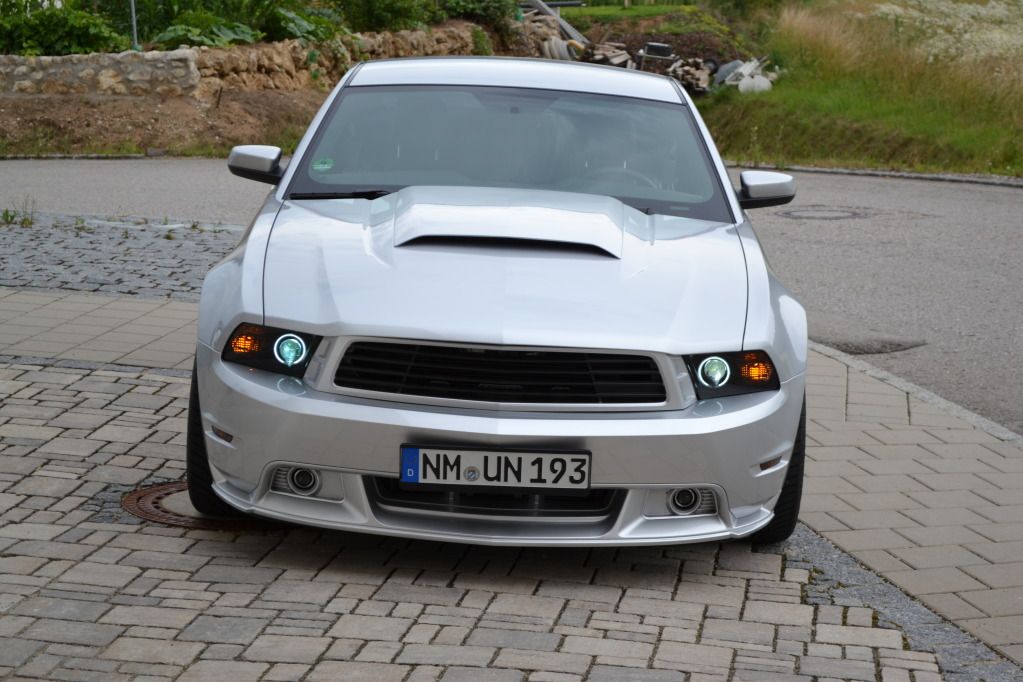
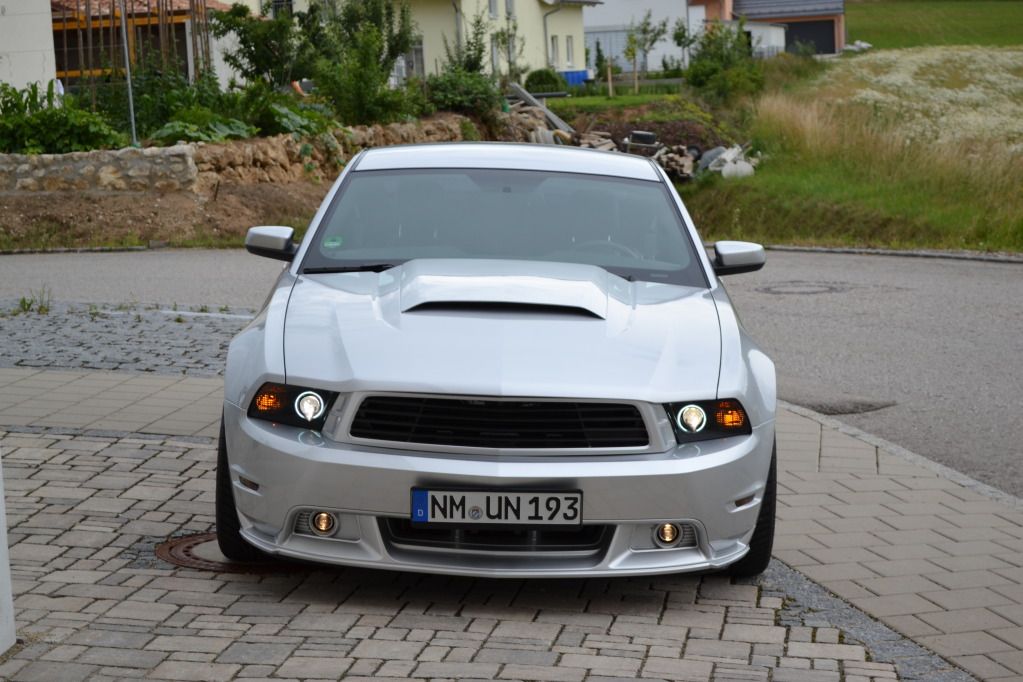
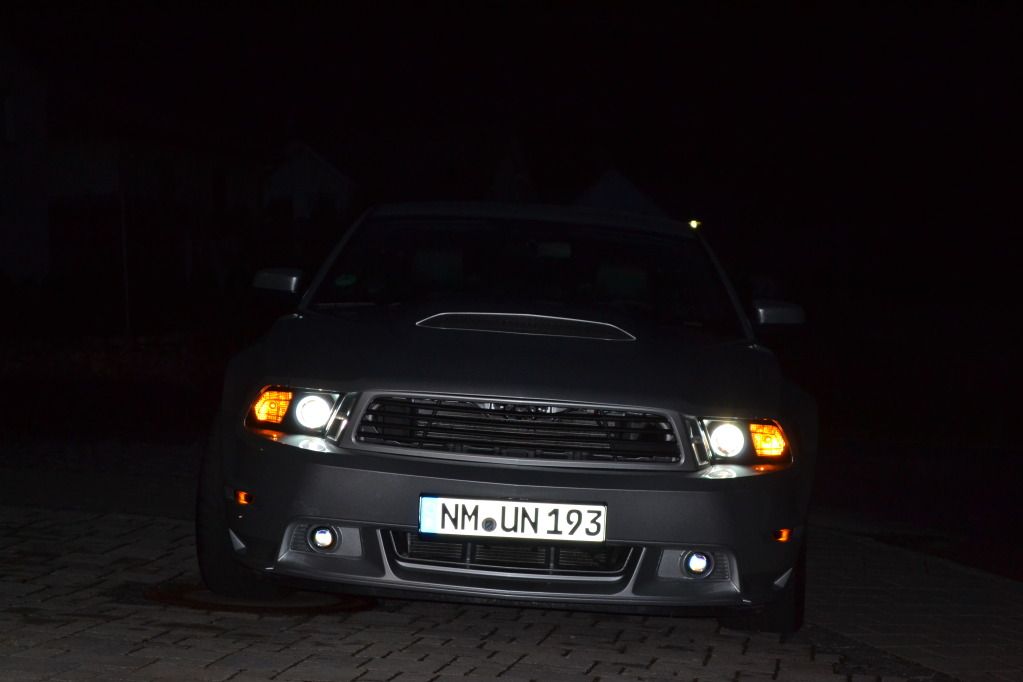
15. Take a step back and enjoy my new HIDs:
I was able to pick up some Raxiom lights for a steal on Fleebay. I tried using them with the halogen projectors and they looked okay, but the intensity of the light output was almost the same as the stock halogens that they replaced. So, I decided to have them retrofitted with HID projectors so I could still keep the look with actual HID projectors and not HID bulbs in the halogen projectors.
I found a guy online who does this and he quoted me a reasonable price. I don�t know what the cost was for the HID light option on my 2012, and I�m probably over that price, but when everything was said and done I spent about $600 for the Raxioms and the retrofit. If I would of used my stock halogen lights for the retrofit then naturally that would have saved me some cash. However I always like to keep the stock parts for resale later on. It�s always done well for me in the past.
If any of you are interested I recommend Kris from HID Retrofit Lights (the guy will do anything you want and keeps you updated via email and pictures):
http://www.facebook.com/HRLights
Okay, now for the install. Kris supplied everything I needed for a fairly simple plug-n-play setup. He retrofitted Morimoto Mini-H1 Projectors with 4300K bulbs, Morimoto 3five Ballasts, and a Morimoto Bi-Xenon Harness. All I needed to do was remove the bumper cover, take out the old lights, put in the new ones and wire it up�simple right?
Well, I�ll try and take you step-by-step (for those that know how to remove the bumper cover on a 2011-2012 Mustang GT then you can skip to the end). Here�s where I make a few disclaimers; I�m not a photographer so please excuse the pics; I�m also not a mechanic nor an electrician so please excuse any mistakes that may be made in my little garage. If you have a better way of doing things then please fill us in. I�ve done minor mechanic things over the years and I can do simple stuff like struts, springs, and other minor visual mods, but that�s as far as it goes.
All of this was done in my garage with simple tools and without the use of ramps or jack stands (If you are just replacing your OEM halogens for Raxioms then this will apply to you as well):
1. In my tiny little garage I first marked out the OEM halogen lights so I had a reference for later:
2. Next, since we�re working with electrical stuff, I figured it would be best to disconnect the negative terminal on the battery:
3. Taking off the radiator cover is removing simple push-pins; eight in total. :
4. Remove the two screws from the bumper cover wheel well (2 on each side):
5. Remove the 4 screws from the underside of the cover (I was able to reach them even though my car is lowered):
While you�re down there you can disconnect the temp sensor that�s attached to the cover:
6. Remove the last two screws from the top of the cover (one on each side):
7. Here�s the hardest part�if you�ve never removed one of these bumper covers�you need to give a fairly forceful pull on the edge of the cover to separate it from the fender. There are three tabs and you will hear it �click� when it breaks free. It may feel like you are breaking it, but don�t be afraid to pull:
8. Remove the bumper cover (it�s hanging by two little tabs that are next to the last two screws you removed in the front; I didn�t take a picture of this, but you must disconnect the side marker light and the fog lights before removing the cover):
Have a place setup to put the cover so it doesn�t get scratched. I just placed it in my back yard:
9. I then removed the stock headlights. 3 screws (one on top and two on the bottom) and a push pin is all that�s securing them:
Here you can see the headlight connections. The grey one is for the main light and the square brown one that is hanging there is for the parking/direction signal. For the Raxiom lights you must replace the parking light with an amber bulb that is supplied with the lights:
10. Next I start connecting the Raxiom HIDs to the ballasts and the harness. This part is easy since they were all marked. First, I needed to wire the halo to the parking light. These are pretty straight forward; purple wire to red wire from the Raxiom and black to black (I staggered them so it would be easier to tape):
While I was doing this, I used the boxes that the Raxioms were shipped in to hold the light:
Because I�m using a Bi-Xenon harness then I needed to use the passenger side harness connector to plug into the passenger side OEM main light connector (the grey one I showed earlier). The driver�s side grey connector doesn�t get used in this install. I simply taped it up so water can�t get into it:
11. Once both lights were installed and wired then I tested them to make sure everything was working:
12. Next, I made sure all the wires from the harness were zip-stripped and orderly:
I didn�t have black zip-ties that were long enough in some places so I had to use white; however, since they will be under the radiator cover it�s no big deal:
13. Replace bumper cover and radiator cover:
14. Adjusted the lights using my tape marks from step 1:
15. Take a step back and enjoy my new HIDs:
Thread Starter
2nd Gear Member
Joined: Jun 2011
Posts: 216
From: APO
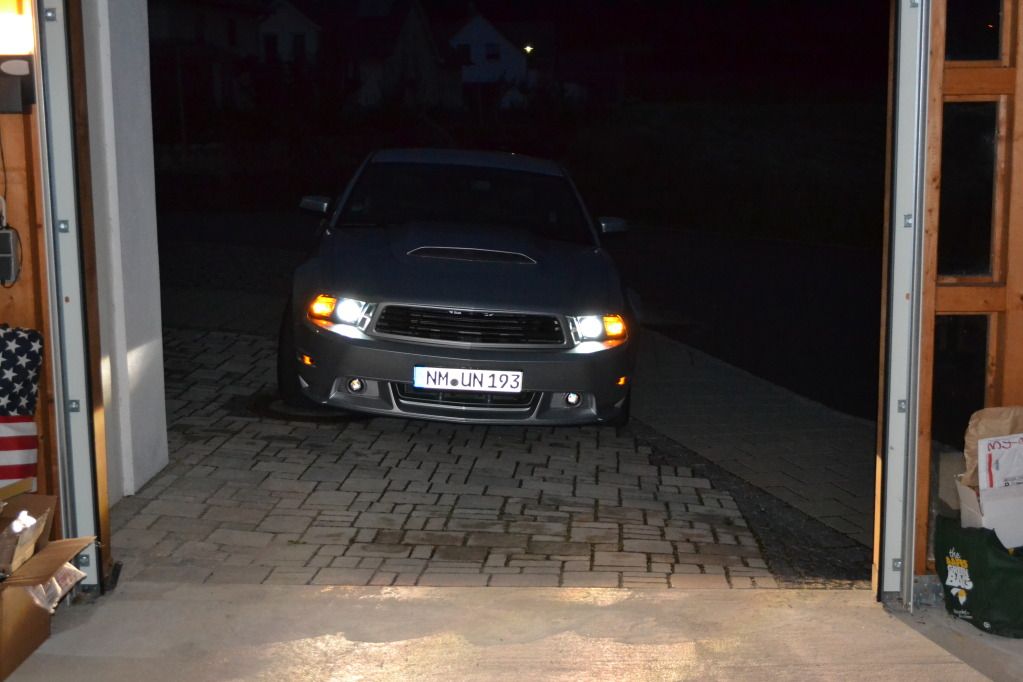
Here's a few night shots in my little driveway. It's got a little slope to it, and you probably can't see the difference between these and halogens, but I can see it immediately. The difference, from what I'm used to seeing with this car, is amazing. I love it:
I wish I knew how to work this camera...Doh!
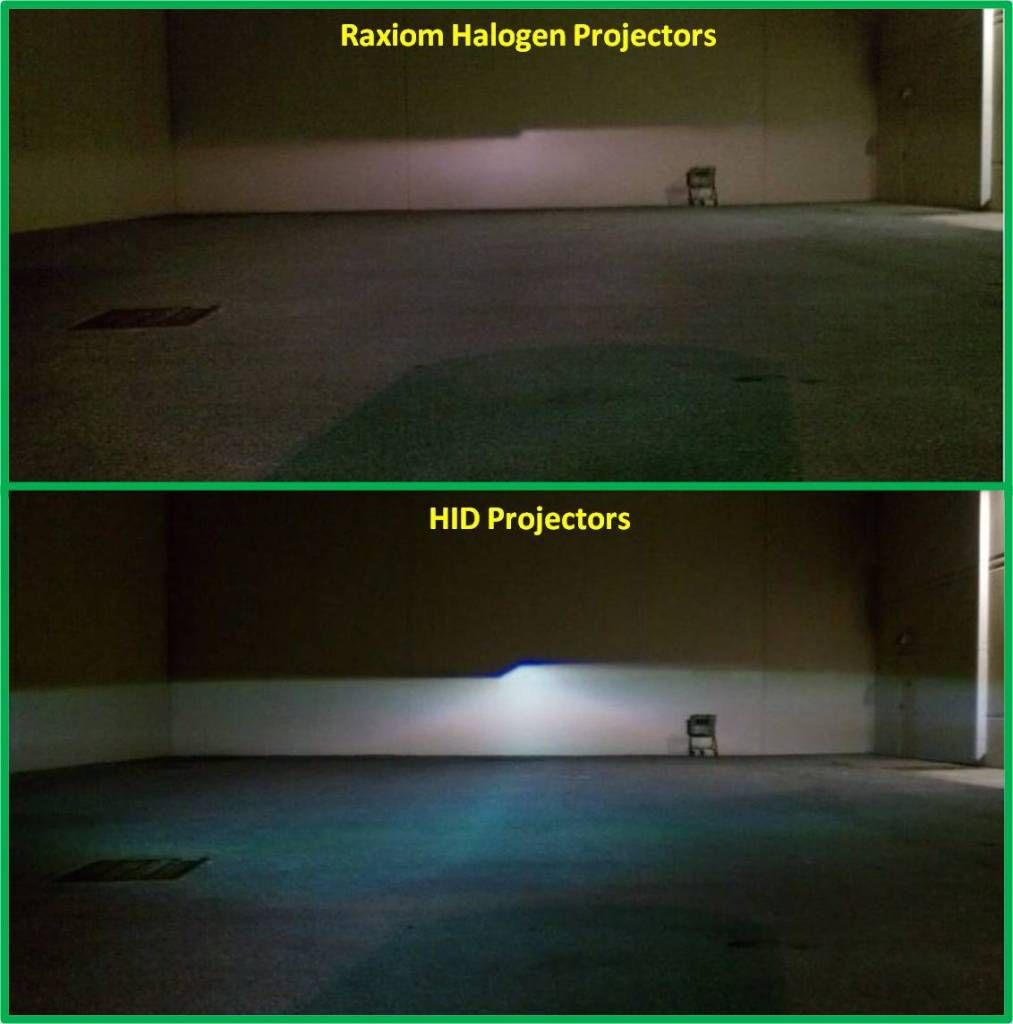
Here's the difference between the normal Raxiom Halogens and the HIDs:
I wish I knew how to work this camera...Doh!
Here's the difference between the normal Raxiom Halogens and the HIDs:


2nd Gear Member
Joined: Jun 2011
Posts: 471
From: MD
Nice write-up. I had halogen Raxioms for a few months but saw Kris' ad and ditched them. He does good work. I sold the Raxioms and had him retro my stockers back in January.
Enjoy the light output!
BTW - I love the silver C/S facia.
Enjoy the light output!
BTW - I love the silver C/S facia.
Last edited by BKamp613; Jul 1, 2012 at 06:14 PM.
2nd Gear Member
Joined: Jun 2011
Posts: 471
From: MD
They're pretty much worthless during foggy or rainy nights, and I had 4300K HIDs in mine. Not sure how the Chrome (clear lensed) Raxioms compare. I'm sure they're better, but a retro (Raxoims/Stocks/Etc...) is the next best thing to OEM.
Last edited by BKamp613; Jul 2, 2012 at 07:11 AM.
Thread Starter
2nd Gear Member
Joined: Jun 2011
Posts: 216
From: APO
The HIDs really make a difference in how my old eyes see on the road. I took a little ride last night and it was amazing to me. I could see things so much more clear.
Anyway, thanks for the complements. If I can answer any questions or help anyone just PM me.