When you click on links to various merchants on this site and make a purchase, this can result in this site earning a commission. Affiliate programs and affiliations include, but are not limited to, the eBay Partner Network.
This is the radio I used, eBay.
GSP Navigation, Android Radio, Auxiliary Input, AM/FM Receiver, 2xUSB Input, HDM Output, Reverse Camera Input, Steering Wheel Control,
Memory Card Slot, Video In, DVR Function, Android Nougat 7.1 System, Split Screen Multitasking, DAB+, Cortex A9 1.6Ghz Quad Core,
2GF DDR3 Ram, 16 GB ROM, 1024x600 Resolution, WiFi, OBDII, 4 x 45W amplifier output, GPS.
Installation Kit. I filed the sides of the face plate adapter so the it would fit over the
radio bezel. It did not look right pressed up against it, left some open space, so I widened
it so the radio front would go through it.
This was a test fit into the HVAC bezel. When it went into the car, it was recessed, but I added spacers
behind the mount tabs, shown later.
You have to use a resister on the amp turn on lead. The amp has a 5V trigger from what I read. Without the
resister the subs will POP when the amp turns on. The resister lowers the current flow, and you don't hear
anything, just like factory. A 1.5K resister is recommended. I don't know what K-ohm that is, I have some,
so I tried that one, and it worked. No POP when the amp is powered up. I also used an interface, the Scosche
FD5000, to preserve RAP, but that doesn't work... As soon as I key off, it shuts down, but comes back on right
where it was left.
Hooked it all up for a test, powered on by itself.
Just put on some static, and tested the four speakers with the AMP selection in settings. Sub is connected
too. No test for that, both L&R are on that single RCA output.
As you can see, the top portion of the radio is recessed backwards a little. I fixed this later by adding
spacers behind the mounting tabs. I used the removed mounting tabs from the install kit. When I did that,
the bottom kind of recessed back a little, so I added spacers to the bottom too.
Had a bunch of these, you remove the ones that are not used in your application. So, I put one behind
each mounting tab. I needed longer bolts, and luckily, four came with the install kit!
One behind each mounting tab, don't need to show them all...
As you can see, when I did just the top two, the bottom kind of recessed a little...
Better! With spacers behind all four bolt locations.
USB x2, and HDMI ports ran back into the console, and, found the plastic cover when I did...
ALL DONE!!
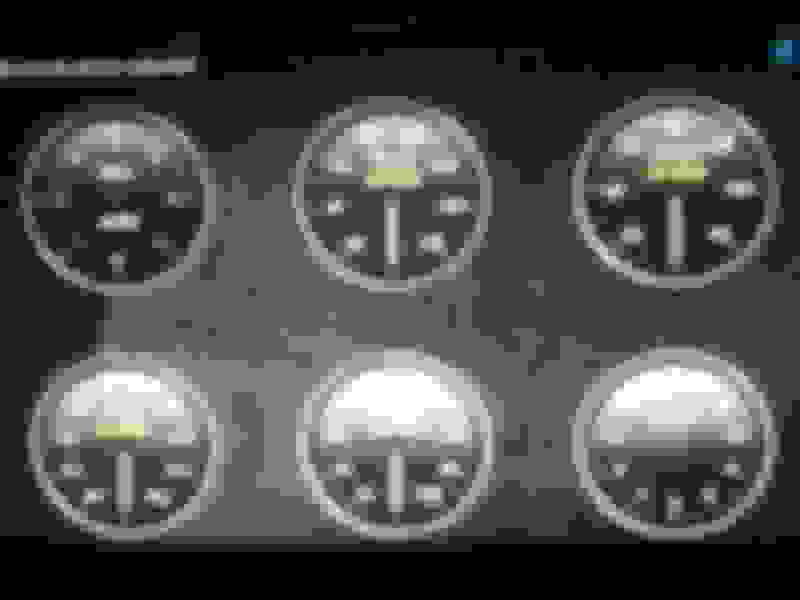
The rest of the pictures, no descriptions, just some display demos.
Last edited by 08'MustangDude; 04-14-2018 at 12:03 AM.
THEN I found there is a direct ford bolt and plug in:
This one comes with the ford harnesses.... Would have saved me hours of work.
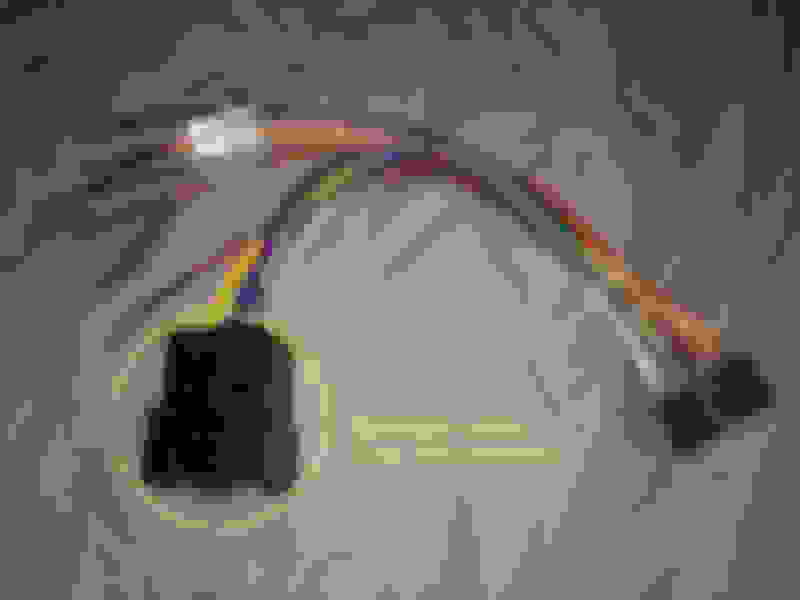
Mine came with this harness:
With a dental tool, I pulled out all the spade connectors, and then cut them off the wires...
Then was the but connecting them all together. Eonon has a ford harness that I could have
used, with all three connectors; but not sure they could sell that separately. It comes with the
Ford ready Eonon radios.
 04-14-2018, 12:01 AM