
How to: Install HIDs

Thread Starter
5th Gear Member
Joined: Dec 2007
Posts: 2,112
From: Houston, Tx
So the mail man came today and brought me my HIDs. Well surprise surprise they came with no instructions... and the HIDs from DDM are different from MMRs HID that suck. I chose the 55w, 8000K, Dual beam, HID kit.
So as promised, here is my install write up.
Total time to figure it all out and install WITH OUT INSTRUCTIONS = ~2 hours.
With instructions= ~30 minutes
Difficulty= Easy
So for those who are stuck, maybe this will help.
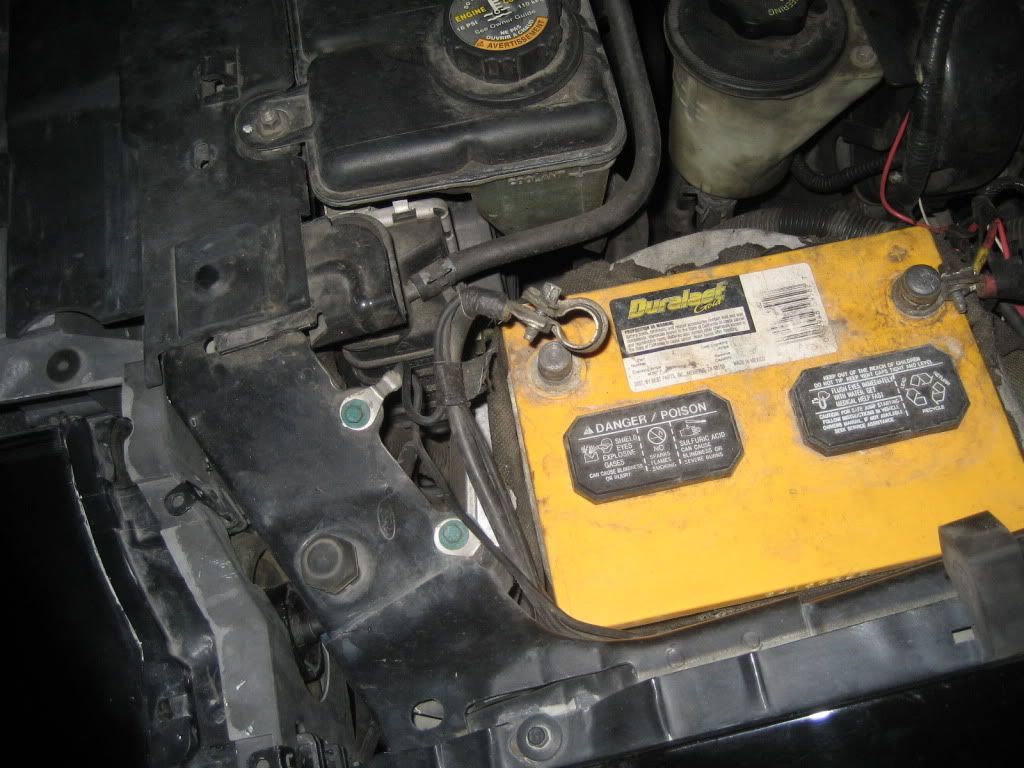
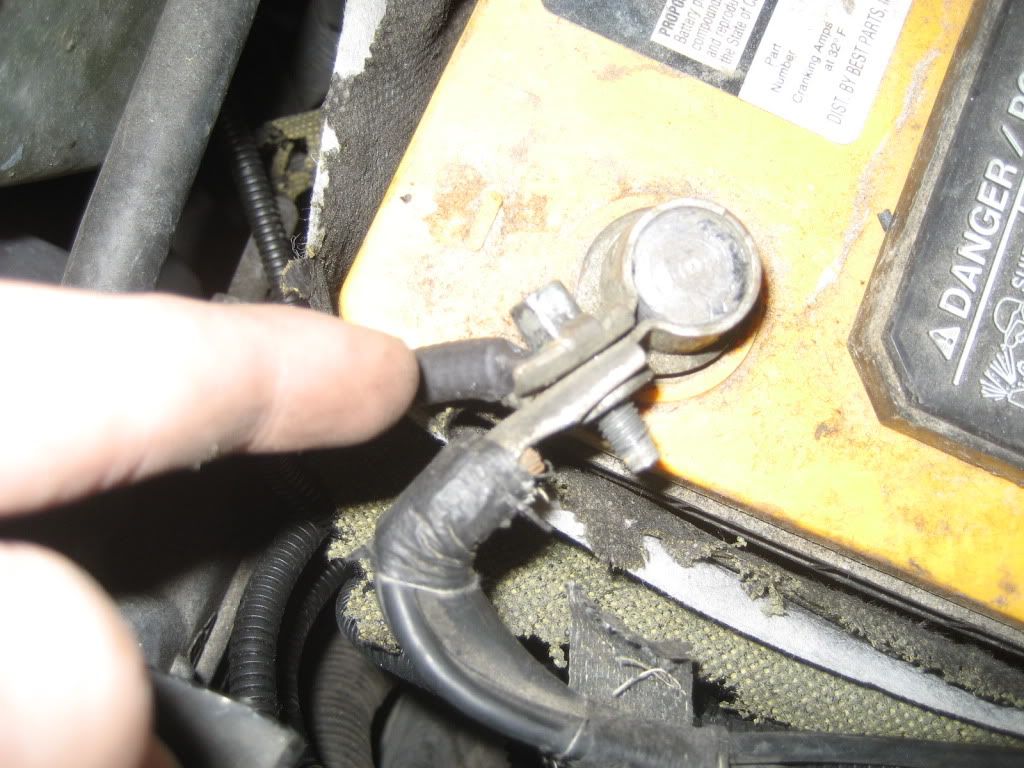
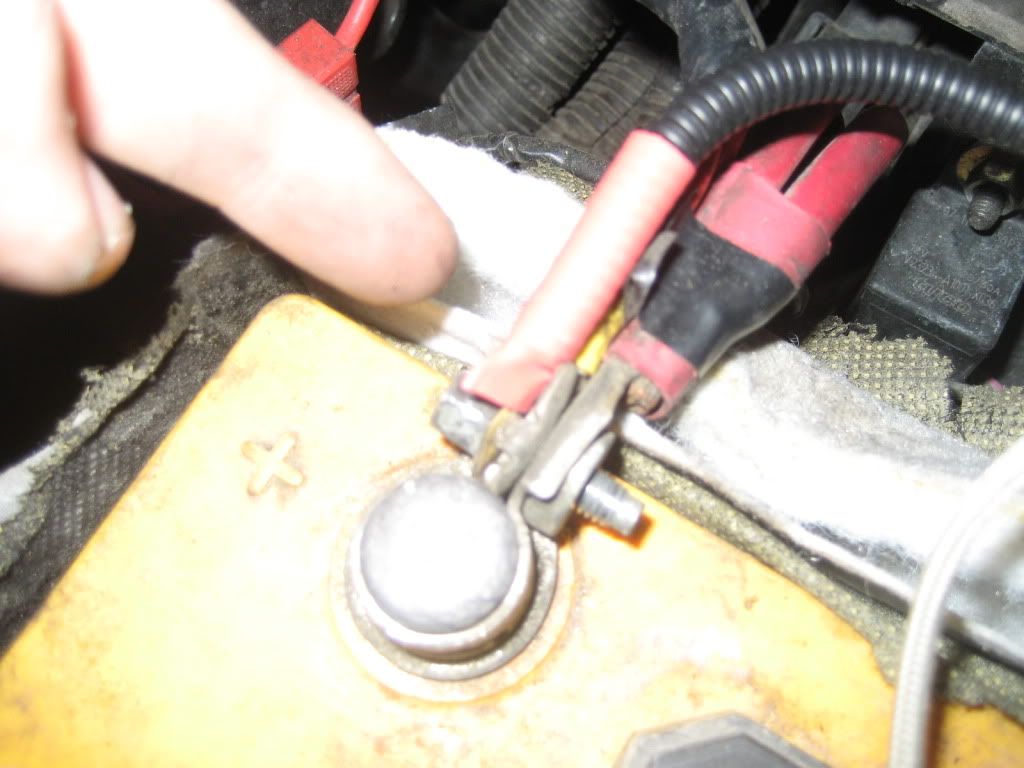
First start by disconecting the battery
I decided to lay everything out on the floor and see how it all bolted up.


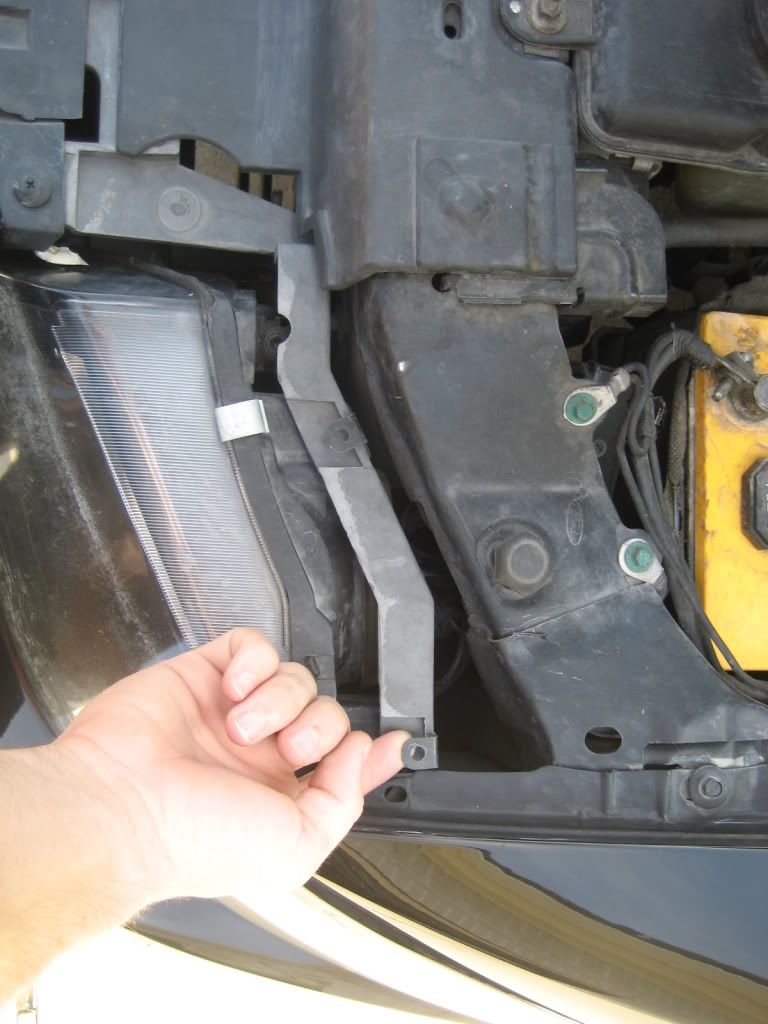
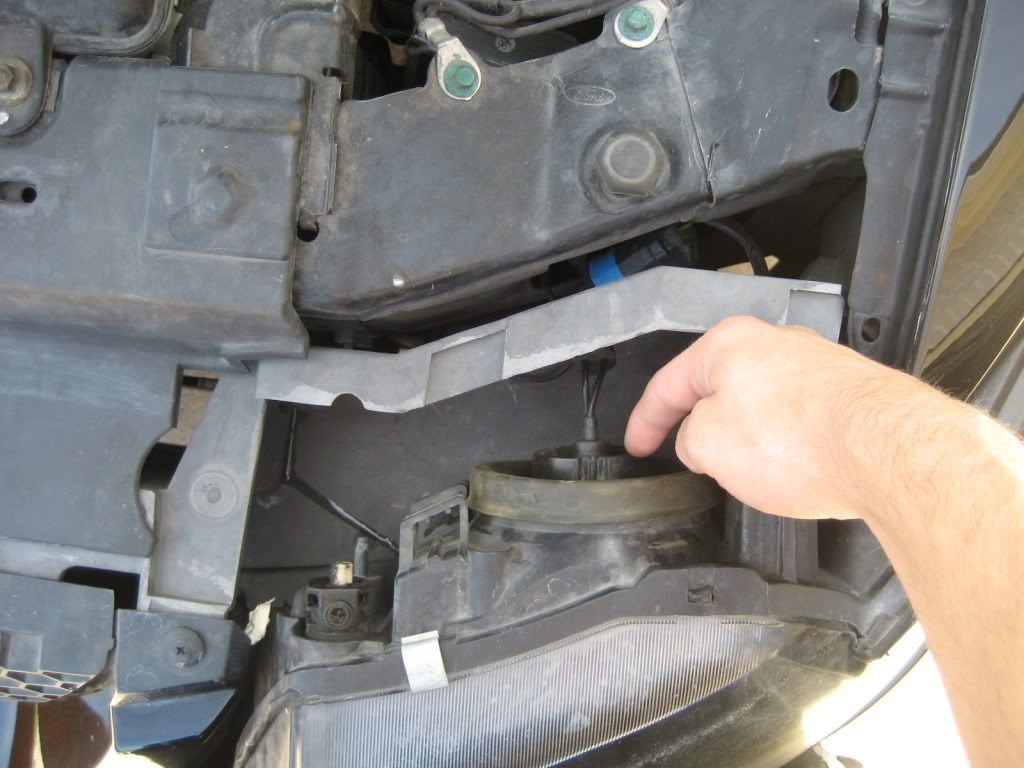
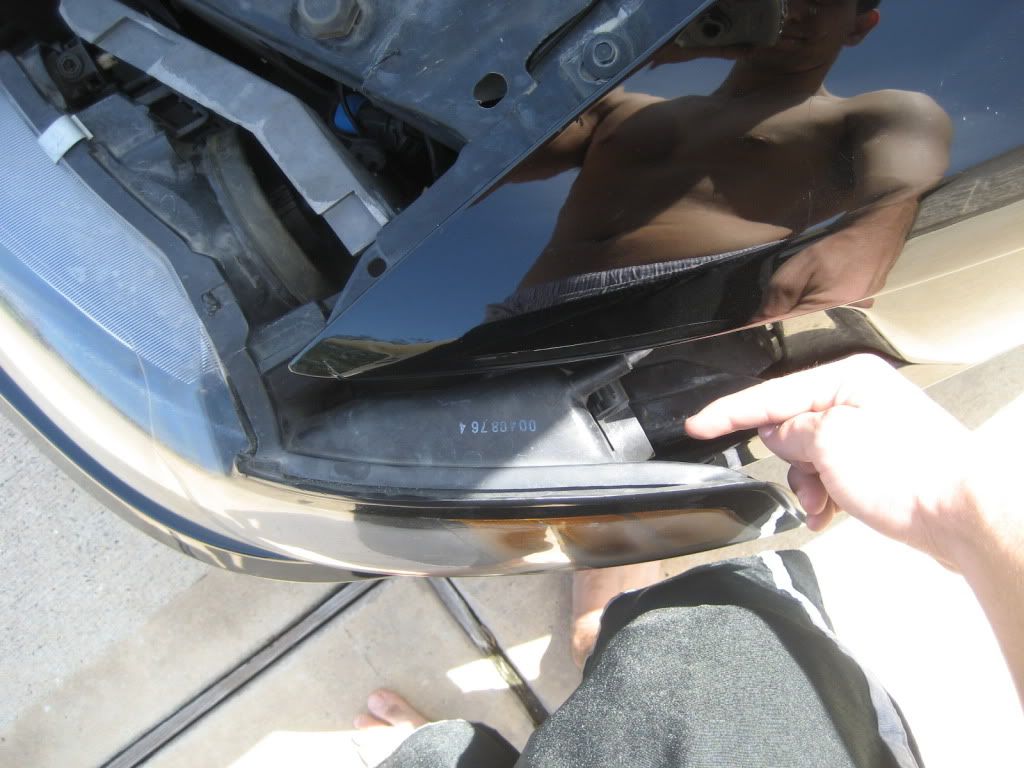
I actually removed the battery to have more room during the install. First thing was i removed the head light completly (Refer below if you dont know how to). This made things a lot easier!

(Yes i used old pictures because i didnt want to take pictures of the same thing twice)
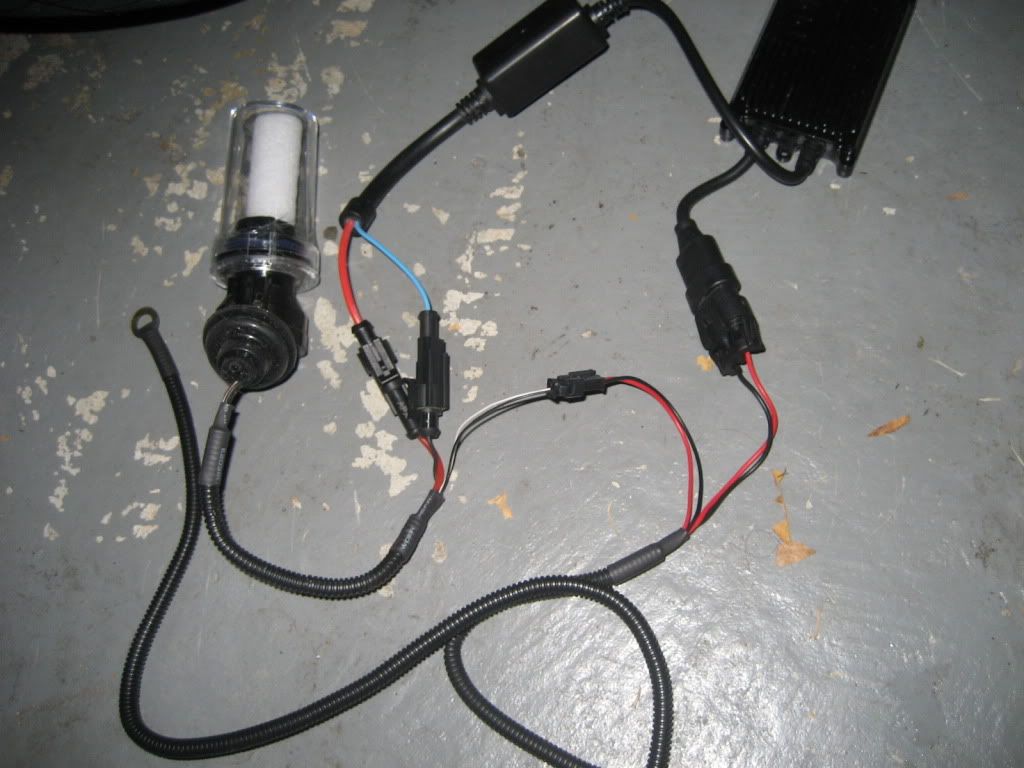
After the head light was out I took out the light bulb and took the bottom, lets call it "shell case", and plugged it into the head light. The new lights are way longer. Almost twice as long as the MMR HID kit.

Take the rubber peices off, in this case the blue and clear peices. This will allow it to actually be locked in place by the back holder.
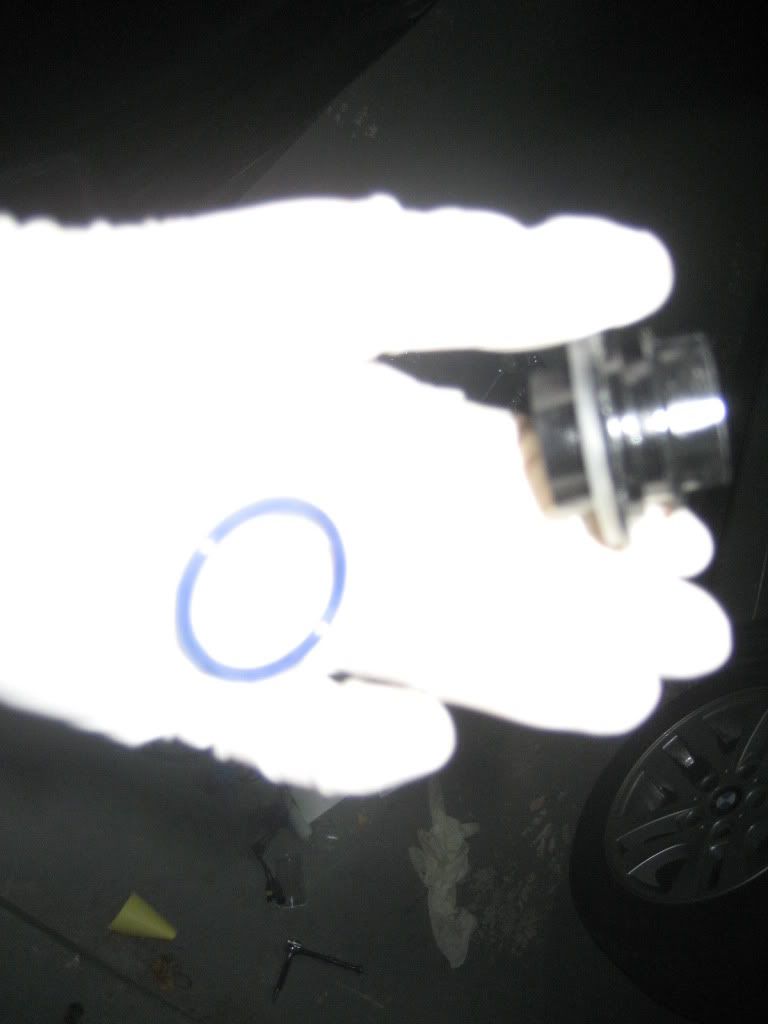
Next, after the shell is locked in, put the bulb in and lock it in. It should look like this. Use gloves for this process! NEVER EVER EVER TOUCH THE BULB WITH YOUR FINGERS! The oil on your hand will cause the bulb to pop.
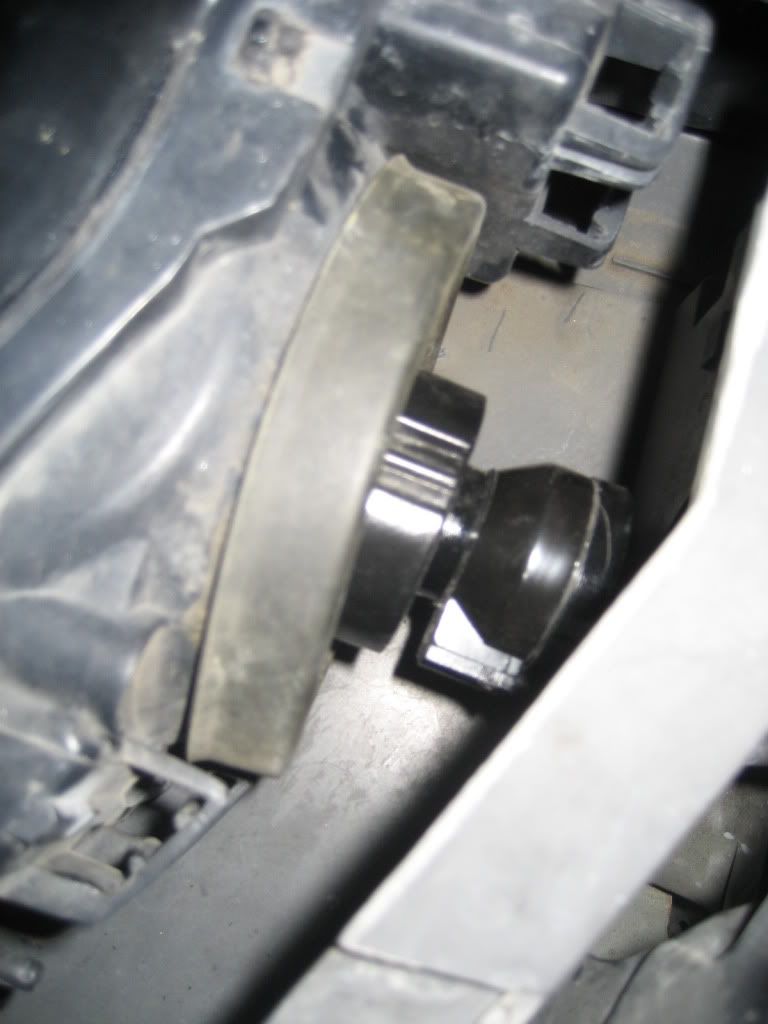
Plug the male and females up from the ballest to the lights. This part is plug and play. There really isnt an excuse for error.
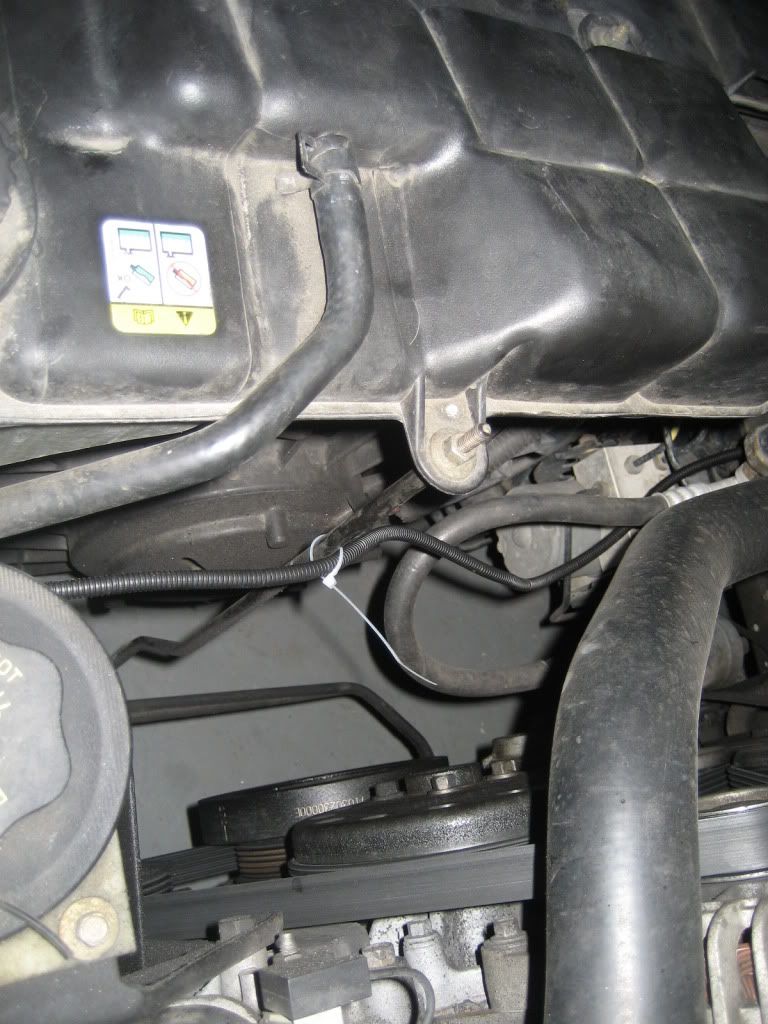
I used the double sided tape to tape the ballest on to the side of the engine bay AWAY from anything too hot.
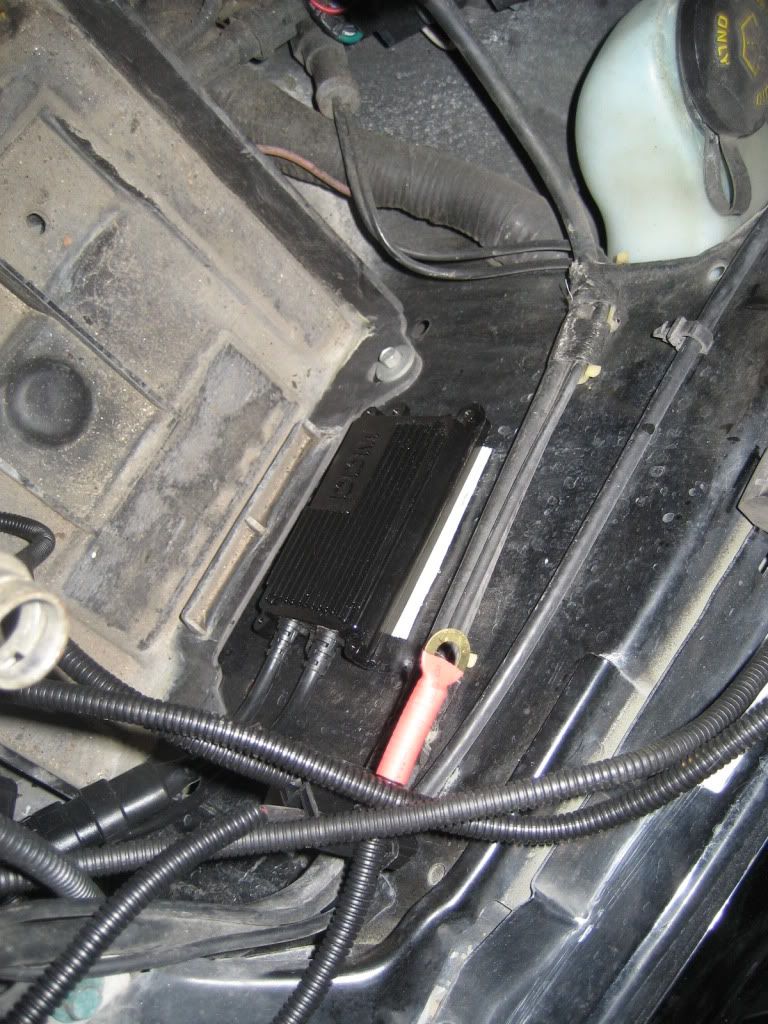
I hid all the wires between the batter and my head lights for a nice clean flush look. I used some zip ties to clean the engine bay better.
Next this part confused me for almost an hour. It came with only ONE BLUE PLUG! OUR CARS HAVE 2! I thought that they sent me the wrong one and then i decided to only hook it up. It was the only logical thing to do and it worked. Dont freak out... its not a mess up
Put the battery back on, and properly hook up the ground and power wires.
Now your done!
Ill post more pictures tomorrow!
So as promised, here is my install write up.
Total time to figure it all out and install WITH OUT INSTRUCTIONS = ~2 hours.
With instructions= ~30 minutes
Difficulty= Easy
So for those who are stuck, maybe this will help.
First start by disconecting the battery
I decided to lay everything out on the floor and see how it all bolted up.
I actually removed the battery to have more room during the install. First thing was i removed the head light completly (Refer below if you dont know how to). This made things a lot easier!
(Yes i used old pictures because i didnt want to take pictures of the same thing twice)
After the head light was out I took out the light bulb and took the bottom, lets call it "shell case", and plugged it into the head light. The new lights are way longer. Almost twice as long as the MMR HID kit.
Take the rubber peices off, in this case the blue and clear peices. This will allow it to actually be locked in place by the back holder.
Next, after the shell is locked in, put the bulb in and lock it in. It should look like this. Use gloves for this process! NEVER EVER EVER TOUCH THE BULB WITH YOUR FINGERS! The oil on your hand will cause the bulb to pop.
Plug the male and females up from the ballest to the lights. This part is plug and play. There really isnt an excuse for error.
I used the double sided tape to tape the ballest on to the side of the engine bay AWAY from anything too hot.
I hid all the wires between the batter and my head lights for a nice clean flush look. I used some zip ties to clean the engine bay better.
Next this part confused me for almost an hour. It came with only ONE BLUE PLUG! OUR CARS HAVE 2! I thought that they sent me the wrong one and then i decided to only hook it up. It was the only logical thing to do and it worked. Dont freak out... its not a mess up
Put the battery back on, and properly hook up the ground and power wires.
Now your done!
Ill post more pictures tomorrow!

4th Gear Member
Joined: Apr 2009
Posts: 1,250
From: Cleveland, TN
Can't wait to see more pics. I have considered doing the upgrade as long as it looks decent with stock housings. I know it's a no no or what ever but I don't care for projector housings on a new edge! When you say dual beam do you mean you still have functioning brights also? What did the kit cost? I would have to do my fogs too or at least put in blue looking halogens lol

Former Sponsor
Joined: Nov 2007
Posts: 604
-came with no instructions
-came with no proper mating connector to the stock wiring it appears as well
-also, it should be noted that it is kit comprised of a 50w ballast and 35w bulbs, its not really a 55w kit and will run hotter, not to mention have a shorter life span
nice write up on the install though
-came with no proper mating connector to the stock wiring it appears as well
-also, it should be noted that it is kit comprised of a 50w ballast and 35w bulbs, its not really a 55w kit and will run hotter, not to mention have a shorter life span
nice write up on the install though

2nd Gear Member
Joined: Sep 2007
Posts: 357
From: Westminster, Maryland
a word of caution to the people considering this. aside from the point that HIDs are a terrible idea in stock housings, the so called "dual beam" kits are horribly dangerous. they actually change the amount of voltage going to the HID arc, causing it to move. problem is, that the arc will never move to the same position twice, especially as it ages. the result is a dangerously unpredictable beam pattern.


Thread Starter
5th Gear Member
Joined: Dec 2007
Posts: 2,112
From: Houston, Tx
Can't wait to see more pics. I have considered doing the upgrade as long as it looks decent with stock housings. I know it's a no no or what ever but I don't care for projector housings on a new edge! When you say dual beam do you mean you still have functioning brights also? What did the kit cost? I would have to do my fogs too or at least put in blue looking halogens lol
-came with no instructions
-came with no proper mating connector to the stock wiring it appears as well
-also, it should be noted that it is kit comprised of a 50w ballast and 35w bulbs, its not really a 55w kit and will run hotter, not to mention have a shorter life span
nice write up on the install though
-came with no proper mating connector to the stock wiring it appears as well
-also, it should be noted that it is kit comprised of a 50w ballast and 35w bulbs, its not really a 55w kit and will run hotter, not to mention have a shorter life span
nice write up on the install though
I am pretty sure that they are not 35W lights. These lights are almost 2 times longer than the 35W from MMR. Ill put a picture from before and after. These are very very long.
Thanks for the props on the write up. One thing unusual was that it came with only ONE blue plug adapter peice. Not 2. But it works with only one connected. IDK if thats good or bad. Thats just how my kit came.
BTW, even though i found the instructions, they are still useless..
Thread Starter
5th Gear Member
Joined: Dec 2007
Posts: 2,112
From: Houston, Tx
Can't wait to see more pics. I have considered doing the upgrade as long as it looks decent with stock housings. I know it's a no no or what ever but I don't care for projector housings on a new edge! When you say dual beam do you mean you still have functioning brights also? What did the kit cost? I would have to do my fogs too or at least put in blue looking halogens lol
a word of caution to the people considering this. aside from the point that HIDs are a terrible idea in stock housings, the so called "dual beam" kits are horribly dangerous. they actually change the amount of voltage going to the HID arc, causing it to move. problem is, that the arc will never move to the same position twice, especially as it ages. the result is a dangerously unpredictable beam pattern.
Thread Starter
5th Gear Member
Joined: Dec 2007
Posts: 2,112
From: Houston, Tx