


My $5 subframe connectors


Thread Starter
4th Gear Member
Joined: Mar 2009
Posts: 1,110
From: NJ
 My $5 subframe connectors
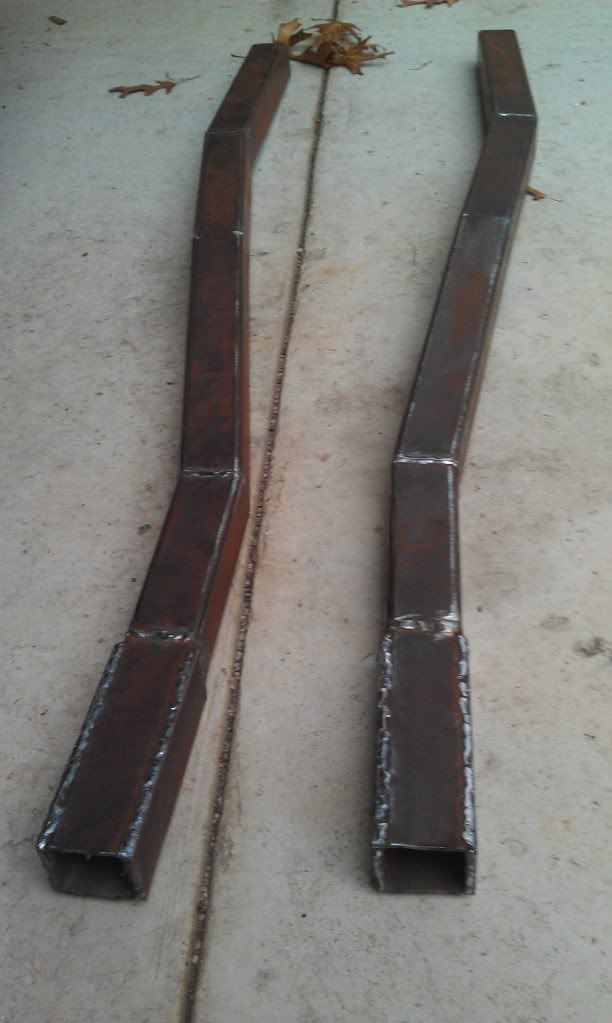
I wanted a set of Tinman connectors, but decided to try Daze DIY connectors. I got very lucky when I got 8' of 2x2 tubing and 1/8x2 plate from a mutual welder friend for $5. Spent this afternoon cutting, welding and following Daze instructions.
http://dazed.home.bresnan.net/sub-frame.html
They came out identical to each other and hopefully they will fit since he has a disclaimer that they may not be a direct fit on convertibles.

http://dazed.home.bresnan.net/sub-frame.html
They came out identical to each other and hopefully they will fit since he has a disclaimer that they may not be a direct fit on convertibles.
Last edited by scootchu; Oct 11, 2011 at 06:04 PM.

Thread Starter
4th Gear Member
Joined: Mar 2009
Posts: 1,110
From: NJ
The tubing had some surface rust on it so I am going to treat it with Phosphoric Acid and then paint with Por15. I still have to weld the tabs on the back, but I first want to see if they will fit right.

1st Gear Member
Joined: Sep 2007
Posts: 86
From: Portland, OR
That was a major oversight on my part when I got my set of Tinman subframes. I was so happy to get them and so eager to get them welded on that I didn't think to coat them with anything. Now they are covered in rust. Ugh. 
Thread Starter
4th Gear Member
Joined: Mar 2009
Posts: 1,110
From: NJ
Looks like I will have to cut the seat pan reinforcement to fit these in so it's gonna have to wait a bit as I don't want to start hacking into that.
I will finish the welding on the connectors and paint them first.
I will finish the welding on the connectors and paint them first.


Thread Starter
4th Gear Member
Joined: Mar 2009
Posts: 1,110
From: NJ
What started as a small project now will become larger now that I need to split the reinforcement pans. I just painted them with Por 15. I will snap a pic.
I love being able to weld... not very good... but weld all the same.

Thread Starter
4th Gear Member
Joined: Mar 2009
Posts: 1,110
From: NJ