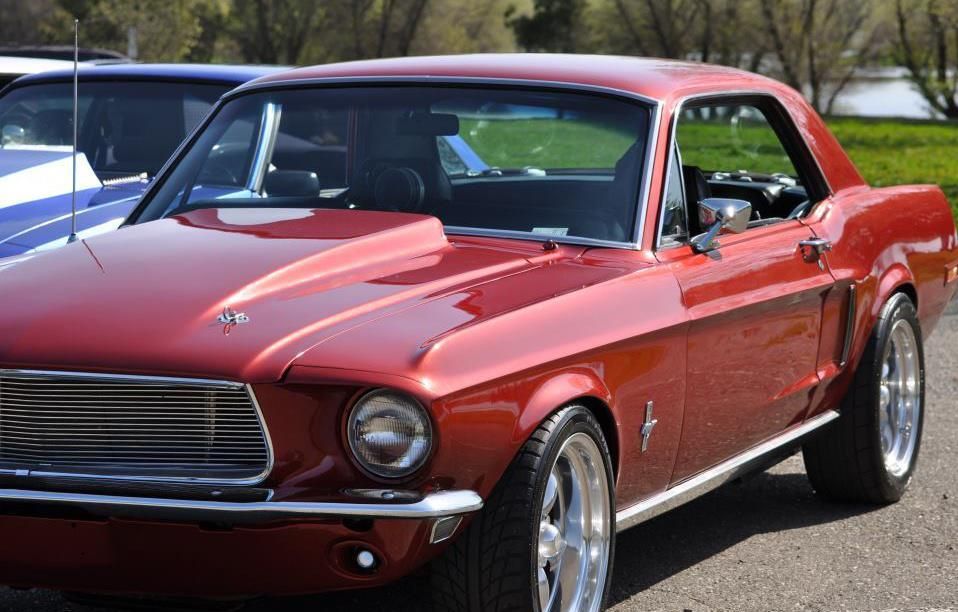
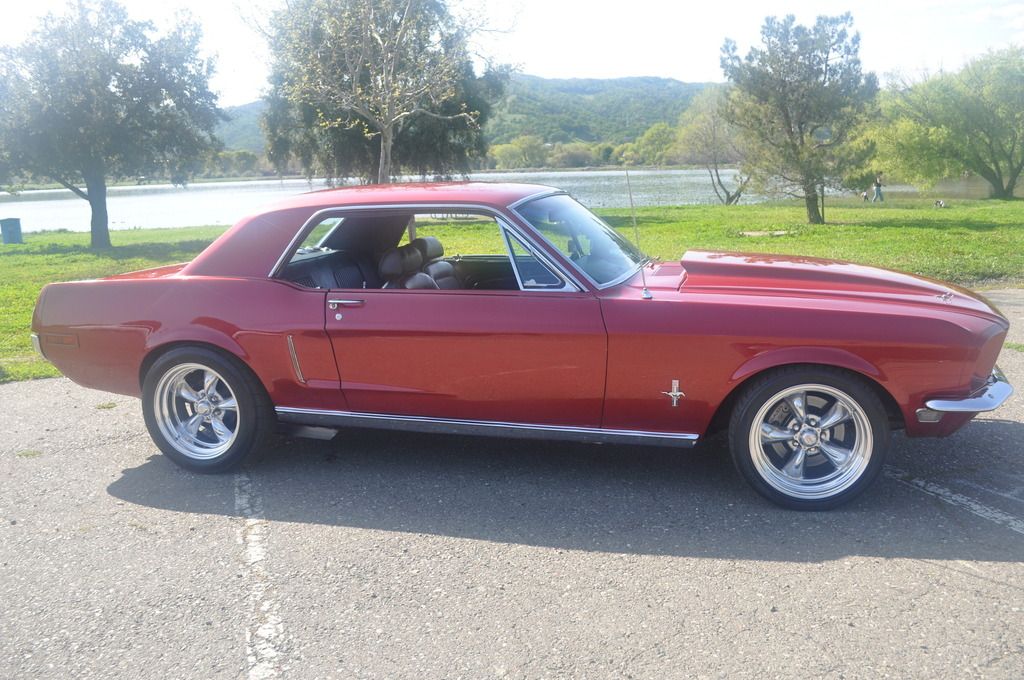
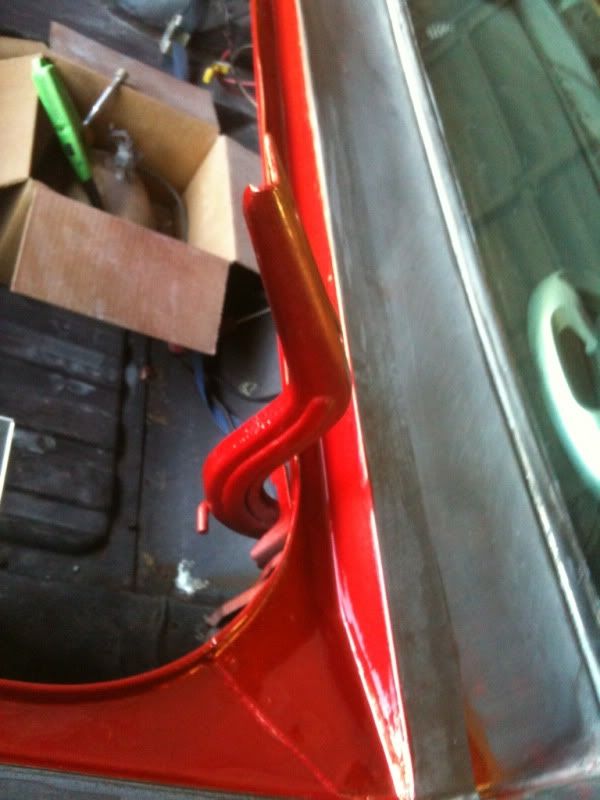
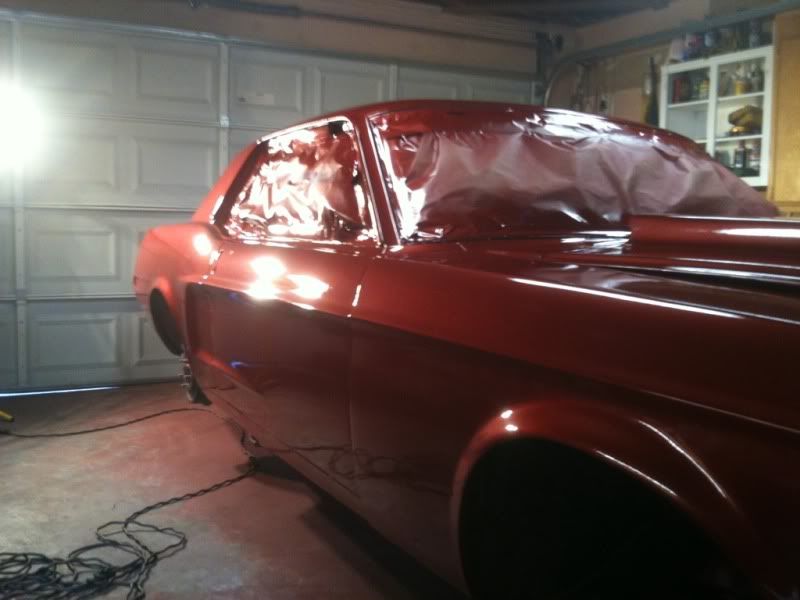
just finished paint :)


Joined: Sep 2011
Posts: 24
From: WA
The gun was a hvlp, here is the link.. http://www.tcpglobal.com/autobodydep...emno=TCP+G7000


Thread Starter
2nd Gear Member
Joined: Dec 2008
Posts: 168
From: cali
1. Sharpe all dents on car
2. Work each panel 1 at a time - sand down with 60-40 grit at dent location
3. Fill with evercoat filler
4. Knock down to get "general shape" of car with filler
5. Finish dents with 120-180 paper to feather and smooth out filler
6. After all dents are done, i then began sanding car down (took some spots to metal)
8. Washed and blew out all cracks with compressed air.
9. Wiped car down with wax*grease remover (wear gloves - no skin contact to car)
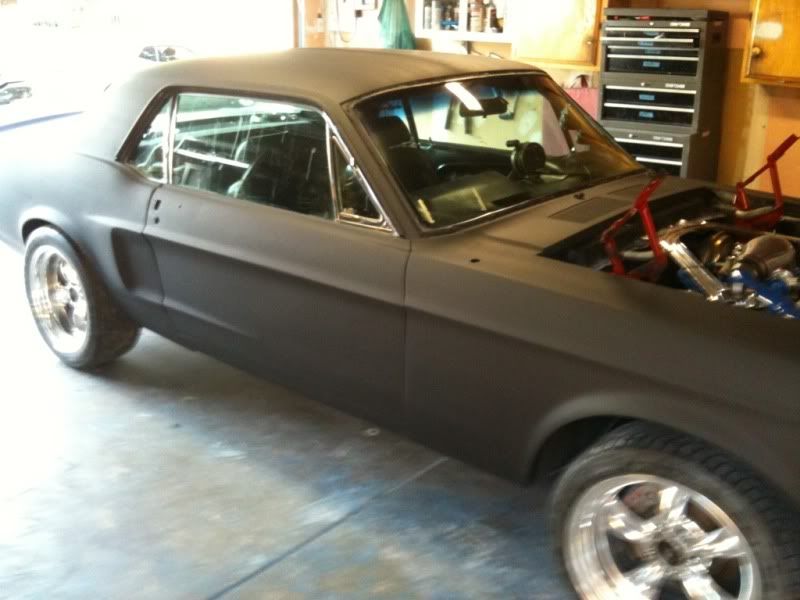
10. Sparyed the whole car with http://www.tcpglobal.com/restoration...+KIT-KEP506-GL one qt. will do 1 coat pretty easy
11. Found a few more dings, and fixed (you can lay filler over epoxy primer)
12. Cleaned and wax removed car again
13. Bought a gallon & Put 1 coat of : http://www.tcpglobal.com/restoration...=KUS+KPP106-QT This stuff has great filling properties (sanding scrathes ect.)
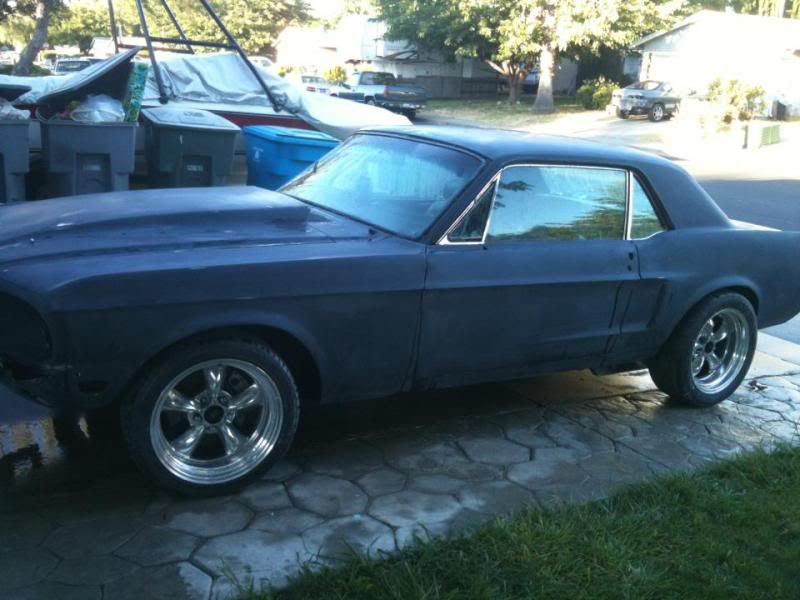
14. Blocked entire car again with 200 - the black primer after sanding shows the dings really good. The car turns a dark gray after sanded.
15. Repeated the dent fixing process lol, always more dings
16. Repeated cleaning process again
17. Put another coat of primer on car and blocked out with 400 this time. Do not use anything lower or scatches will appear in paint.
18 Repeated cleaning process AND WEAR GLOVES NO SKIN CONTACT ON CAR
19. Taped off car and painted jambs
20. Waited a week and taped off jambs to paint car
21. Blow off car and wipe down with wax grease remover
22. Wipe car down with tack rag
23. Mixed up paint: http://www.tcpglobal.com/restoration...P+UB2701-KIT-M I made sure the garage was at least 70 and all pilot lights were blown out
24. Put 4 coats of base (tack rag in between coats)
25. Put 3 coats of clear (no tack rag)
26. After a week and half i started cutting and buffing. here is the kit i used, pretty beginner friendly. Not the best, but im a noob. http://www.summitracing.com/search/B.../?autoview=SKU
Basically wet sanded and buffed each panel at a time. 2000-2500 sand paper. Took about 2hrs for each panel. (so ya... alot of hours)
Im sure this little write up wont be perfect for some people, but hell I learned everything off reading what people have posted. Asked alot of questions and never went to any autobody school. That and total cost of paint job was around 450.
** my write up was more indepth, but computer crashed and had to start over.. sorry hope this helps
2. Work each panel 1 at a time - sand down with 60-40 grit at dent location
3. Fill with evercoat filler
4. Knock down to get "general shape" of car with filler
5. Finish dents with 120-180 paper to feather and smooth out filler
6. After all dents are done, i then began sanding car down (took some spots to metal)
8. Washed and blew out all cracks with compressed air.
9. Wiped car down with wax*grease remover (wear gloves - no skin contact to car)
10. Sparyed the whole car with http://www.tcpglobal.com/restoration...+KIT-KEP506-GL one qt. will do 1 coat pretty easy
11. Found a few more dings, and fixed (you can lay filler over epoxy primer)
12. Cleaned and wax removed car again
13. Bought a gallon & Put 1 coat of : http://www.tcpglobal.com/restoration...=KUS+KPP106-QT This stuff has great filling properties (sanding scrathes ect.)
14. Blocked entire car again with 200 - the black primer after sanding shows the dings really good. The car turns a dark gray after sanded.
15. Repeated the dent fixing process lol, always more dings
16. Repeated cleaning process again
17. Put another coat of primer on car and blocked out with 400 this time. Do not use anything lower or scatches will appear in paint.
18 Repeated cleaning process AND WEAR GLOVES NO SKIN CONTACT ON CAR
19. Taped off car and painted jambs
20. Waited a week and taped off jambs to paint car
21. Blow off car and wipe down with wax grease remover
22. Wipe car down with tack rag
23. Mixed up paint: http://www.tcpglobal.com/restoration...P+UB2701-KIT-M I made sure the garage was at least 70 and all pilot lights were blown out
24. Put 4 coats of base (tack rag in between coats)
25. Put 3 coats of clear (no tack rag)
26. After a week and half i started cutting and buffing. here is the kit i used, pretty beginner friendly. Not the best, but im a noob. http://www.summitracing.com/search/B.../?autoview=SKU
Basically wet sanded and buffed each panel at a time. 2000-2500 sand paper. Took about 2hrs for each panel. (so ya... alot of hours)
Im sure this little write up wont be perfect for some people, but hell I learned everything off reading what people have posted. Asked alot of questions and never went to any autobody school. That and total cost of paint job was around 450.
** my write up was more indepth, but computer crashed and had to start over.. sorry hope this helps
Last edited by 68dustin; Apr 27, 2012 at 10:01 AM.