
1970 Mach 1 restoration on a tight budget

Thread Starter
2nd Gear Member
Joined: Oct 2009
Posts: 190
From: texas
The cost does run up pretty easy but there are ways to keep the cost down. I try very hard to re-use all my original parts. Alot of stuff that has cracks, breaks or rust can be saved. If I can't re-use the original parts, I have no problem junk yard hunting for usable parts which can also save a bundle. Also I try to do all the labor myself whenever possible. I actually enjoy doing resorations alot so not only does it save me big bucks but it is fun too.
Thread Starter
2nd Gear Member
Joined: Oct 2009
Posts: 190
From: texas
Worked on the headliner yesterday. Would have got it all done but didn't realize I didn't have the windlace in the parts bin. Tried to get some at the local mustang shop but as luck would have it, they closed at 2pm for new years so looks like I will have to wait till monday to pick up the parts. I don't pull the front or rear windows to install which means it might have a few wrinkles but hopefully will look pretty good after I get it all stretched and glued in. Once I get this done, I can get to work installing the carpet, seats and center console plus all the misc trim pieces that I already have painted and ready to go.
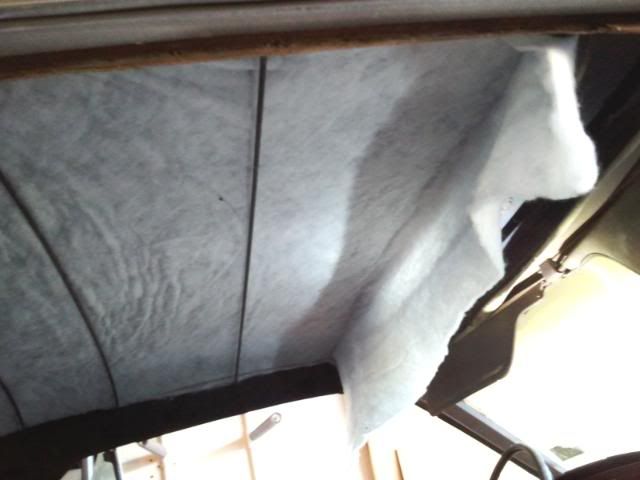
backing being glued in
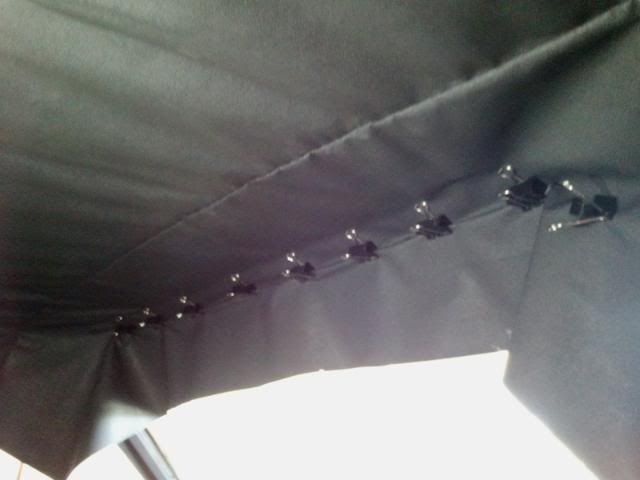
front being stretched into place
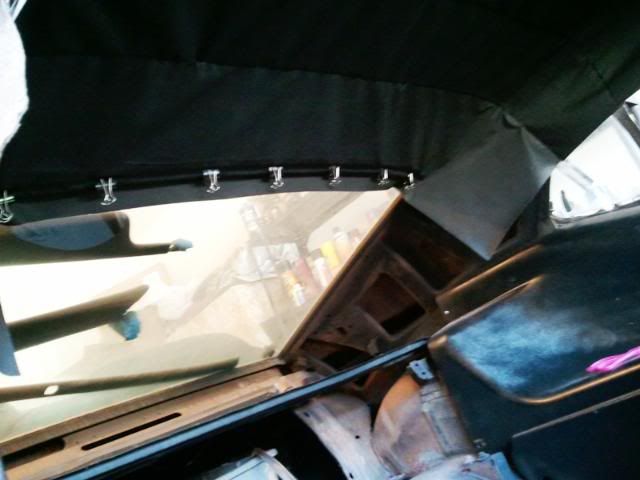
back being test fitted
backing being glued in
front being stretched into place
back being test fitted
Thread Starter
2nd Gear Member
Joined: Oct 2009
Posts: 190
From: texas
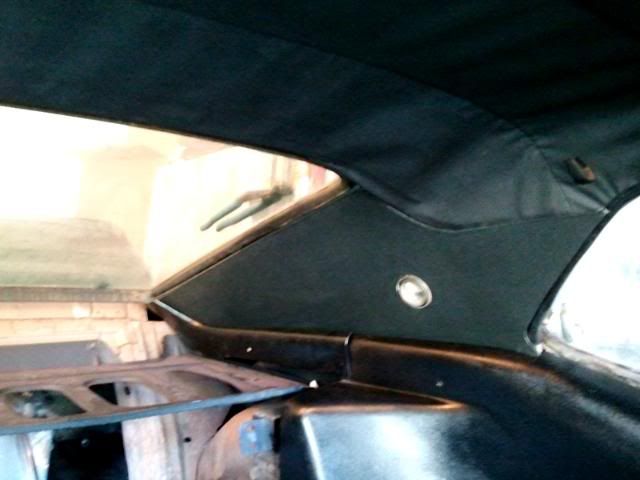
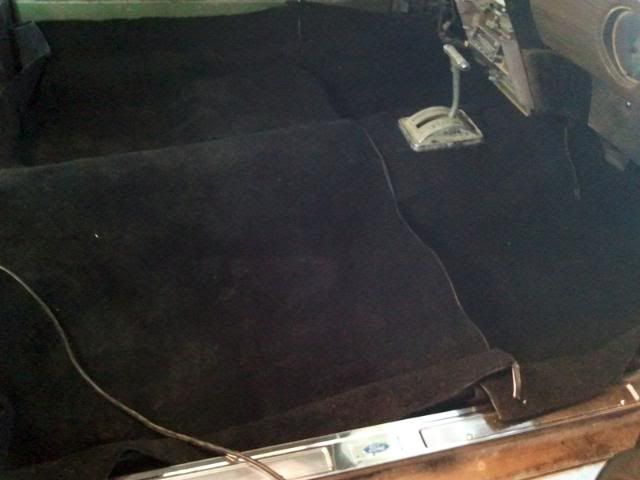
Got the headliner roughed out. As usual, ended up with some wrinkles in the corners but that is the price I am willing to pay to avoid pulling the glass. Next setp was to get the carpet in so got it laid out today and got the shifter cut out and fitted. Will let the carpet relax overnight and then do the trimming so I can get the interior re-installed.

2nd Gear Member
Joined: Feb 2010
Posts: 315
From: Ohio
consider pulling the rear glass so you can check for rust down in the bottom corners. water liked to settle down in there and cause rust issues.
then you'll be able to pull the headliner down nice and tight.
then you'll be able to pull the headliner down nice and tight.
Thread Starter
2nd Gear Member
Joined: Oct 2009
Posts: 190
From: texas
got alot done on the mustang today. The interior actually looks pretty good to me now but you guys take a look and tell me what you think. The front buckets are recovered aftermarket vinyl. The bottom I picked from a junked 69 mustang worked fine and now that it is installed, you can't tell the difference. The back seat is the original brown one which I dyed black. The seat bottom has a split in the middle seam but I dyed the foam under it so it doesn't really show up so I think I am done with the rear seat for now and just need to fab up a top for the package tray so I can install a couple speakers I saved from my last mustang.
Next step is to get the used dash I bought off ebay installed. It has a little crack in it but was cheap and looks alot better than the one that was in the car so will work for now since I am on a tight budget.
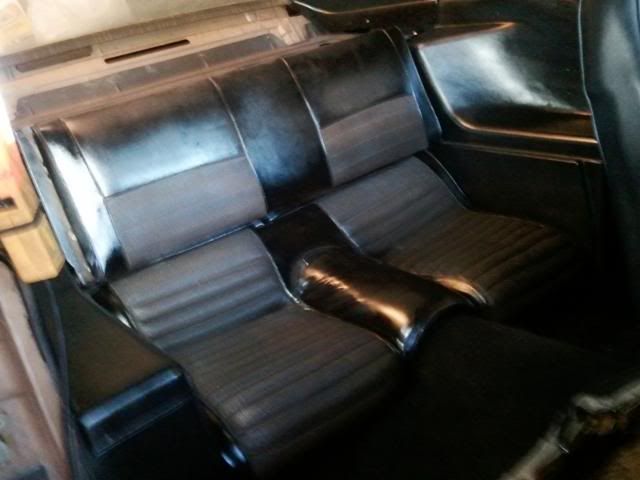
I think the dye turned out pretty good and was a cheap fix

bucket seats turned out nice although it was alot of work to rebuild the rusted one
Next step is to get the used dash I bought off ebay installed. It has a little crack in it but was cheap and looks alot better than the one that was in the car so will work for now since I am on a tight budget.
I think the dye turned out pretty good and was a cheap fix
bucket seats turned out nice although it was alot of work to rebuild the rusted one
Thread Starter
2nd Gear Member
Joined: Oct 2009
Posts: 190
From: texas
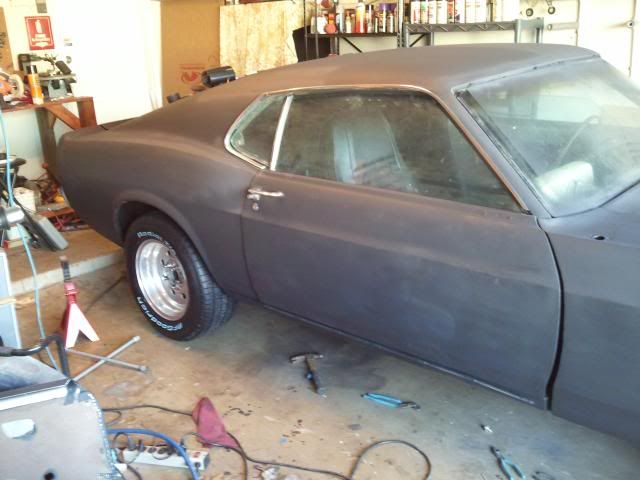
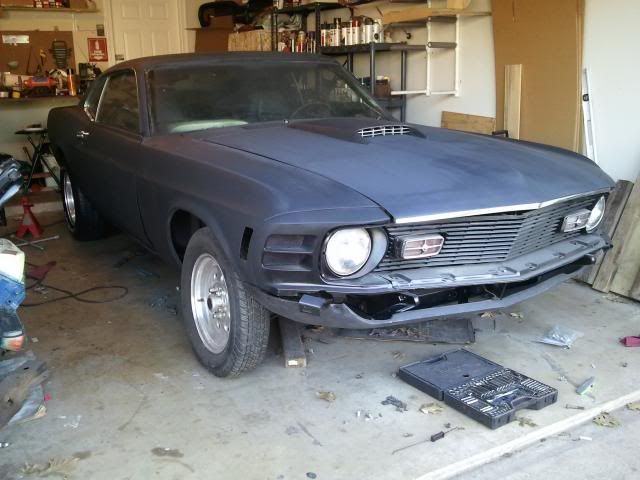
I've done a ton of little things to the mustang since last post but some key things to mention are: bodywork, scuff sanding, 2 coats of primer, new original hood scoop w/grill and turn signals, added hood latch and worked on allignment of hood hinges, new circuit board for instrument panel, reworked rear drums, new ta radials in rear and lots of little things I can't think of at the moment. NExt big step will be paint which will either be silver or red and I am still torn between them.

Last edited by oldrock; Jan 26, 2012 at 11:20 PM.
