1966 Mustang Coupe Restomod


3rd Gear Member
Joined: Jan 2008
Posts: 535
From: Maryland
WOW.... you were not kidding about having to remove all the sheet metal! Looks good! What kind of epoxy primer are you using?
just curious, but why not do a mini tub on this to get a fatter tire in the rear? I love restomod mustangs, but feel that a wider tire in the back really completes the restomod package.
just curious, but why not do a mini tub on this to get a fatter tire in the rear? I love restomod mustangs, but feel that a wider tire in the back really completes the restomod package.

2nd Gear Member
Joined: Apr 2014
Posts: 424
From: PA
Since you had the cowl off, picture set #6, where is the drain for this area? Rain comes in the louvers, flows to both sides, is kept from going in the air ducts because they are tall and sealed, but where is it suppose to drain out so it does not just sit in there and rust? Are there holes in the firewall to let the water out in the engine compartment?
Thanks
Thanks
Thread Starter
1st Gear Member
Joined: Jun 2013
Posts: 117
From: Florida
WOW.... you were not kidding about having to remove all the sheet metal! Looks good! What kind of epoxy primer are you using?
just curious, but why not do a mini tub on this to get a fatter tire in the rear? I love restomod mustangs, but feel that a wider tire in the back really completes the restomod package.
just curious, but why not do a mini tub on this to get a fatter tire in the rear? I love restomod mustangs, but feel that a wider tire in the back really completes the restomod package.
We modified it a little in the front.
Thread Starter
1st Gear Member
Joined: Jun 2013
Posts: 117
From: Florida
Since you had the cowl off, picture set #6, where is the drain for this area? Rain comes in the louvers, flows to both sides, is kept from going in the air ducts because they are tall and sealed, but where is it suppose to drain out so it does not just sit in there and rust? Are there holes in the firewall to let the water out in the engine compartment?
Thanks
Thanks

Thread Starter
1st Gear Member
Joined: Jun 2013
Posts: 117
From: Florida
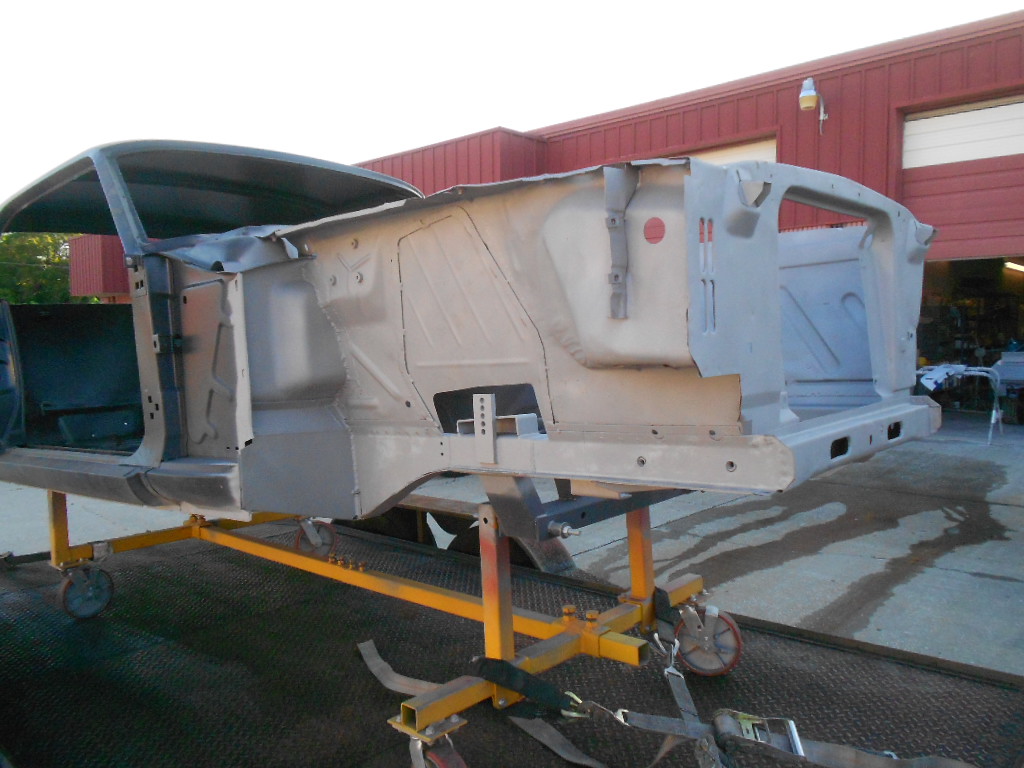
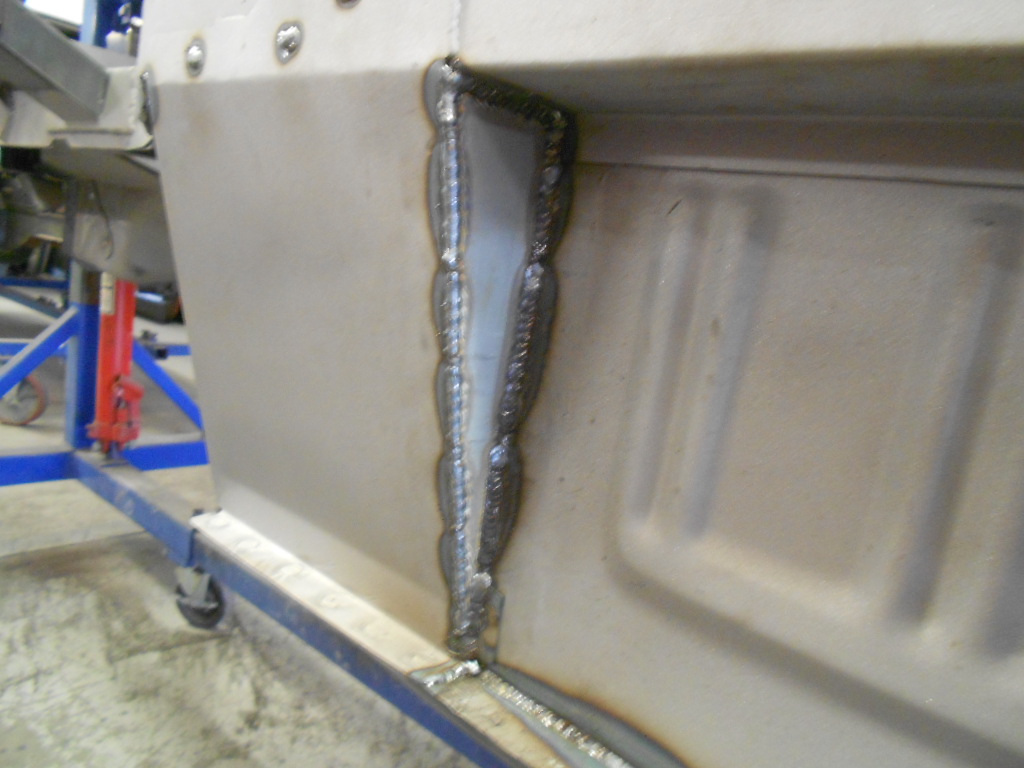
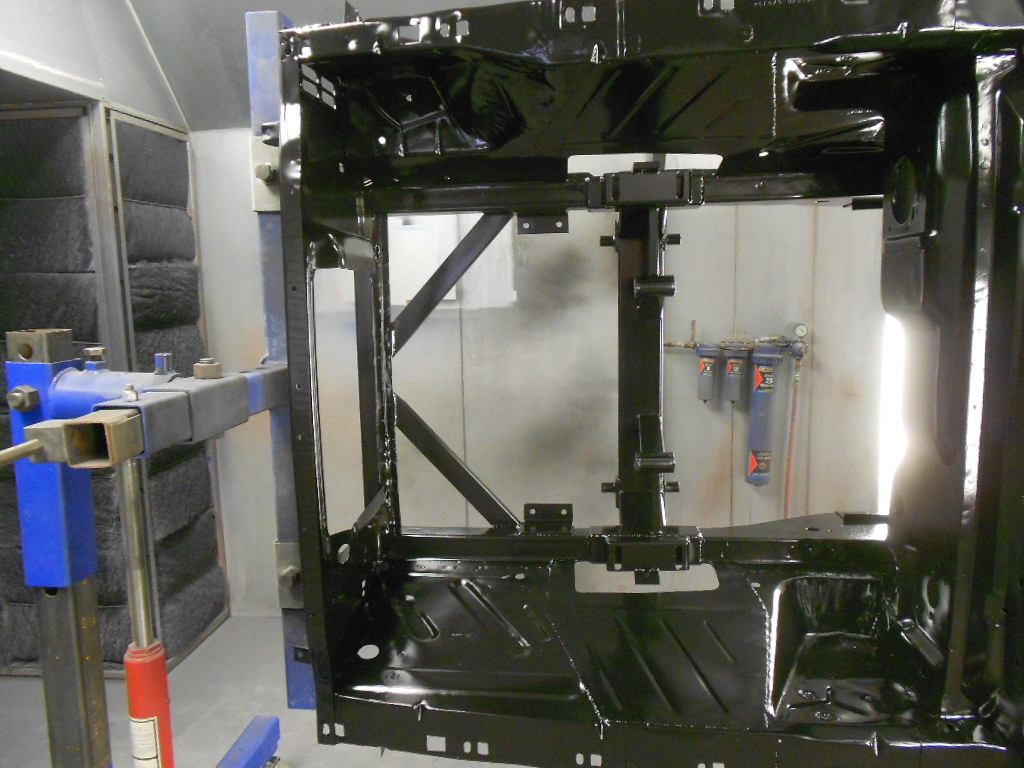
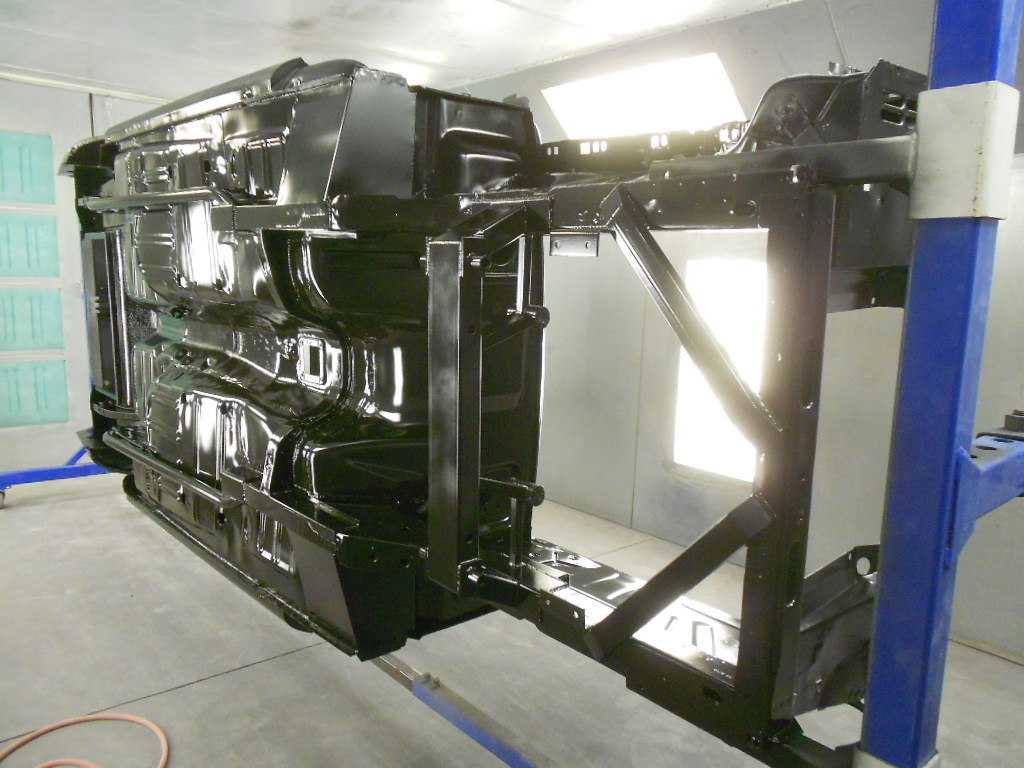
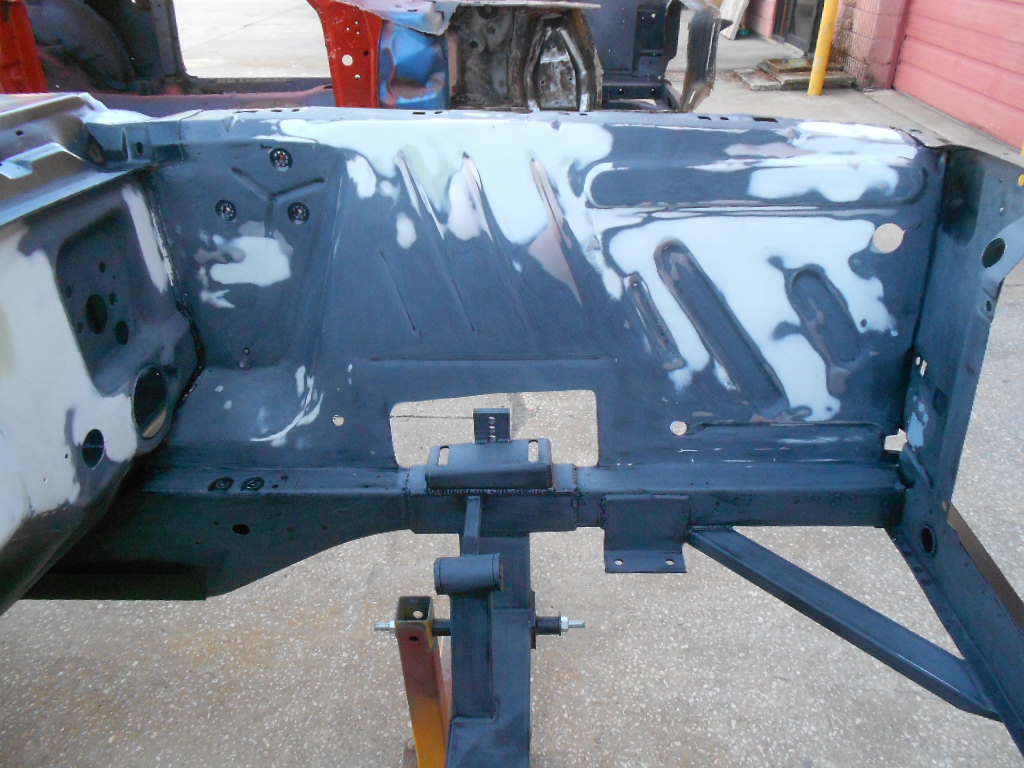
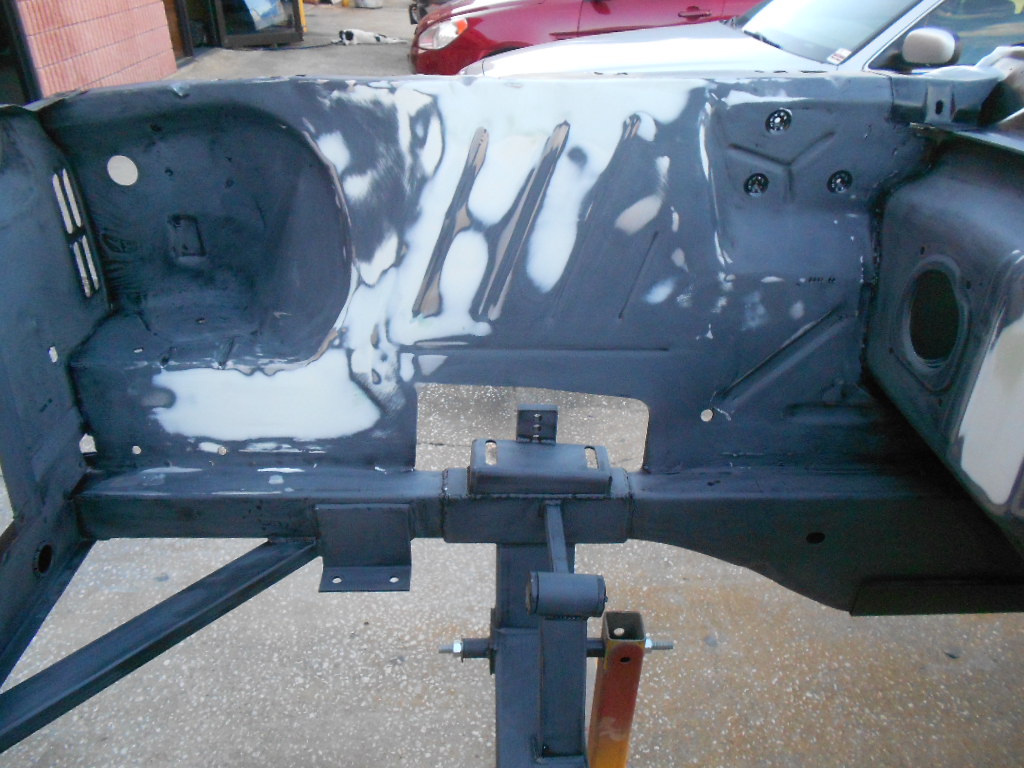
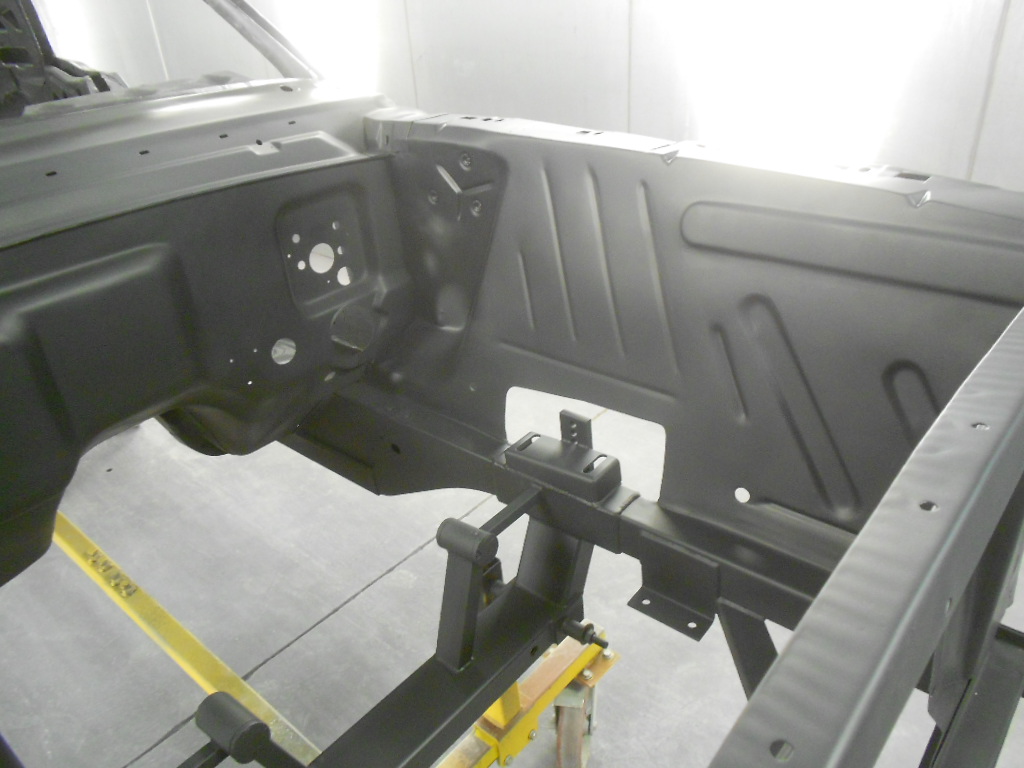
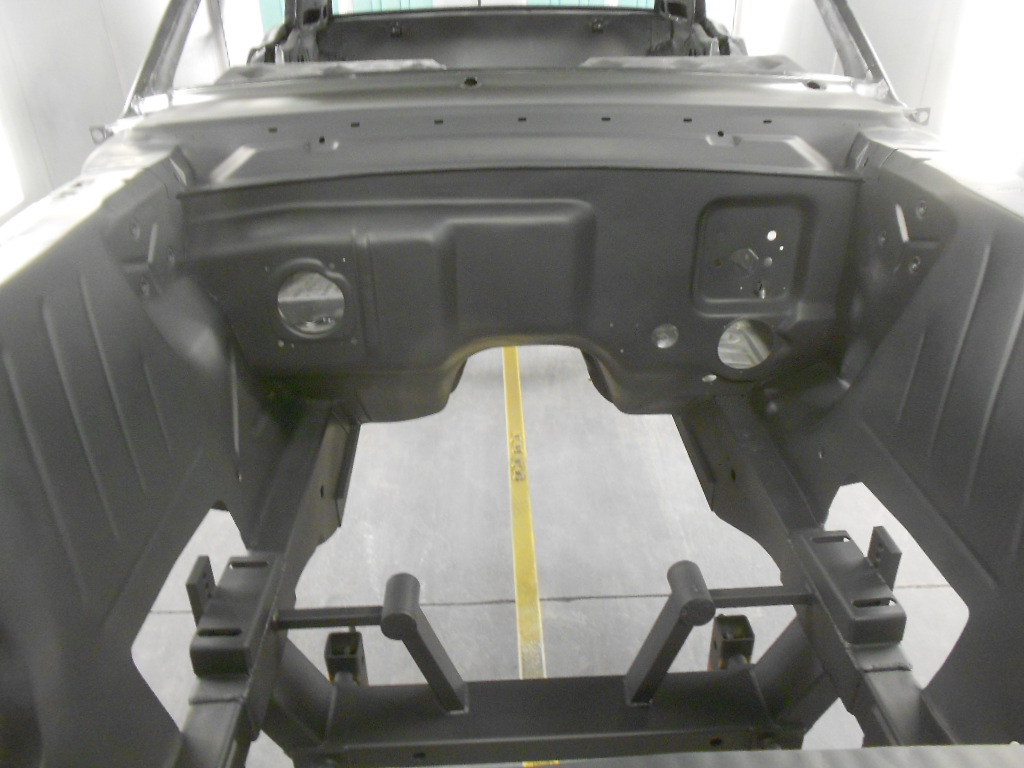
Epoxy primed the engine compartment and undercarriage
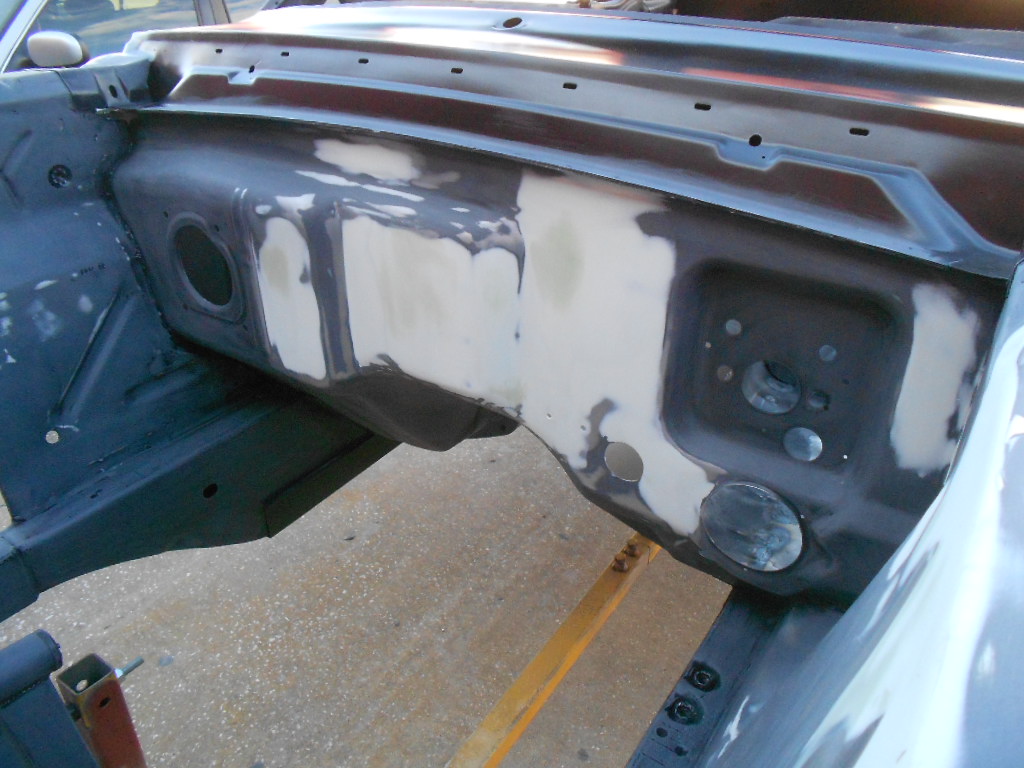
Started the bodywork on the fender aprons
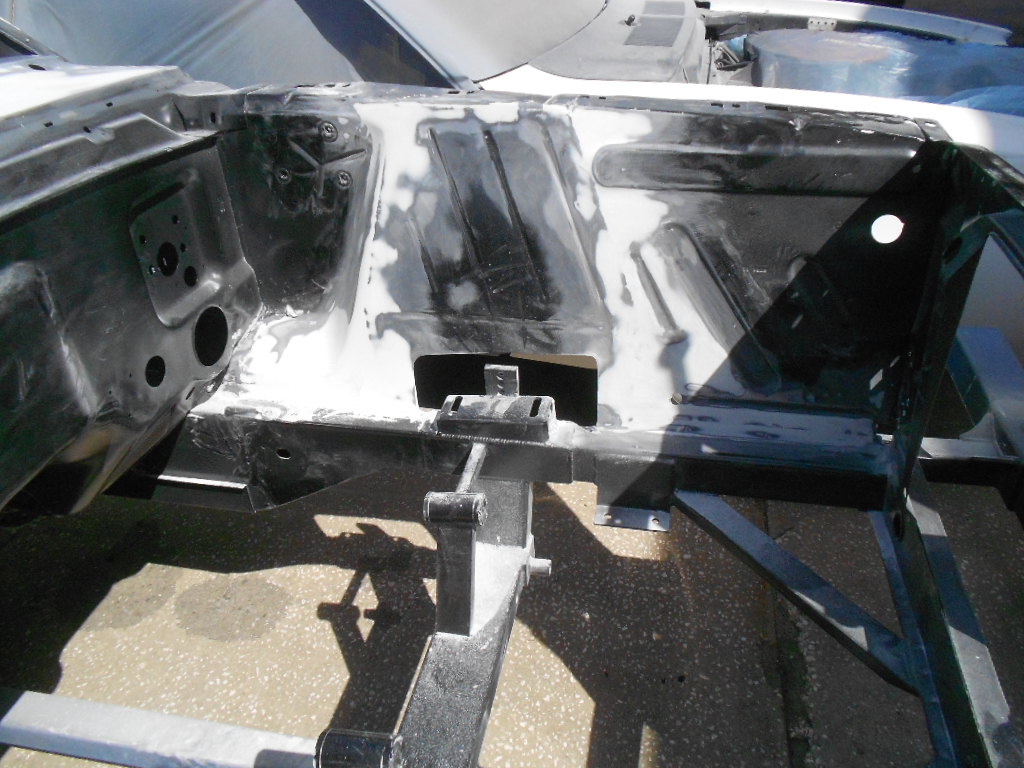
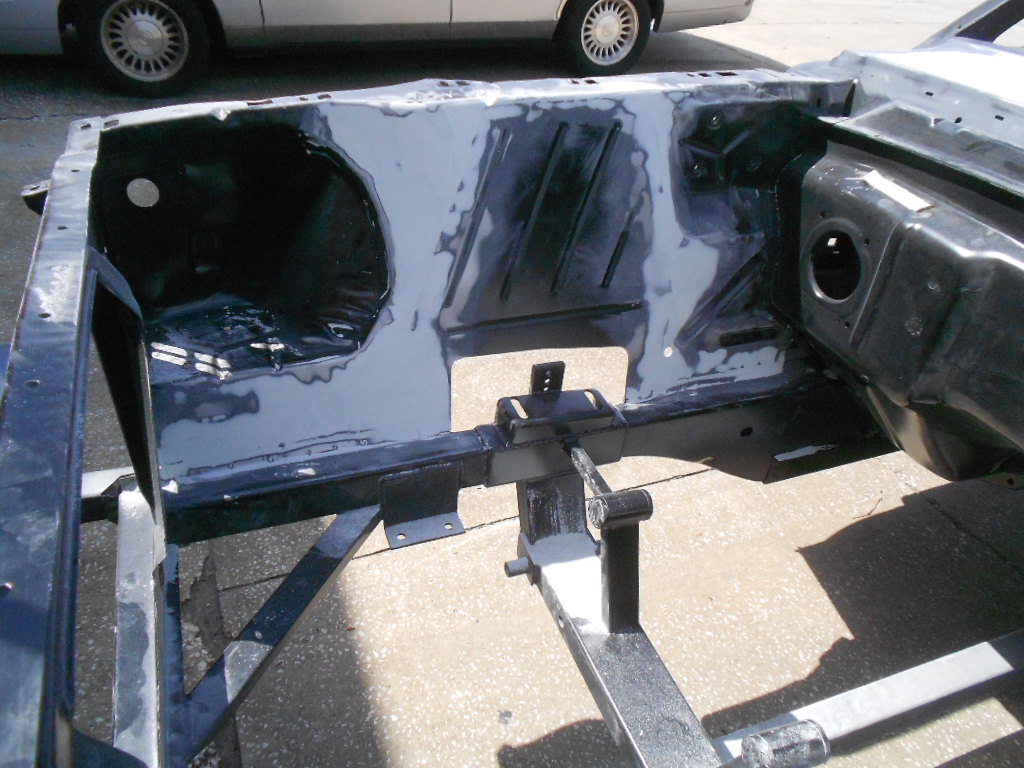
The extra holes in the firewall were patched and the engine compartment epoxy primed
I still wasn't happy with the fender aprons and we did a little bodywork on the firewall
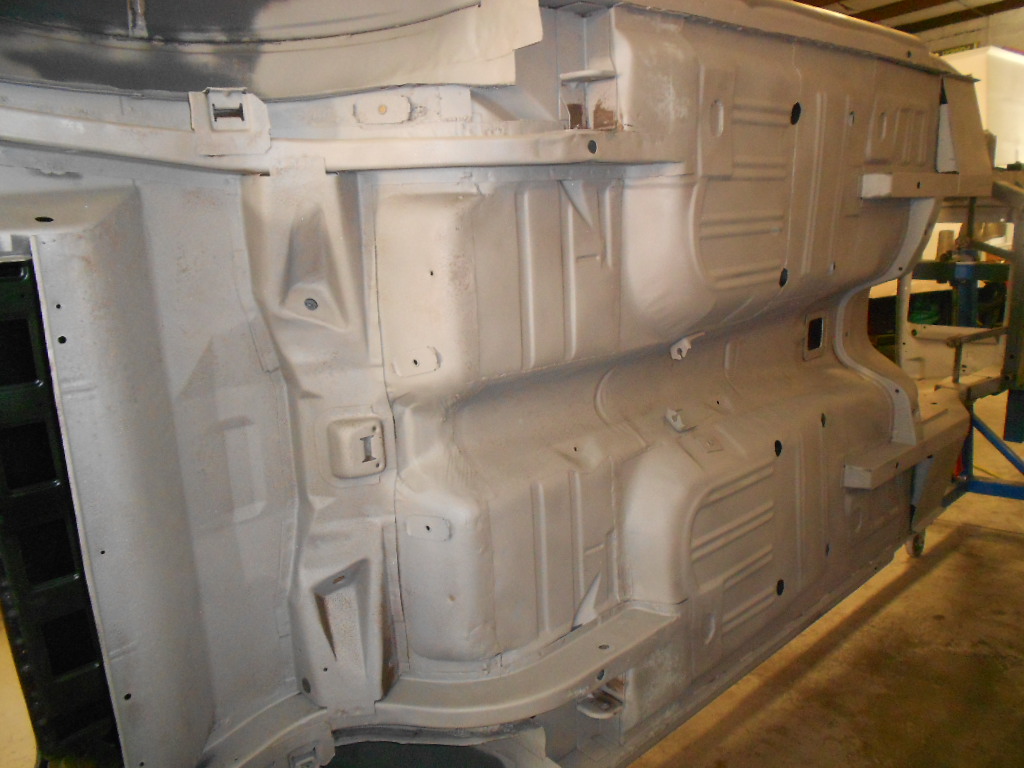
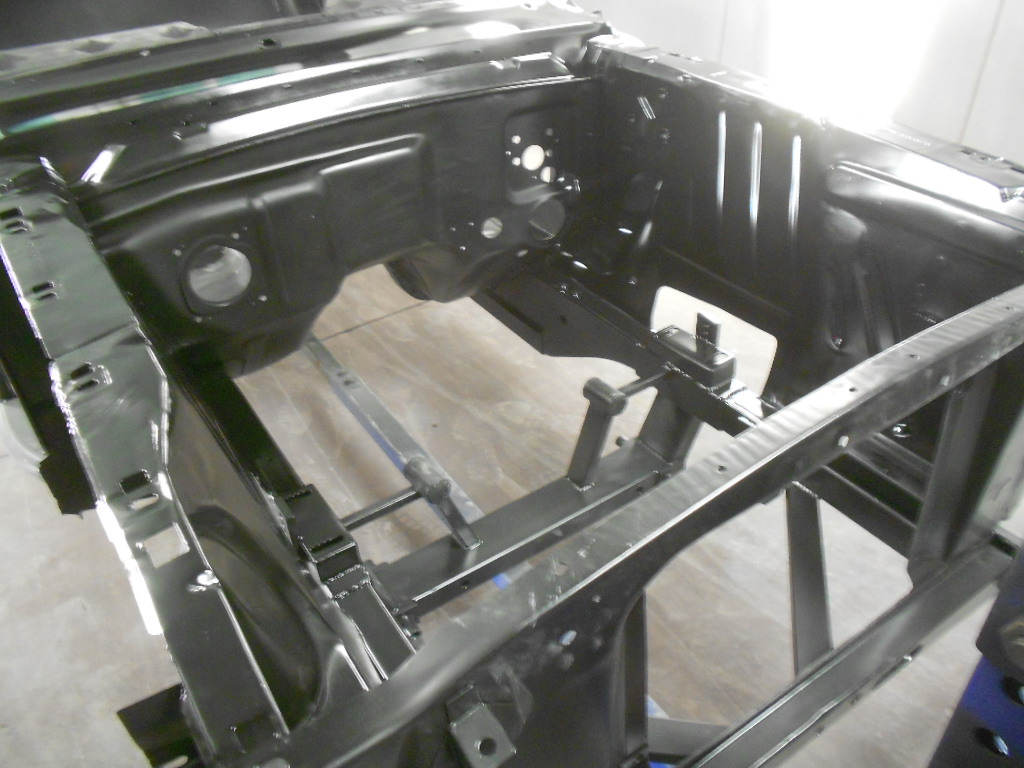
One coat of SPI epoxy primer
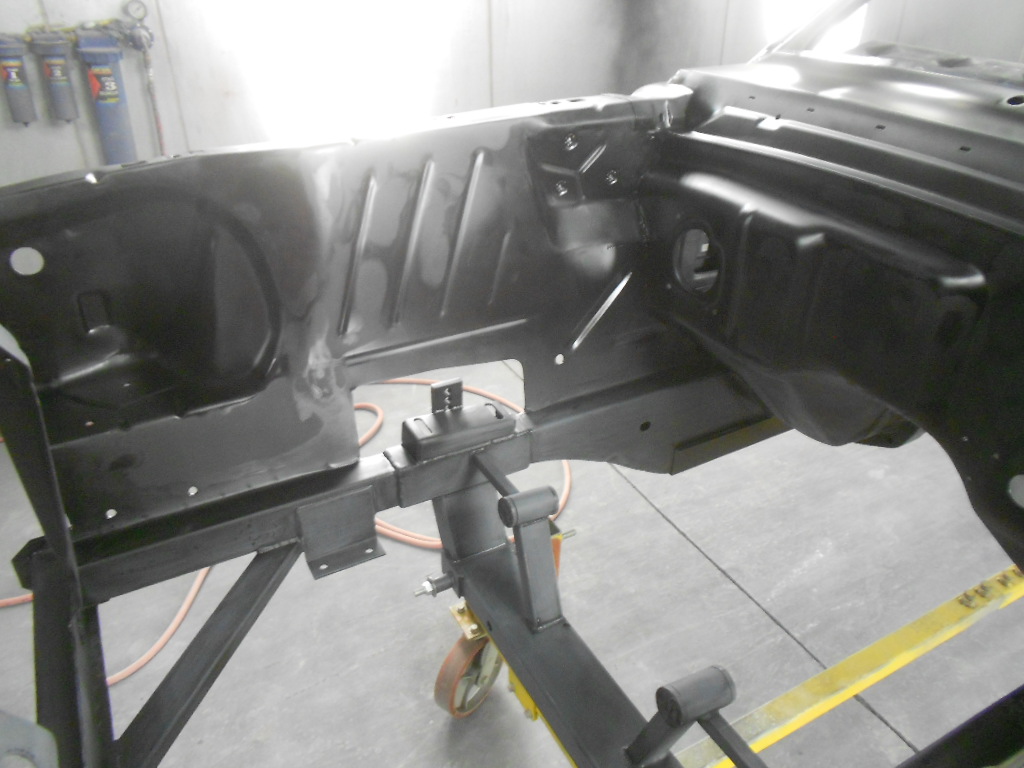
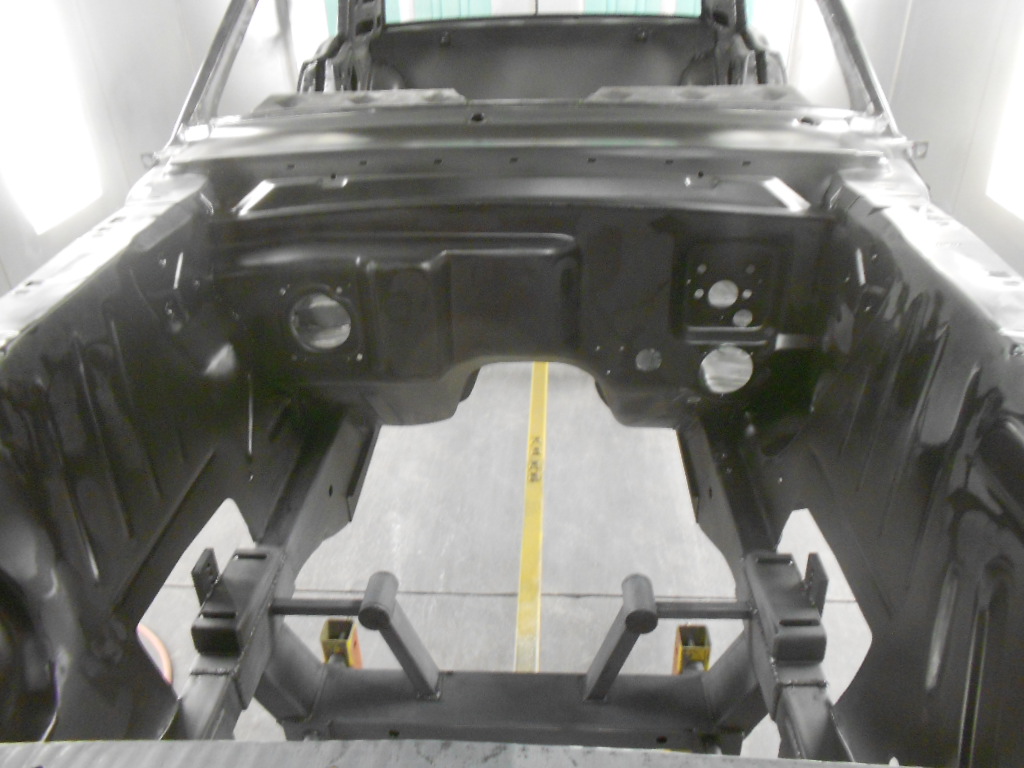
Two coats of SPI Turbo urethane primer
Started the bodywork on the fender aprons
The extra holes in the firewall were patched and the engine compartment epoxy primed
I still wasn't happy with the fender aprons and we did a little bodywork on the firewall
One coat of SPI epoxy primer
Two coats of SPI Turbo urethane primer

Thread Starter
1st Gear Member
Joined: Jun 2013
Posts: 117
From: Florida
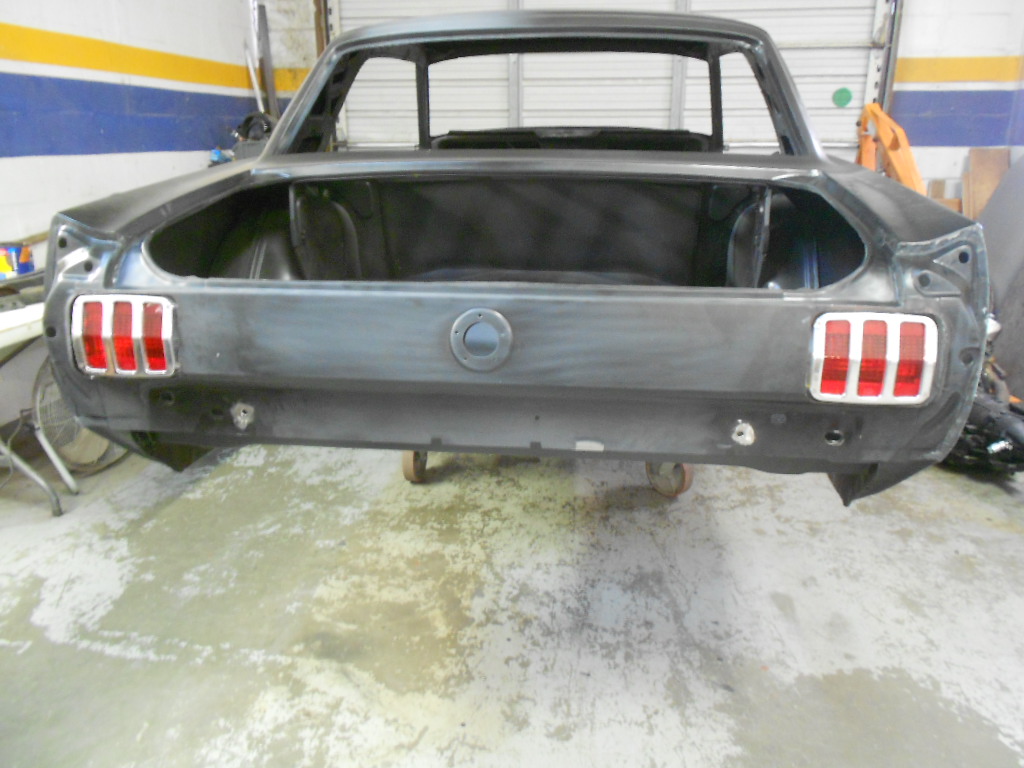
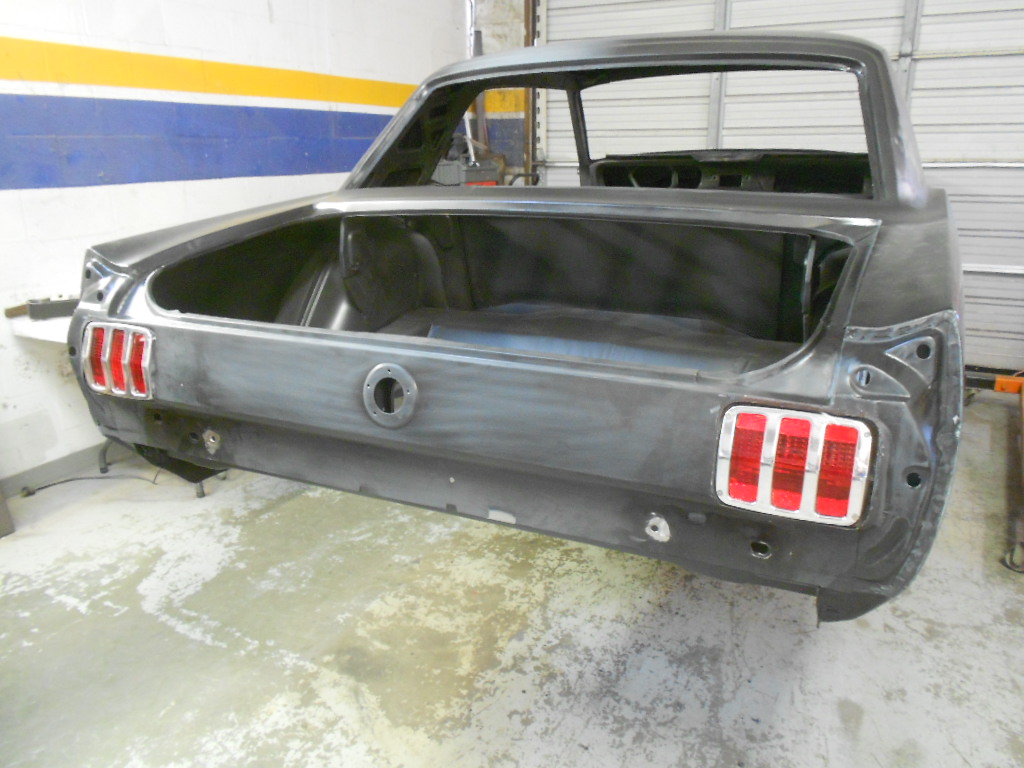
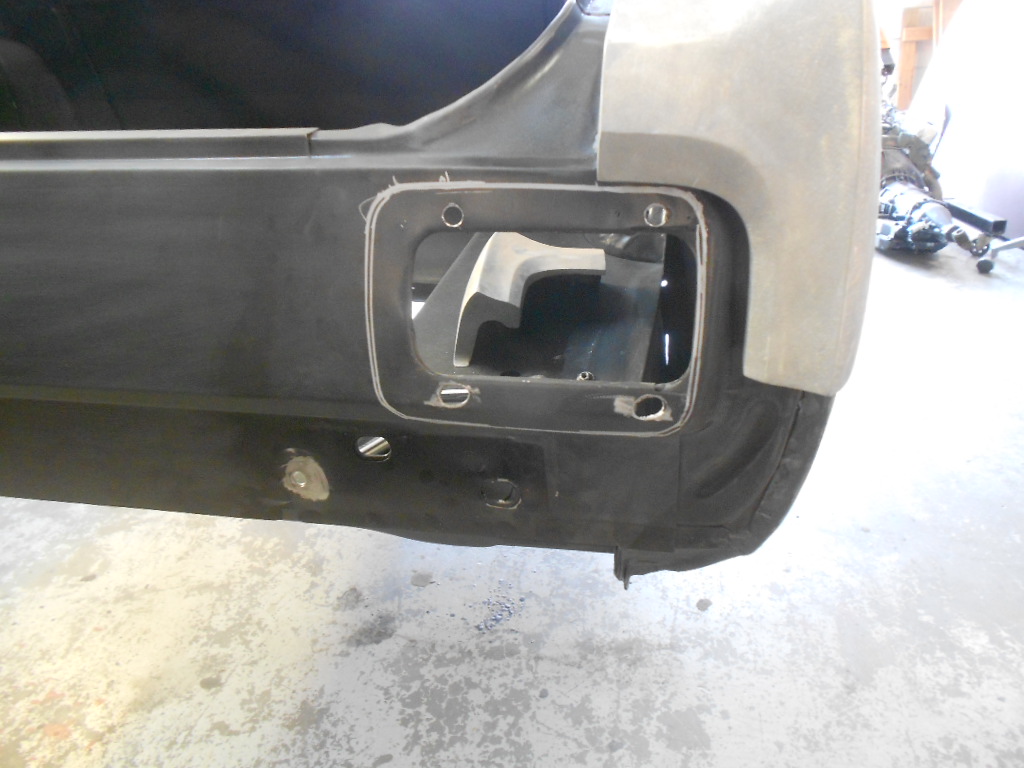
I never have liked the way Ford just stuck the taillights on the outside of the taillight panel and the owner agreed. He wanted to install 67 taillights but the taillight panel is to small so we are recessing the taillights. He ordered a set of billet bezels from Eddie Motorsports.
The first step was to get the taillights to fit the new taillight panel and trace around it.
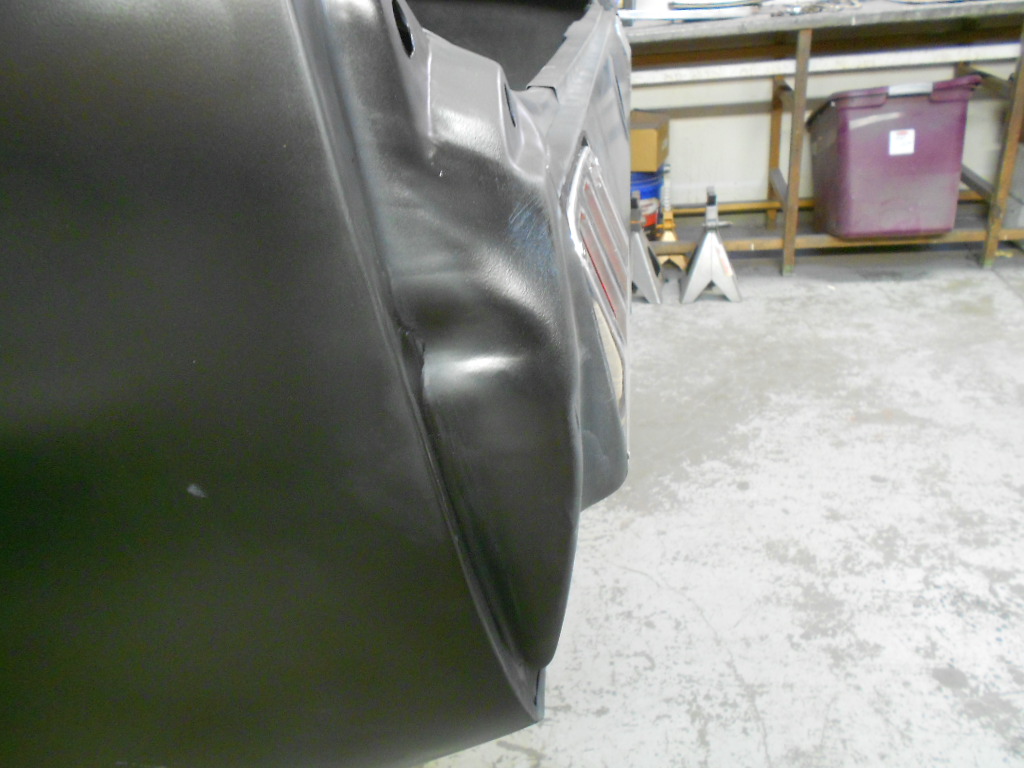
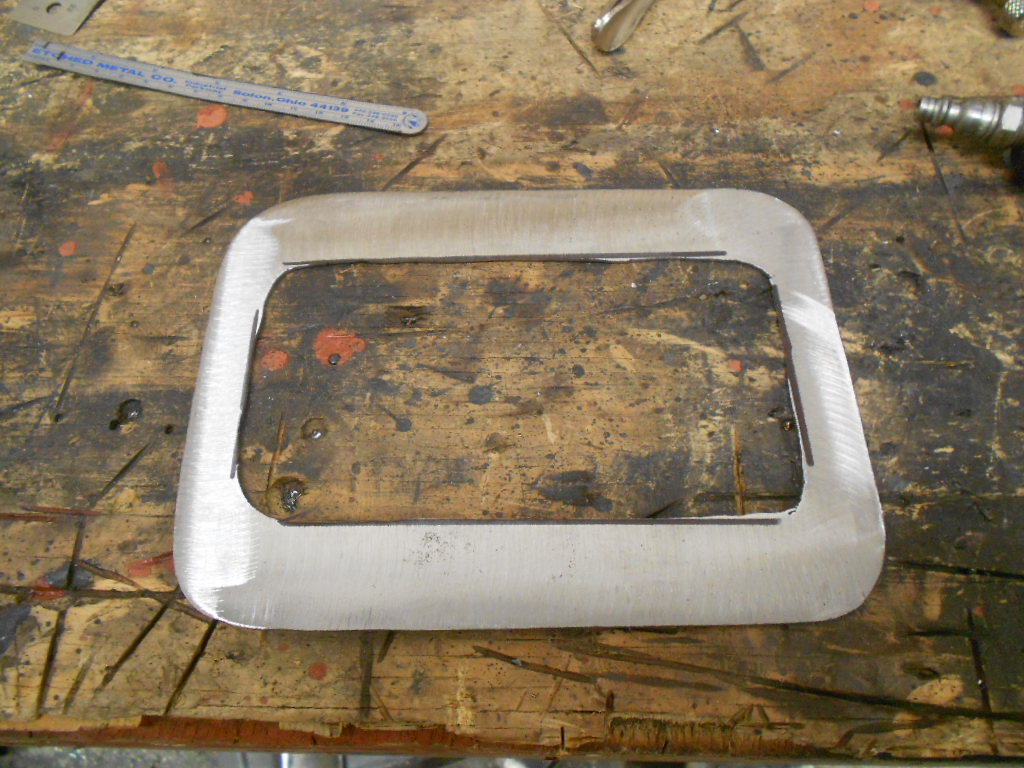
Brian decided to make a new inner bracket out of thicker metal.

This was his first attempt but it was a little to small so he had to make another one out of an old seat riser.
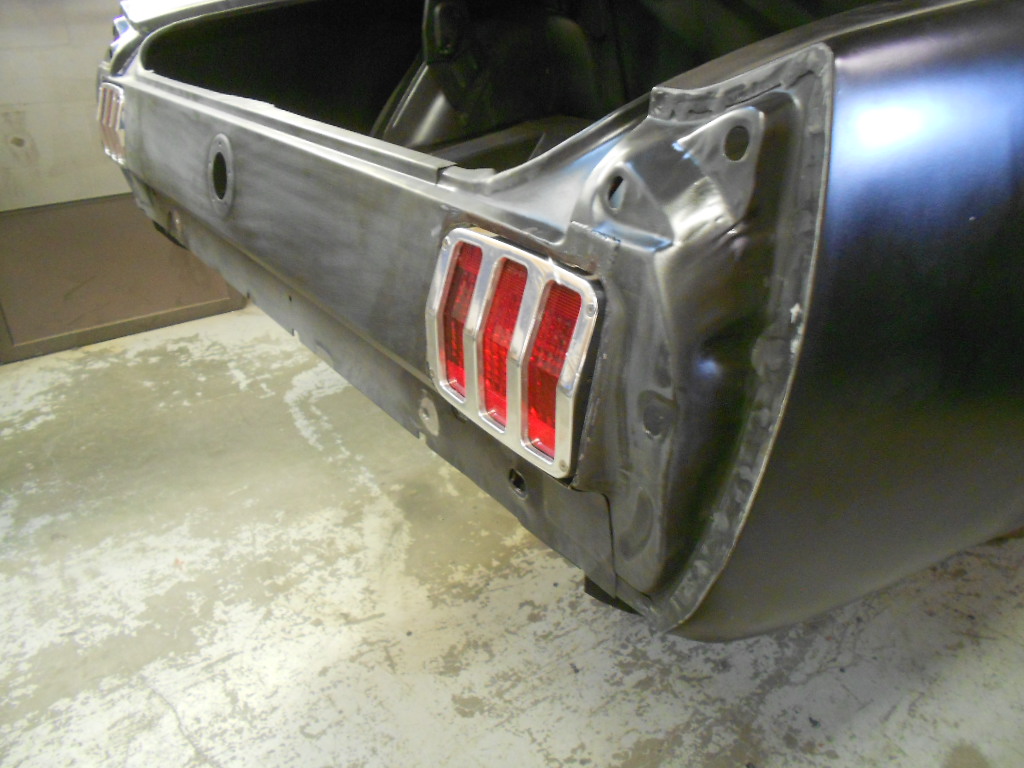
Test fitting the taillight

His new bracket tack welded in place
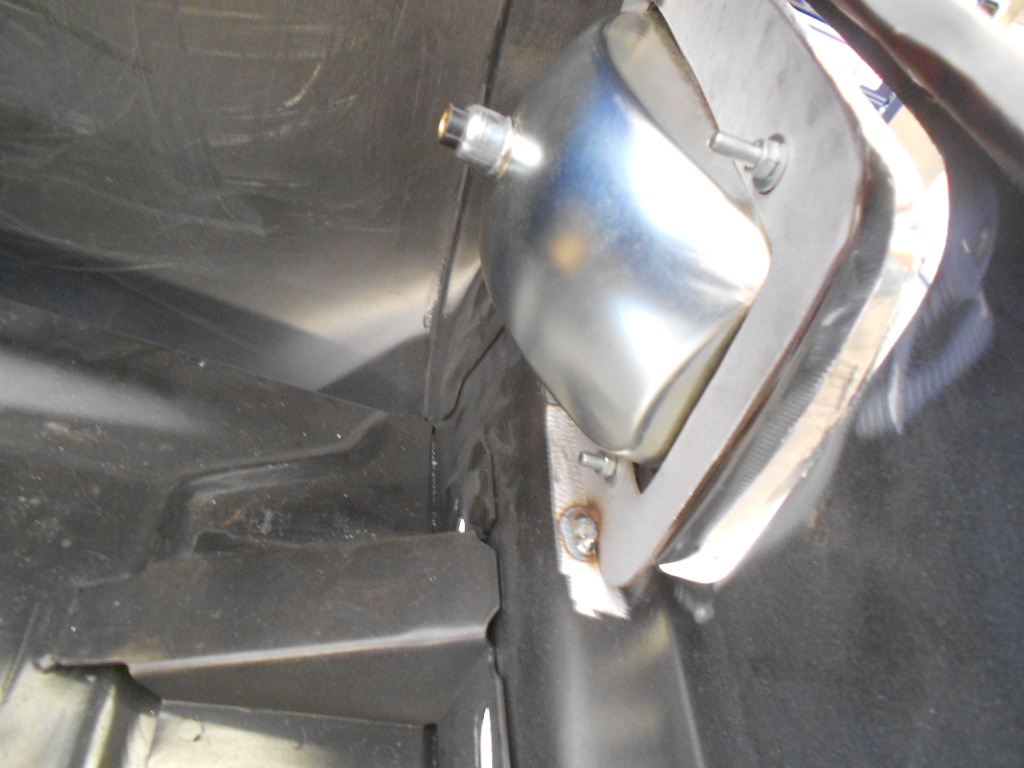
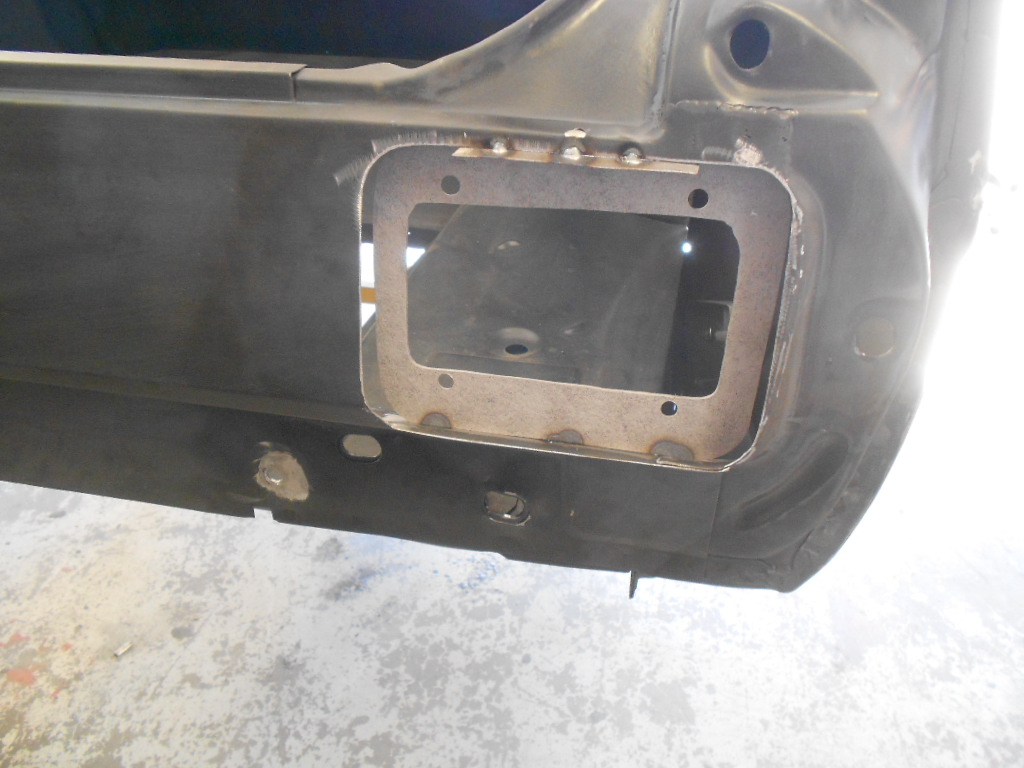
The top piece is just to hold it in place and will be trimmed.

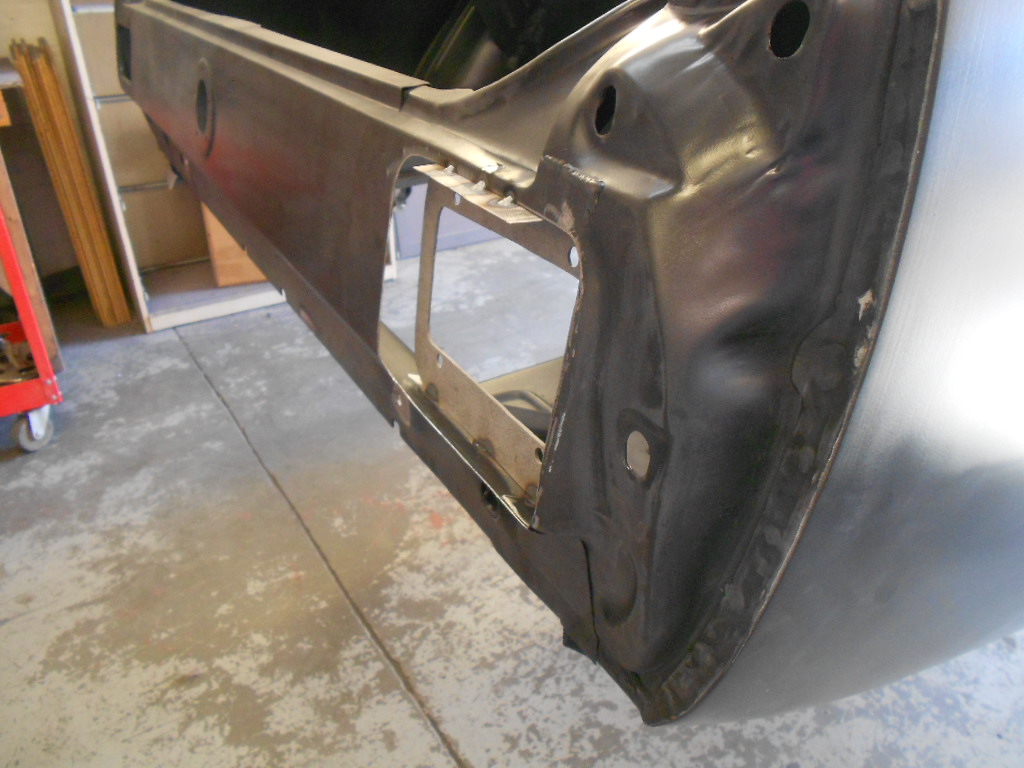
The next step will be to make the filler pieces
The first step was to get the taillights to fit the new taillight panel and trace around it.
Brian decided to make a new inner bracket out of thicker metal.
This was his first attempt but it was a little to small so he had to make another one out of an old seat riser.
Test fitting the taillight
His new bracket tack welded in place
The top piece is just to hold it in place and will be trimmed.
The next step will be to make the filler pieces