
Installing BMR poly differential bushing.

Thread Starter
2nd Gear Member
Joined: Dec 2009
Posts: 152
From: Oklahoma
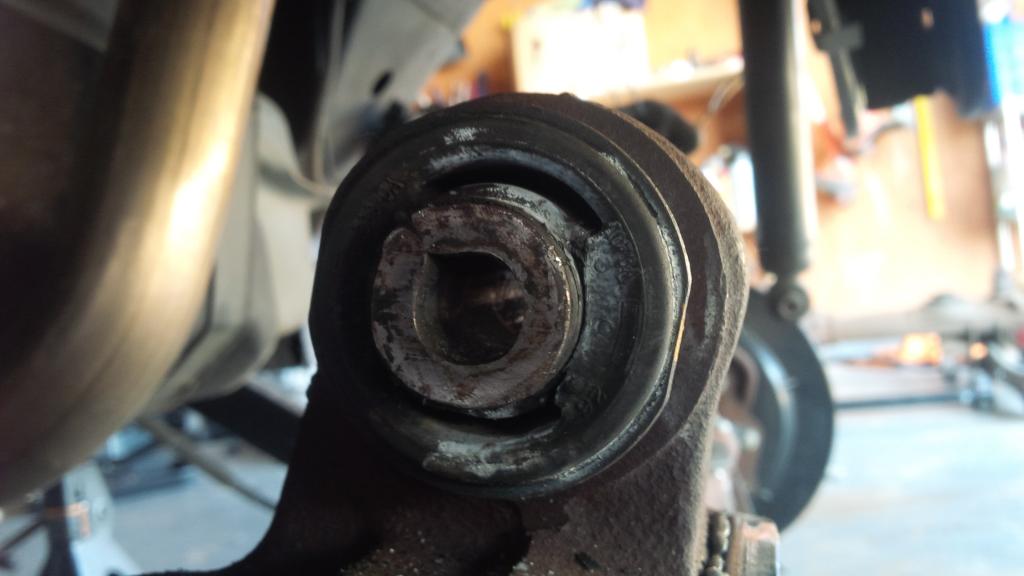
Well my rear diff bushing was ripped and causing some pretty nasty clunking, so I decided to replace it with the BMR EN001.
After some research it seemed that people normally had a serious time getting the old bushing out with various methods.
I tackled it yesterday and it's only about a thirty minute job with the right tools and rear end on the ground.
So here's my methods.
Tools.
-Everything needed to lower the rear down (won't go into these)
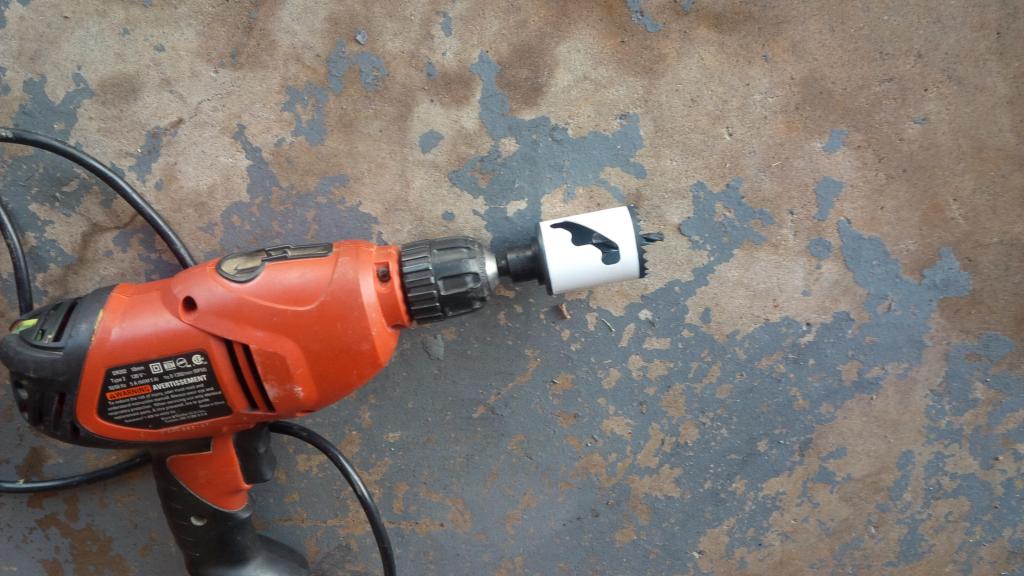
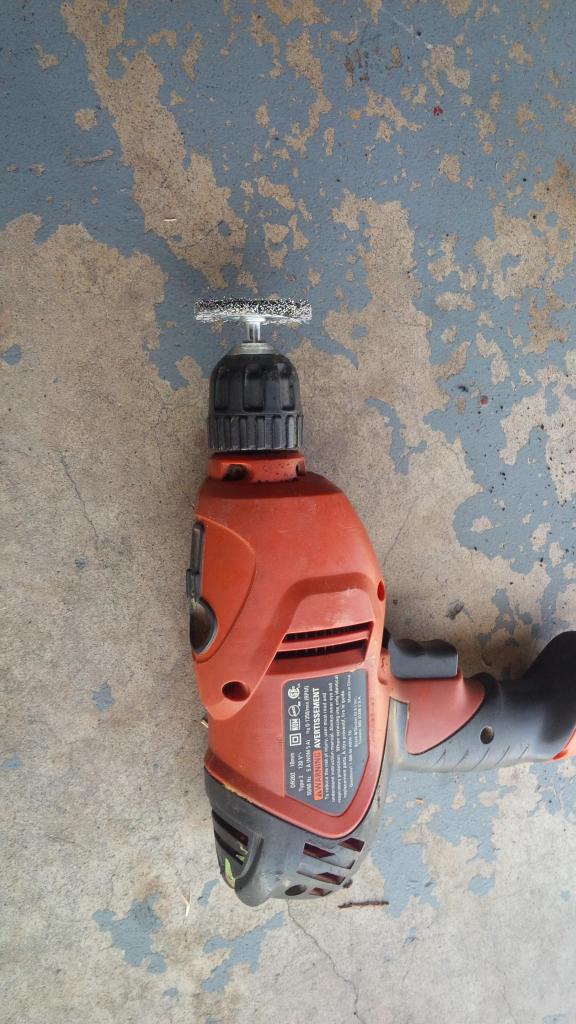
-Drill
-1.5" hole saw.(you can use a 1.25" on the 7.5 but not on the 8.8)
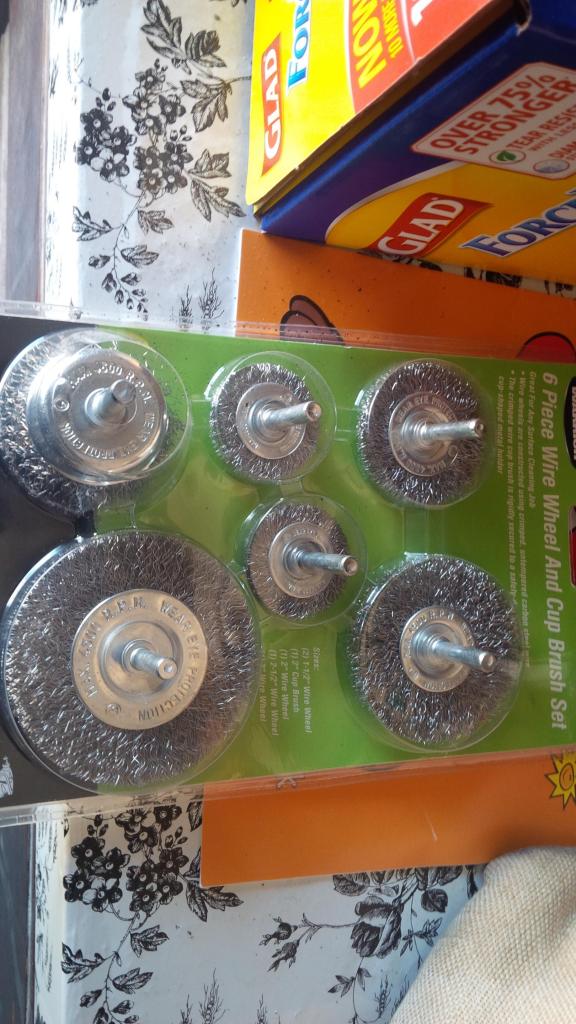
-a couple 1" wire wheels
-rubber mallet
-Grease
-Curse jar (optional)
1. Lower the rear end down (if you have enough room to get a drill in there without lower then you can skip this step but I couldn't)
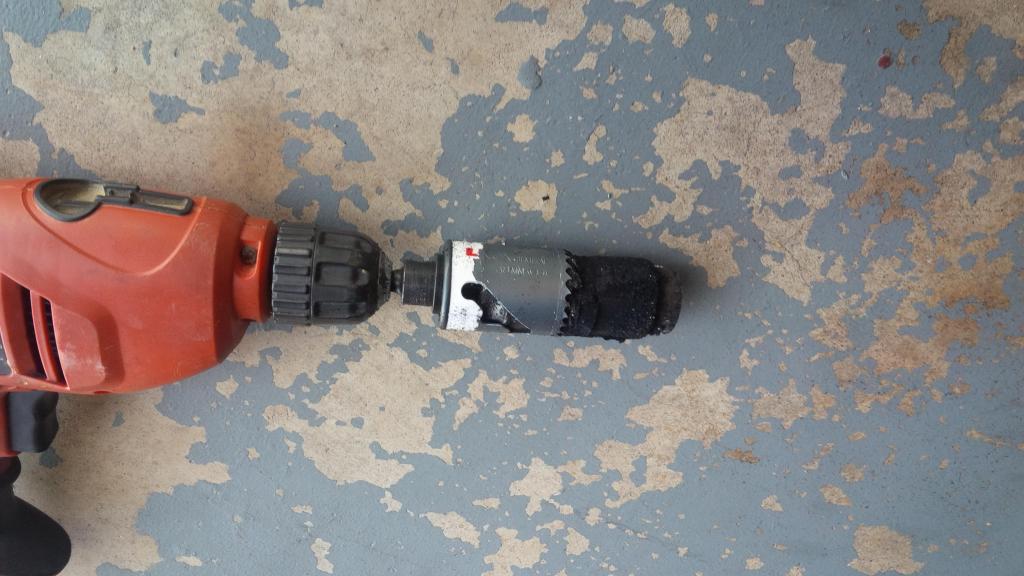
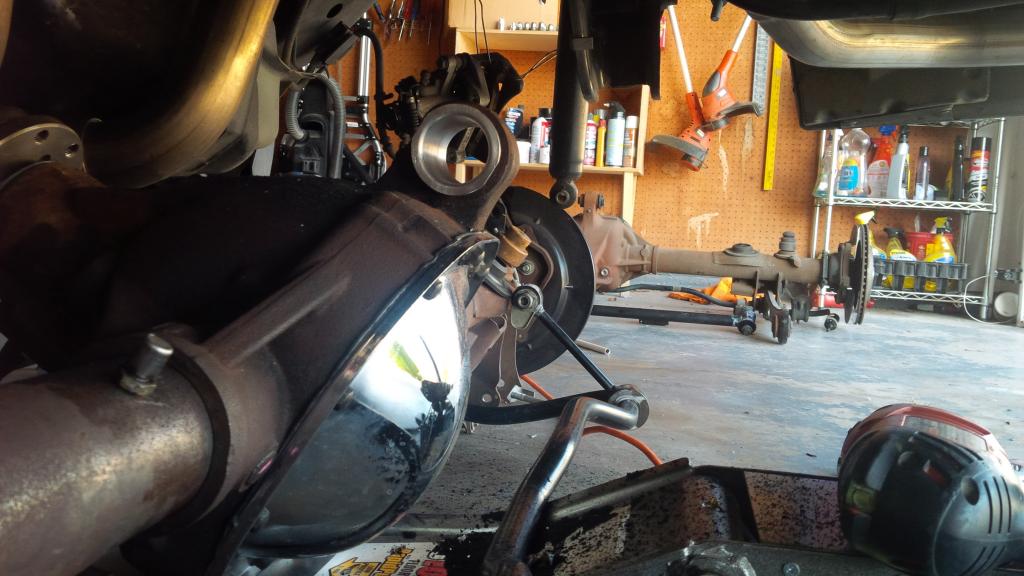
2. Use the 1.5" hole saw and drill to drill out the center metal bushing. Keep the drill as parallel as possible to avoid damaging the shell. Start on one side go as far as possible and then switch to the other side.
*this rubber is stubborn so don't try to go full tilt when drilling through it. Let the saw do the work. Also the rubber bits tend to go everywhere and some may get into your drill housing so don't panic if your drill starts to smoke.
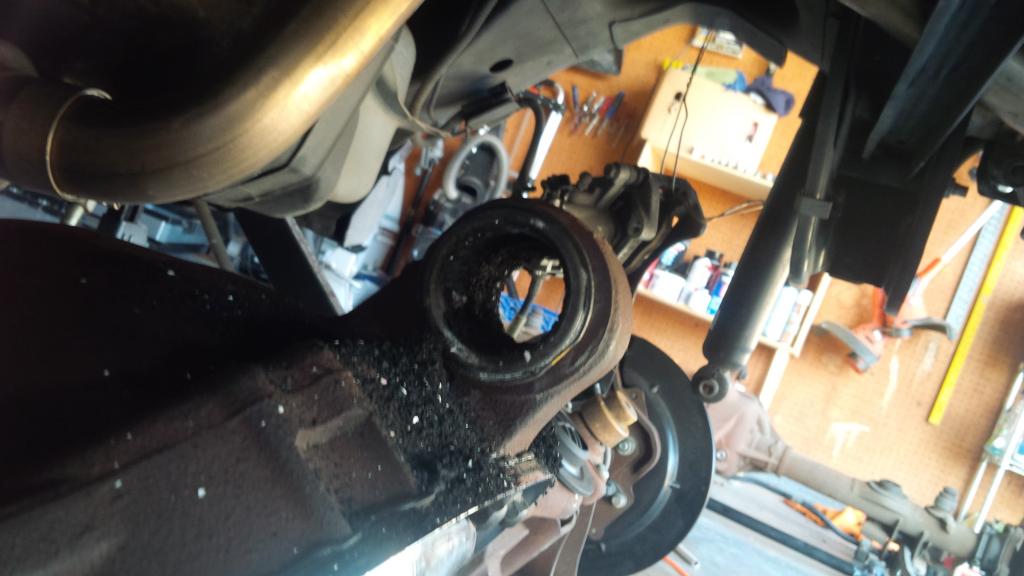
3. Take the wire wheel and start eating away at the rest of the rubber left. The rubber collects in the shell, so keep it brushed or vacuumed out to notice progress.
4.Grease all parts of the new bushing.
* putting the new bushing in you may have to play with some different methods this is what ended up working for me.
5. Assemble the metal shell through the two inner parts of the bushing.
6.Take the narrow end of the bushing and insert it through the driver side.
7.Take a mallet and drive it through until the lip of the bushing is flush with the lip of the shell. If the metal insert has gone past bushing, use the mallet to hammer it back flush.
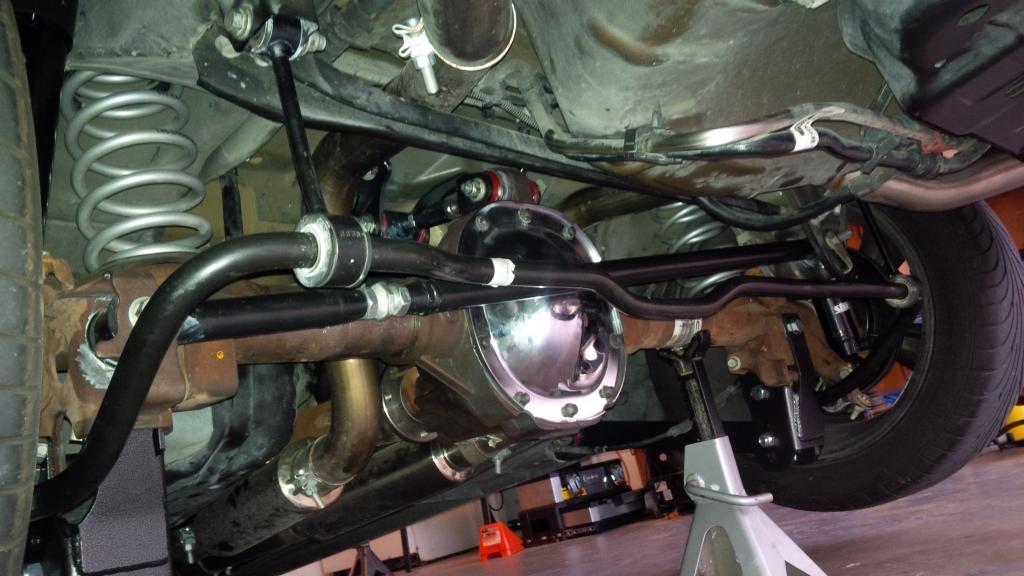
9. Install the outer pieces on the bushing
10. Done
After some research it seemed that people normally had a serious time getting the old bushing out with various methods.
I tackled it yesterday and it's only about a thirty minute job with the right tools and rear end on the ground.
So here's my methods.
Tools.
-Everything needed to lower the rear down (won't go into these)
-Drill
-1.5" hole saw.(you can use a 1.25" on the 7.5 but not on the 8.8)
-a couple 1" wire wheels
-rubber mallet
-Grease
-Curse jar (optional)
1. Lower the rear end down (if you have enough room to get a drill in there without lower then you can skip this step but I couldn't)
2. Use the 1.5" hole saw and drill to drill out the center metal bushing. Keep the drill as parallel as possible to avoid damaging the shell. Start on one side go as far as possible and then switch to the other side.
*this rubber is stubborn so don't try to go full tilt when drilling through it. Let the saw do the work. Also the rubber bits tend to go everywhere and some may get into your drill housing so don't panic if your drill starts to smoke.
3. Take the wire wheel and start eating away at the rest of the rubber left. The rubber collects in the shell, so keep it brushed or vacuumed out to notice progress.
4.Grease all parts of the new bushing.
* putting the new bushing in you may have to play with some different methods this is what ended up working for me.
5. Assemble the metal shell through the two inner parts of the bushing.
6.Take the narrow end of the bushing and insert it through the driver side.
7.Take a mallet and drive it through until the lip of the bushing is flush with the lip of the shell. If the metal insert has gone past bushing, use the mallet to hammer it back flush.
9. Install the outer pieces on the bushing
10. Done


Thread
Thread Starter
Forum
Replies
Last Post
tj@steeda
Steeda Autosports
0
Sep 10, 2015 08:39 PM