
82 T-top resto/build thread


Thread Starter
Joined: Jan 2013
Posts: 16
From: MN
Well, Ive decided the easiest way to keep track of everything I do is to just go ahead and record it all here, make it easier to keep everything in order, and list what I've done. (and maybe brag a little  )
)
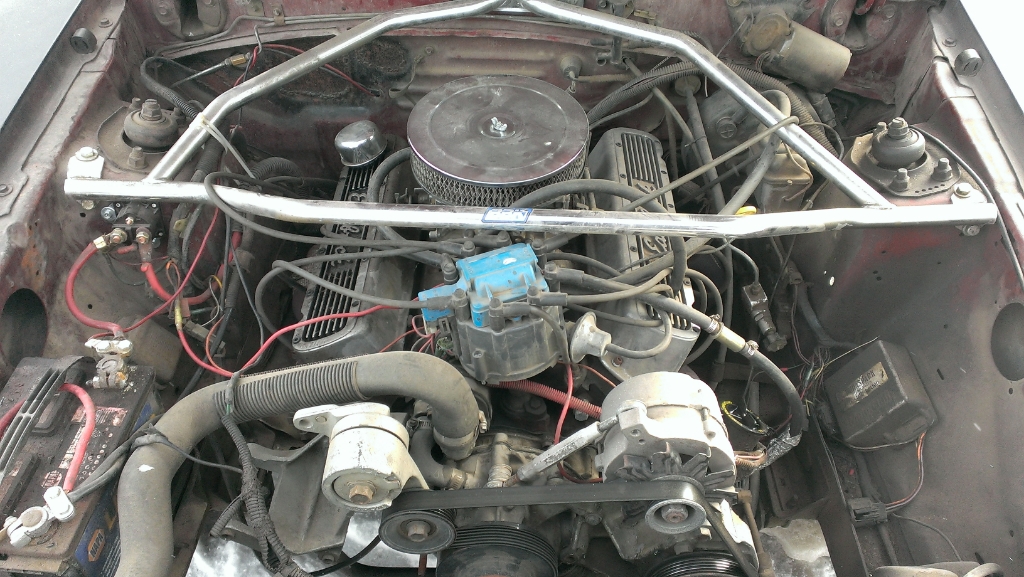
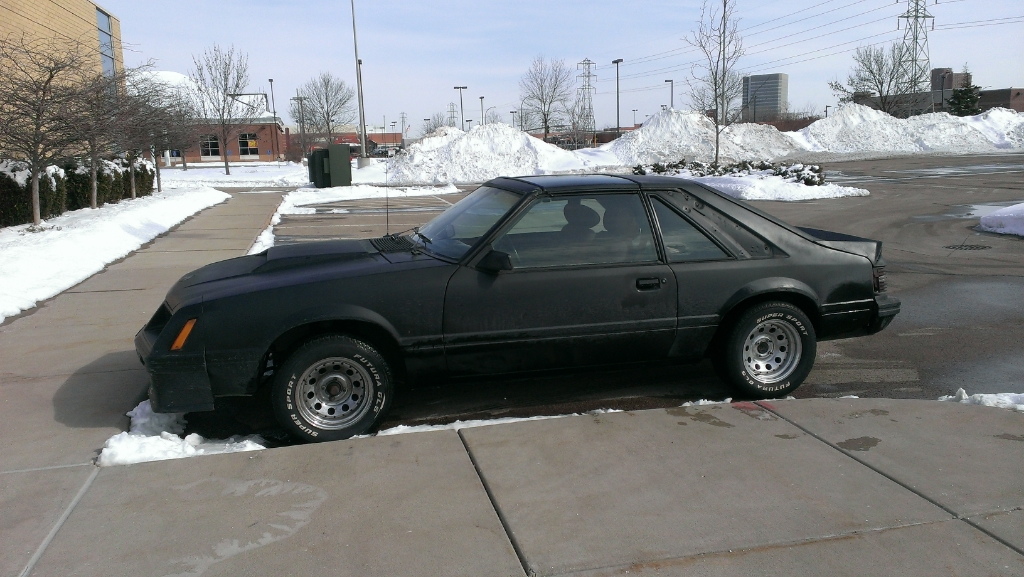
The car is a 1982 Fox T-Top, running a 1986 5.0L 302. Came originally with a 4 banger.
Here is how she started:
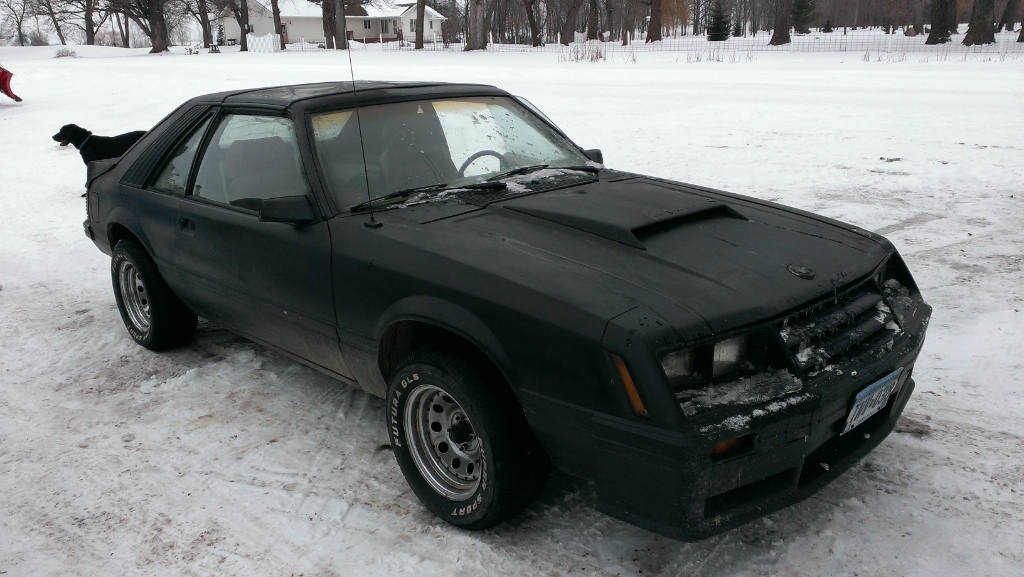
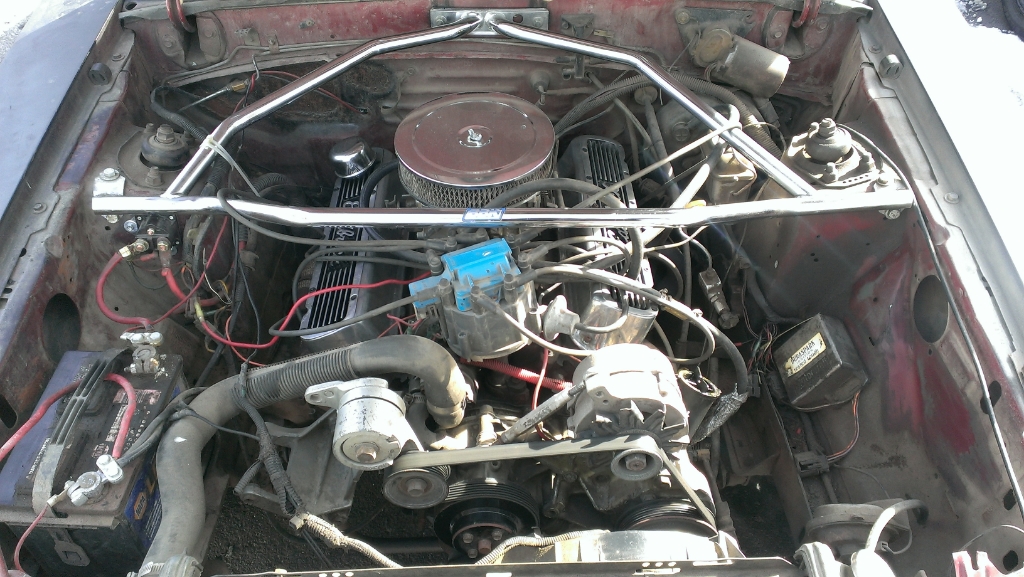
I bought the car with the motor also modified as follows: Duraspark ignition, Mild cams, Long tube headers, Edelbrock valve covers, Edelbrock intake manifold, Edelbrock 4 barrel carb, AC system delete, heater core delete, and electric fan added on. Car also has a BBK strut brace, flowmaster 40 mufflers, and a true-dual exhaust system.
The list of restoration items is as follows:
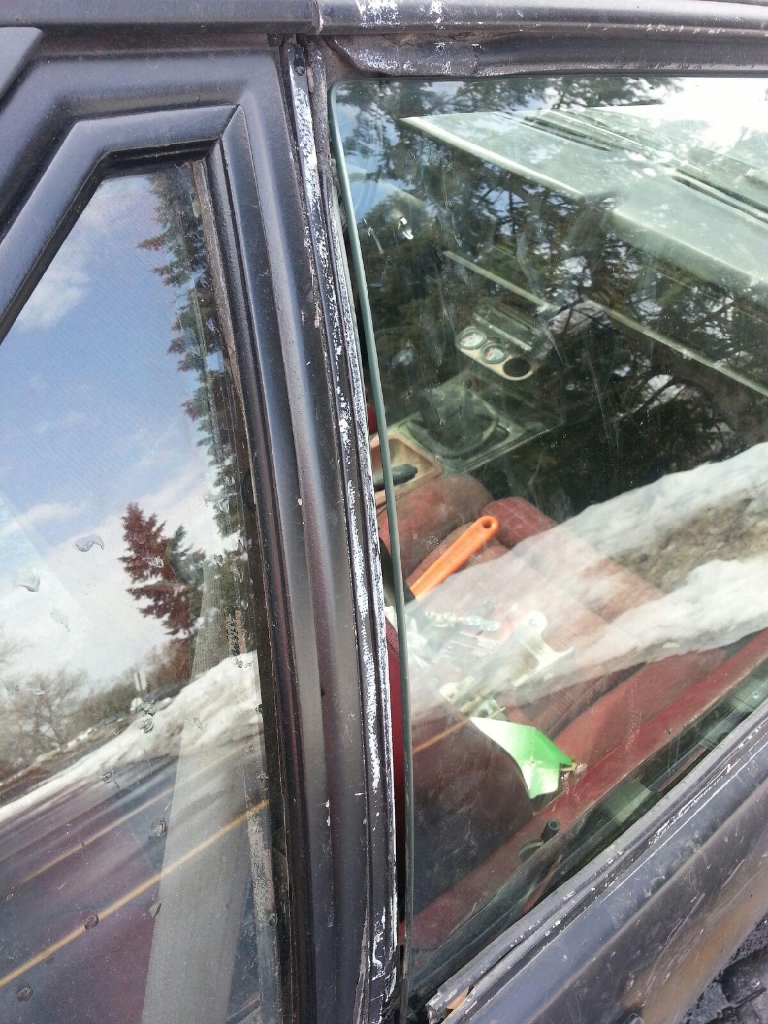
1)Passenger T-Top window
2)T-top to body seals
3)Trunk lock and getting the latch to work
4)door seals
5)trunk seals
6)windshield
7)Clutch
8)brakes
9)tires
10)front fenders
11)door cards
12)front air dam/foglights
13)rear fenders
14)rear bumper
15)passenger tail light (capri style)
16)spoiler
17)hood
18)paint
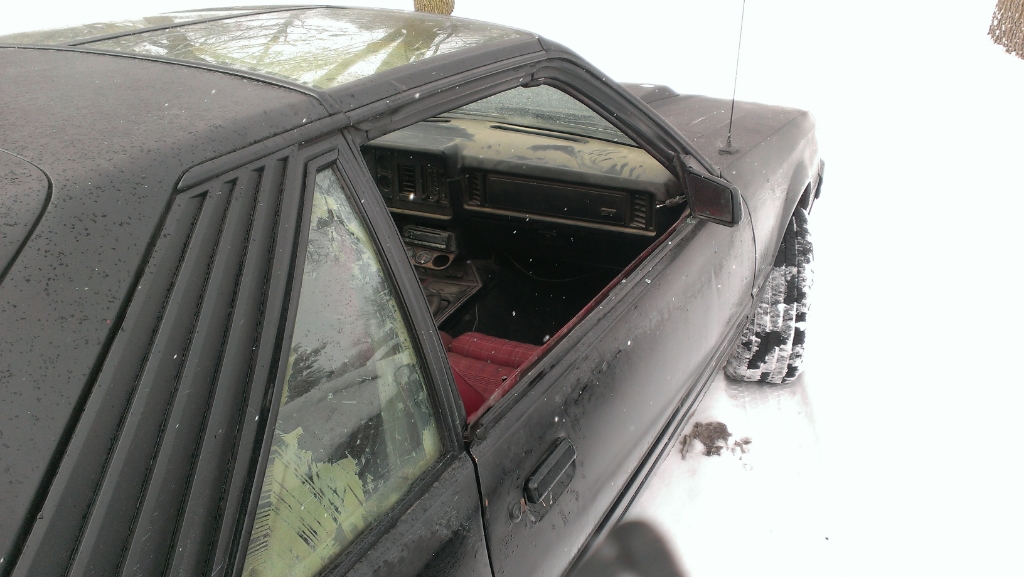
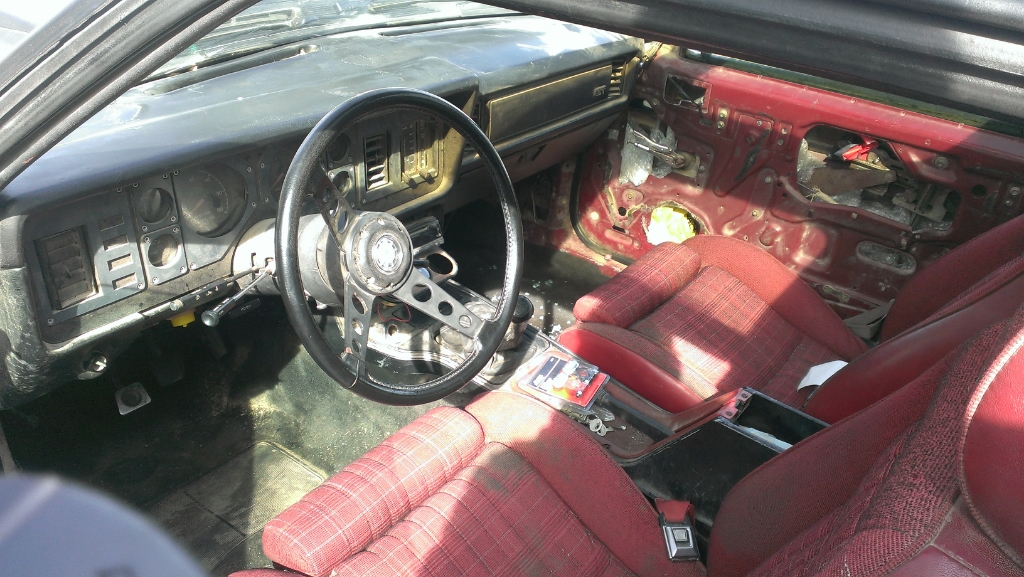
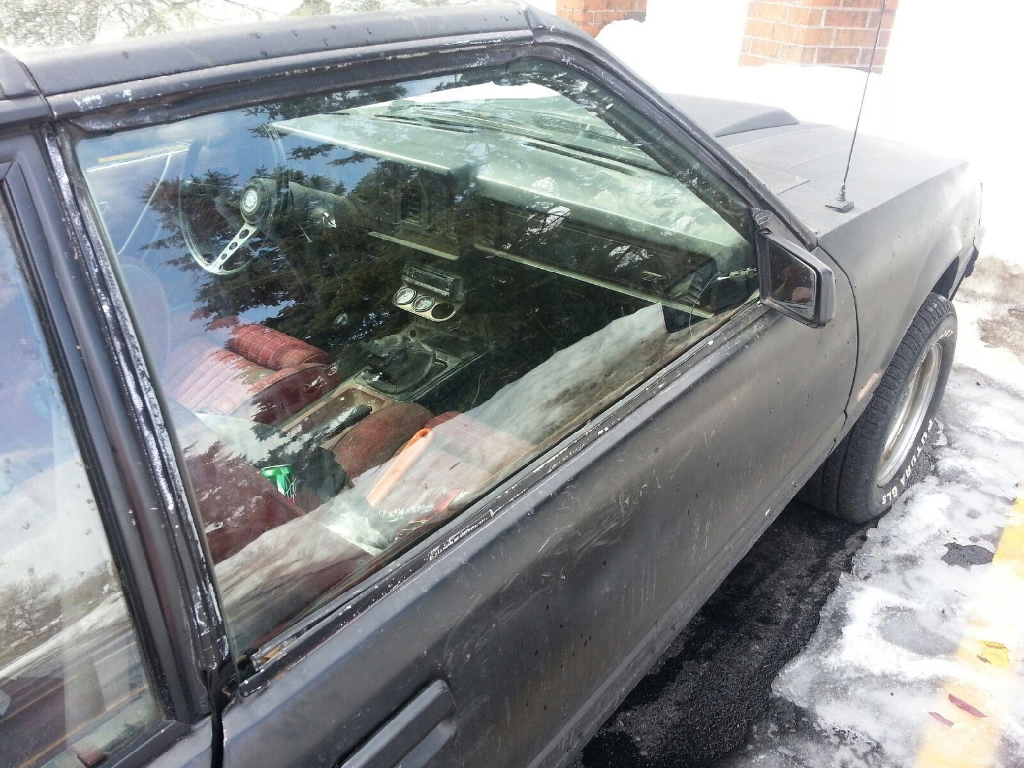
I have replaced the outer door handles on both sides, so one can get into and out of the car(thank god) as both of them had broken off (as seen in the first picture). The starter has also been re-attached as that fell off on the drive home with it... Also cleaned alot of the interior, and windows to get a little done while I wait on shipping:
On order I have T-Top channel guide brackets and bushings, T-top passenger window, and T-top to body 9 piece kit. Those will go in as soon as I get back to her.
The car is a 1982 Fox T-Top, running a 1986 5.0L 302. Came originally with a 4 banger.
Here is how she started:
I bought the car with the motor also modified as follows: Duraspark ignition, Mild cams, Long tube headers, Edelbrock valve covers, Edelbrock intake manifold, Edelbrock 4 barrel carb, AC system delete, heater core delete, and electric fan added on. Car also has a BBK strut brace, flowmaster 40 mufflers, and a true-dual exhaust system.
The list of restoration items is as follows:
1)Passenger T-Top window
2)T-top to body seals
3)Trunk lock and getting the latch to work
4)door seals
5)trunk seals
6)windshield
7)Clutch
8)brakes
9)tires
10)front fenders
11)door cards
12)front air dam/foglights
13)rear fenders
14)rear bumper
15)passenger tail light (capri style)
16)spoiler
17)hood
18)paint
I have replaced the outer door handles on both sides, so one can get into and out of the car(thank god) as both of them had broken off (as seen in the first picture). The starter has also been re-attached as that fell off on the drive home with it... Also cleaned alot of the interior, and windows to get a little done while I wait on shipping:
On order I have T-Top channel guide brackets and bushings, T-top passenger window, and T-top to body 9 piece kit. Those will go in as soon as I get back to her.
Thread Starter
Joined: Jan 2013
Posts: 16
From: MN
she does need a fair little bit of work and money, but I think this pony will roar again ;D today I worked out carbon fiber fenders and hood, maybe doing doors as well. Once the panels are replaced, they wont be rusting again =D
Thread Starter
Joined: Jan 2013
Posts: 16
From: MN
Came home to alot of new parts. Got the passenger window, guide brackets, guide bushings, and T-Top seals.
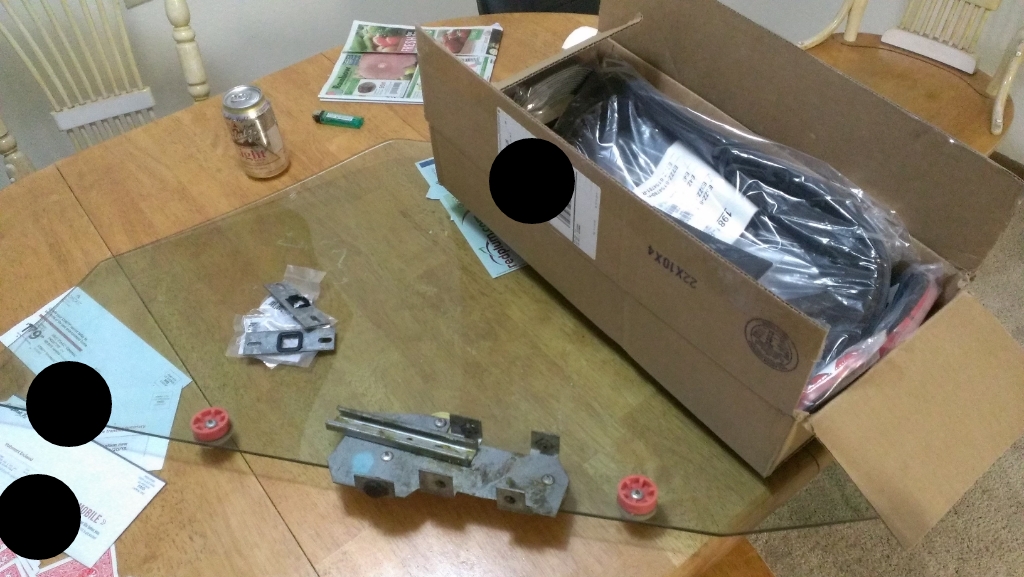
Ended up getting the window assembled and installed in the car. Shes looking better already! Still need to get all of the seals pulled and replaced though, thats the next step!
Ended up getting the window assembled and installed in the car. Shes looking better already! Still need to get all of the seals pulled and replaced though, thats the next step!
Thread Starter
Joined: Jan 2013
Posts: 16
From: MN
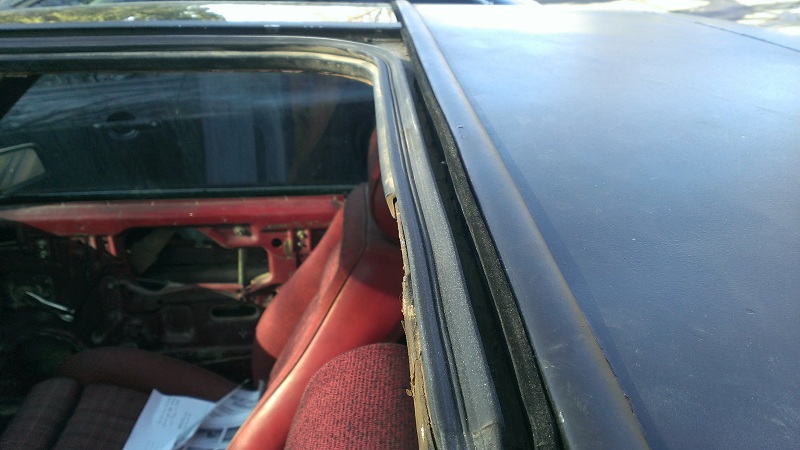
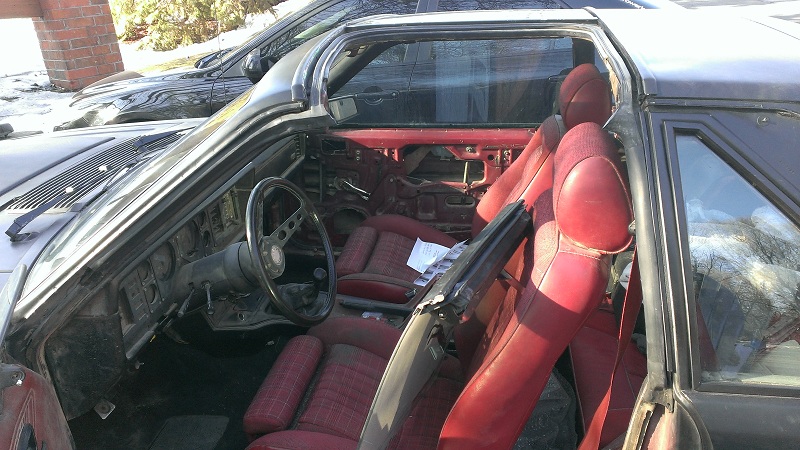
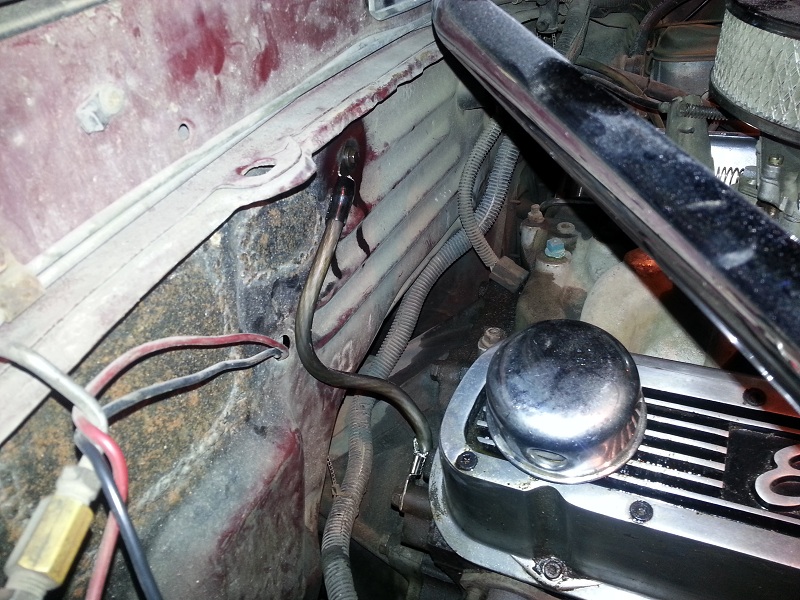
Not a huge update, but I got the driver side T-Top seals in, and the rear beaded felt lining too. I put in new door pins and bushings with those seals to help it out. I also got the rear trunk latch un-seized and put in a lock cylinder so I can open and close said trunk. Along with that, I put in 2 bolts in the passenger side door latch because it was held in by 1 bolt, so that helps the door a lot. Also, this evening I took some time, sanded down some rust and put new grounds on for the rear of the block to help it ground. It starts a lot better now! I even was able to pull off the cable that goes from the battery to the ground for it!
With no further ado, photos:


With no further ado, photos:
Thread Starter
Joined: Jan 2013
Posts: 16
From: MN
Ordered some wire today to re-run grounds and power wires in the car. Also updated the list of things ive found that need to be done. Things are improving, but theres more and more to do!

to do still:
1)Re-run grounds
2)T-top to body seals
3)Carbon fiber doors
4)door seals
5)trunk seals
6)windshield
7)Clutch
8)brakes
9)tires
10)front fenders
11)door cards
12)front air dam/foglights
13)rear fenders
14)rear bumper
15)passenger tail light (capri style)
16)spoiler
17)hood
18)seal rust holes and eliminate rust
18.5)paint
Thread Starter
Joined: Jan 2013
Posts: 16
From: MN
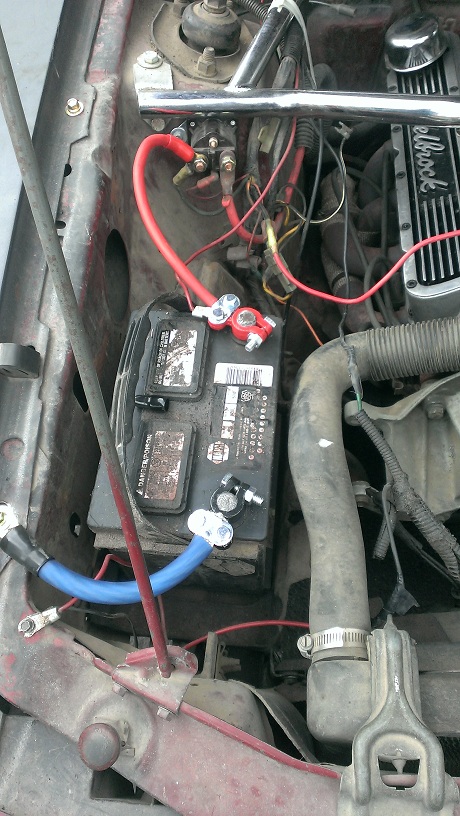
Re-ran a lot of the charging system today. Ran the front of the motor ground wire over to the sway bar link, and cleaned all of those surfaces. Also put on new terminal connectors and ran a large battery to chassis ground. Lastly I re-ran the positive to starter solenoid wire. Enough talk, time for pictures!
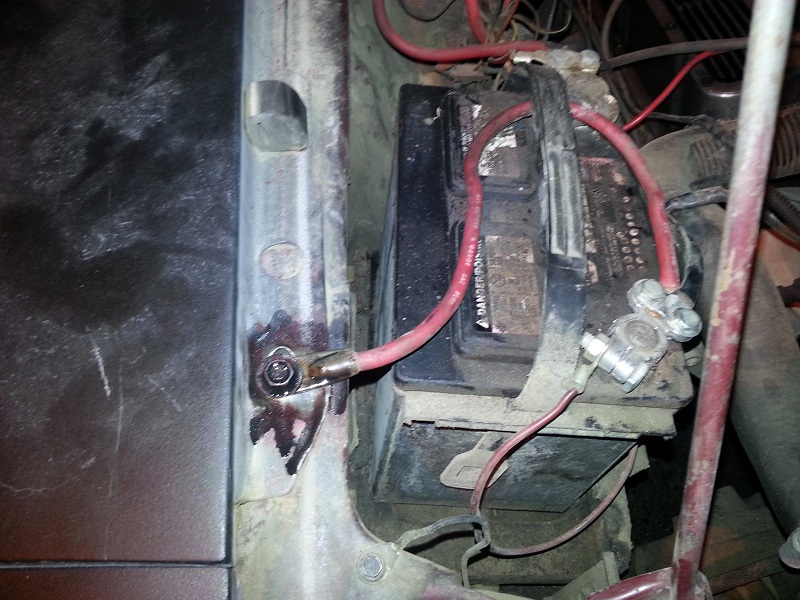
This is before, how the battery looks and the coroded terminals and jenky wire.
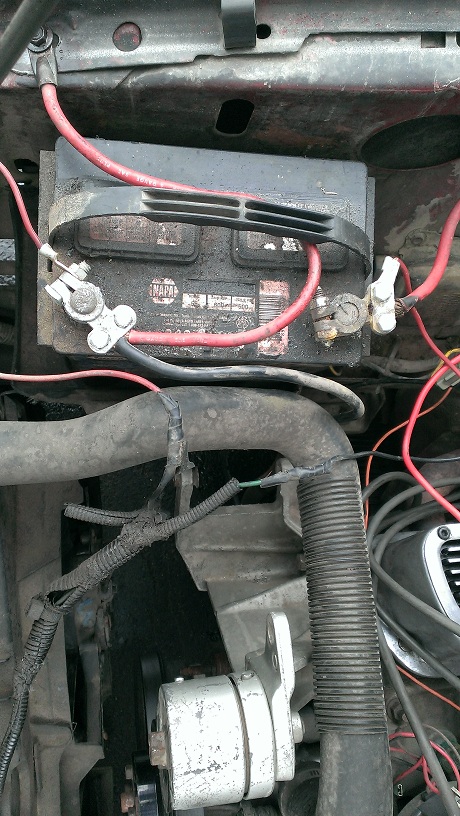
All of my new parts measured, cut, crimped and ready to go in:

And last but not least, the finished product! She turns over alot better now and lights flicker alot less!
This is before, how the battery looks and the coroded terminals and jenky wire.
All of my new parts measured, cut, crimped and ready to go in:
And last but not least, the finished product! She turns over alot better now and lights flicker alot less!
Thread Starter
Joined: Jan 2013
Posts: 16
From: MN
It's been a while since I left an update! Here is some new stuff:
Carbon fiber fenders molded and fiber is being laid. Went up north and found a t-top mustang that was being parted out. Picked up some a-pillar exterior trim, the trim above the louvers, a new set of t-tops, and the back seat/trunk seat, bracketry, AND TRIM. Spent this evening cleaning up the trim for bolting into the car. Pictures installed will come sometime next week.
On a side note, I found out that the t-case spacer was never installed with the motor swap causing the starter to mis-align. That is getting fixed, so she should start much more reliably after this!
Heres a nice picture of the interior trim and a ttop after cleaning: