Ford Mustang V6 and GT 1994-2004: How to Replace Fuel Pump
A bad fuel pump can cause engine hesitation, sputtering, loss of power, and it may not even let your Ford Mustang start. Read on to learn how you can replace your fuel pump.
This article applies to the Ford Mustang V6 and GT (1994-2004).
A fuel pump is an electronic device that pumps fuel from the fuel tank to your engine. Fuel is pumped from the tank and through the fuel filter, which then filters the fuel as it makes its way to the engine. A bad fuel pump can cause a number of issues. The most common sign of a malfunctioning fuel pump is a sputtering car. If you also drive your Ford Mustang at a consistent speed and notice loss of power out of no where, this could be the fuel pump. A bad fuel pump will eventually cause your Mustang to not start. To replace the fuel pump, you will need to empty the fuel tank and drop it, as it's located on top of the tank. Don't be intimidated, however, we will walk you through the whole process until the end. Read on to learn how you can replace your fuel pump.

Materials Needed
- Socket set
- Line disconnect tool
- Jack
- Fuel siphon kit
- New fuel pump
Step 1 – Empty fuel tank
The fuel pump is located on top of the fuel tank. To access it, you will need to drop the tank, so it's best to empty the tank completely before doing so.
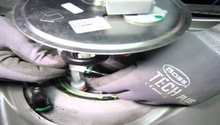
Stick the hose that comes with your siphon kit all the way down your fuel tank. When it reaches the bottom, connect the manual pump that came with the kit, and connect the other end of the hose into the container. Pump the fuel with your hand until there is no more fuel in the tank. Remove the hose from the tank.

Warning
Although using your mouth to siphon the gas does work, it's extremely dangerous because the fumes you will be sucking can cause death.
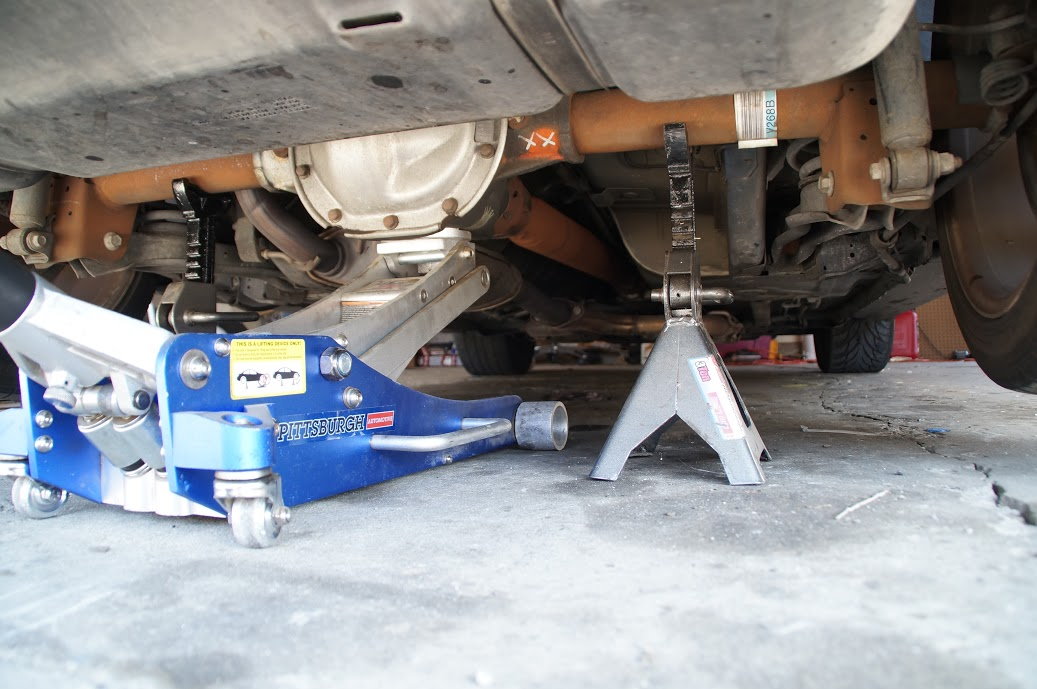
Step 2 – Raise the car
Raise the car and secure it with jack stands.
Step 3 – Remove hoses connected to tank
- Disconnect the filler neck on the side of the tank.
- Disconnect the two hoses next to the filler neck on the same side. (The side where you fill your tank from.)
- Unplug the electrical connector on the back of the tank towards the back of the car.
- Disconnect the hoses on the side opposite of the filler neck side (driver's side).
- Disconnect the fuel filter's hoses connected to both ends. Use your line disconnect tool, place it between the filter and the line, then push out to un-clip it.
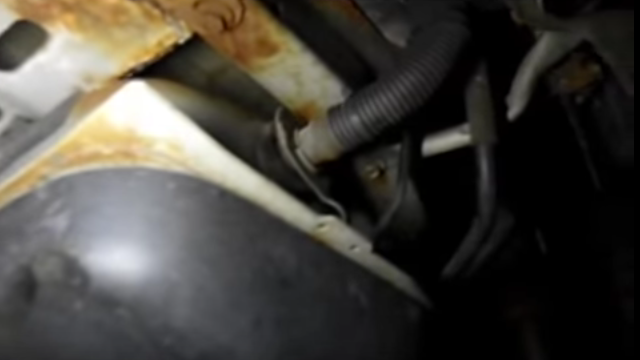
Figure 4. Disconnect filler neck hose and hoses next to it. 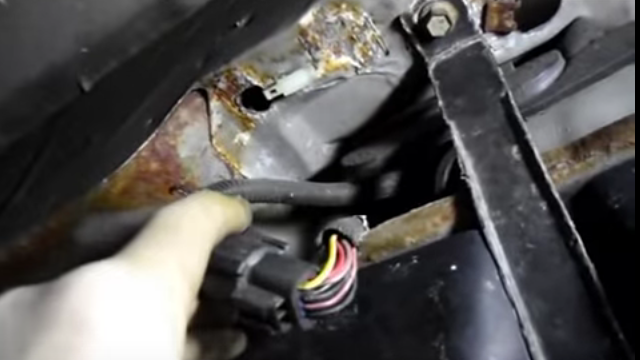
Figure 5. Unplug connector on the back of the tank. 
Figure 6. Disconnect remaining hoses.
Step 4 – Drop the fuel tank
To drop the tank, you will need to place your jack underneath it. Raise the jack until it touches the tank.
The tank is held in place by two brackets, which are held in place by one bolt on each side, making it four bolts total.
With the tank rested on the jack, remove the two brackets, then slowly lower the tank to pull it out of the vehicle.

Figure 7. Bracket's bolt. 
Figure 8. Bracket. 
Figure 9. Drop tank with jack.
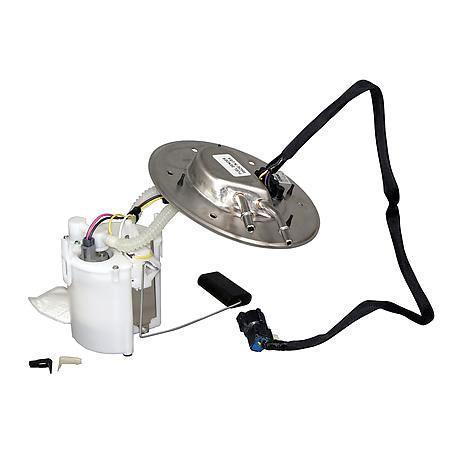
Step 5 – Replace fuel pump
Remove the last hose connected directly to the fuel pump using your line disconnect tool. Unbolt the six bolts holding the fuel pump in place. To pull the assembly out, after unbolting the cover, you will need to squeeze the clip holding the pump in place as you're pulling it out.
Install the new pump the same way you took the old one out. Do not bend the float arm when you're putting it in.

Figure 10. Disconnect last line. 
Figure 11. Remove pump's cover. 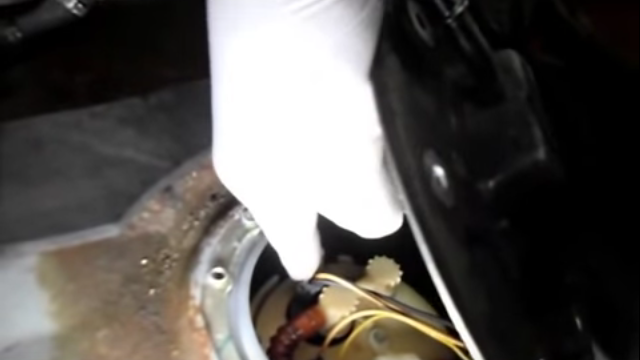
Figure 12. Use finger to pull clip in as you pull out. 
Figure 13. Put new pump in, float arm first.
Step 6 – Install tank back in place
- Install the line back into the fuel pump by pressing it in until you hear it clip.
- Raise the tank using your jack and align it in place. Wrap the two brackets around it and tighten the four bolts holding them in place.
- Go around the tank and connect the hoses you removed earlier. You can go back to Step 3 for reference.
- Connect the fuel filter's hoses by pushing them in until they click in place.
- Connect the electrical connector on the back of the tank towards the rear of the car.
- Pour the gas back into your tank and start your car.

Featured Video: How to Replace Fuel Pump
Related Discussions
- How to Remove Fuel Pump - MustangForums.com
- Fuel Pump - MustangForums.com