Ford Mustang V6 and Mustang GT 1994-2004: How to Replace Interior Door Handle
Is your Ford Mustang's door handle broken? Learn how to remove it and replace it with the help of this article.
This article applies to the Ford Mustang V6 and GT (1994-2004).
Your Ford Mustang's door handle performs only one function, but it is quite an important one. The door handle is nestled in the door panel and is connected to a cable as well as a rod that unlatches the right hardware in order to open the door and let you in or out of your car. Like most other parts that are used daily, the door handle is susceptible to breaking because of its constant wear and tear. Thankfully, replacing it is quite simple and doesn't take much effort to do. Follow this step-by-step guide to remove and replace your Mustang's door handle.

Materials Needed
- Flat head and Phillips screwdriver
- Hammer
- Punch
- Drill with 1/4" bit
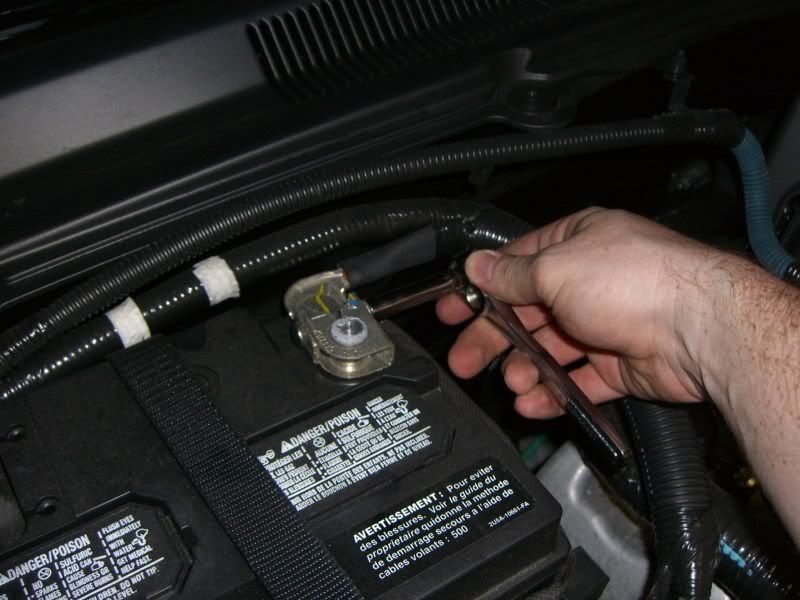
Step 1 – Disconnect battery
It is important to disconnect the battery to avoid any electrical damage to you or your vehicle. Follow this step:
- Use the 8mm wrench or socket to disconnect the negative (black) battery terminal.
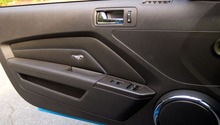
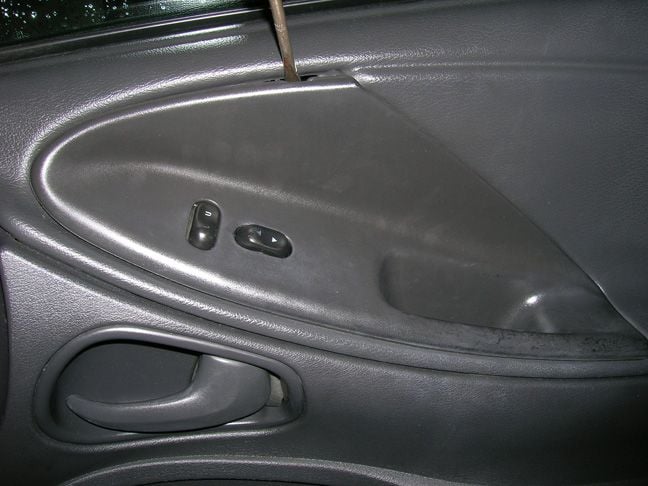
Step 2 – Remove door panel
Before being able to disassemble the door handle assembly, you must first remove the door panel. Follow these steps to do so:
- Use the flat head screwdriver to pop out the plastic clips that surround the door panel.
- Use the flat head screwdriver to pop out the side mirror cover.
- Use the flat head screwdriver to wedge and remove the door handle trim piece.
- Disconnect the power window and lock wiring harness.
- Gently remove the door panel.
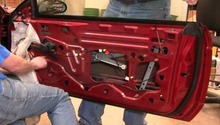
Step 3 – Remove old door handle
With the door panel out of the way, it's time to asses the door handle assembly and take the necessary action to remove it. Follow these steps to do so:
- Locate the main rivet on the bottom-right corner of the handle assembly.
- Place the punch in the middle of the rivet and hit it with one clean hammer stroke.
- Once the rivet is out, use your drill and 1/4" bit to drill into the rivet hole.
- Once the hole is drilled, the assembly should come off and you may disengage the pull cable.
- Finish punching the rivet (if necessary) after the door handle has come off.
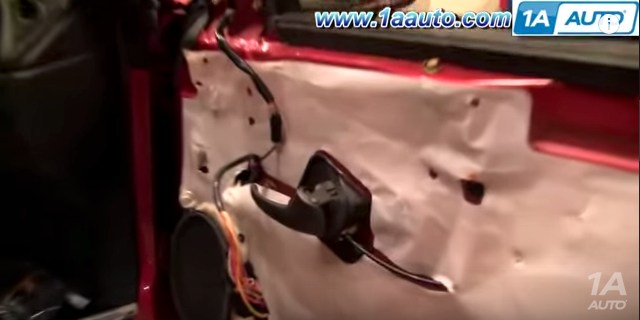
Figure 3. Door handle assembly. 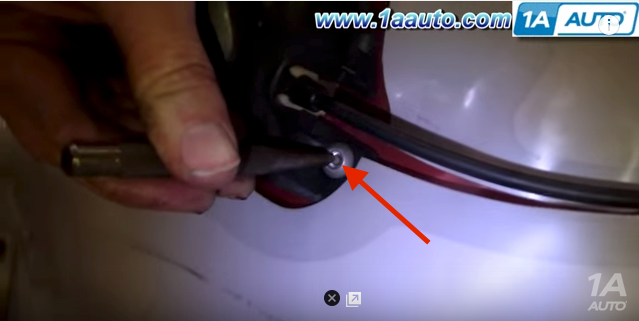
Figure 4. Punch the rivet out.
Pro Tip
Remove the water shield at this point if it makes things easier to work with.
Step 4 – Install new door handle
- Position the new door handle.
- Re-engage the cable pull system.
- Insert the new bolt where the hole was drilled, and then tighten.
- Re-attach the water shield (if applicable).
- Position the door panel.
- Re-insert plastic body clips.
- Plug in power lock and window connector.
- Re-insert door handle trim and side mirror cover.
- Reconnect the battery.
Pro Tip
It never hurts to try the new door handle to make sure it works right before you start to re-mount the door panel.
Related Discussion
- Door Handle in Ford Mustang No Longer Works - MustangForums.com