Ford Mustang V6 and Mustang GT 2005-2014: How to Paint Interior Trim
Save yourself a bit of cash and paint your interior trim yourself. It's easy. Here's how.
This article applies to the Ford Mustang V6 and Mustang GT (2005-2014).
There are a number of ways to "dress up" the interior of a 2005 to 2014 Ford Mustang V6 or Ford Mustang GT. Best of all, you won't need to break the bank to do it. When considering how to "dress up" your Ford Mustang, however, it's important to consider what type of interior you hope to achieve (e.g., premium, custom, stylized, muted) and how it will impact the overall look of your beautiful sports car. While the process is easy, you will need some time to allow your paints to completely cure, which could take one to two weeks depending on the number of coats you apply as well as the type of paint you use (always refer to the manufacturer's instructions for the best results). Here are our best tips and tricks for painting the interior of your 2005 to 2014 Ford Mustang.

Materials Needed
- Premium quality paint and plastic cleaner
- Wax and grease remover
- Lint-free cloth and microfiber cloth
- 400, 600, 800 and 2,000 grit sandpaper
- Dupli-Color paint
- Painter's tape and masking paper
- Latex gloves and face mask
Step 1 – Prep your trim
Using a trim and plastic cleaner, clean all dirt, spots and residue from the trim. Repeat for several passes to ensure the surface is totally clean. We highly recommend using a plastic trim tool and removing the trim from the interior. Alternatively, you will need to use a lot of masking paper and masking tape to cover all other areas of the interior, but this is just asking for over-spray issues.

Pro Tips
- In some cases, it might be best to remove the trim panel from your vehicle beforehand.
- If you will be working from inside the passenger cabin of your Ford Mustang, however, it's best to lower all your windows and wear protective gear, such as a face mask and latex gloves.
Step 2 – Wet-sand your trim
- Using water and 400 grit sandpaper, wet-sand your trim.
- Add additional lubricant as you complete an additional pass and begin wet-sanding the trim using 600 or 800 grit sandpaper.
- Remove sanding residue from the surface of the trim.
- Go over the trim using a clean microfiber cloth, as well as a wax and grease remover.
- Allow the trim to dry.
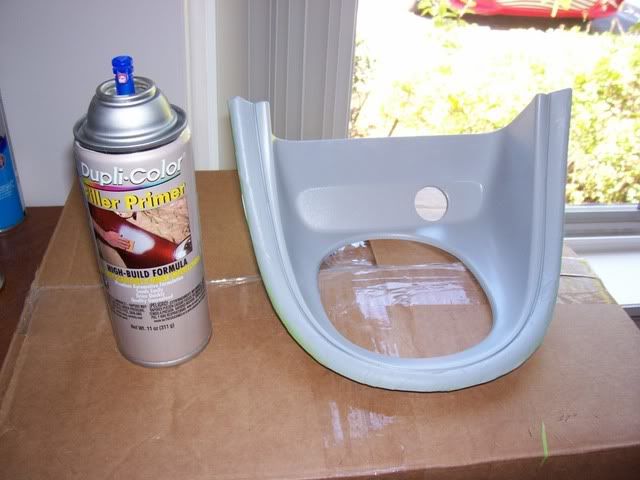
Step 3 – Prime the trim
- Adhesion promoter does exactly as the name suggests and should be applied liberally (two to three coats) to help create a strong bond between your primer and trim.
- Allow your trim to sit for 10 minutes or until dry.
- Apply a filler primer (two to three coats), and then follow up with a primer sealer (two to three coats).
Pro Tips
- When applying the adhesion promoter, filler primer or primer sealer, use slow, even strokes.
- Wipe away dust and other fallen debris as needed.
Step 4 – Apply your paint
- Spray your trim with your first coat of color paint.
- Use a slow, even stroke and targeting all areas, including borders.
- Apply up to one to three coats of paint, allowing each to dry before moving on to the next.
- Gently wet-sand your final coat, which must be dry before doing so.
- Use 2,000 grit sandpaper; there is no need to exert force here.
- Spray up to five coats of clear paint.
- Allow paint to cure, which could take up to three to five days.
- Apply a fresh coat of wax after one to two weeks to protect your paint and improve your results.

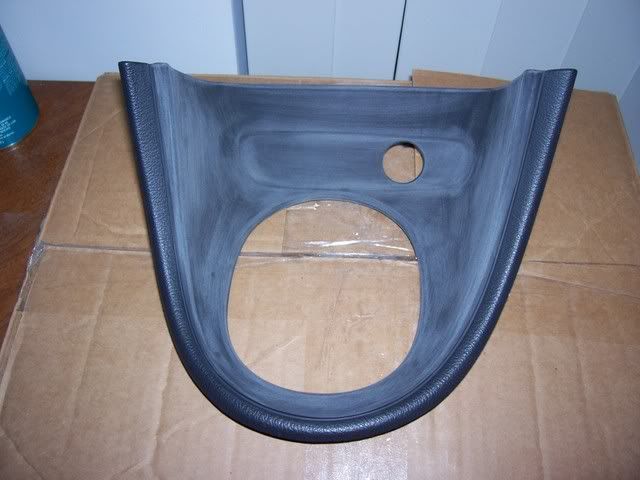
Figure 4. DIY results. 
Figure 5. Painted trim installed. 
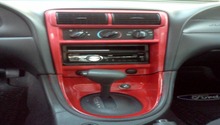
Figure 6. Center stack trim painted. 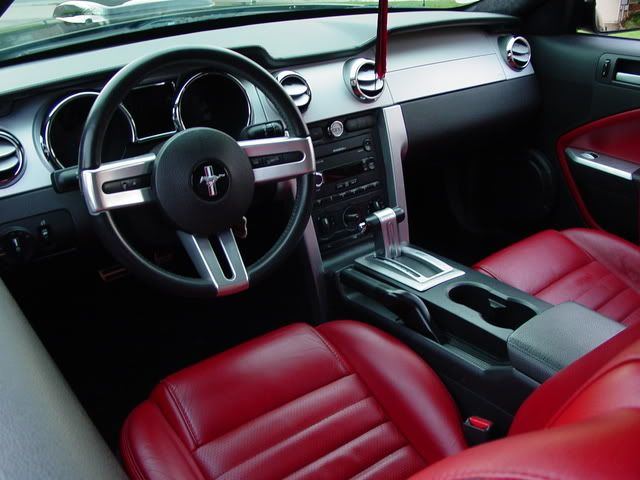
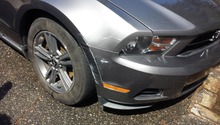
Figure 7. Satin-look trim.
Related Discussions
- How to Paint Interior Trim - MustangForums.com
- Painting Plastic Trim - MustangForums.com
- I Want to Paint My Interior Trim - MustangForums.com