How-To Tuesday: Re-building an Alternator
It’s easy enough to go out and buy a re-manufactured alternator on the cheap, but if you’re feeling ambitious about saving a few dollars, and having a fun little project, re-building an alternator yourself is really quite easy. Most alternators are very similar, so the kit you see in the video below — with new brushes, springs, bearings, and voltage regulator — will most likely apply to the project that you’re working on.
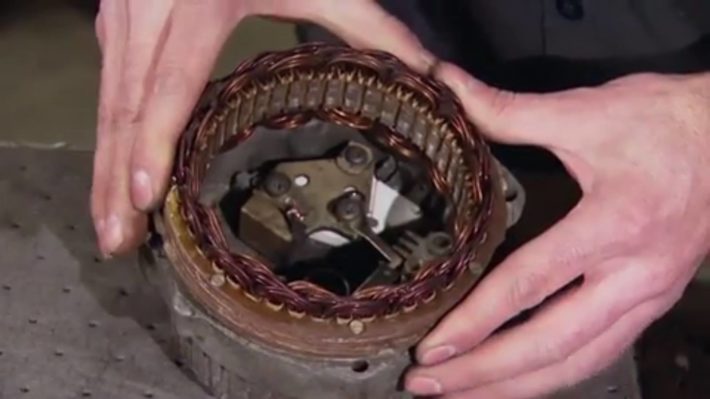
Disassembly of the alternator is easy. When you’re removing screws and other hardware, simply note the order they are being removed to aid with re-assembly. From here, you’ll be able to see the rotor and stator housing, which we will get to in a moment. The main hardware that you’ll be replacing is the bearing, and that’s easily removed from its housing. When installing the new bearing though, make sure you gently tap it in, only using the outside ring to push it in place. A socket works great for this.
Once that’s done, you’ll need to remove the stator to get to the voltage regulator, brushes, and diodes. A screw driver is all you need for this part, and re-assembly of the new parts is straight forward — that is, except for the brushes, which need a retaining pin that is removed after everything is screwed together. If you were taking notes of how you disassembled the alternator at the start of your project, it makes the final re-assembly that much easier. Once it is all buttoned up, don’t forget to pull out the retaining pin for the brushes, and give yourself a pat on the back for saving some cash.
Chime in with your thoughts on the forum. >>