Ford Mustang V6 and GT 2005-2014: How to Replace Front and Rear Lower Control Arms
Replacing the control arms on your Ford Mustang is not as hard as you think. With a little bit of elbow grease and some basic tools, you can easily replace those failing arms.
This article applies to the Ford Mustang V6 and GT (2005-2014).
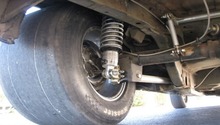
Whether you are racing on the track or cruising down the highway, control arms are required to keep the stability of the chassis in check. They work by stiffening the chassis at certain points, lessening the vehicle's wheel hop and increasing its traction control. Unlike most import vehicles, a Mustang has a special setup, using only a lower control arm in its front end. Instead of paying an arm to replace these components at an auto shop, why don't you put the work in yourself. Just follow these simple instructions to replace the control arms on you Ford Mustang.

Materials Needed
- Jack
- Jack stands
- 3/8" ratchet
- 18mm socket
- Breaker bar
- Grease gun
- Zip ties
- Oil lubricant
- 21mm socket
The front and rear have different ways of being removed. First, we'll discuss the front control arms in Steps 2 to 4, and then in Steps 5 to 7 we'll break down the rear-lower removal.
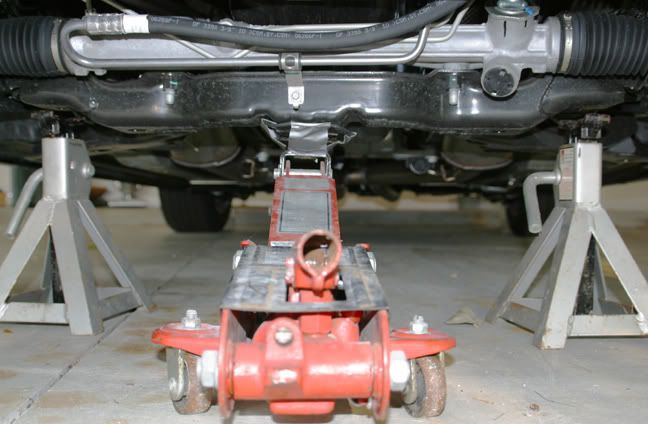
Step 1 – Raise and secure the chassis
Raise the front or rear of the chassis and align the jack stands to the correct jack points.
Step 2 – Remove the steering rack bolts
- Use the 18mm socket and 3/8" ratchet to remove the two steering rack bolts.
- Spray some penetrating oil if necessary.
- Remove the bolts and pull the rack away, so you can access the front lower control arms.

Step 3 – Remove the control arm bolts
- Continue to use the 18mm socket to remove all the front and rear control arm bolts.
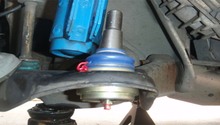
- Take a 21mm socket and remove the ball joint nut.
- Then, use a pry bar to release the ball joint from the chassis.
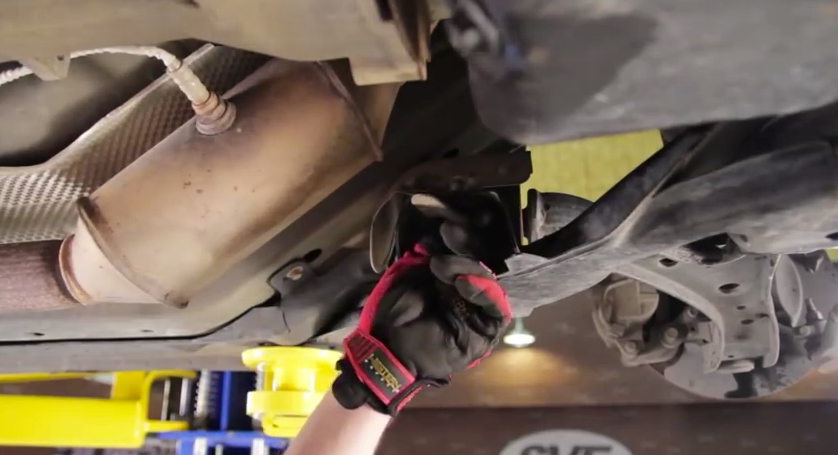
Figure 3. Remove the front and rear control arm bolts. 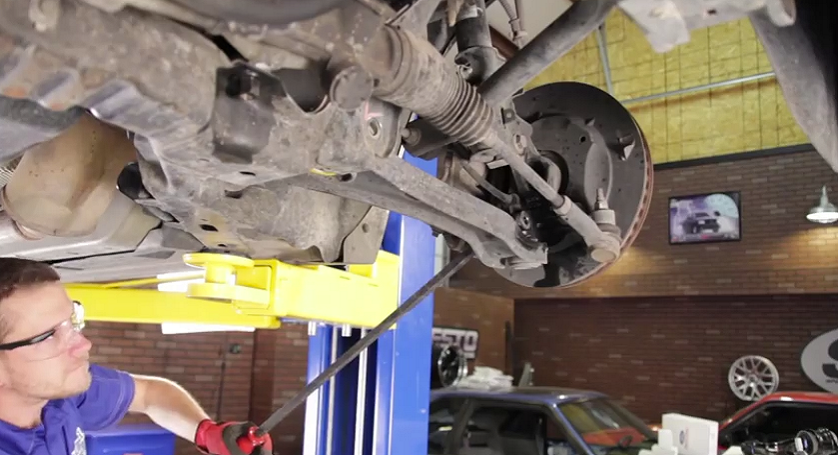
Figure 4. Remove the control arm from the chassis.
Step 4 – Install the new arm
- Align the new control arm in place, and hand-tighten the front and rear bolts.
- Line up the front ball joint and press it into its socket.
- Tighten each bolt.
- Reinstall the steering rack back into its original position.
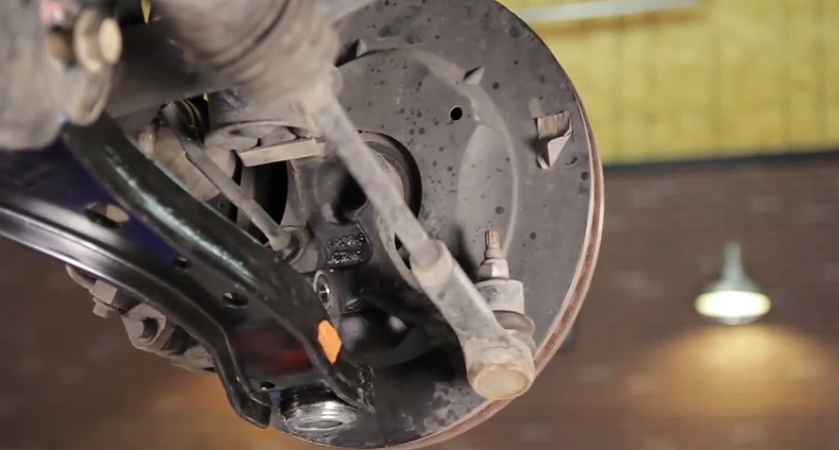
Figure 5. Push the ball joint in place. 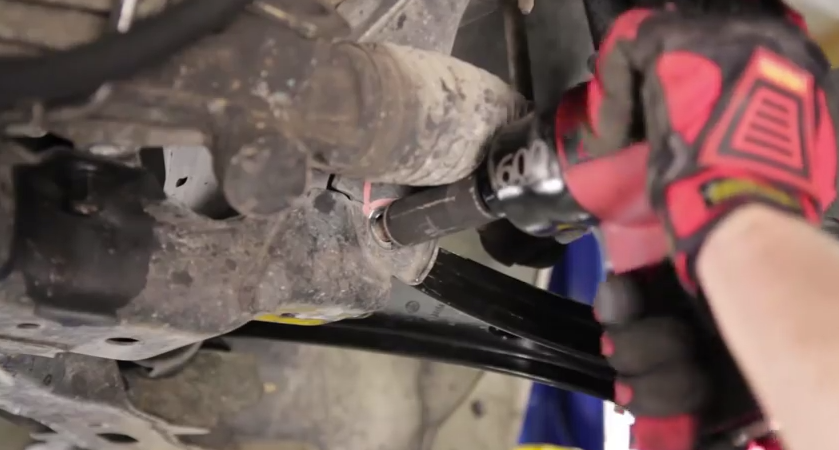
Figure 6. Tighten the control arm bolts.
Pro Tip
After installing a primary suspension component, such as the control arm, always be sure to have the wheels properly aligned at a certified auto garage.
Step 5 – Remove the brake cable
The rear lower control arms are a lot more simpler to remove. First, access the brake cable that snakes through the original lower control arms. Then, pull off the bracket that holds it in place and push aside the brake cable.

Step 6 – Remove the lower control arms
- Loosen the 18mm bolts that hold the control arms in place.
- Remove the lower control arms.

Step 7 – Install the new rear control arms
Before you slide these babies in, apply some grease onto the bushings. Then align the arm to the chassis and hand-tighten the front bolt. Proceed with the other side until each side is fitted. Grab your torque wrench and tighten each side down to 130 ft-lbs. Grab your grease gun and push some grease into each fitting.
That's it for the installation process. Now you reconnect the brake cable, remove the jack stands and lower the vehicle.
Figure 9. Apply some grease to each bushing. 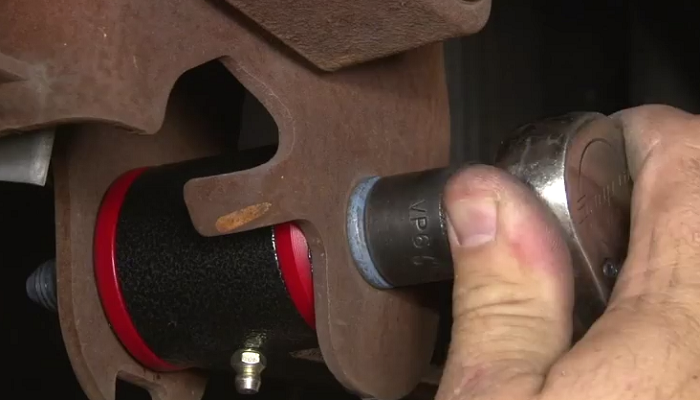
Figure 10. Torque down the front and rear sides. 
Figure 11. Apply some grease to each fitting.
Featured Videos: Lower Control Arm Install
-
Front Lower Control Arm Install
-
Rear Lower Control Arm Install
Related Discussions
- Lower Control Arms Installed *Pics*- MustangForums.com
- Do Lower and Upper Control Arms Really Make a Difference - MustangForums.com
- Lower Control Arm Bushings - MustangForums.com