Mystery Stripe
 06-06-2012, 07:35 PM
#11
2nd Gear Member

Join Date: Feb 2012
Location: Nuevo Leon
Posts: 153
 06-06-2012, 08:09 PM
#14
2nd Gear Member
Join Date: Feb 2012
Location: Nuevo Leon
Posts: 153
yes me and a friend of mine did it in like 4 hours but we went one piece by one(placed one, waited for it to dry, removed protective film and then moved on to the next one) REALLY easy to install, just clean the car, spray windex, spray windex to the stripe, apply and adjust and then the tricky part is making sure you squeegee out all the stripe so that there are no bubbles, its really easy and fun.
here are some pictures of the process


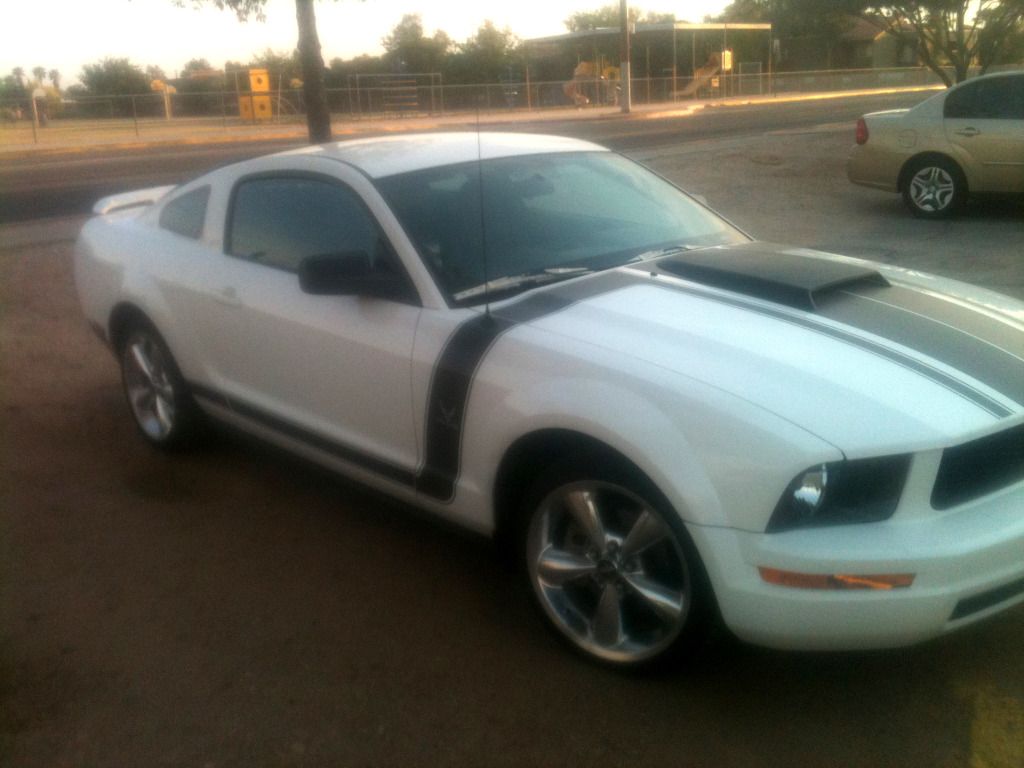
oh and this guy sells stripes that are precut for hoodscoops like you can see on my car
here are some pictures of the process
oh and this guy sells stripes that are precut for hoodscoops like you can see on my car
06-06-2012, 09:00 PM
#15
1st Gear Member
Thread Starter

Join Date: May 2012
Location: Jersey
Posts: 114
yes me and a friend of mine did it in like 4 hours but we went one piece by one(placed one, waited for it to dry, removed protective film and then moved on to the next one) REALLY easy to install, just clean the car, spray windex, spray windex to the stripe, apply and adjust and then the tricky part is making sure you squeegee out all the stripe so that there are no bubbles, its really easy and fun.
here are some pictures of the process
oh and this guy sells stripes that are precut for hoodscoops like you can see on my car
here are some pictures of the process
oh and this guy sells stripes that are precut for hoodscoops like you can see on my car
06-06-2012, 11:02 PM
#17
2nd Gear Member
Join Date: Feb 2012
Location: Nuevo Leon
Posts: 153
nah, its my best friend, but we are barely 18, so yeah we are young, here is what you will need and the process to follow, or atleast the one i followed.
-Windex
-Dry Cloth
-Wet Cloth
-Squegee
-Blow Drier
I recommend try the smalles rear panels first to get a grip of what you are doing, thats what we did. anyways.
1. clean the areas where the stripes will be going, then dry them.
2. spray windex in the area moderate amounts, dont flodd it but make sure there is a nice layer of windex.
3. Apply windex on the sticky side of the stripe
4. Place the stripe and adjust it as you see fit, when you like the position, tape the ends to the car and blow it so that it fully adjusts to the car's shape, at the same time squeggee out by sections all the stripe this part is so important, if you dont do even squegee there will be bubbles, after you are sure you sq everything keep blowing, speeds up drying process
5.gently remove the protective film with a sharp angle, if there are any bubbles left you can squeggee them out, but it WILL BE A PAIN.
6.Repeat
here are some videos i used as guide
the most helpful one imo
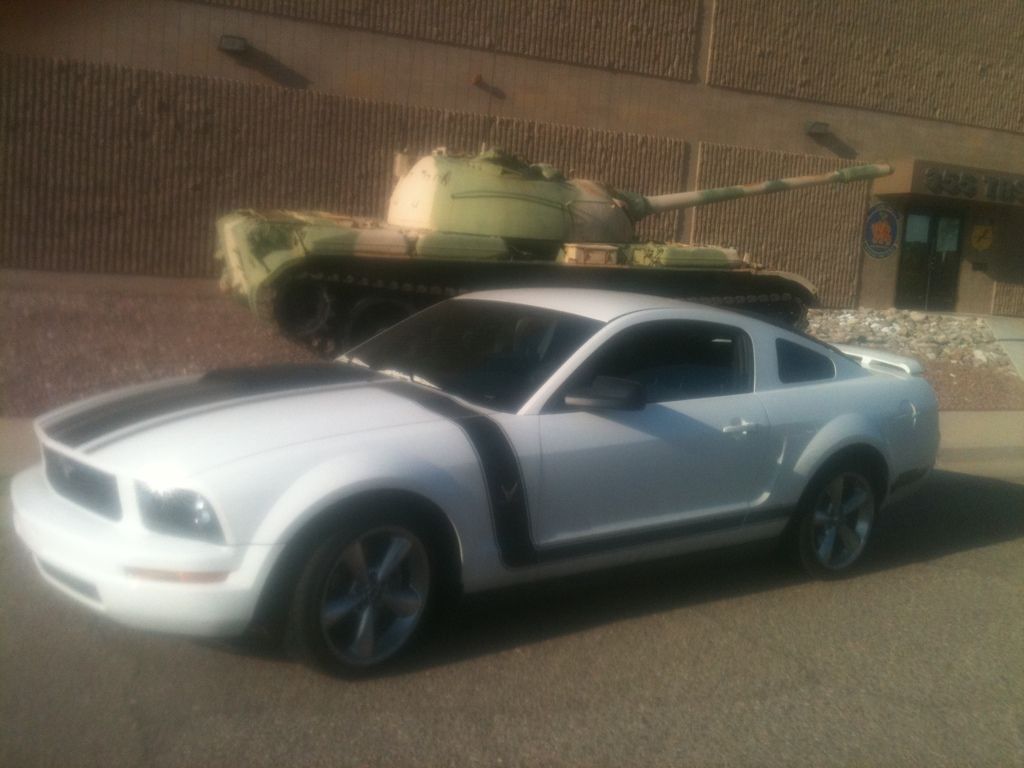
here is a picture that was taken by my dad of me and my baby <3

-Windex
-Dry Cloth
-Wet Cloth
-Squegee
-Blow Drier
I recommend try the smalles rear panels first to get a grip of what you are doing, thats what we did. anyways.
1. clean the areas where the stripes will be going, then dry them.
2. spray windex in the area moderate amounts, dont flodd it but make sure there is a nice layer of windex.
3. Apply windex on the sticky side of the stripe
4. Place the stripe and adjust it as you see fit, when you like the position, tape the ends to the car and blow it so that it fully adjusts to the car's shape, at the same time squeggee out by sections all the stripe this part is so important, if you dont do even squegee there will be bubbles, after you are sure you sq everything keep blowing, speeds up drying process
5.gently remove the protective film with a sharp angle, if there are any bubbles left you can squeggee them out, but it WILL BE A PAIN.
6.Repeat
here are some videos i used as guide
the most helpful one imo
here is a picture that was taken by my dad of me and my baby <3
07-06-2012, 09:29 PM
#18

Join Date: Jul 2012
Location: Arizona
Posts: 2

Thread
Thread Starter
Forum
Replies
Last Post
trashxtrash
4.6L (1996-2004 Modular) Mustang
4
09-20-2015 10:49 PM