
Fading Rocker Stripe Install (w/pics)
 07-18-2007, 12:02 PM
#1
2nd Gear Member
Thread Starter
Join Date: Jun 2006
Location:
Posts: 415
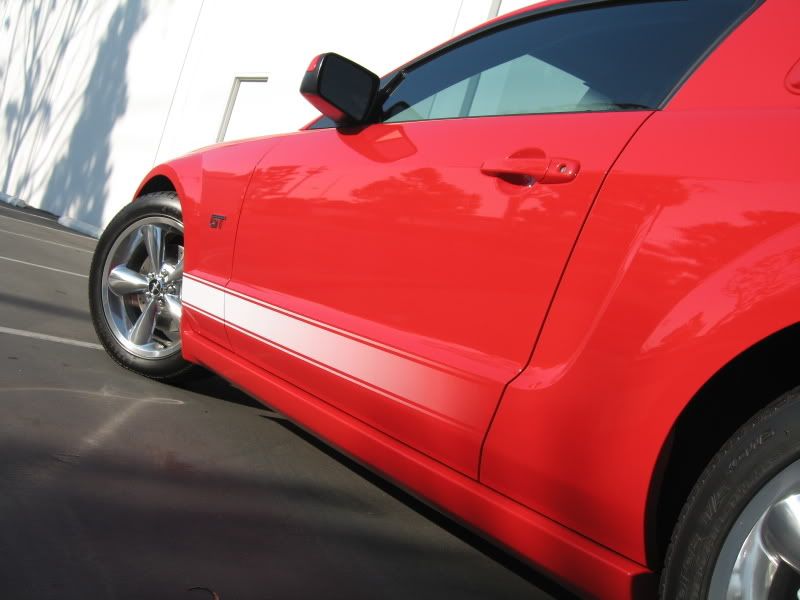
This 'How-To' will cover the installation of the custom fading rocker stripes sold and distributed by DarkFireGT.
Tools required
Plastic pliable squeegee
Straight edge razor blade
Masking tape (Painters Blue or Body Shop Green) *Do not use regular yellowish masking tape, it can leave behind tape residue if exposed in the sun.
Liquid solution (BSM's mix, works perfectly)
Mix in a spray bottle 20 ounces of water, 1/4 teaspoon of liquid dish soap and 1/2 teaspoon of isopropyl alcohol.
Estimated install time: 90 minutes
Installation (pictures will alternate between left and right sides to cover all the steps in order)
1. Clean entire area where stripes will be applied with isopropyl alcohol using a lint-free rag to remove any wax/polish, dirt, grime, etc.
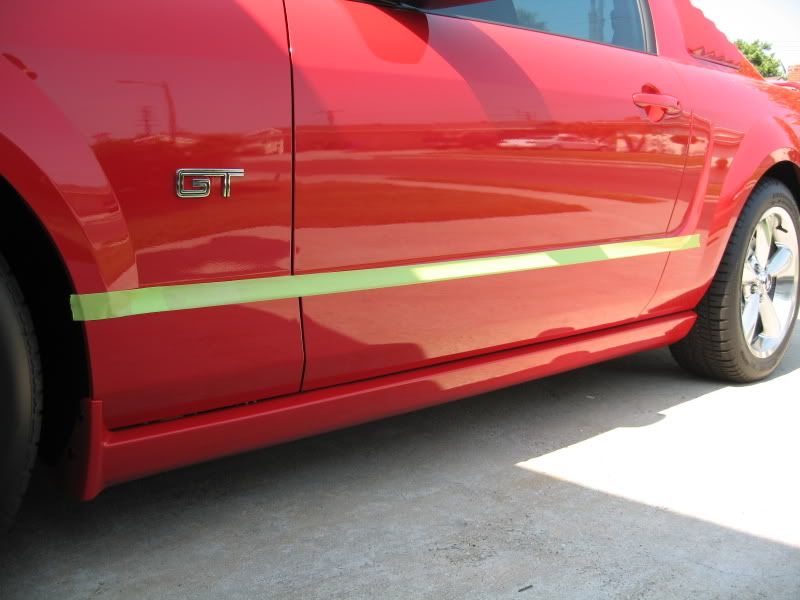
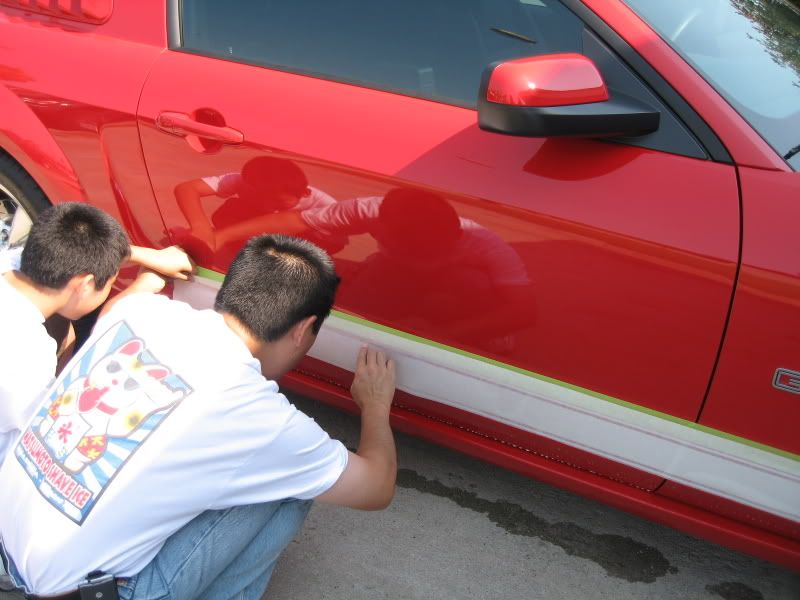
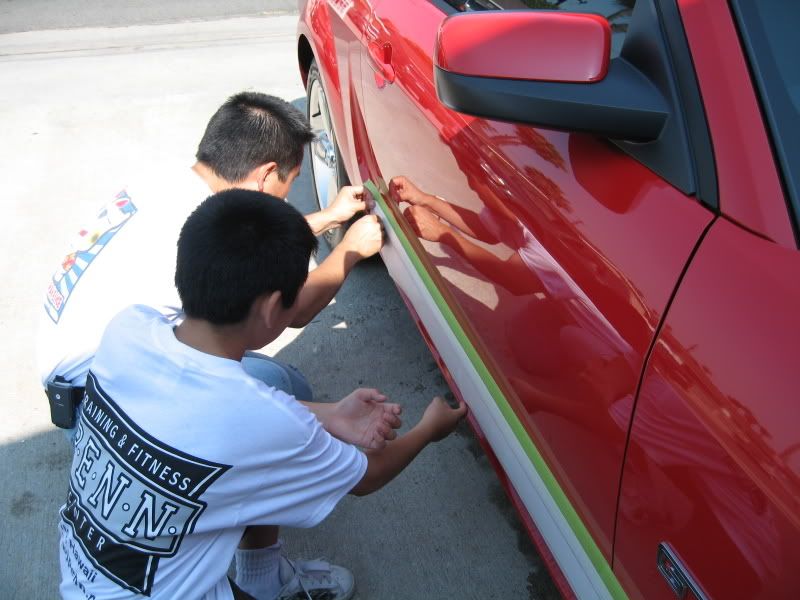
2. Mask the edge line.
Using a roll of masking tape, start at one end (either at the front quarter panel or the rear door edge) and place the bottom edge of the masking tape right at the top edge of the crease that runs across the entire length. This lower mask line will be used as your primary reference line.
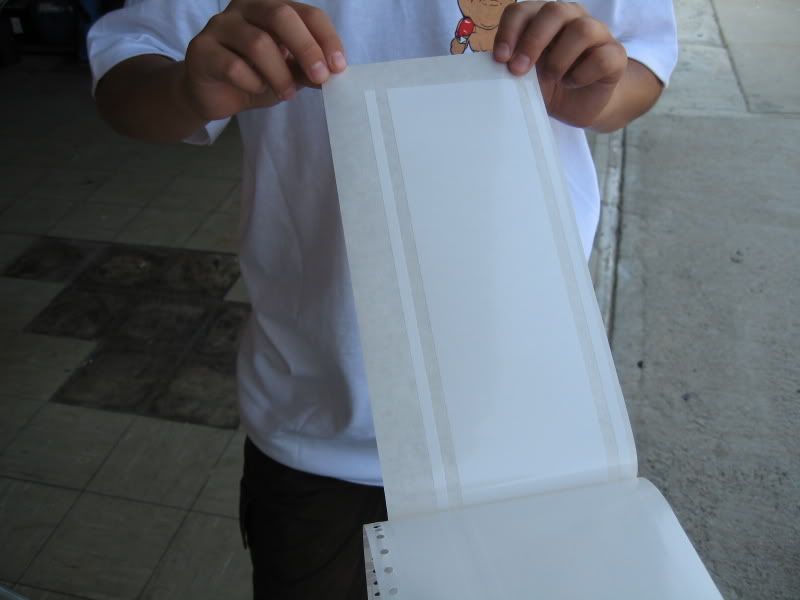
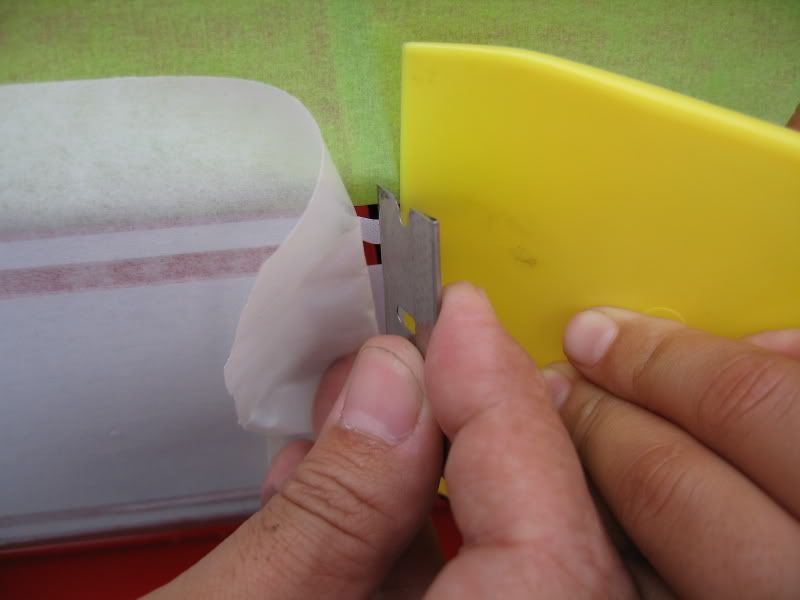
3. Carefully peel the backing paper away from the transfer tape.
Be extremely cautious not to touch any part of the actual vinyl, especially at the clear faded section; if you do, it WILL leave fingerprints!

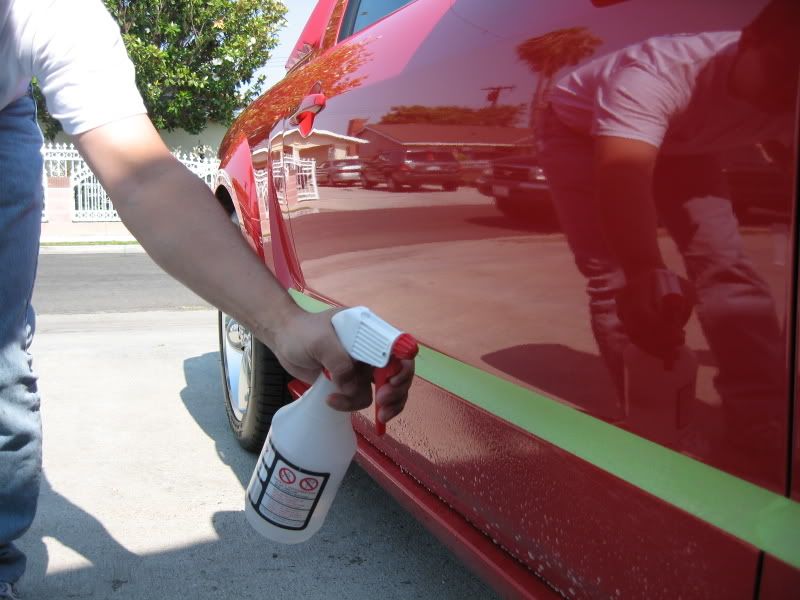
4. Pre-Positioning the stripe.
This is where having an extra set of hands comes in handy.
Using the solution mix, liberally spray the mating side of the vinyl (the exposed part that you just peeled the backing paper from) and over the entire rocker section. Don't be afraid to spray too much, the more the better.

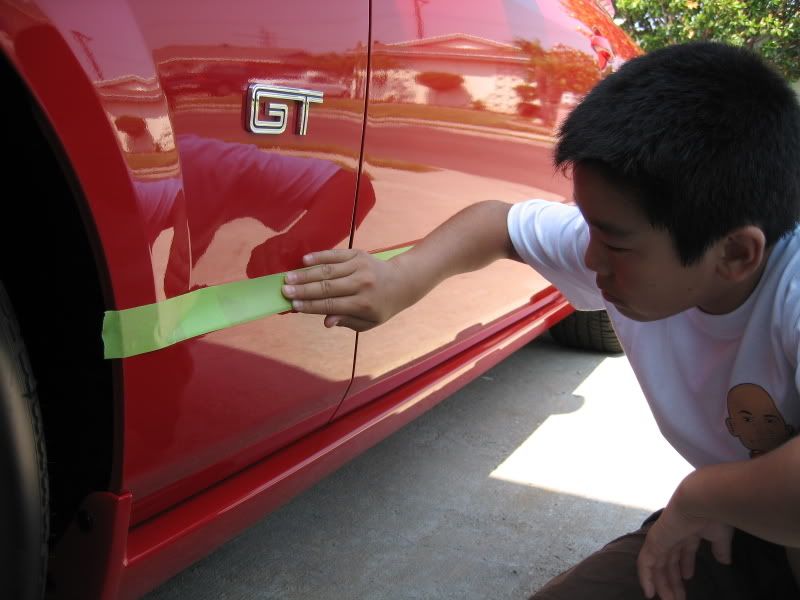
5. Positioning the stripe.
Lay the stripe on the rocker area. Because of the solution, the vinyl stripe will be able to 'float' into position as long as the solution doesn't dry up or you don't press any areas against the car. If a certain section begins to stick, spray more solution between the rocker and vinyl right away.
The leading edge of the vinyl will be your primary mark to set the forward-back positioning of the stripe.
Note: Make sure the top pinstripe goes to the edge of the front quarter panel. Because of the arch of the wheel well, you'll have more vinyl overhang on the bottom, which is fine.
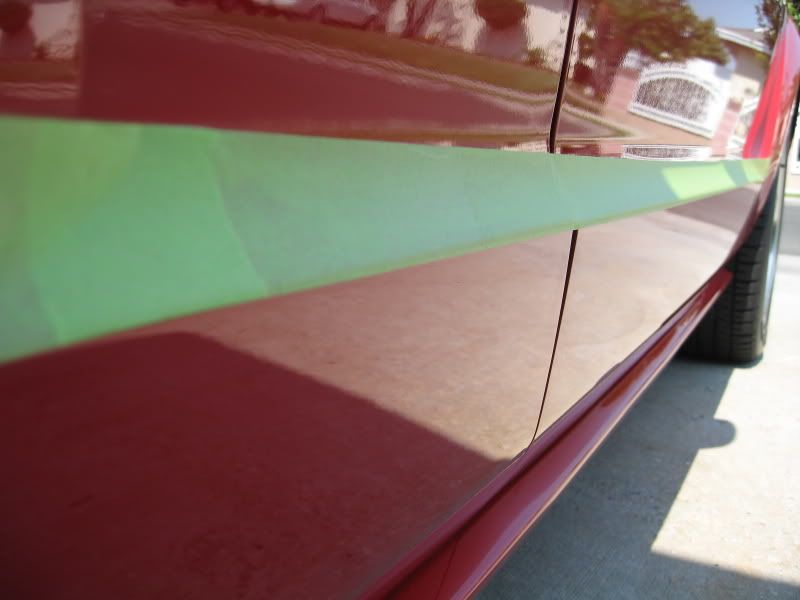
The top of the pinstripe will be your primary mark to set the up-down positioning of the stripe.
Very important key here is to float the stripe up/down to achieve approximately 1/8" gap between the lower masking tape line and the top of the vinyl pinstripe line. Once you line up the front, then float up the rear, the middle will automatically be lined up. No need to measure exactly an 1/8", just eyeball it.
Note: Never allow any sections of the top pinstripe to overlap the masking tape! Always maintain a small gap to it.


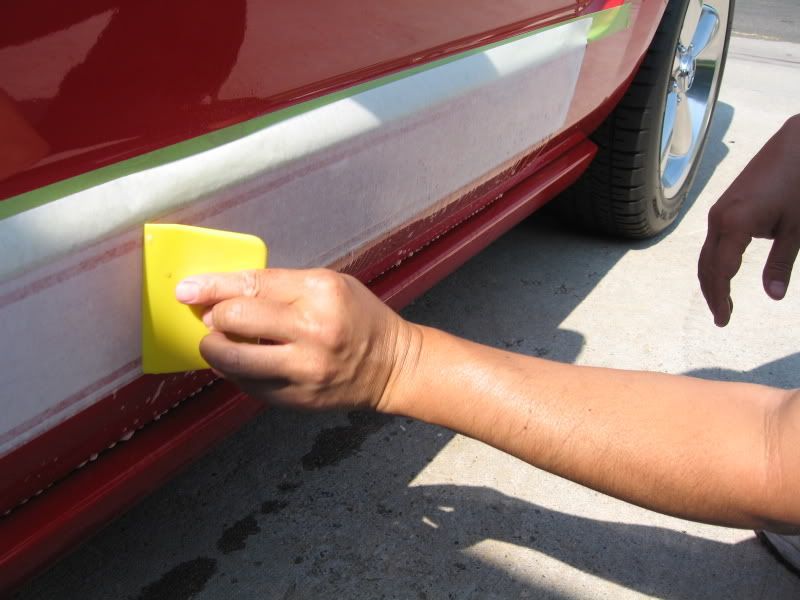
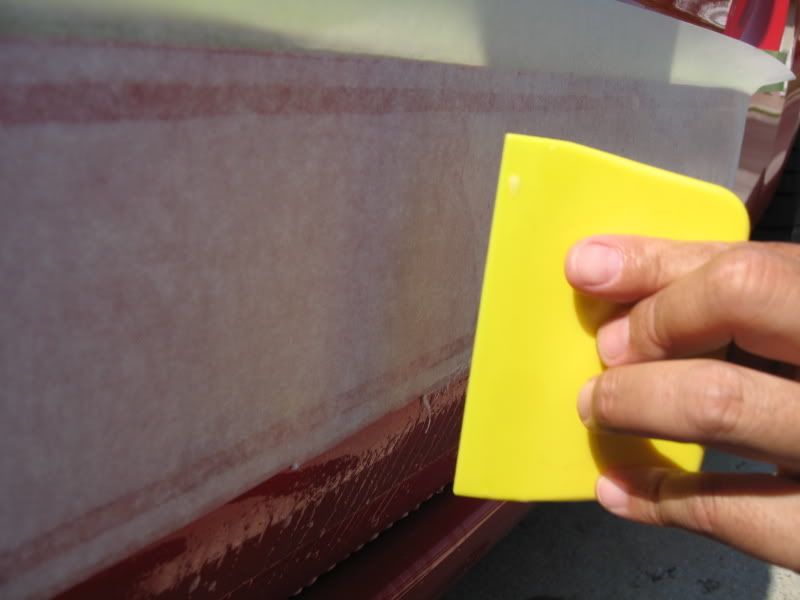
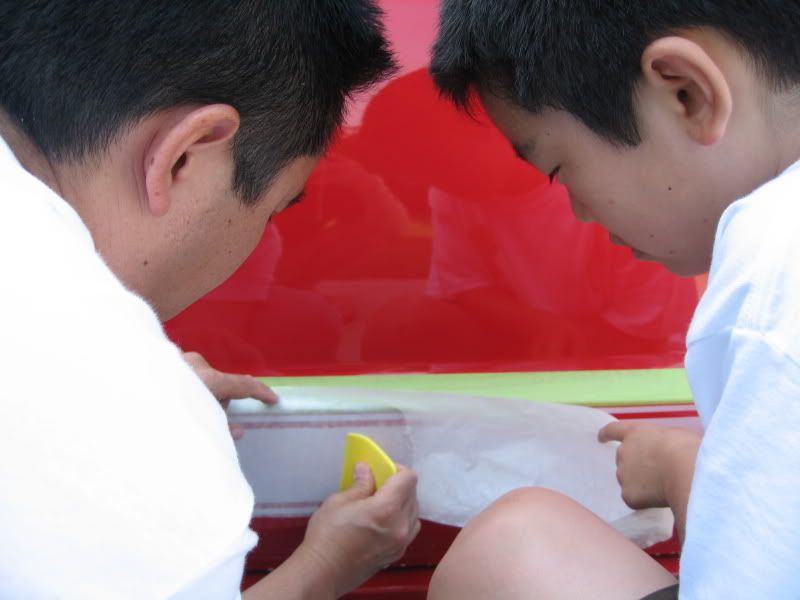
6. Once the vinyl is in the position you want, start the squeegee process.
Starting from the center, work out any air bubbles/pockets and solution out. Always work from the center out!
Note: I sprayed solution on top of the transfer tape where I squeegeed to help it glide more easily.

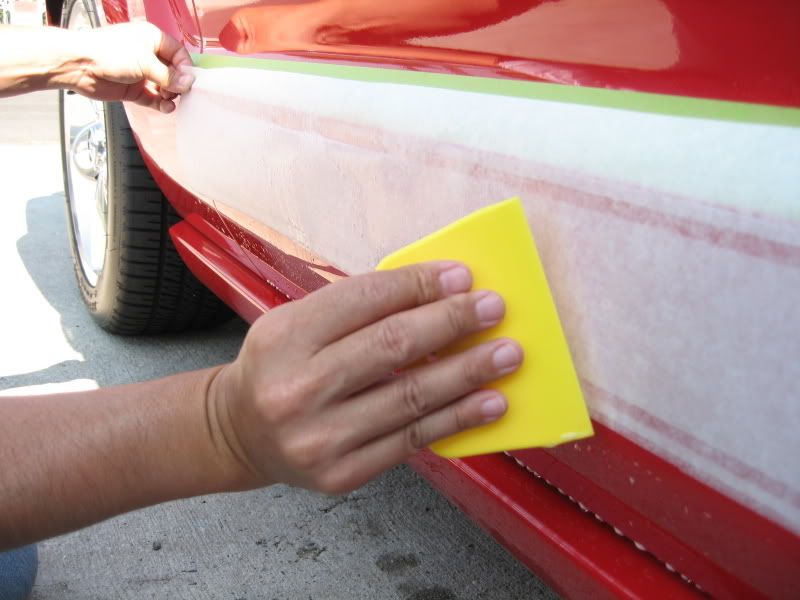
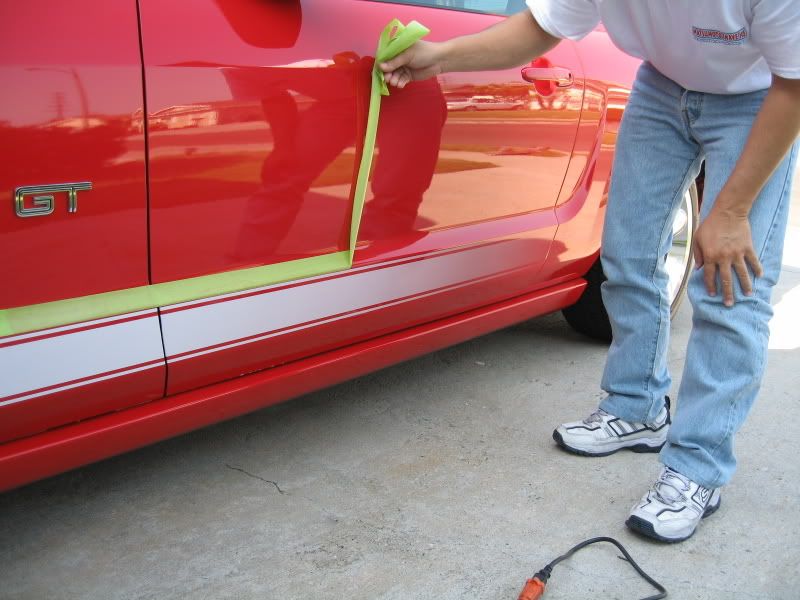
7. Peel off the transfer tape.
After letting the stripes sit for a while (I'm not an expert, but I'd say the longer the better, but don't let it bake in the sun), start at one end (I started at the clear-door end) and slowly start to peel the transfer tape off.
Note: On this particular brand of vinyl, I found that wetting the outside of the transfer tape (with the solution) made the tape more pliable and helped the peeling off process.

Note: If any sections of the vinyl (especially the pinstripe) begin to lift with the transfer tape, STOP! Lay the tape back down and let it dry/tack-up some more before proceeding. What I did instead of waiting was to use a heat gun (low setting and away from the vinyl!) to accelerate the drying process. If you opt for this method, be very careful! Rule of thumb; if the heat is too hot for your hand, it's too hot for the vinyl.
Note: For stubborn little sections that just refuse to stick, back it up with the squeegee until you peel past that point.
8. Remove the masking tape.
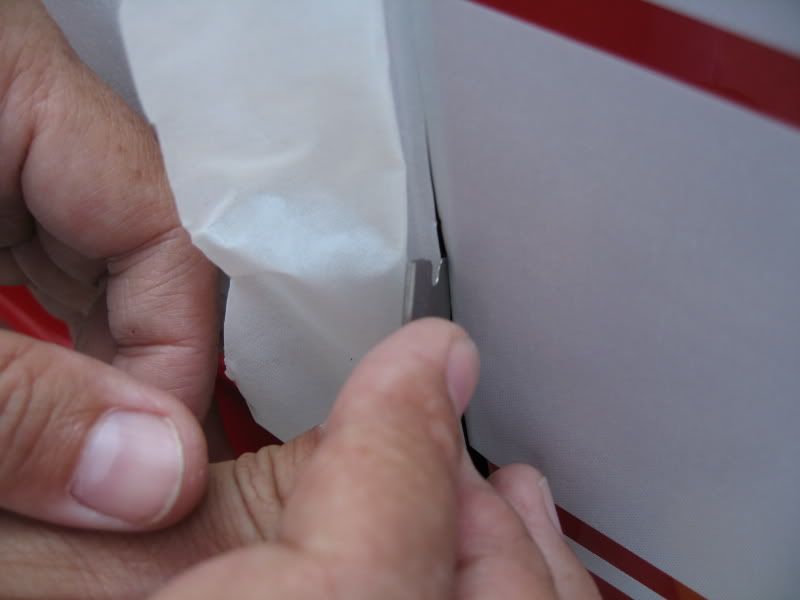
9. Cut vinyl at door edges.
Using a single edge razor blade, cut the vinyl at the door jamb areas.
Note: Try to center the cut so you have enough overlap for each side.
10. Completing installation
Look over the whole stripes and if you see any large pockets of air. If areas exist, wet the area and squeegee them out. Don't be too worried if you have small air bubbles, they will lay down on their own over time.
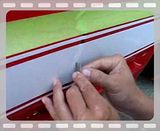
Once the door jamb sections of the vinyl start to tack up, use your fingers and roll the edge of the vinyl over. Do the same for the front wheel well. If the vinyl doesn't want to stay down, let it tack up some more or employ the heat gun again, same rule of thumb applies.
Note: Some sections to be rolled can be difficult to access. Use something without sharp edges to help tack the vinyl over.

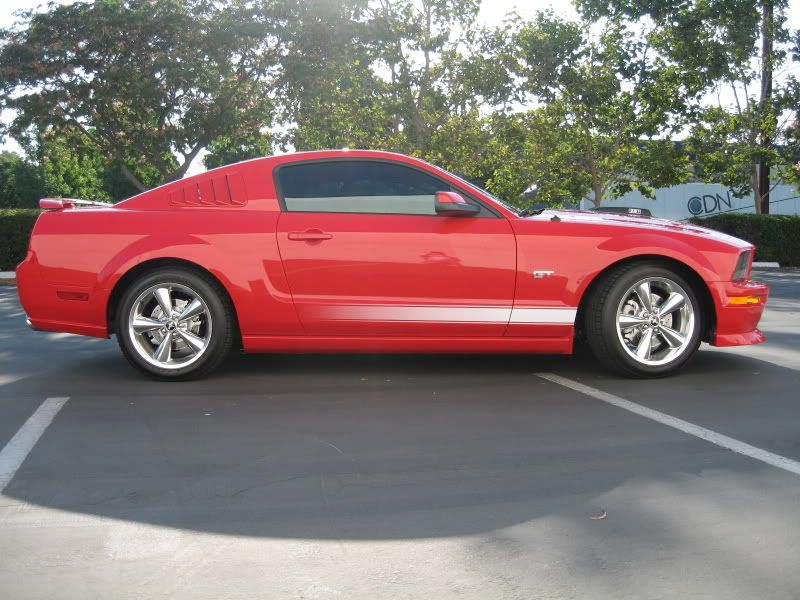
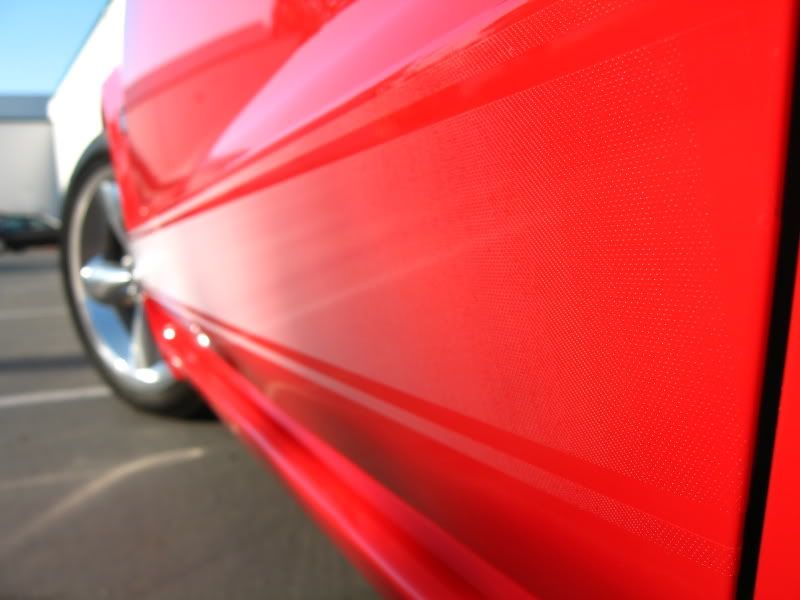
Installation complete!

Tools required
Plastic pliable squeegee
Straight edge razor blade
Masking tape (Painters Blue or Body Shop Green) *Do not use regular yellowish masking tape, it can leave behind tape residue if exposed in the sun.
Liquid solution (BSM's mix, works perfectly)
Mix in a spray bottle 20 ounces of water, 1/4 teaspoon of liquid dish soap and 1/2 teaspoon of isopropyl alcohol.
Estimated install time: 90 minutes
Installation (pictures will alternate between left and right sides to cover all the steps in order)
1. Clean entire area where stripes will be applied with isopropyl alcohol using a lint-free rag to remove any wax/polish, dirt, grime, etc.
2. Mask the edge line.
Using a roll of masking tape, start at one end (either at the front quarter panel or the rear door edge) and place the bottom edge of the masking tape right at the top edge of the crease that runs across the entire length. This lower mask line will be used as your primary reference line.
3. Carefully peel the backing paper away from the transfer tape.
Be extremely cautious not to touch any part of the actual vinyl, especially at the clear faded section; if you do, it WILL leave fingerprints!
4. Pre-Positioning the stripe.
This is where having an extra set of hands comes in handy.
Using the solution mix, liberally spray the mating side of the vinyl (the exposed part that you just peeled the backing paper from) and over the entire rocker section. Don't be afraid to spray too much, the more the better.
5. Positioning the stripe.
Lay the stripe on the rocker area. Because of the solution, the vinyl stripe will be able to 'float' into position as long as the solution doesn't dry up or you don't press any areas against the car. If a certain section begins to stick, spray more solution between the rocker and vinyl right away.
The leading edge of the vinyl will be your primary mark to set the forward-back positioning of the stripe.
Note: Make sure the top pinstripe goes to the edge of the front quarter panel. Because of the arch of the wheel well, you'll have more vinyl overhang on the bottom, which is fine.
The top of the pinstripe will be your primary mark to set the up-down positioning of the stripe.
Very important key here is to float the stripe up/down to achieve approximately 1/8" gap between the lower masking tape line and the top of the vinyl pinstripe line. Once you line up the front, then float up the rear, the middle will automatically be lined up. No need to measure exactly an 1/8", just eyeball it.
Note: Never allow any sections of the top pinstripe to overlap the masking tape! Always maintain a small gap to it.
6. Once the vinyl is in the position you want, start the squeegee process.
Starting from the center, work out any air bubbles/pockets and solution out. Always work from the center out!
Note: I sprayed solution on top of the transfer tape where I squeegeed to help it glide more easily.
7. Peel off the transfer tape.
After letting the stripes sit for a while (I'm not an expert, but I'd say the longer the better, but don't let it bake in the sun), start at one end (I started at the clear-door end) and slowly start to peel the transfer tape off.
Note: On this particular brand of vinyl, I found that wetting the outside of the transfer tape (with the solution) made the tape more pliable and helped the peeling off process.
Note: If any sections of the vinyl (especially the pinstripe) begin to lift with the transfer tape, STOP! Lay the tape back down and let it dry/tack-up some more before proceeding. What I did instead of waiting was to use a heat gun (low setting and away from the vinyl!) to accelerate the drying process. If you opt for this method, be very careful! Rule of thumb; if the heat is too hot for your hand, it's too hot for the vinyl.
Note: For stubborn little sections that just refuse to stick, back it up with the squeegee until you peel past that point.
8. Remove the masking tape.
9. Cut vinyl at door edges.
Using a single edge razor blade, cut the vinyl at the door jamb areas.
Note: Try to center the cut so you have enough overlap for each side.
10. Completing installation
Look over the whole stripes and if you see any large pockets of air. If areas exist, wet the area and squeegee them out. Don't be too worried if you have small air bubbles, they will lay down on their own over time.
Once the door jamb sections of the vinyl start to tack up, use your fingers and roll the edge of the vinyl over. Do the same for the front wheel well. If the vinyl doesn't want to stay down, let it tack up some more or employ the heat gun again, same rule of thumb applies.
Note: Some sections to be rolled can be difficult to access. Use something without sharp edges to help tack the vinyl over.
Installation complete!


 07-18-2007, 12:48 PM
#8
2nd Gear Member
Thread Starter
Join Date: Jun 2006
Location:
Posts: 415
Thanks guys! [8D]
The guy's name is Steve over at TMS. He ordered a limited run of these, custom order, in gloss white and black. I believe he's selling them for $60.
If anyone's interested, shoot me a PM with your contact info (name and e-mail) and I'll forward it to Steve.
These rocker stripes would look killer on your car! 
ORIGINAL: ismellhonda
how much is the guy asking for them?
how much is the guy asking for them?
If anyone's interested, shoot me a PM with your contact info (name and e-mail) and I'll forward it to Steve.
ORIGINAL: yzfmik
... now I might wanna get those too, lol.
... now I might wanna get those too, lol.
07-18-2007, 07:22 PM
#9
4th Gear Member
Join Date: Jul 2007
Location: East Moline, IL
Posts: 1,852
Wow, this board gets alot of views. Page 3 for todays posts? lol. Thanks for the write-up, Bill.
I just wanted to let everyone know the price is actually $80 shipped. I did $60 for the original people who were interested in the stripes, with the intent of selling the rest on eBay at $95 + shipping to make my money back. Since so many people on forums are interested, I can sell the remaining stock at $80 shipped and still make it "out of the red". My current stock is limited to black. I have some white on order, but if you followed the post on TMS, you'd know I had a lot of trouble with the graphics shop, so there is currently no ETA for white. I plan on looking at a local shop to get some more made once I make it back "out of the red", and if there's enough demand, I'll order more and hopefully be able to give a better price for Mustang forum members. You can PM me, or better yet, email me at my new email address, fadingstripes@gmail.com
Steve
