
4.10 gears install pictorial *56K warning*
 09-14-2007, 08:03 PM
#1
3rd Gear Member
Thread Starter

Join Date: Mar 2007
Posts: 573
With all the threads on this forum about differential gear changes, I thought people might be interested in a picture narrative about how it's done. Note: I'm sure this is a basic review for many of you but I figured some folks would like to see what's involved.
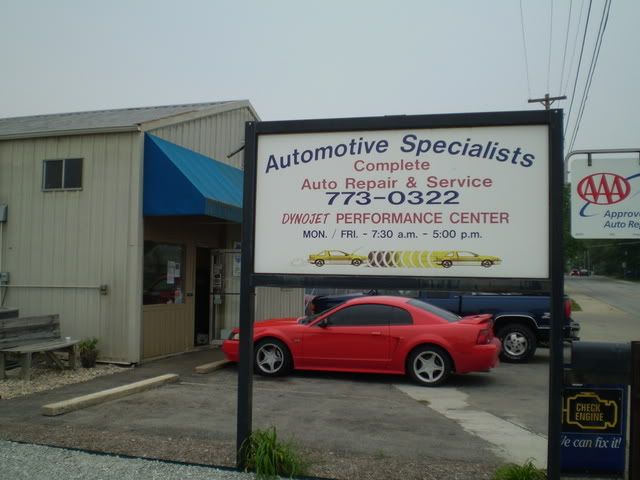
When I wanted to put 4.10 gears in my 2007 GT, I went to Automotive Specialists in Noblesville, Indiana, just north of Indianapolis.The owner, Brent Hiday, has been working on Ford differentials for a long, long time.
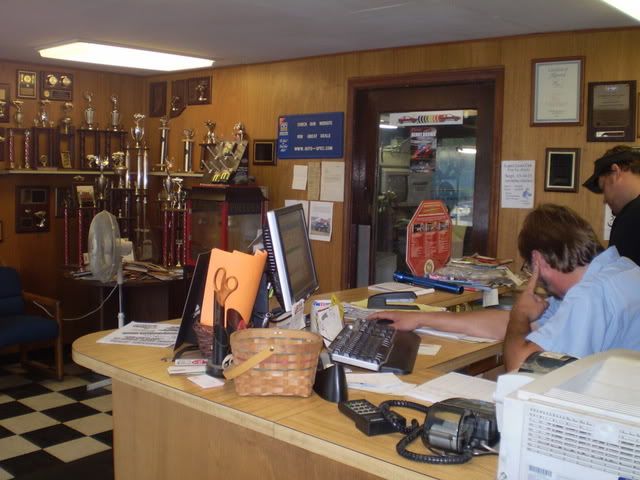
When you enter "command central" the collection of truck pulling trophies show they care about gears! The stacks of Hot Rod and Mustang magazines are fun, too.
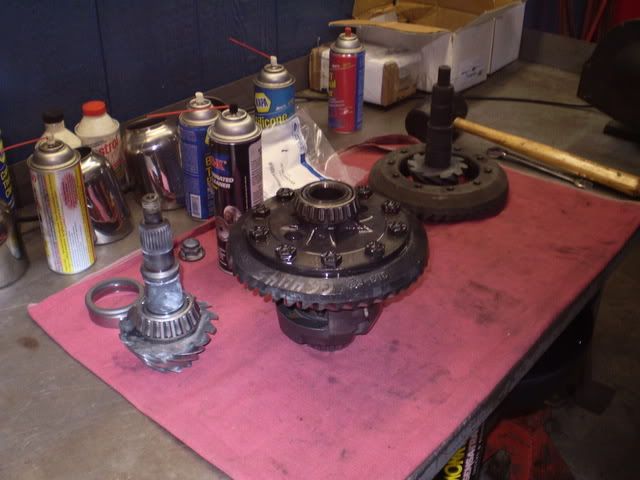
First, the parts are put on the bench for inspection.
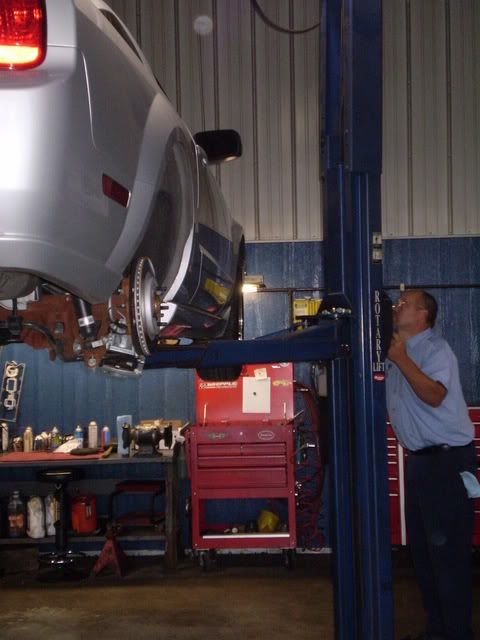
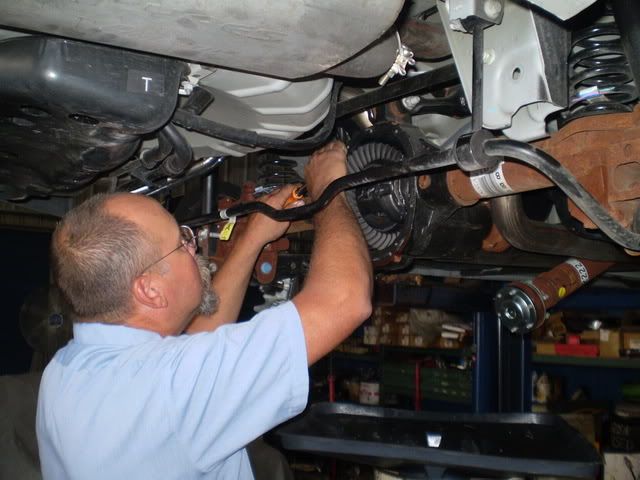
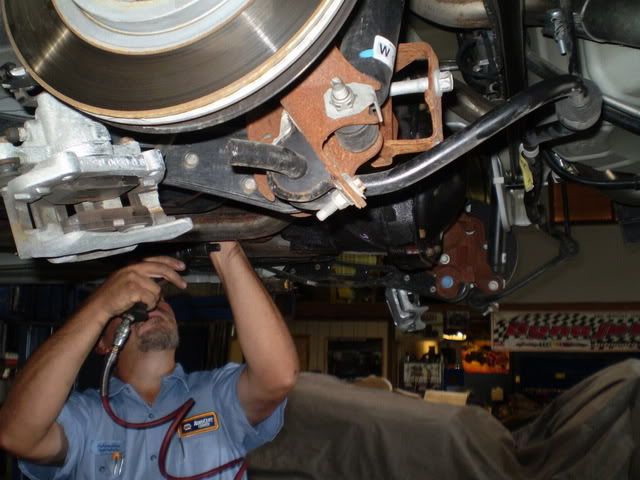
Barry (who has 33 years experience himself) puts my car higher into the air after first removing the wheels and brakes.
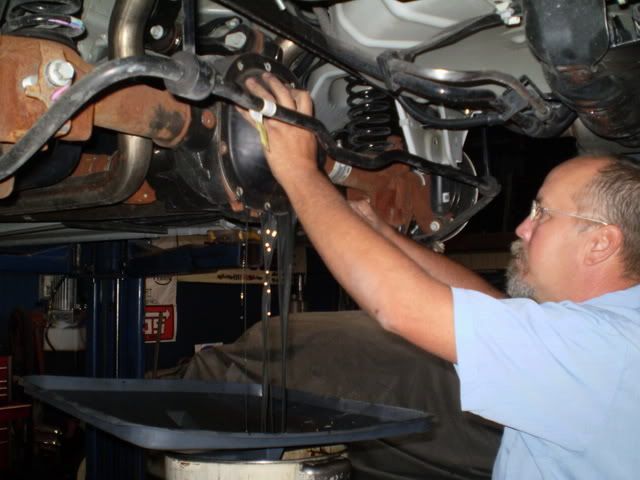
With the cover loosened, the fluid comes out...
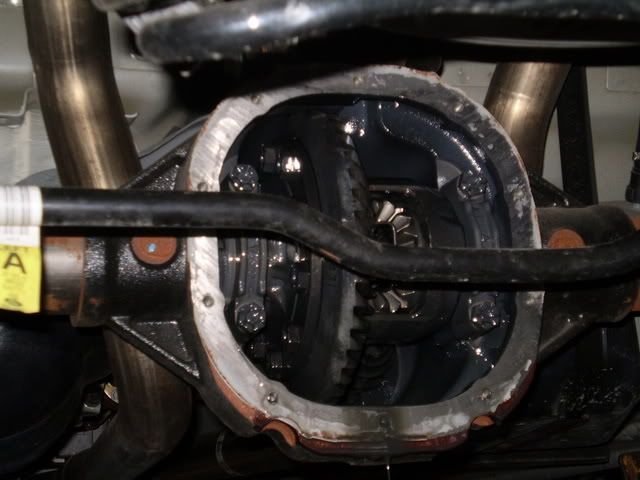
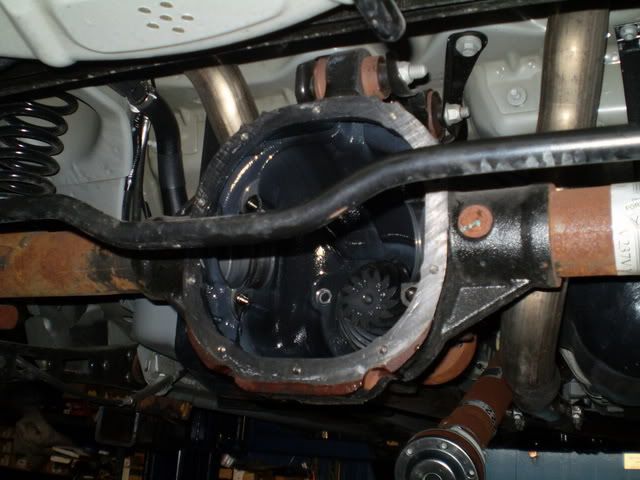
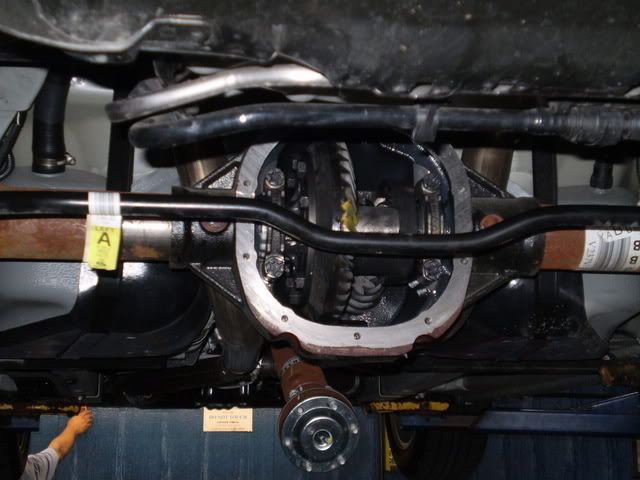
With the cover off, the differential is seen, with the bearing caps holding it in place.
After marking, the driveshaft is separated from the pinion.
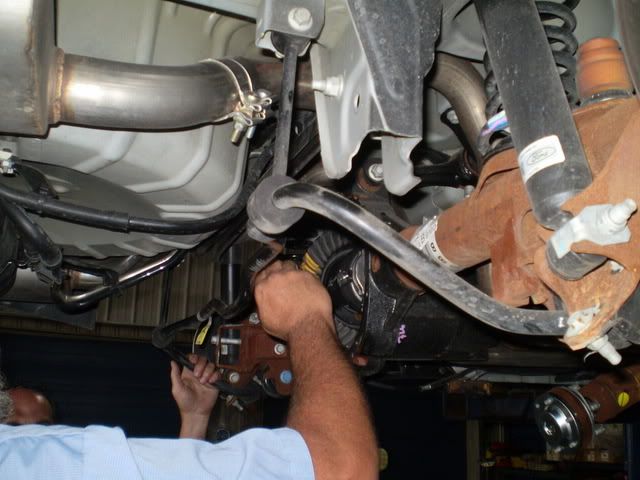
After removing the differential pinion shaft lock bolt and shaft, Barry then fishes for the axle clips.
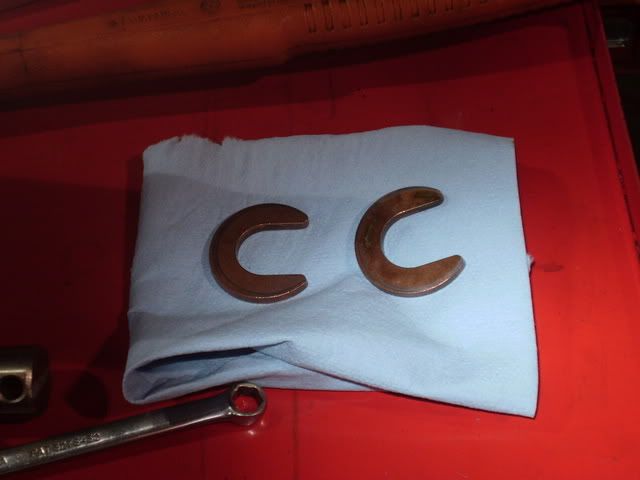
I am always amazed that these C-clips are all that keeps the rear axles and wheels from falling out the side of my car.
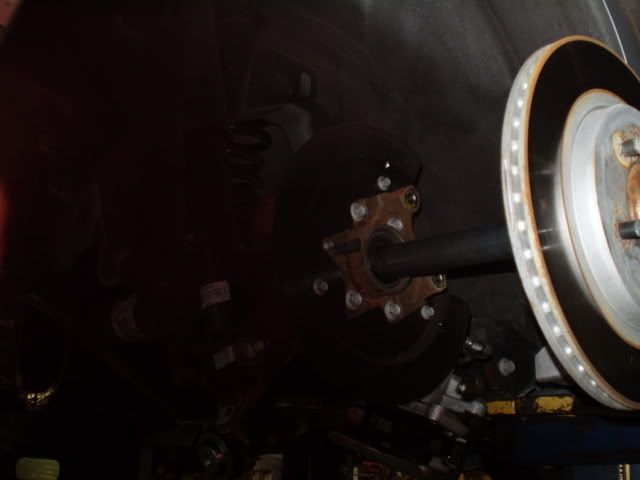
The wheels and axles are then pulled out.
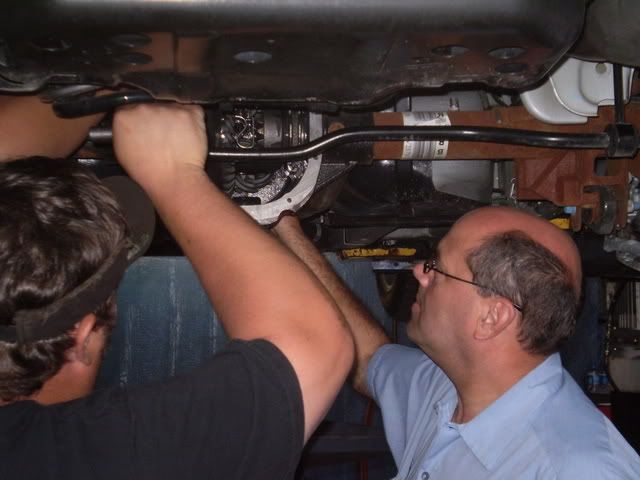
Now, after marking the bearing caps as to left and right and then removing them, the differential can come out.
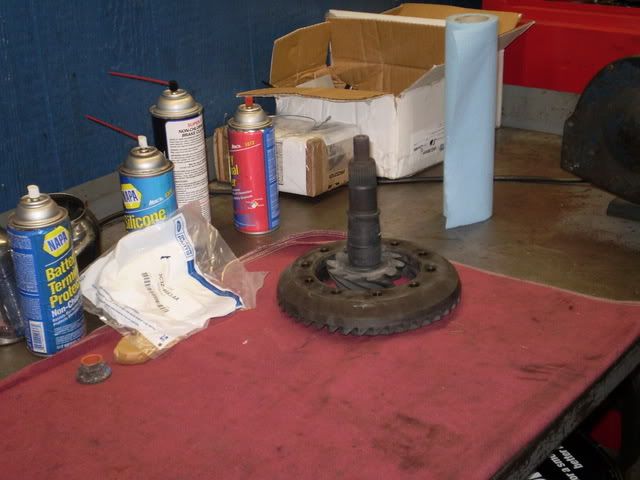
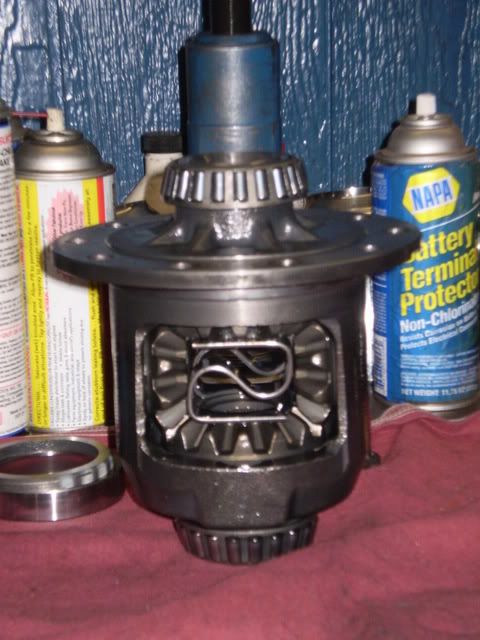
The 3.31 pinion is seen still in the cave.
Old parts on the left, new ones on the right.
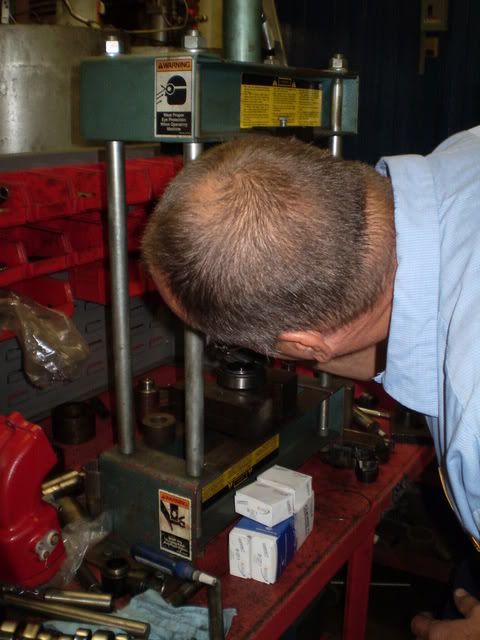
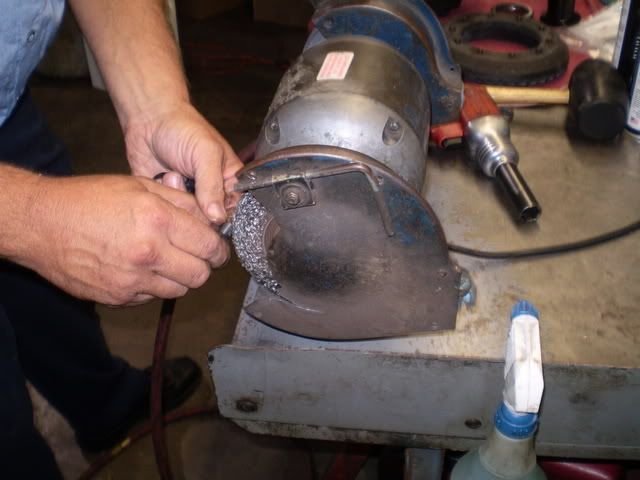
The pinion bearing is separated from the old pinion.
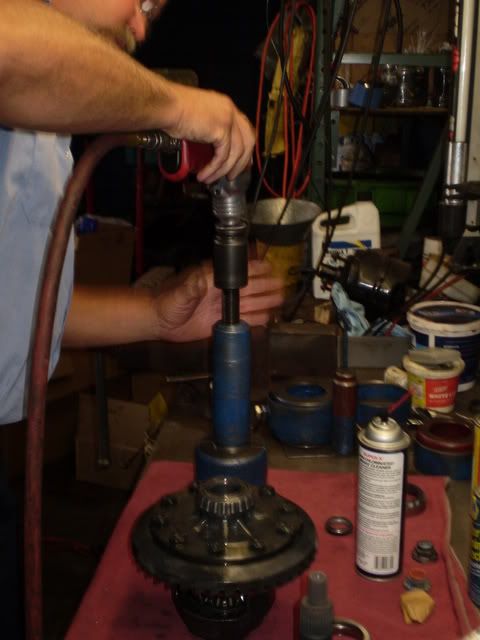
The pinion bearing is then pressed onto the new pinion. One of these days I will figure out this camera!
The ring gear bolts are removed.
Since the bolts are to be reused, the adhesive is brushed off. These will be put back on with...yep...red loctite!
Side by side, you can see the difference between the wide 3.31 pinion on the left and the new 4.10 pinion on the right.
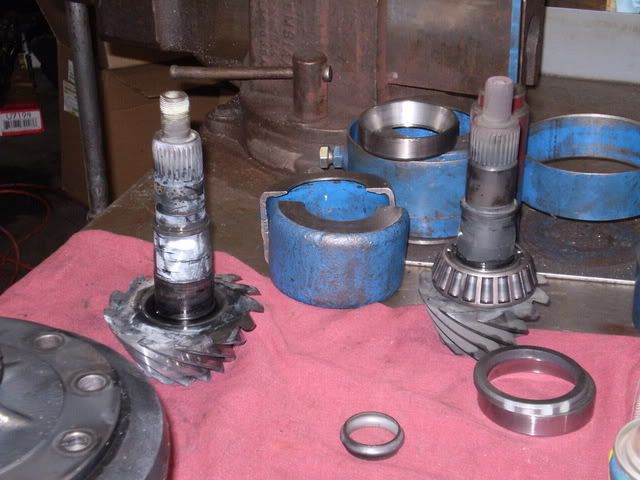
The old ring is removed.
While the new ring gear warms up in the oven, I wander around a bit. Here's some gears for you!

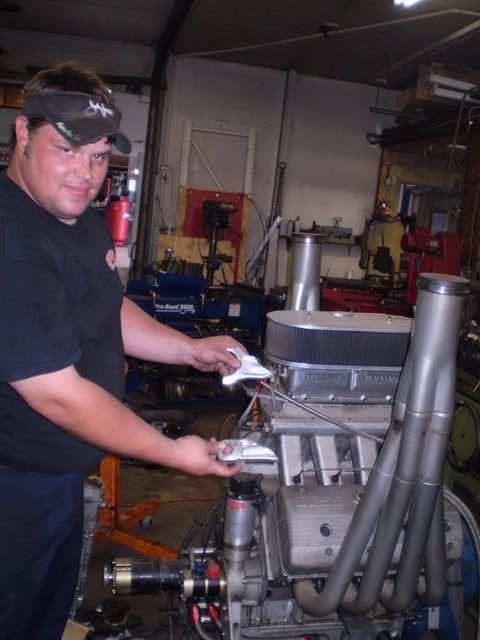
In the machine shop, Dustin displays some "slightly used" parts in front of their 1200HP Truck puller engine. I think those Boss 429 heads would look just fine in my Mustang's engine bay!
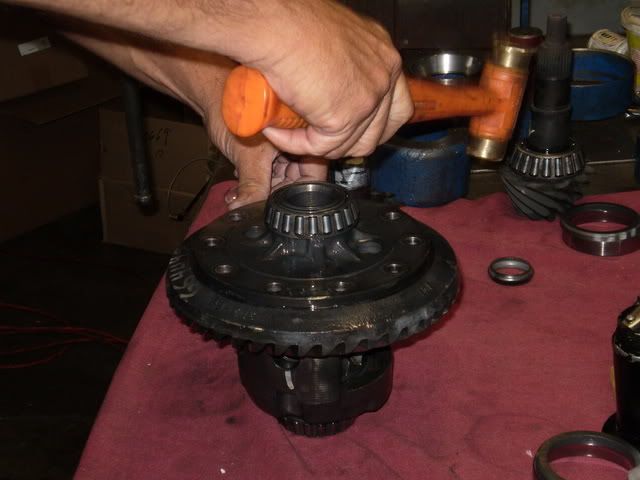
Back in the service area, the differential sits waiting for its new "hat"
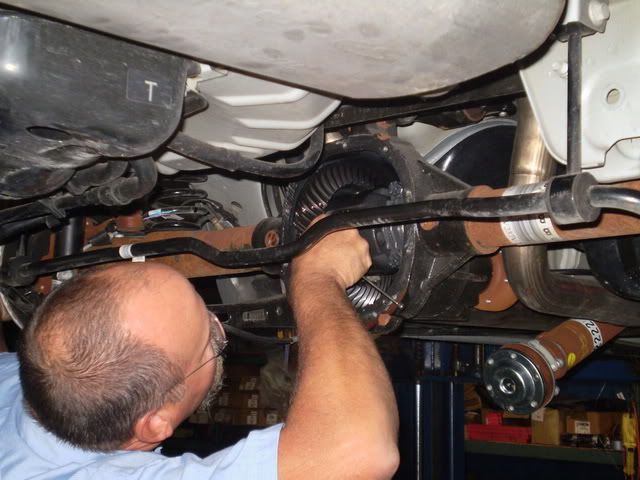
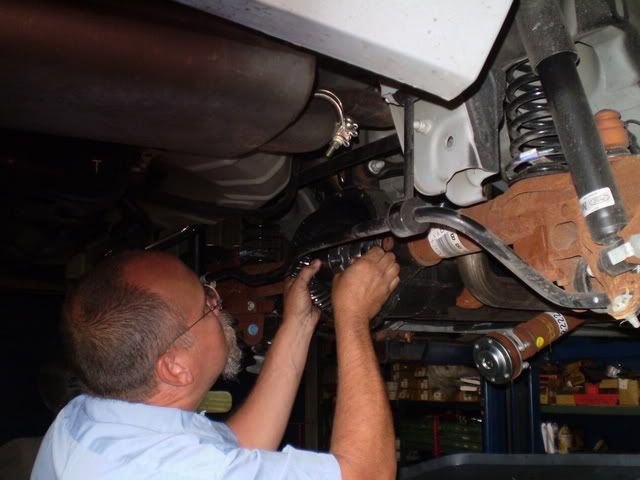
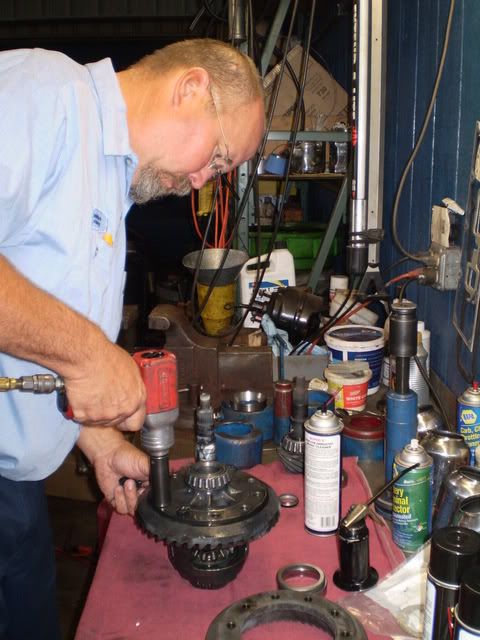
After assembly, the pinion and differential are now put back in.
Now, it's time for the marking compound.
Brent Hiday comes by for the final setup.
Here is a close-up of the pattern.

Time to put everything back in place.
On goes the cover...

The driveshaft is reconnected...
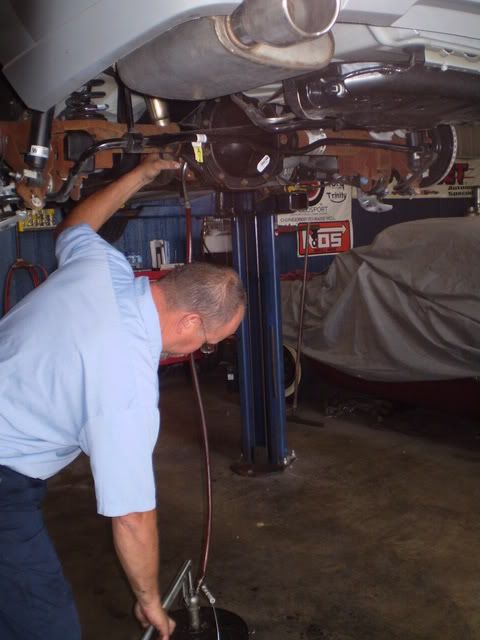
The last step! Synthetic fluid and friction modifier.
After that, Brent and I test drove the car, and all was smooth and quiet. Then, all I had to do was drive home, smiling the whole time. It was a very pleasant morning!
When I wanted to put 4.10 gears in my 2007 GT, I went to Automotive Specialists in Noblesville, Indiana, just north of Indianapolis.The owner, Brent Hiday, has been working on Ford differentials for a long, long time.
When you enter "command central" the collection of truck pulling trophies show they care about gears! The stacks of Hot Rod and Mustang magazines are fun, too.
First, the parts are put on the bench for inspection.
Barry (who has 33 years experience himself) puts my car higher into the air after first removing the wheels and brakes.
With the cover loosened, the fluid comes out...
With the cover off, the differential is seen, with the bearing caps holding it in place.
After marking, the driveshaft is separated from the pinion.
After removing the differential pinion shaft lock bolt and shaft, Barry then fishes for the axle clips.
I am always amazed that these C-clips are all that keeps the rear axles and wheels from falling out the side of my car.
The wheels and axles are then pulled out.
Now, after marking the bearing caps as to left and right and then removing them, the differential can come out.
The 3.31 pinion is seen still in the cave.
Old parts on the left, new ones on the right.
The pinion bearing is separated from the old pinion.
The pinion bearing is then pressed onto the new pinion. One of these days I will figure out this camera!
The ring gear bolts are removed.
Since the bolts are to be reused, the adhesive is brushed off. These will be put back on with...yep...red loctite!
Side by side, you can see the difference between the wide 3.31 pinion on the left and the new 4.10 pinion on the right.
The old ring is removed.
While the new ring gear warms up in the oven, I wander around a bit. Here's some gears for you!
In the machine shop, Dustin displays some "slightly used" parts in front of their 1200HP Truck puller engine. I think those Boss 429 heads would look just fine in my Mustang's engine bay!
Back in the service area, the differential sits waiting for its new "hat"
After assembly, the pinion and differential are now put back in.
Now, it's time for the marking compound.
Brent Hiday comes by for the final setup.
Here is a close-up of the pattern.
Time to put everything back in place.
On goes the cover...
The driveshaft is reconnected...
The last step! Synthetic fluid and friction modifier.
After that, Brent and I test drove the car, and all was smooth and quiet. Then, all I had to do was drive home, smiling the whole time. It was a very pleasant morning!

 09-14-2007, 08:10 PM
#3
Yeah I stopped in there to get a quote from them....I have heard good things about them from northy_polk....i ended up going up to a place in Lafayette because of timing but i would probably go up to this place for other needs as its about 5 miles from me.
09-14-2007, 08:15 PM
#4
3rd Gear Member

Join Date: Feb 2007
Location:
Posts: 630
Very nice pictorial. Maybe when I do my next set of gears I can do the same thing, just get a little more in depth to show how pinion depth and backlash is set as well as how the gear pattern is affected by the changes.
Just remember to take it easy for a couple hunderd miles for proper break-in.
Just remember to take it easy for a couple hunderd miles for proper break-in.
 09-15-2007, 11:12 PM
#8
3rd Gear Member
Thread Starter
Join Date: Mar 2007
Posts: 573
Thanks for the nice feedback. I enjoyed making the post. I'm sure there are good dealers out there but I've always felt more comfortable with an experienced speed shop/repair shop that has stood the test of time. Howarmat, definitely consider using them, especially since you live so close!
Sleeper2
Sleeper2
 09-16-2007, 06:53 PM
#10
3rd Gear Member
Thread Starter
Join Date: Mar 2007
Posts: 573
Chris, the labor was 325, the fluids/supplies/tax were another 54 for a total of 379 dollars. This didn't include the gears, since I brought in my own gears with me. Since the clutch packs have never given me any trouble, I didn't have them rebuilt. Hope this helps.
Sleeper2
Sleeper2