
Steeda Billet LCA install (w/pics)
 12-24-2007, 02:38 AM
#1
2nd Gear Member
Thread Starter
Join Date: Jun 2006
Location:
Posts: 415
This ‘How-To’ will cover the installation of the Steeda billet LCA’s. This is a direct fit replacement, no modifications necessary or required.
Tools required:
18mm socket or wrench
Torque wrench capable of up to 129 lb-ft
Awl or Phillips screwdriver (to align the LCA mounting hole for installation)
Breaker bar (optional)
Rubber mallet (optional)
Masking tape
Installation time:
1 hour
Installation:
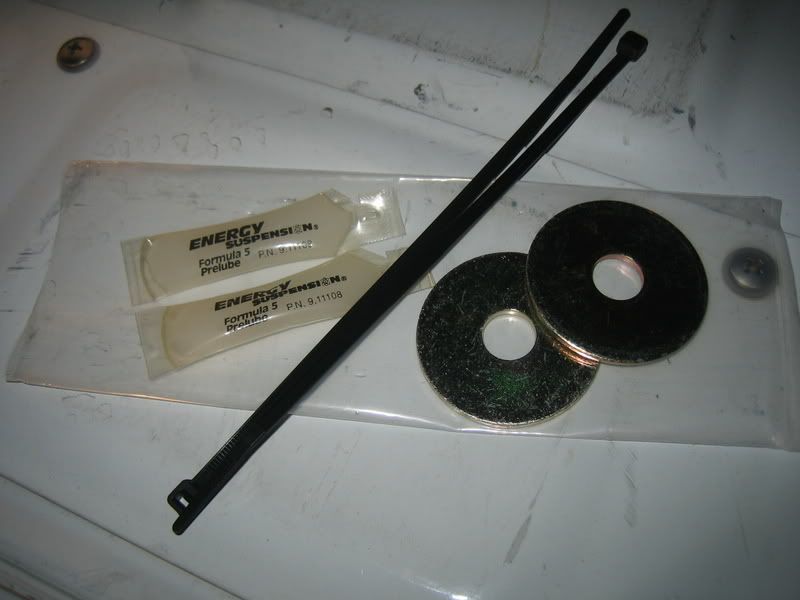
Out of the box

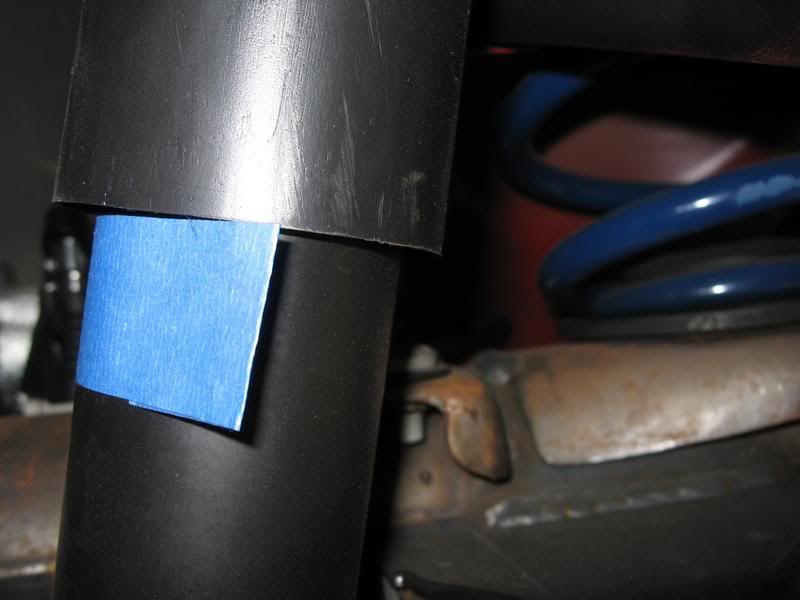
1. On level ground, place a small piece of masking tape right below the shock tube cover.
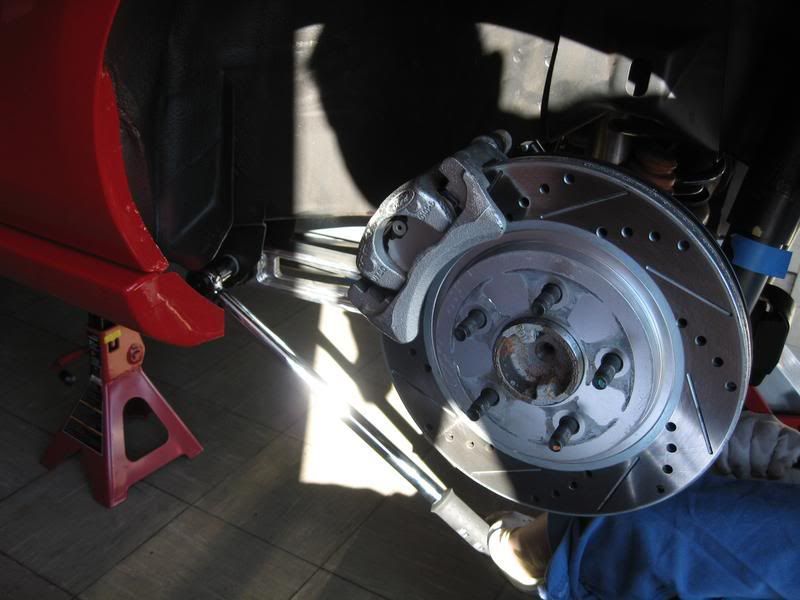
2. Raise the rear of the vehicle high enough to provide adequate working room underneath. Do not forget to chock the front tires and always use jackstands.
Remove both rear wheels (Note: If you don’t have an impact gun, be sure to loosen the wheel lug nuts before jacking up the rear)
(no picture)
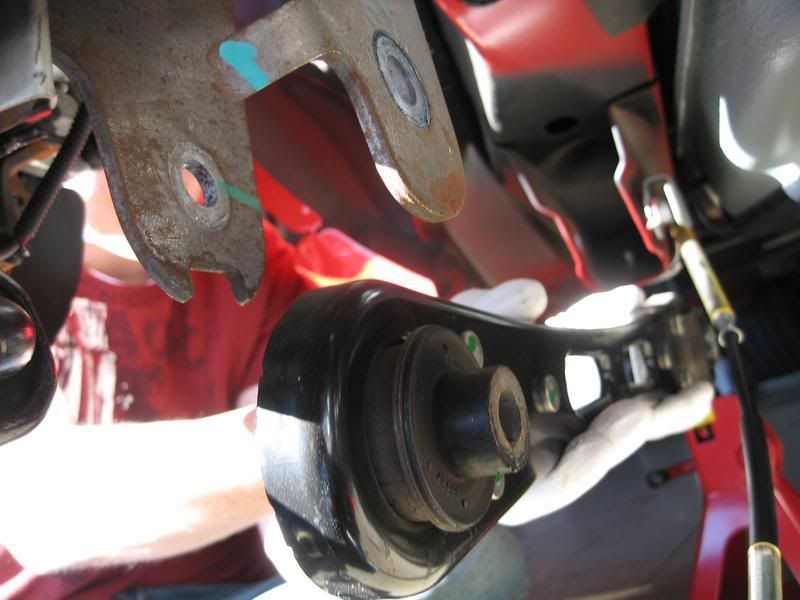
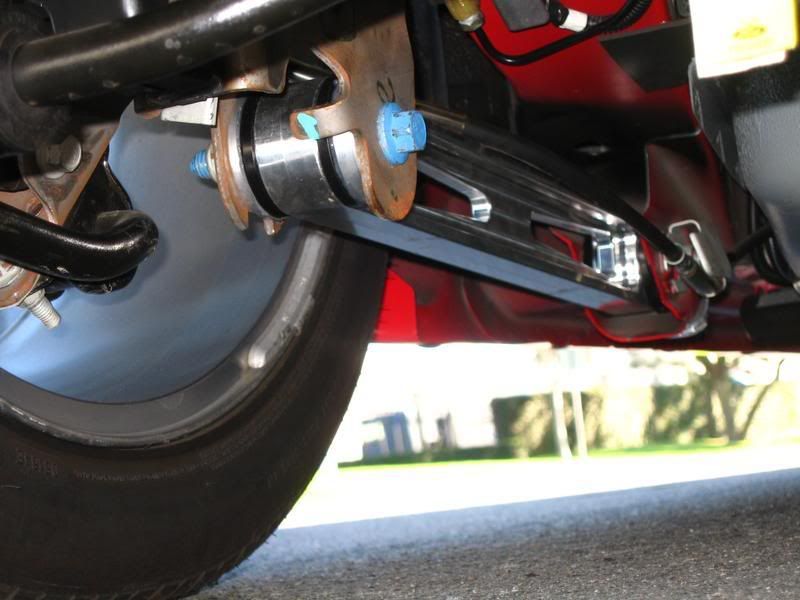
Stock LCA – Drivers side
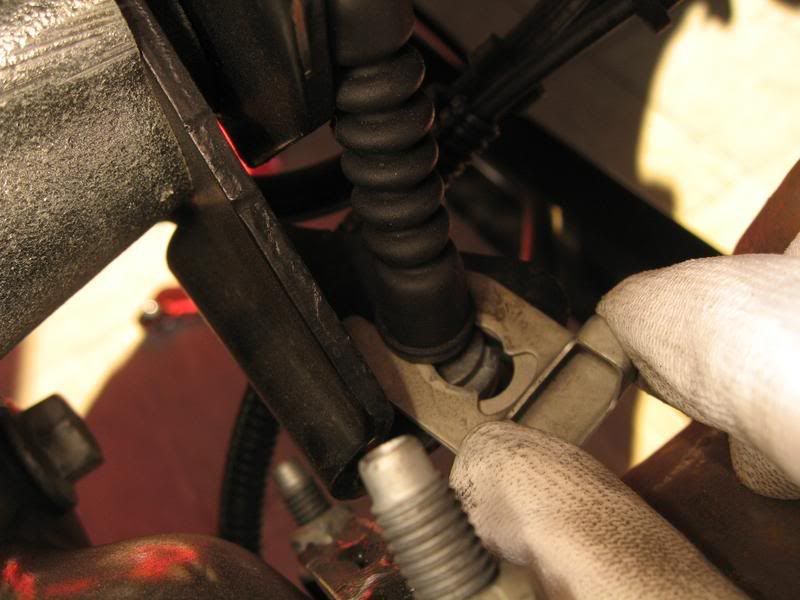
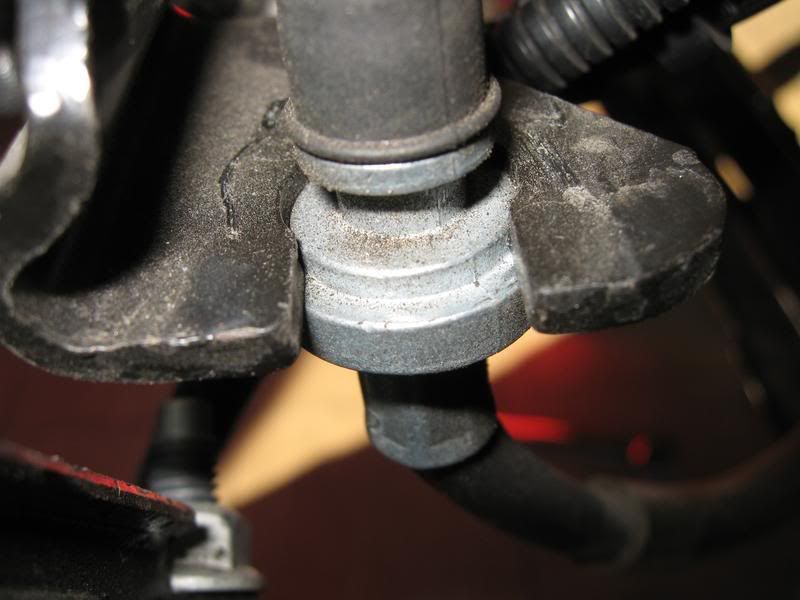
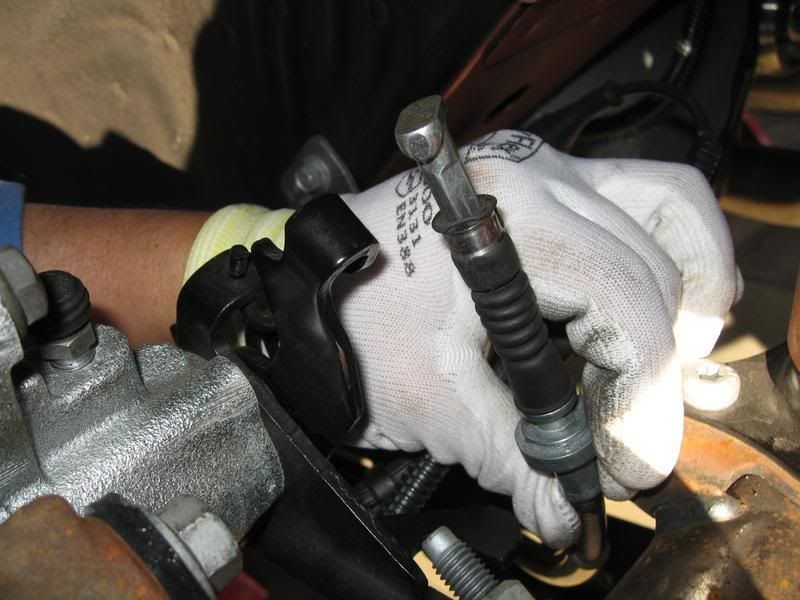
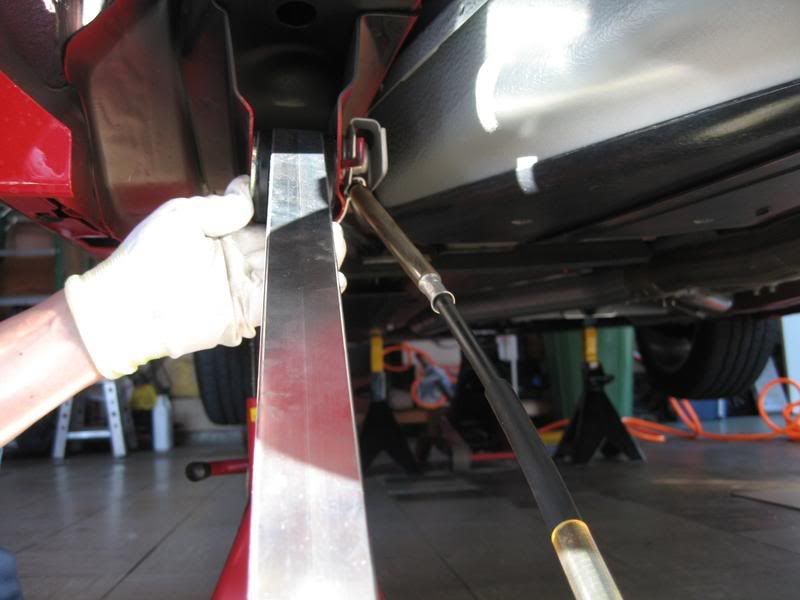
3. Remove the e-brake cable from the brake assembly and temporarily route away from the LCA.
Note: Disengage the e-brake handle before attempting to disengage the cable. If removal is still difficult, try pressing down where the cable end is to give it a little more slack.
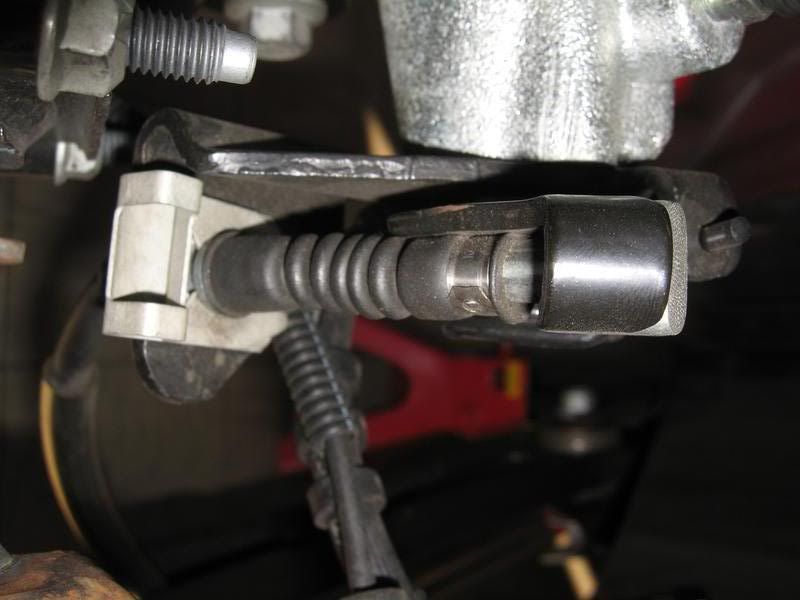
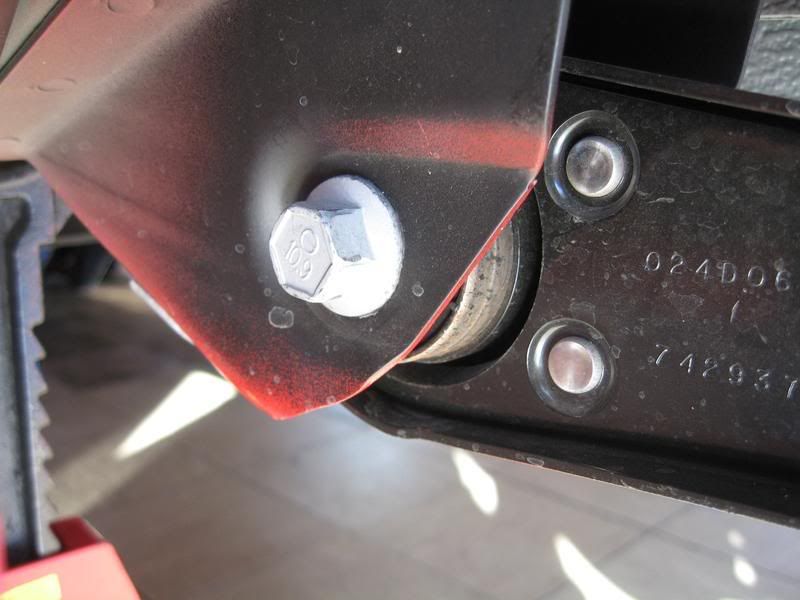
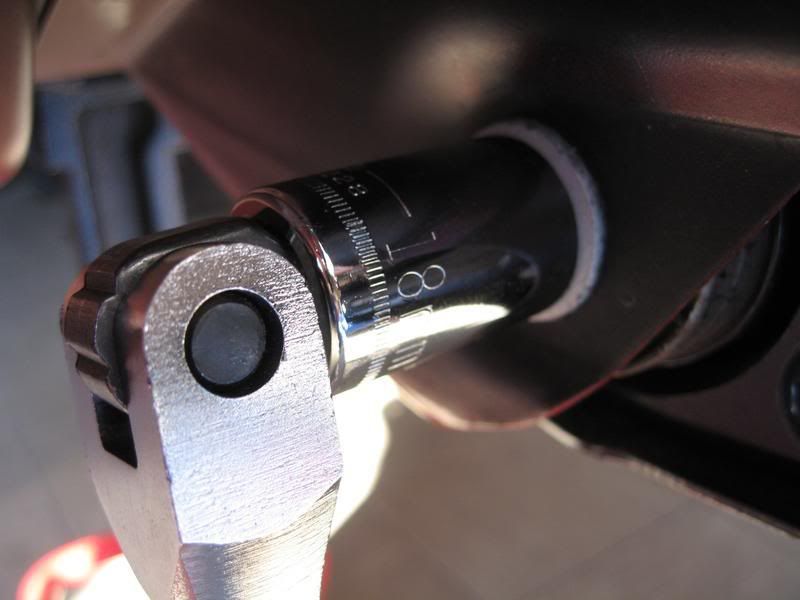
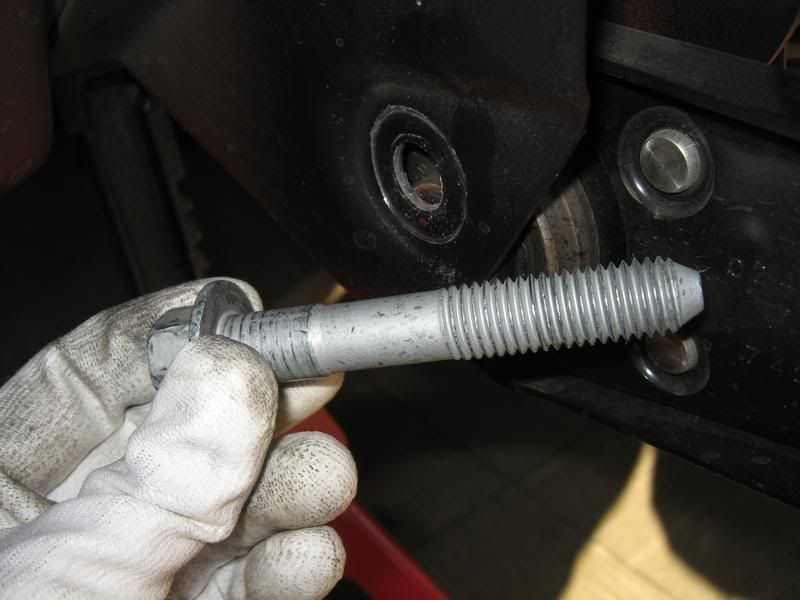
4. Using a 18mm socket (or wrench), remove the forward LCA bolt. Use of a breaker bar may be required.
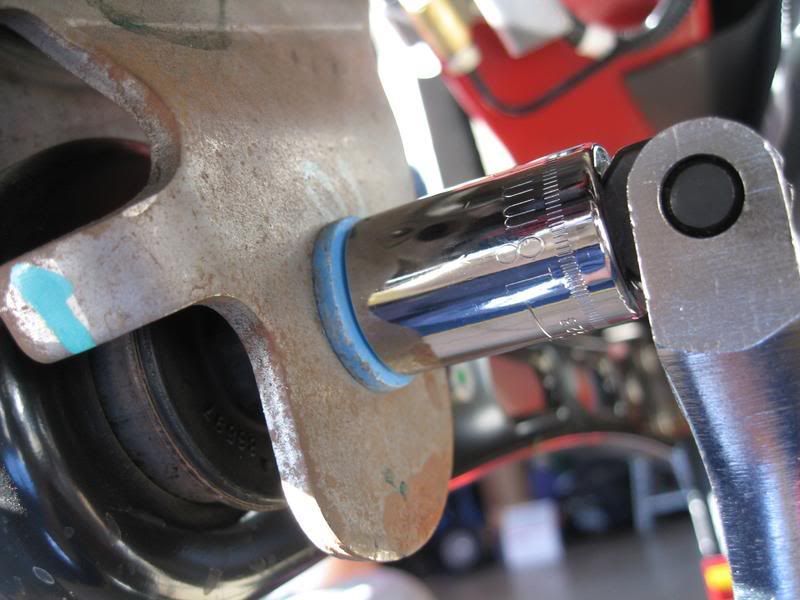
5. Using the same method as the front, remove the rear LCA bolt.
Note: Take note how the flag nut is positioned, it’s this way you’ll want to re-install it.
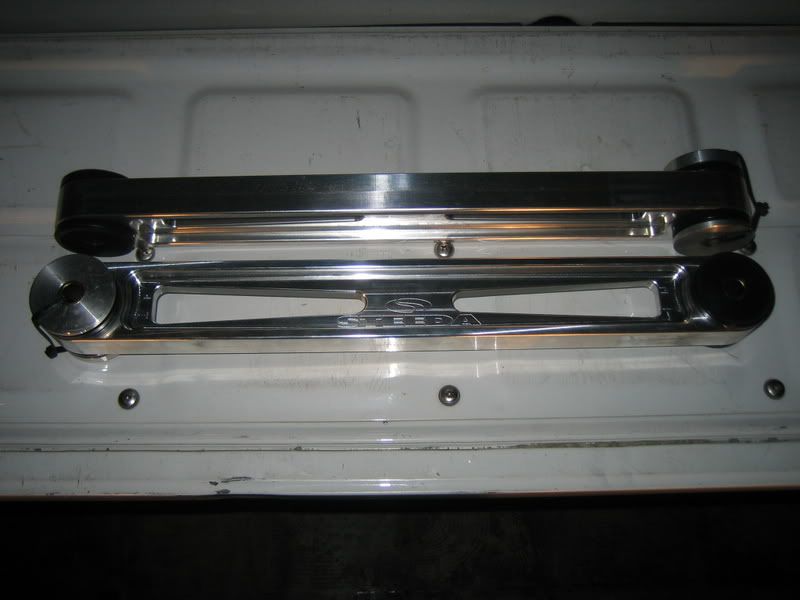
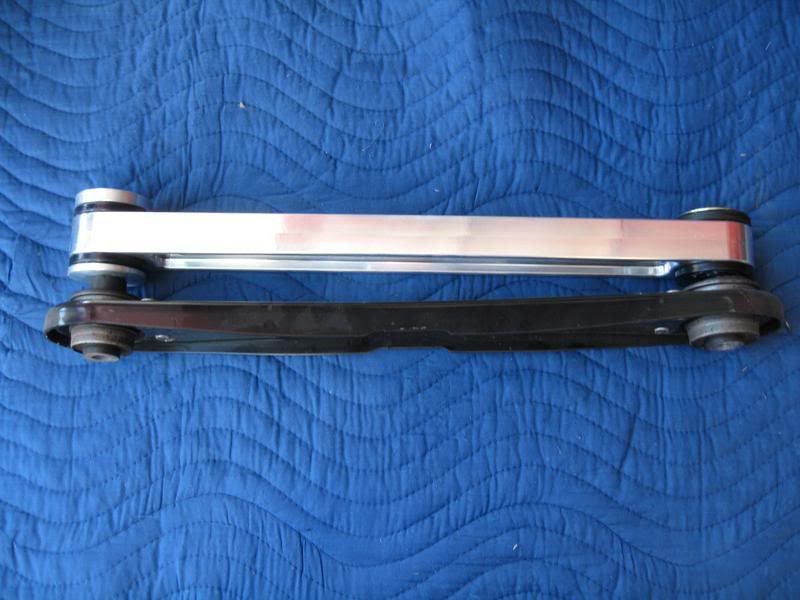
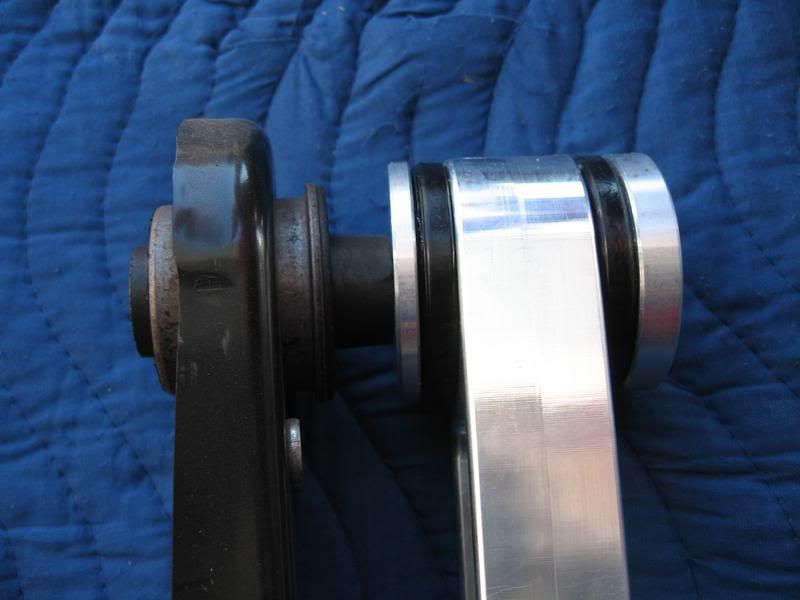
Comparison between the stock LCA and the Steeda billet LCA.
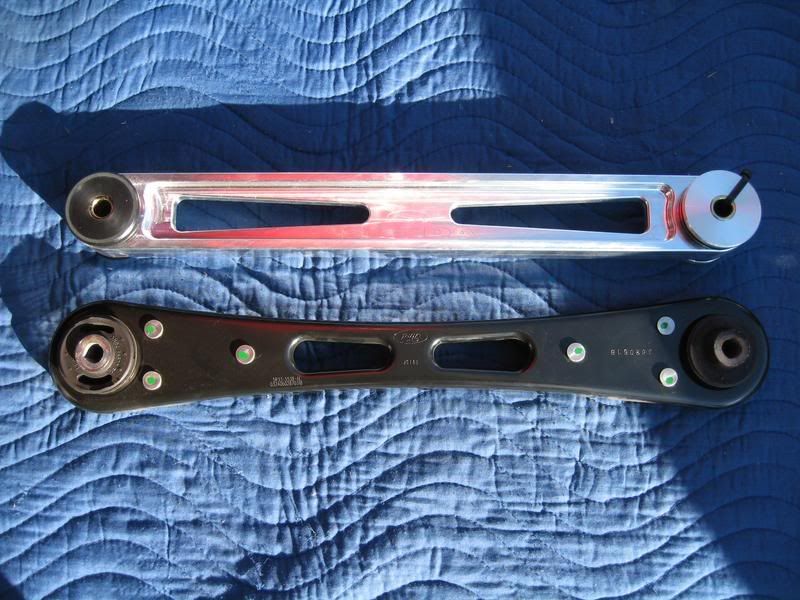
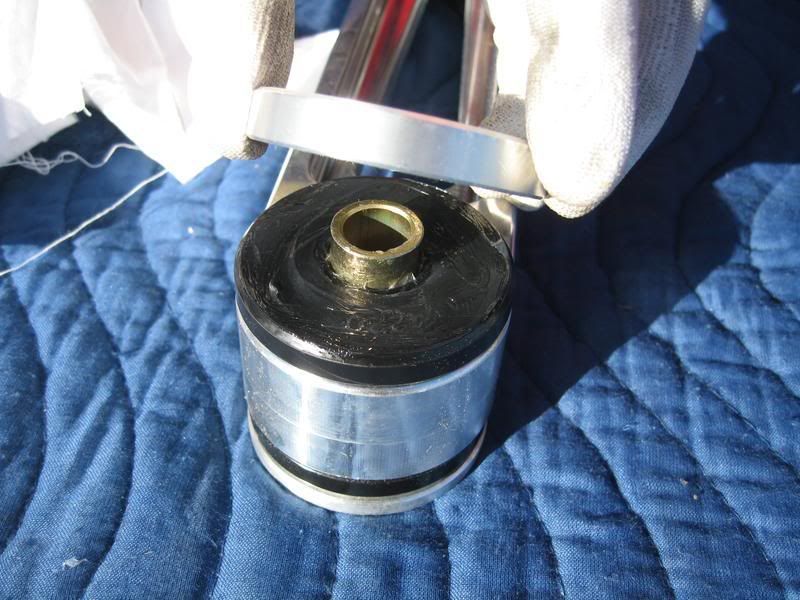
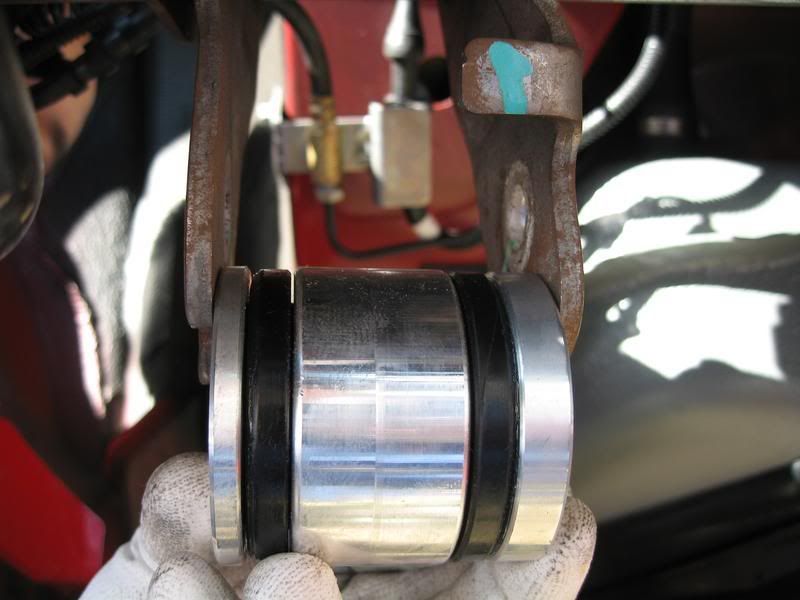
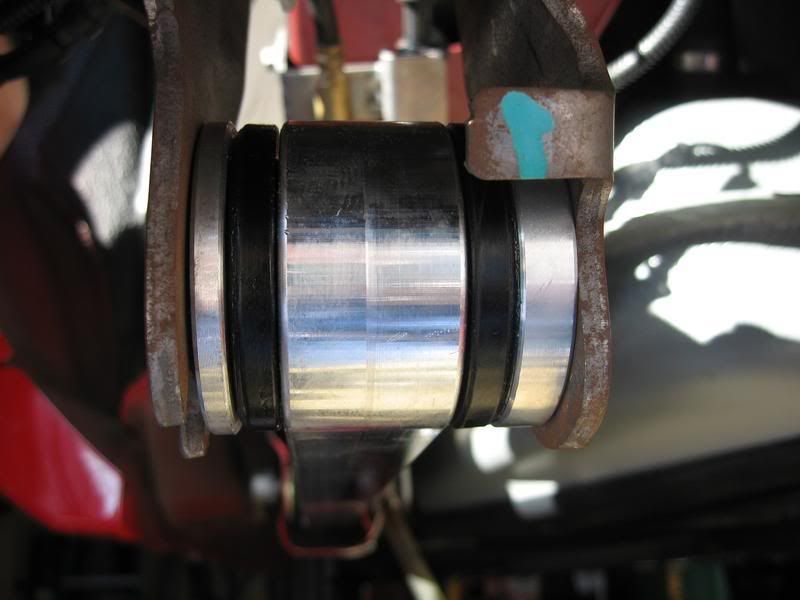
6. Preparation of the Steeda LCA.
Using the supplied lube, generously spread across the black urethane bushing face on both sides, front and rear.
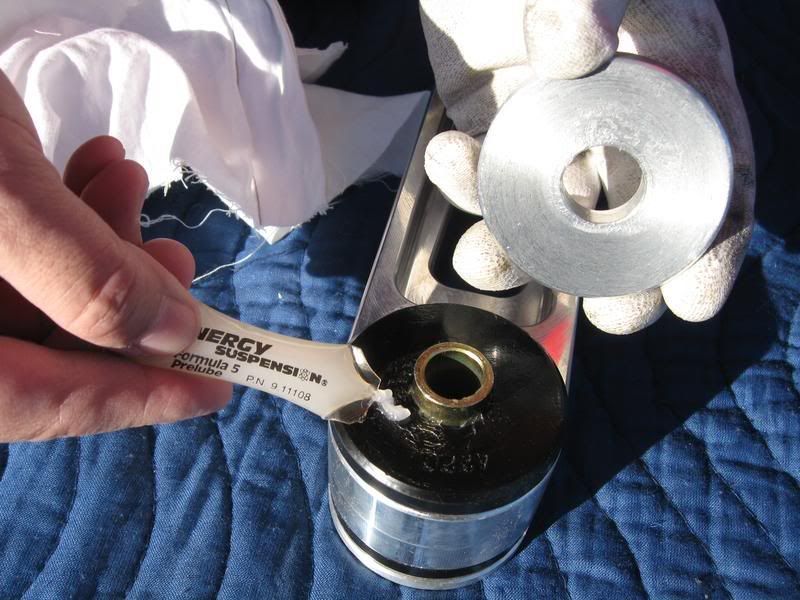
Front – supplied washer faces the OUTSIDE of the car.
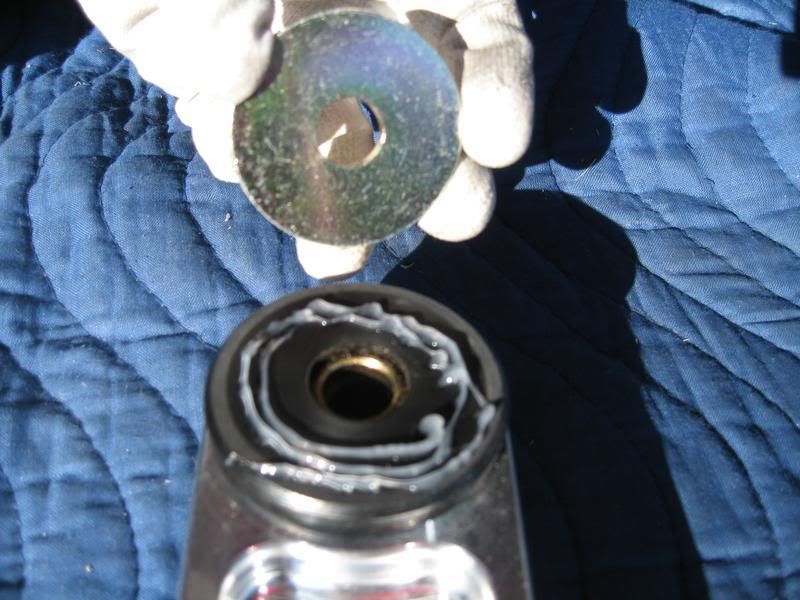
Note: The correct orientation of the LCA is to have the ‘STEEDA’ logo facing outwards AND the larger machined washer in the rear (offset) facing inwards towards the center of the car.
7. Starting at the front, raise the LCA into position (careful with the washer) and use an awl (or screwdriver) to help align the mounting hole. Install the factory bolt, but do not tighten all the way.
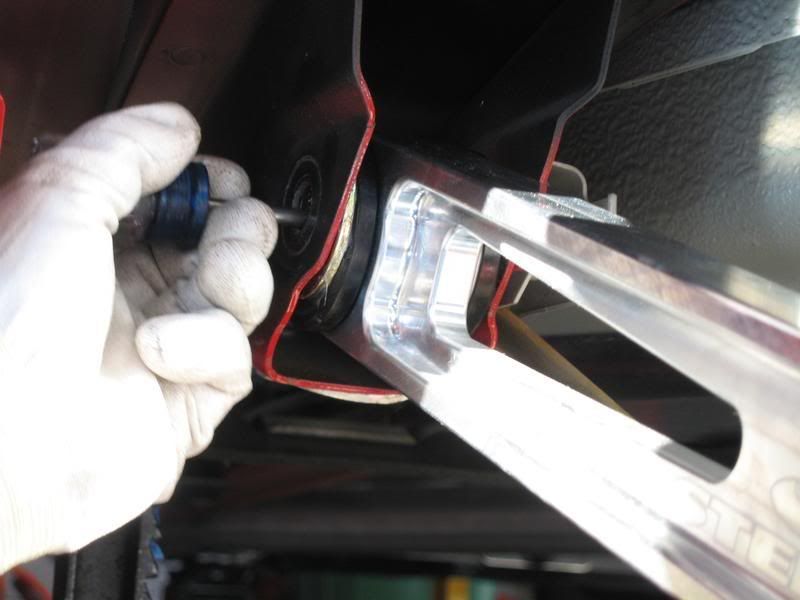
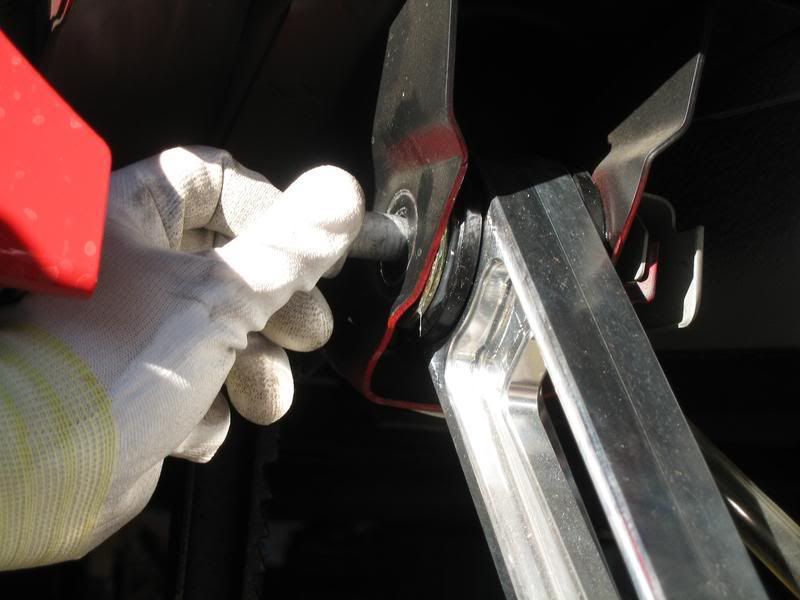
8. Bring up the rear of the LCA and align it to the mounting holes in the rear axle bracket. Install the factory bolt, but do not tighten all the way.
Note: If you’re supporting the rear axle by a floor jack in the up position as a safety measure, lowering the axle will aid in the alignment of the bolt hole.
Important!: Be sure the orientation of the LCA and washer placement is correct per the note in Step 6.
9. While the rear is still supported on jackstands, raise the rear axle up to the masking tape line from Step 1 to simulate the car in static position. If just shy of hitting the mark (will start to lift the rear of the car if jacked further), that’s close enough. This is the position it needs to be in for torquing the bolts.
Torque the front and rear bolts to 129 lb-ft.
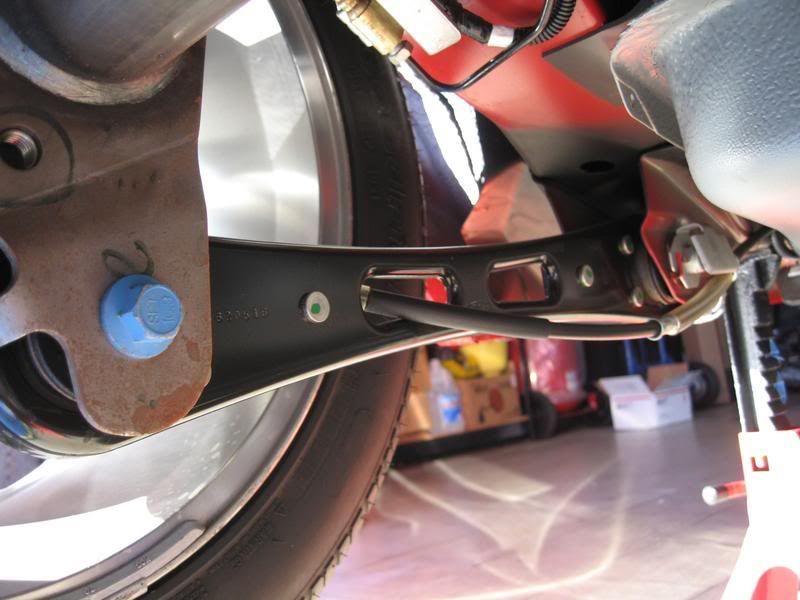
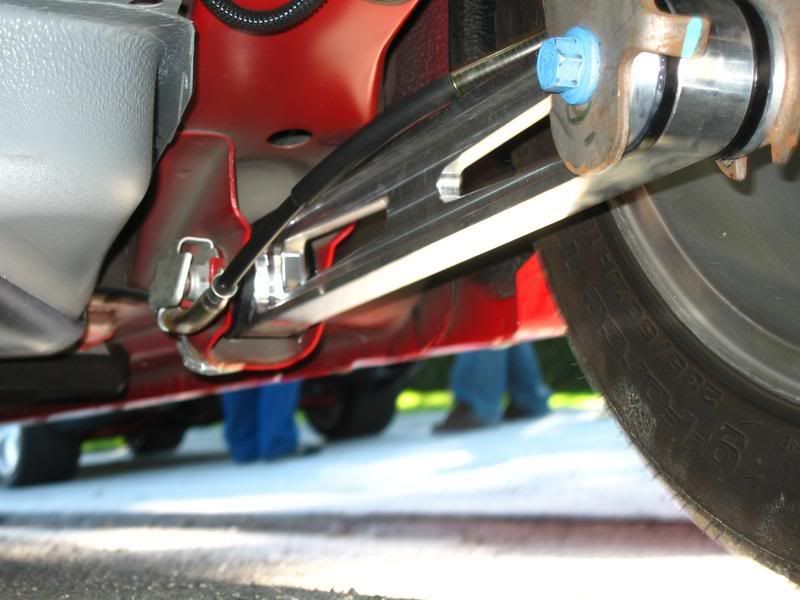
10. Re-install the e-brake cable and don’t forget the retaining clip.
Note: I chose not to route the e-brake cable through the LCA opening because I felt it was too tight, especially when the LCA’s start moving up/down when driving. I routed mine on top of the LCA without issues. I did not use any zip ties as it seemed more than secure resting against the LCA. However, the choice is yours on how this cable gets routed.
11. Repeat process on the Passenger side.
12. Install wheels and lug nuts, lower vehicle, and properly torque all lug nuts to factory specs.
Installation complete!
Tools required:
18mm socket or wrench
Torque wrench capable of up to 129 lb-ft
Awl or Phillips screwdriver (to align the LCA mounting hole for installation)
Breaker bar (optional)
Rubber mallet (optional)
Masking tape
Installation time:
1 hour
Installation:
Out of the box
1. On level ground, place a small piece of masking tape right below the shock tube cover.
2. Raise the rear of the vehicle high enough to provide adequate working room underneath. Do not forget to chock the front tires and always use jackstands.
Remove both rear wheels (Note: If you don’t have an impact gun, be sure to loosen the wheel lug nuts before jacking up the rear)
(no picture)
Stock LCA – Drivers side
3. Remove the e-brake cable from the brake assembly and temporarily route away from the LCA.
Note: Disengage the e-brake handle before attempting to disengage the cable. If removal is still difficult, try pressing down where the cable end is to give it a little more slack.
4. Using a 18mm socket (or wrench), remove the forward LCA bolt. Use of a breaker bar may be required.
5. Using the same method as the front, remove the rear LCA bolt.
Note: Take note how the flag nut is positioned, it’s this way you’ll want to re-install it.
Comparison between the stock LCA and the Steeda billet LCA.
6. Preparation of the Steeda LCA.
Using the supplied lube, generously spread across the black urethane bushing face on both sides, front and rear.
Front – supplied washer faces the OUTSIDE of the car.
Note: The correct orientation of the LCA is to have the ‘STEEDA’ logo facing outwards AND the larger machined washer in the rear (offset) facing inwards towards the center of the car.
7. Starting at the front, raise the LCA into position (careful with the washer) and use an awl (or screwdriver) to help align the mounting hole. Install the factory bolt, but do not tighten all the way.
8. Bring up the rear of the LCA and align it to the mounting holes in the rear axle bracket. Install the factory bolt, but do not tighten all the way.
Note: If you’re supporting the rear axle by a floor jack in the up position as a safety measure, lowering the axle will aid in the alignment of the bolt hole.
Important!: Be sure the orientation of the LCA and washer placement is correct per the note in Step 6.
9. While the rear is still supported on jackstands, raise the rear axle up to the masking tape line from Step 1 to simulate the car in static position. If just shy of hitting the mark (will start to lift the rear of the car if jacked further), that’s close enough. This is the position it needs to be in for torquing the bolts.
Torque the front and rear bolts to 129 lb-ft.
10. Re-install the e-brake cable and don’t forget the retaining clip.
Note: I chose not to route the e-brake cable through the LCA opening because I felt it was too tight, especially when the LCA’s start moving up/down when driving. I routed mine on top of the LCA without issues. I did not use any zip ties as it seemed more than secure resting against the LCA. However, the choice is yours on how this cable gets routed.
11. Repeat process on the Passenger side.
12. Install wheels and lug nuts, lower vehicle, and properly torque all lug nuts to factory specs.
Installation complete!

 12-24-2007, 09:27 AM
#7
5th Gear Member

Join Date: Aug 2007
Location:
Posts: 2,135
ORIGINAL: noober
Very nice job. Just a quick question though - Is there any advantage performance-wise to the different bars? Forgive me for being ignorant. ^_^
Very nice job. Just a quick question though - Is there any advantage performance-wise to the different bars? Forgive me for being ignorant. ^_^
12-24-2007, 09:32 AM
#8
5th Gear Member
Join Date: Sep 2006
Posts: 3,401
Wow, that's freaky. I picked up my Steeda LCA's just the other day and was considering putting them on within the next few days. You must be reading my mind !!
Thanks for the writeup
Thanks for the writeup

