
My First MOD. Homelink Installation ...
 03-10-2010, 11:44 AM
#11
4th Gear Member
Join Date: Aug 2009
Location: USA
Posts: 1,247
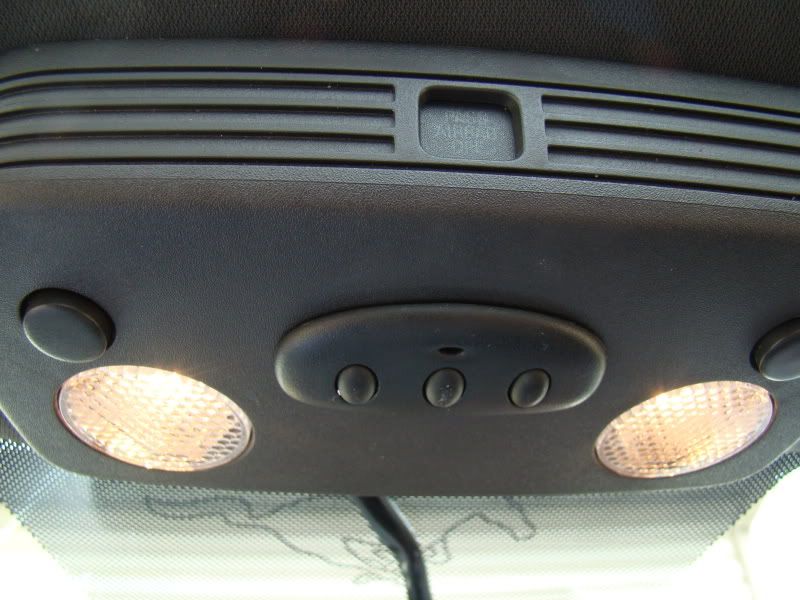
Just completed this mod...love it! The range is at least as good as the tacky GD opener and looks so sweet. Best $18 mod you can do. It did take some cutting/modding to fit just right and get it aligned correctly.
Thanks dmhines.
EDIT: Should have cleaned it up a bit before I took the pics.
Thanks dmhines.
EDIT: Should have cleaned it up a bit before I took the pics.
 03-10-2010, 12:03 PM
#12
4th Gear Member
Join Date: Jun 2009
Location: Orange County, CA
Posts: 1,162
How big is the hole you had to create in the map light? How is everything held in place? Any pics with the "face plate" off?
Last edited by Adam; 03-10-2010 at 12:12 PM.
03-10-2010, 12:36 PM
#13
4th Gear Member
Join Date: Aug 2009
Location: USA
Posts: 1,247
Also, this thing appears to have been designed to be used with a thinner piece of plastic so shims (cut down pencil erasers) were needed to make the buttons reach the actual switches on the unit with a nice tactile feel.
03-10-2010, 12:43 PM
#14
5th Gear Member
Thread Starter
Join Date: Aug 2006
Location: Cumming, GA
Posts: 2,460
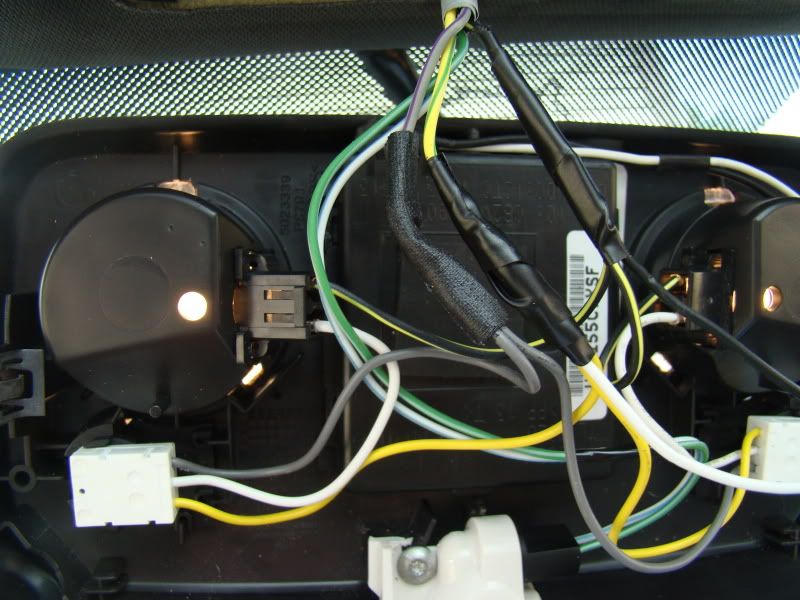
Didn't see the updates to this post. I cut out a single hole. The seller included a paper template that I didn't see and made my own. I did some triming and fit it in where I thought it would fit. Then I used a small hot screwdriver and poked holes through the template and plastic so I could connect the dots and cut it out with a dremel. Like the dog said .. it is made to install either on thin plastic or maybe the fabric sun visor or something so the cover plate doesn't completely SNAP in like it is supposed to.
I used a hot glue gun to hold it all together. I put a dab of hot glue on each rubber nub to extend the button to reach the circuit board button. I let the Glue dry hard before installing the buttons so the buttons are not glued to the circuit board.
Sorry .. no pictures during assembly since the entire thing was pretty much an experimentation ...
Looks like dog's module was different than mine ... he was able to center his more in the housing ... mine is more towards the edge because the buttons were on the end of the module. Something to keep in mind if you buy one on eBay. The closer the buttons are to the center of the internal module the better.
Last edited by dmhines; 03-10-2010 at 12:49 PM.
03-10-2010, 01:29 PM
#15
4th Gear Member
Join Date: Aug 2009
Location: USA
Posts: 1,247
I "bought" a little more room by removing the harness on the homelink unit, cutting down the plugs on the circuit board that plugged into said harness and soldering the wires directly to the plugs.
Should've taken pics...
Should've taken pics...
03-10-2010, 01:39 PM
#16
5th Gear Member
Thread Starter
Join Date: Aug 2006
Location: Cumming, GA
Posts: 2,460
 03-10-2010, 01:48 PM
#17
2nd Gear Member

Join Date: Feb 2010
Location: Virginia
Posts: 464
I did something similiar to this on a Jetta. There, I used one of the "blanks," i.e. the plain plastic button that doesn't depress (used in place of an option the car didn't come with).
Essentially, I soldered two wires into the remote (which was then hidden in the dash) and ran them to a cheap momentary push button. That push button was then mounted directly behind the blank, and the blank was modified with a drummel and glued to the face of the push button.
In the end, depressing the blank opened the garage door.
03-10-2010, 04:18 PM
#19
4th Gear Member
Join Date: Aug 2009
Location: USA
Posts: 1,247
Here's a virtual brewski!
03-31-2010, 05:27 AM
#20
1st Gear Member
Join Date: Mar 2010
Location: Michigan
Posts: 89
I just bought one of these on e-bay, thanks for the idea. I had to get a rolling code one and the face plate is not black, so I need to paint it. Does anyone know what the black map light housing trim color code is, so I get the right match when i buy the trim paint?