
How to create an OPEN headlight bucket...
 07-01-2010, 09:09 AM
#1
5th Gear Member
Thread Starter

Join Date: May 2005
Location: Tampa
Posts: 4,204
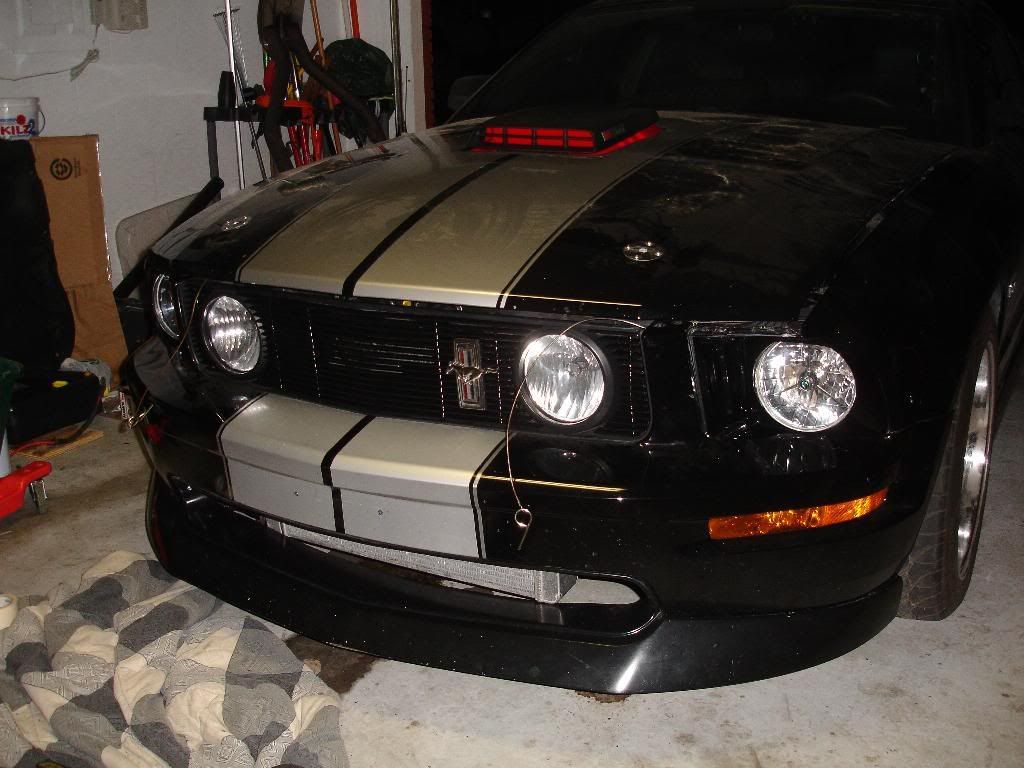
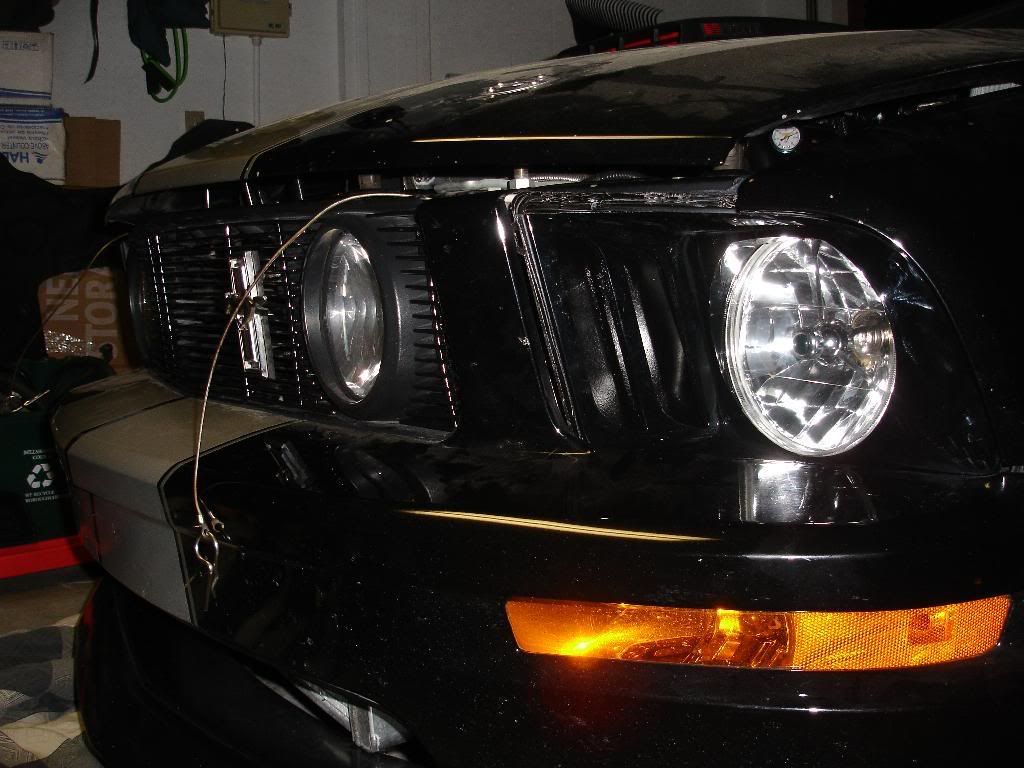
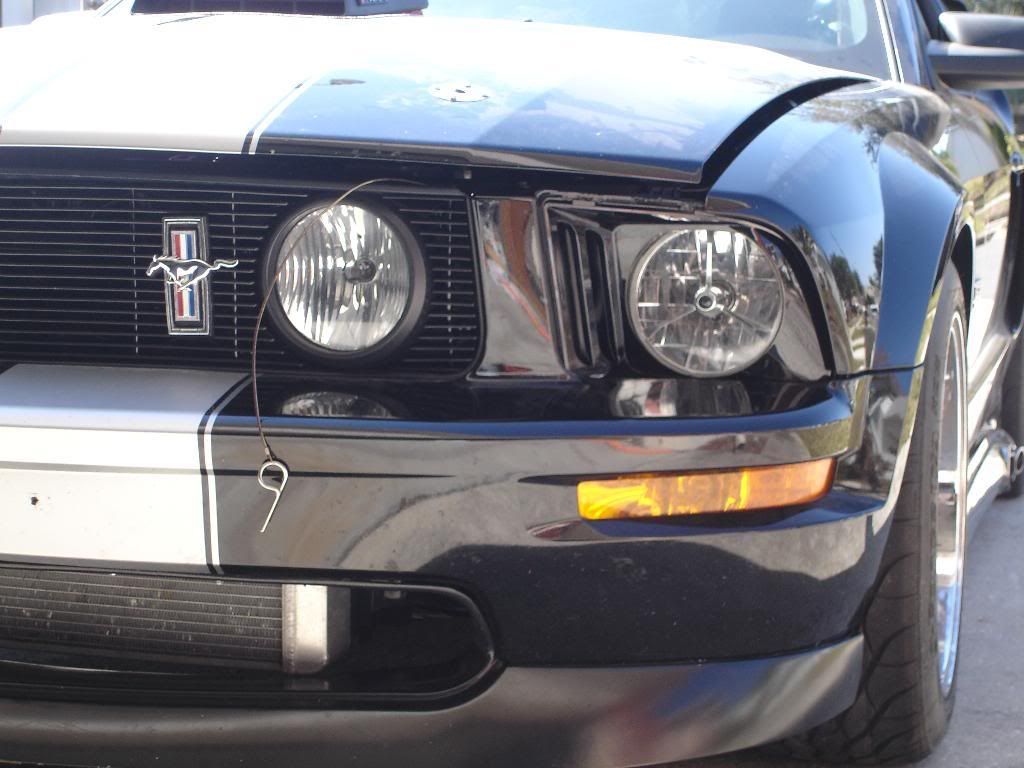
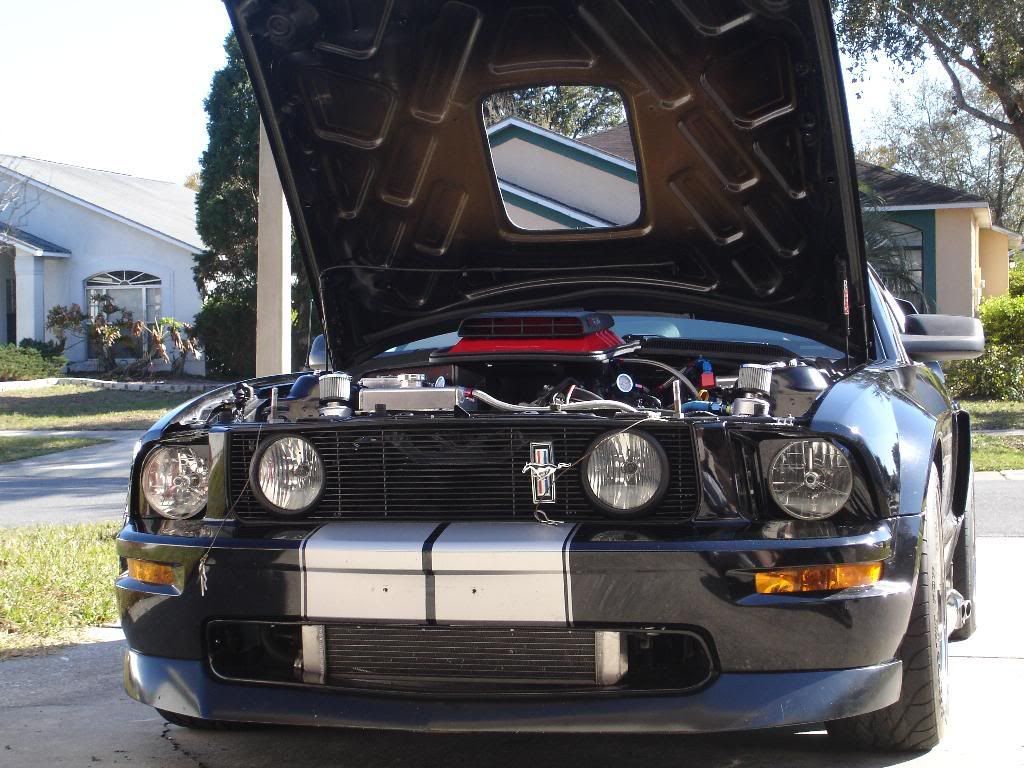
NOTE: I HAVE A FULL RADIATOR COVER THAT WILL COVER THE TOPS OF THE HEADLIGHTS. THIS MAY LOOK WORSE IF YOU DON'T HAVE HEADLIGHT
EXTENSIONS.
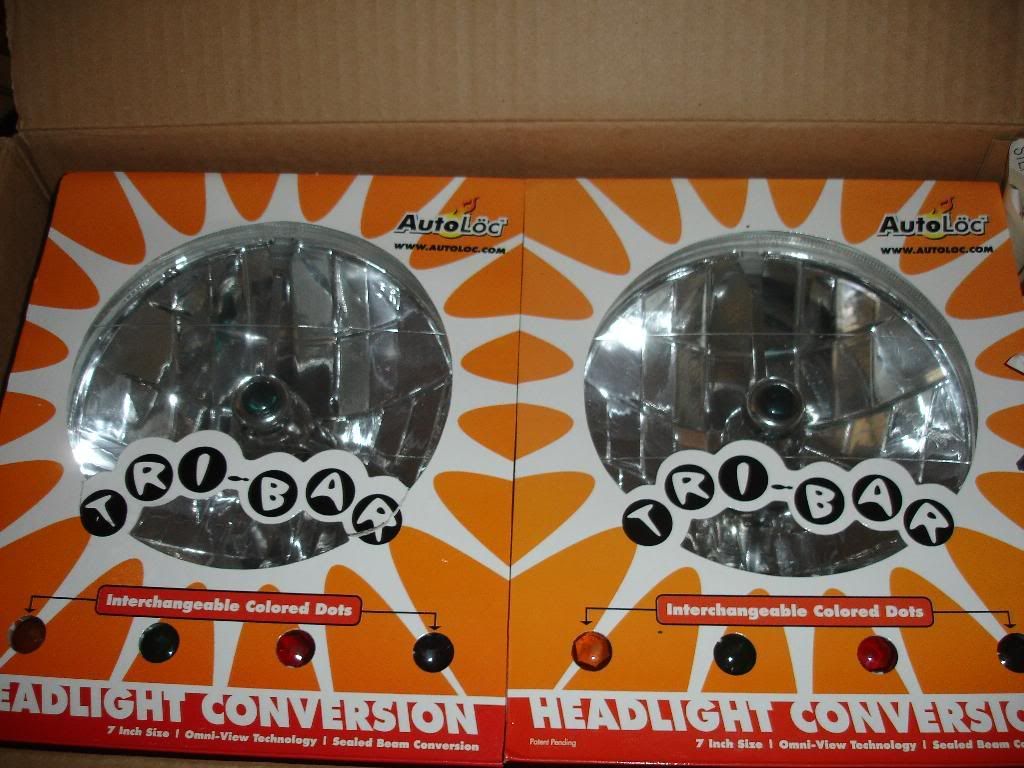
Buy some headlights like these from eBay. You may also want to find an extra set of headlights to do the mod to.
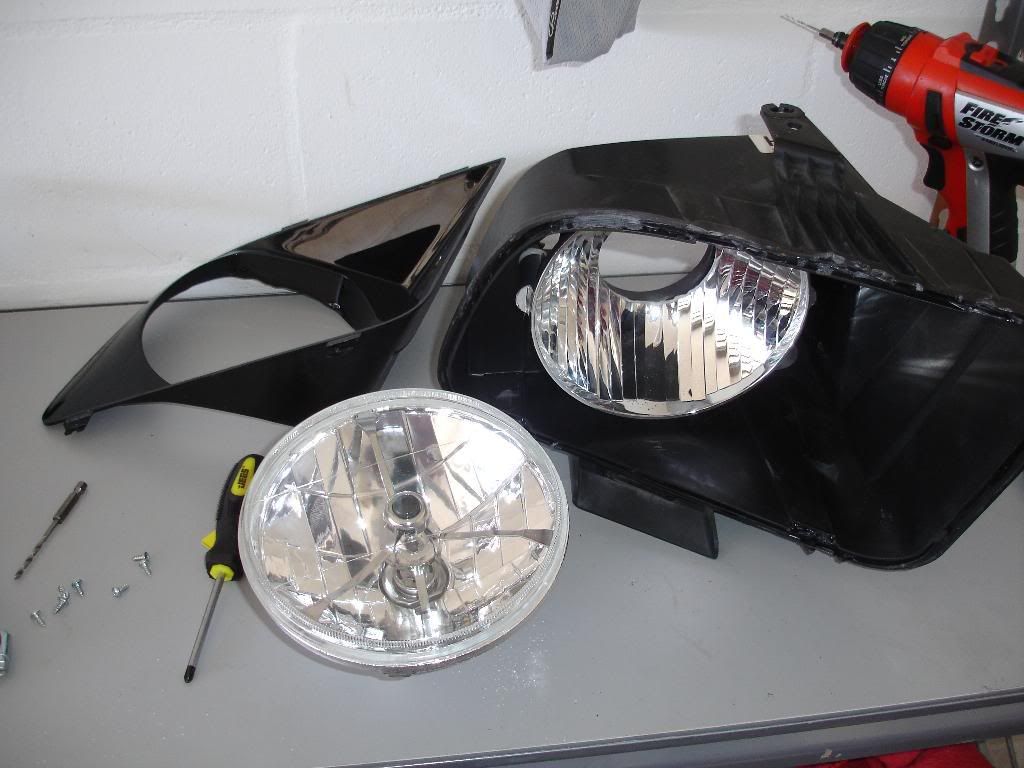
First I started off by separating the plastic lens cover from the housing. Sorry I missed that photo-op. In order to get it apart I baked it in the oven at 175* for 8 minutes and then checked to see if it was ready to come apart. It wasn't so I would then do it at 3 minute intervals. It's important to check on it constantly so that you don't soften the plastic which will cause it to cave in and melt on itself. After it's good and hot, get it apart however you are able to. Be careful no to scratch the black
inner part of the headlight housing. It's a very soft plastic and you will be using that piece.
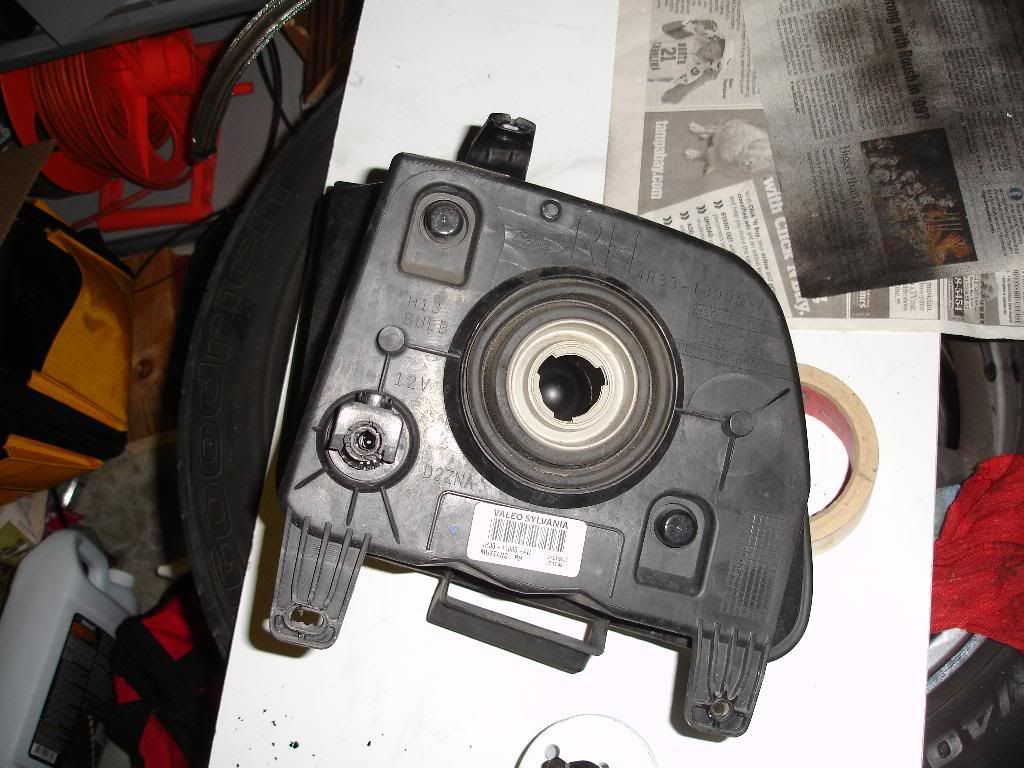
After getting it all apart flip it over.
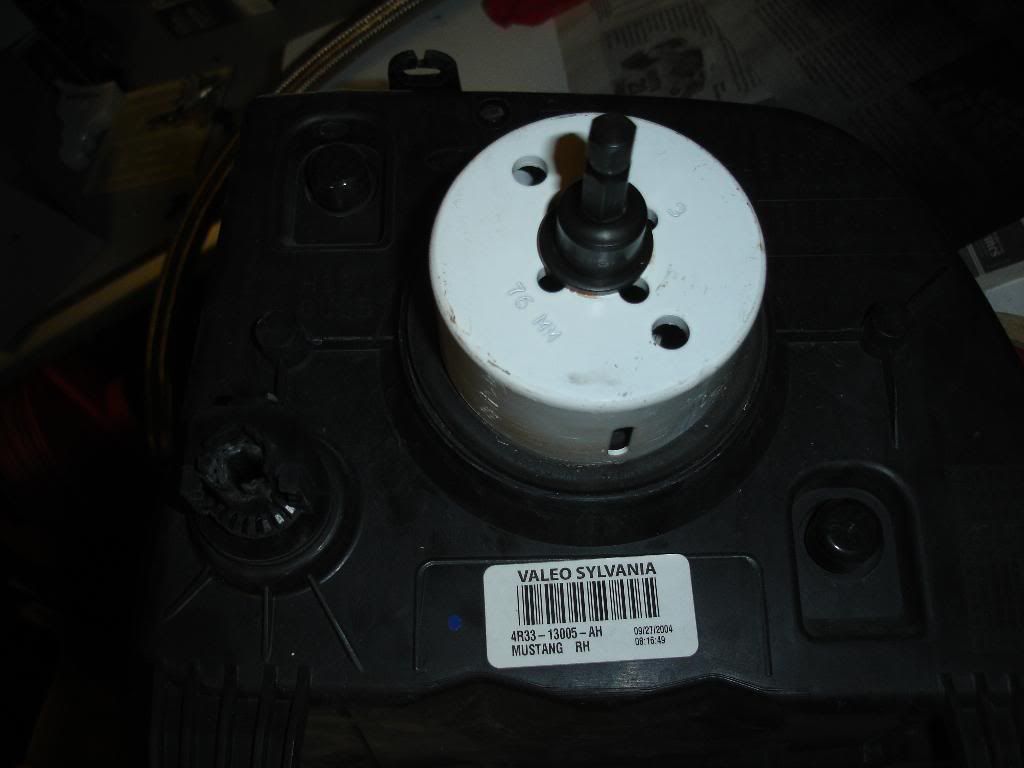
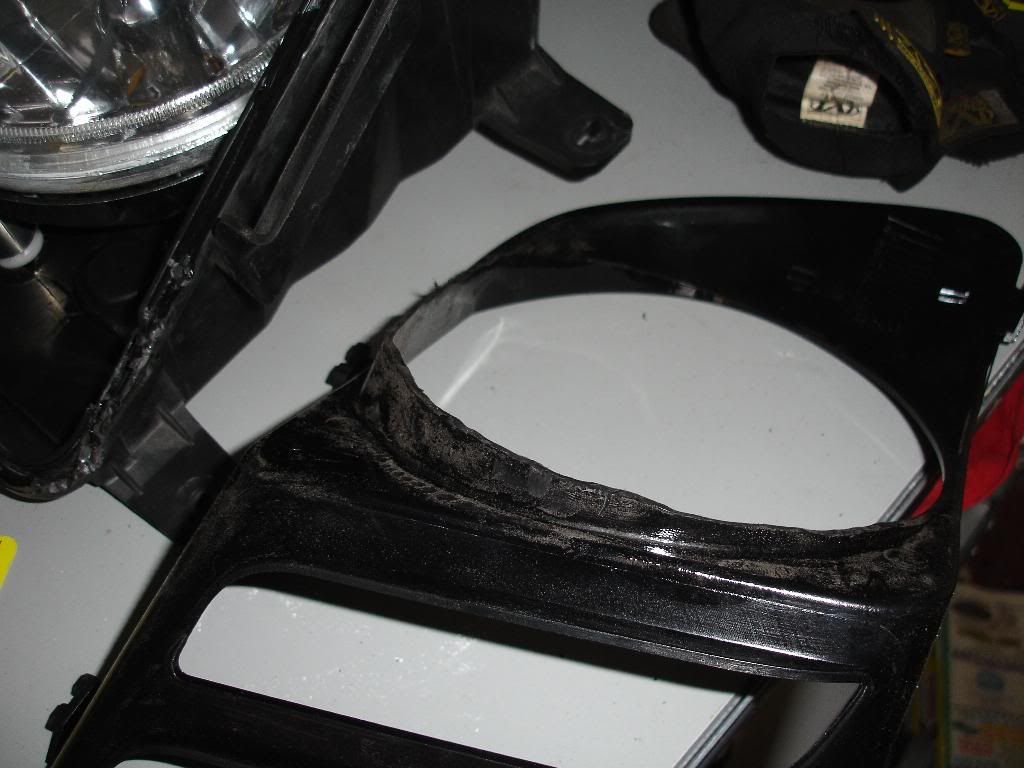
Use a 3" hole cutter and take out the center of back along with the inner lens.
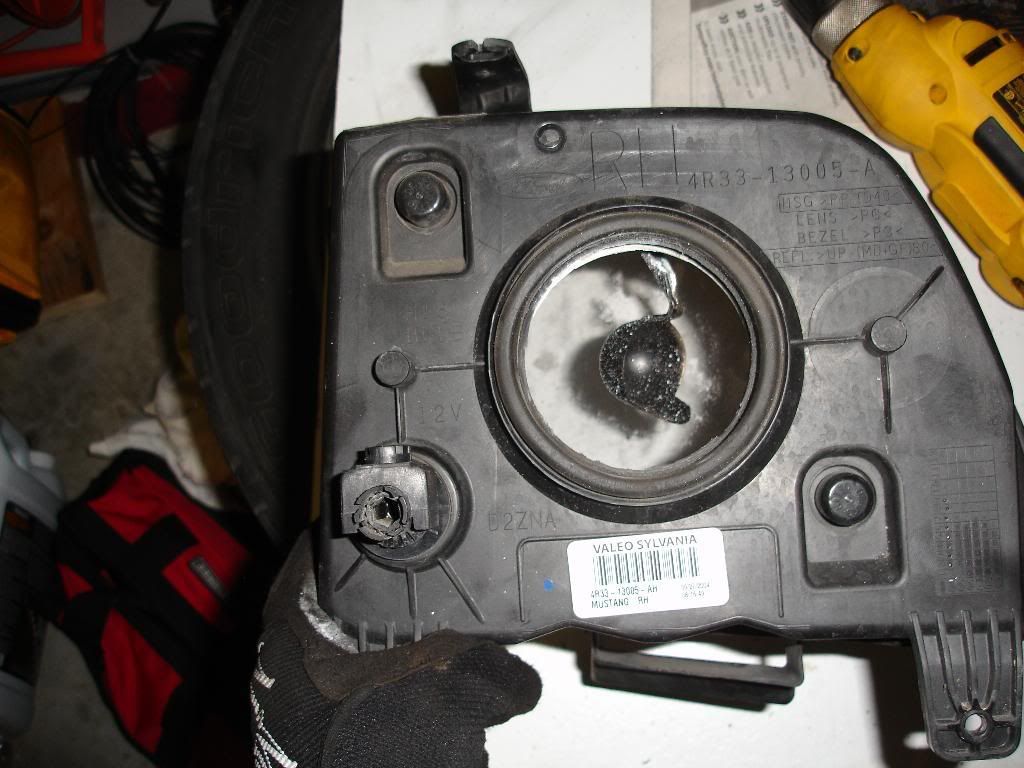
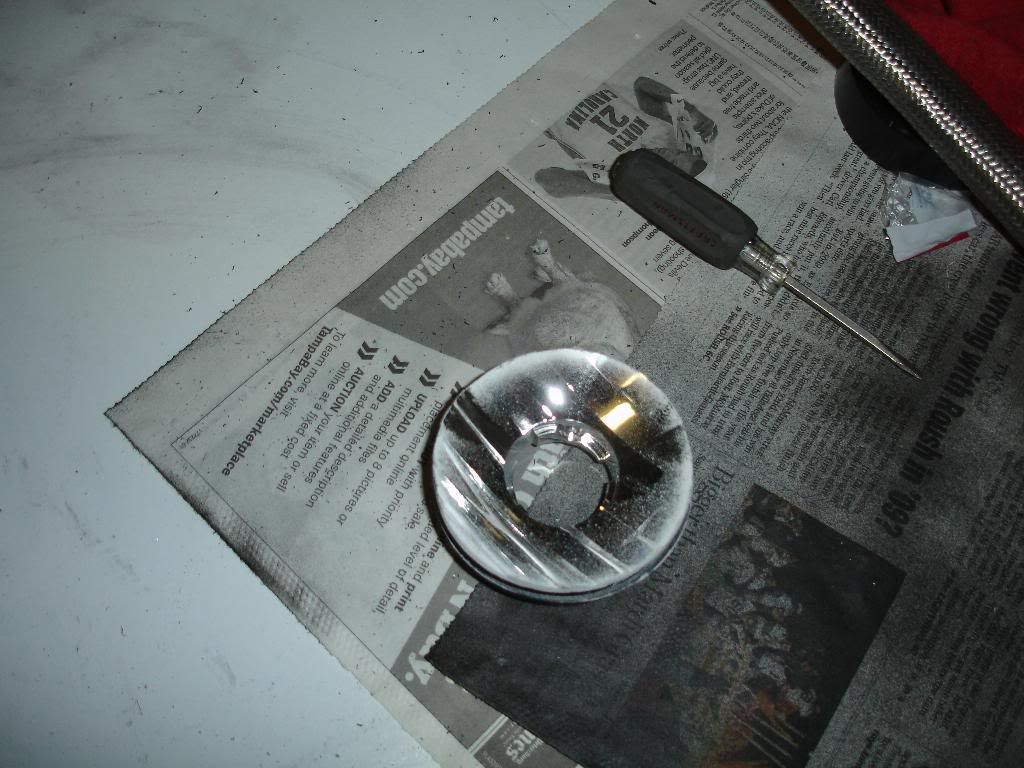
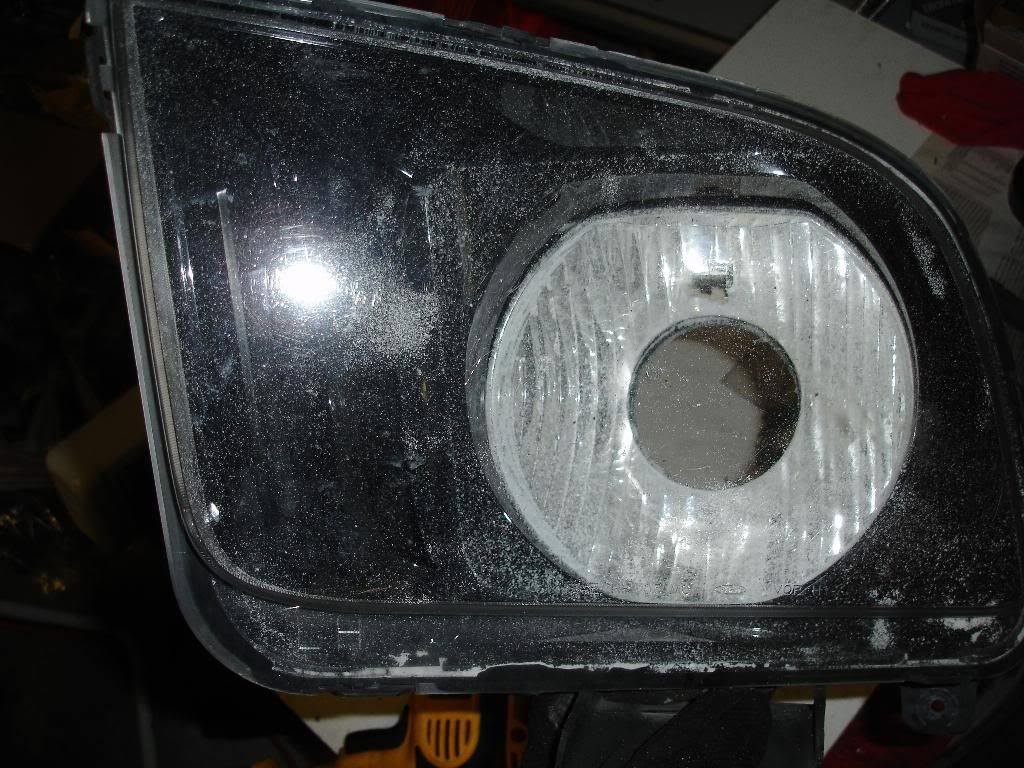
Once the hole is drilled you will have something like that. It's important for you to keep the inner reflective part of the hold headlight. That is the surface that will support the new headlight and allow you to still adjust it like OEM.
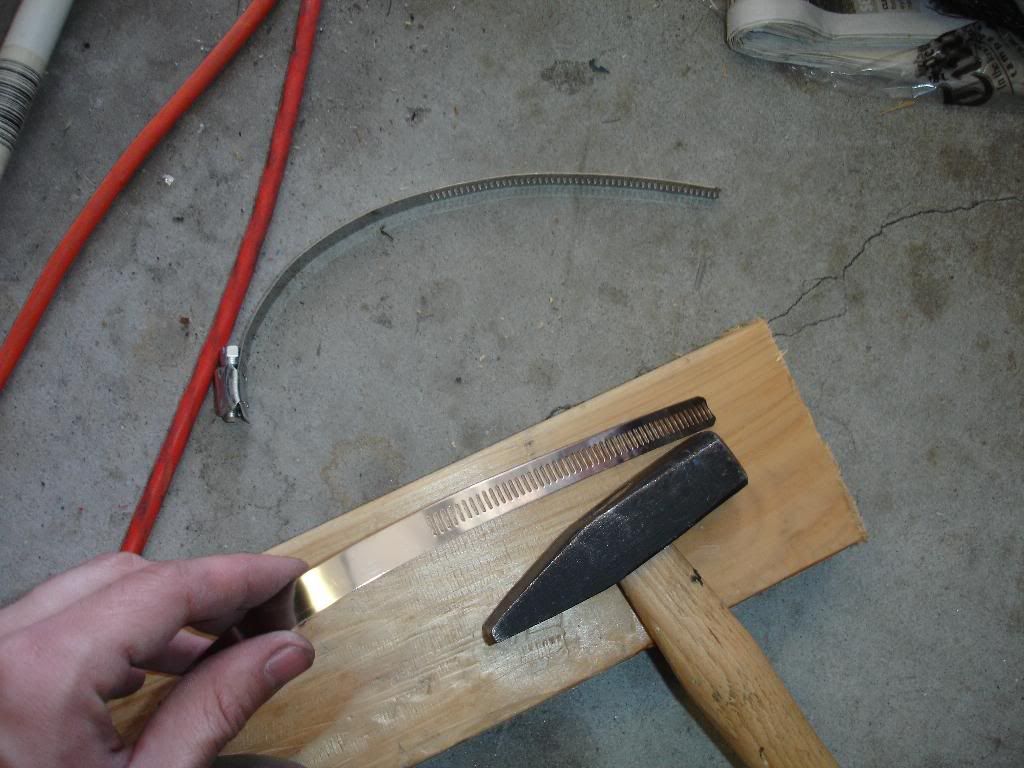
Get 6 hose clamps and flatten them out.
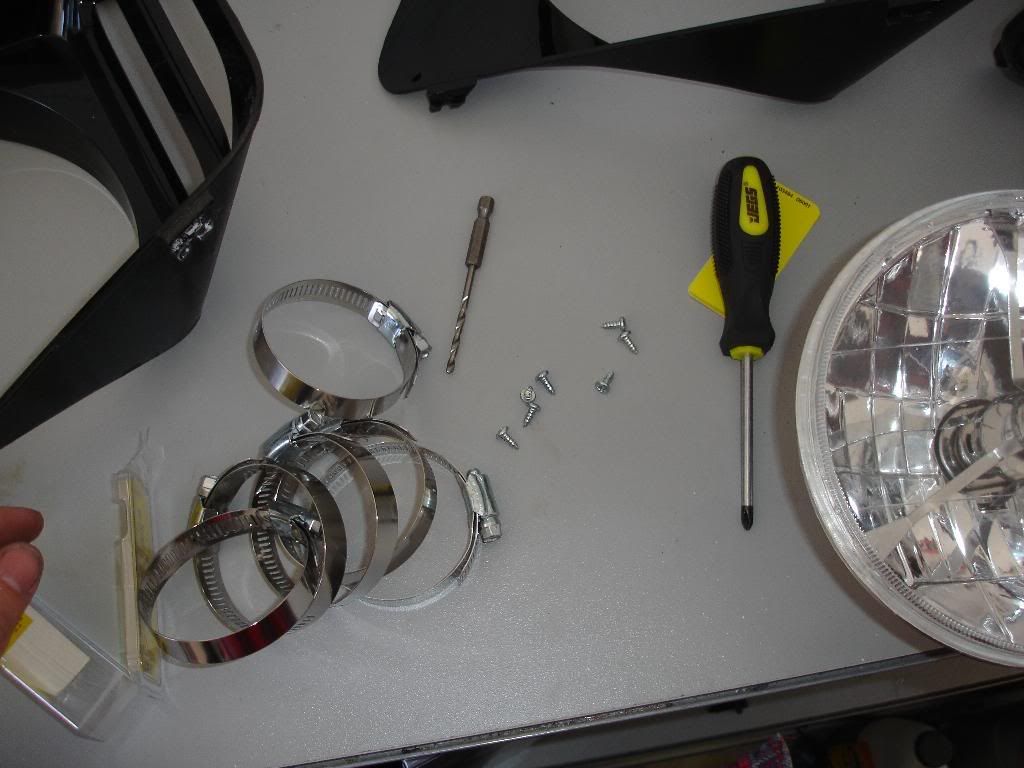
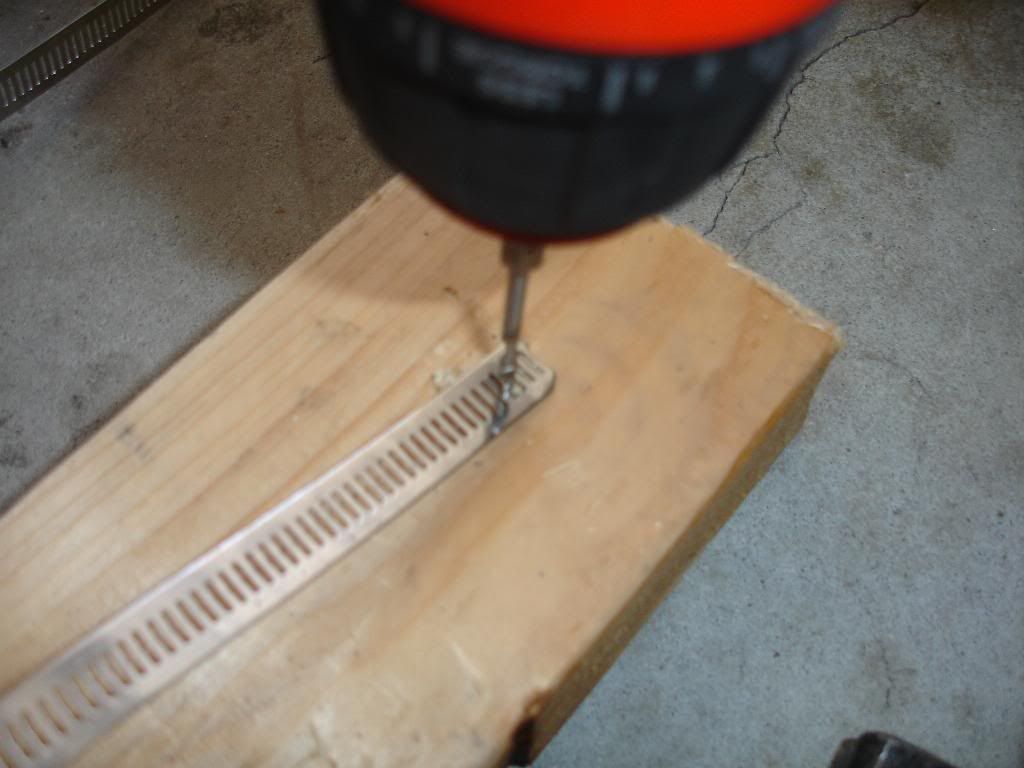
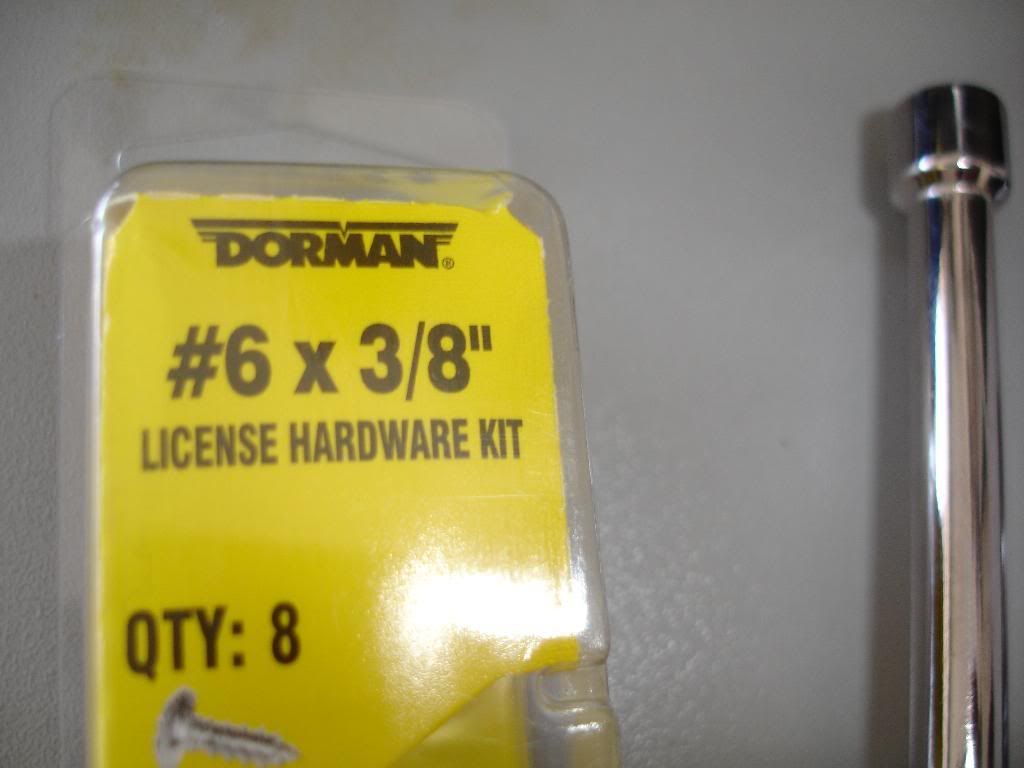
I pre-drilled the screw holes since the screws I was using weren't self tapping.
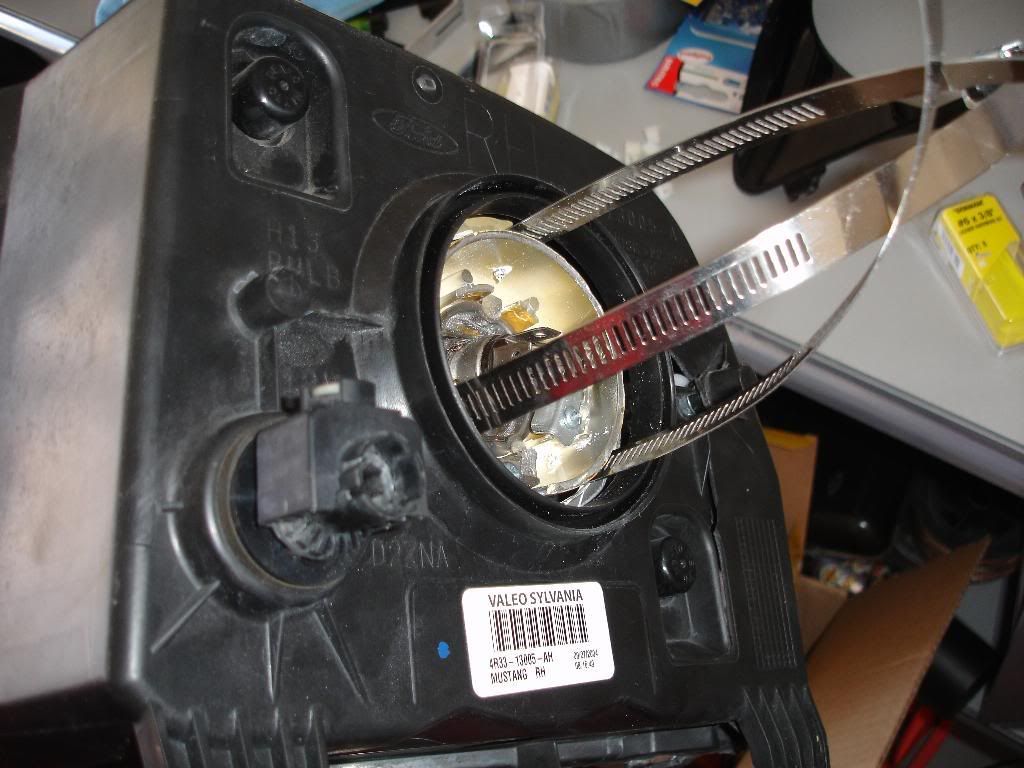
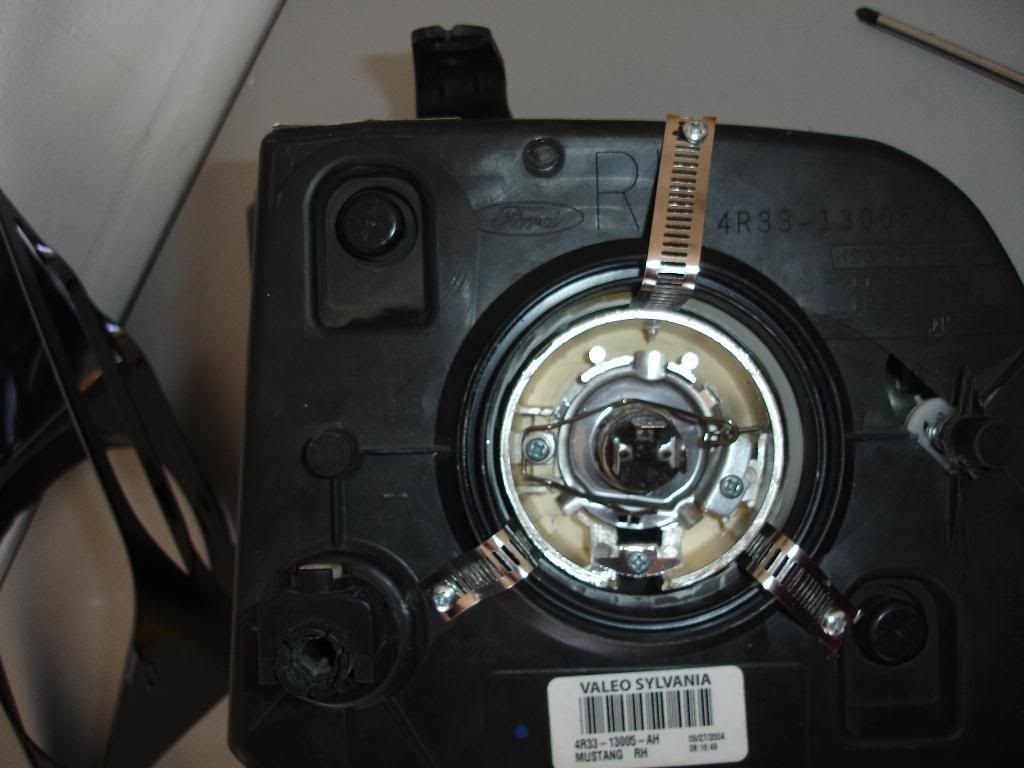
I then found three spots close to equal distance apart and attached the straps.
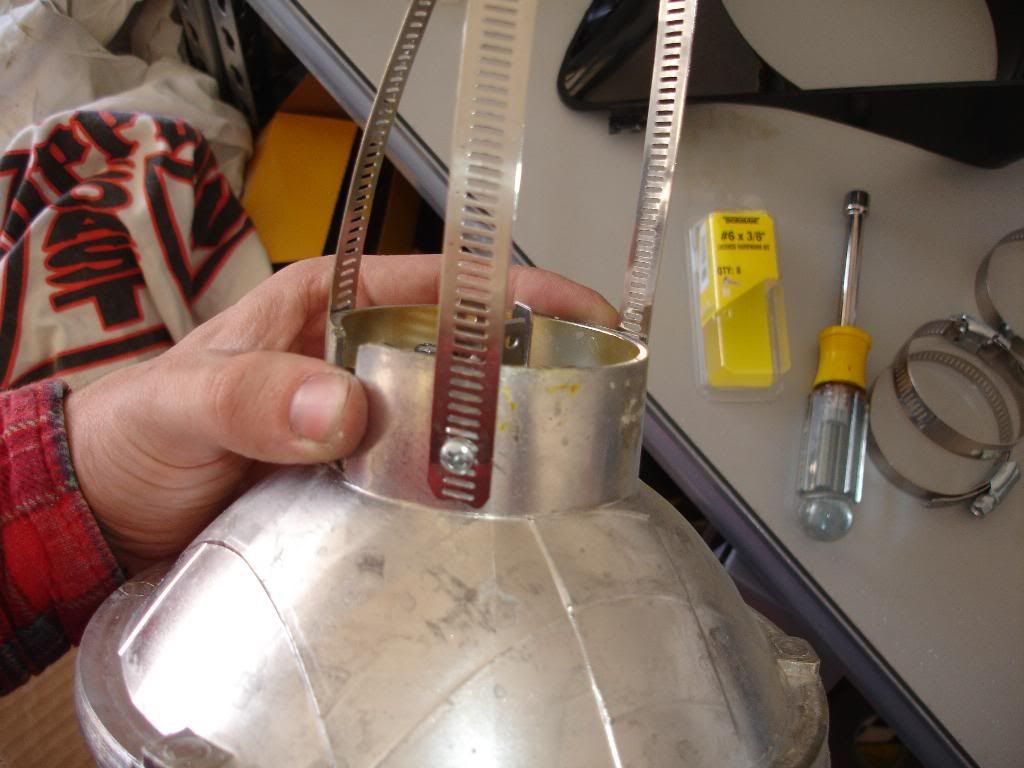
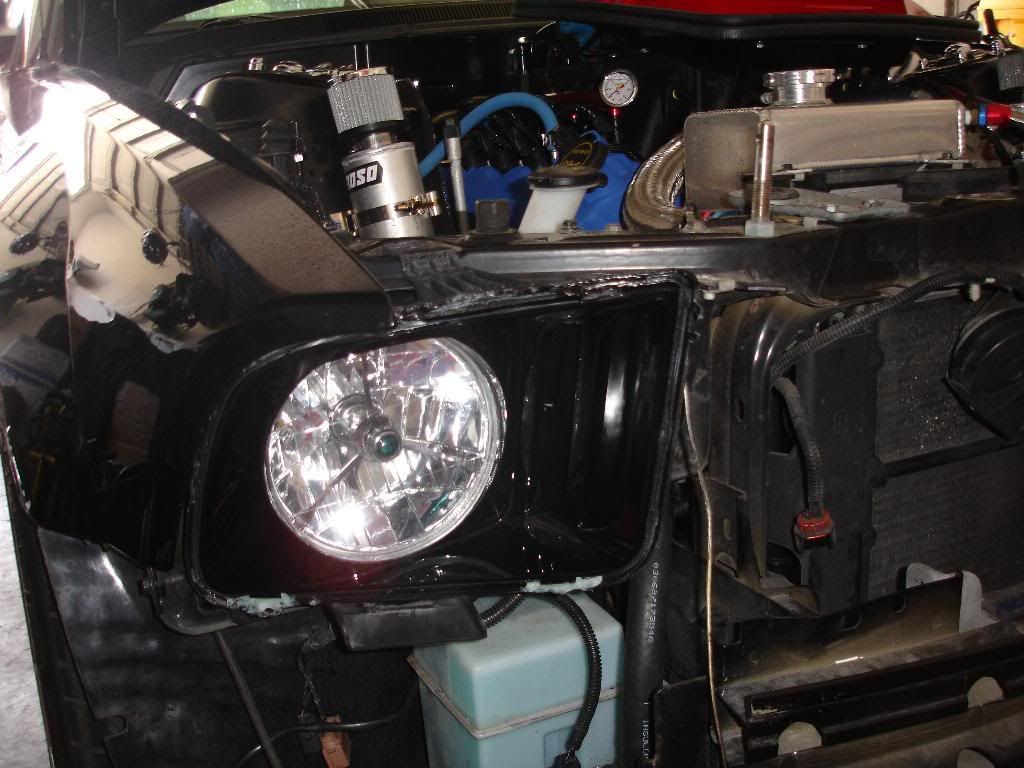
I then aligned the headlight in the correct position, pulled the straps through right and checked fitment.
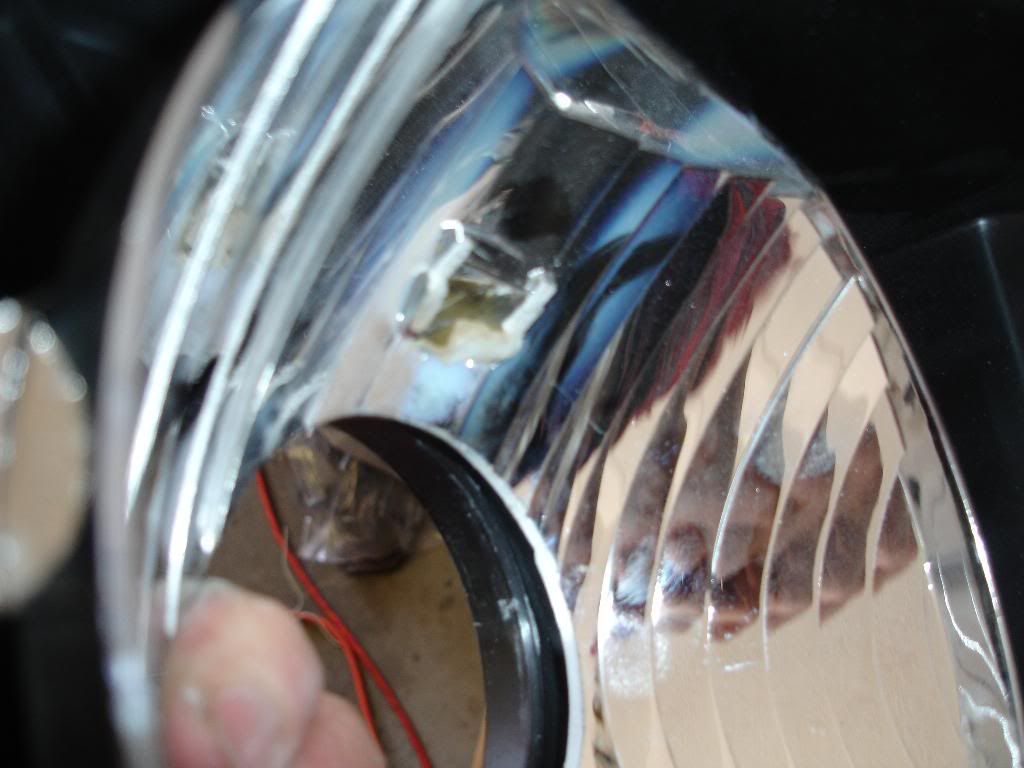
The light wasn't sitting correctly. So I pulled it back out and noticed the bulb cover of the reflector on the old light was getting in the way. So I cut it down so it was no long an issue.
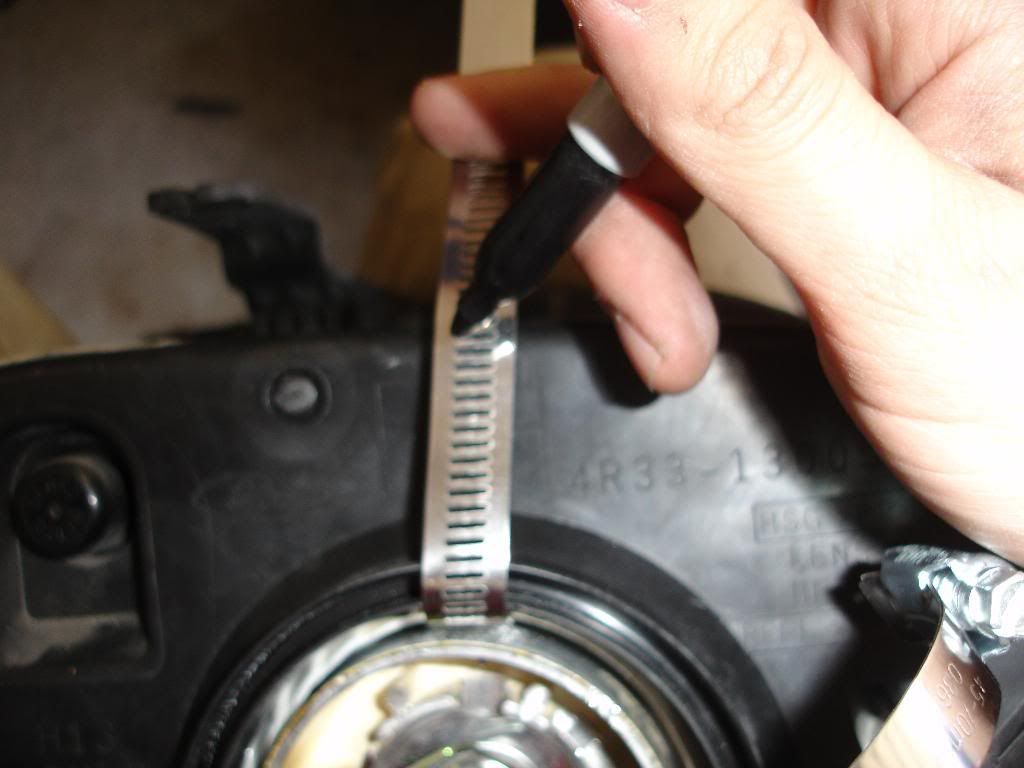
I then pulled the strap as tight as I could get it and marked both where I would cut it along with which slit I would need to drill for the screw.
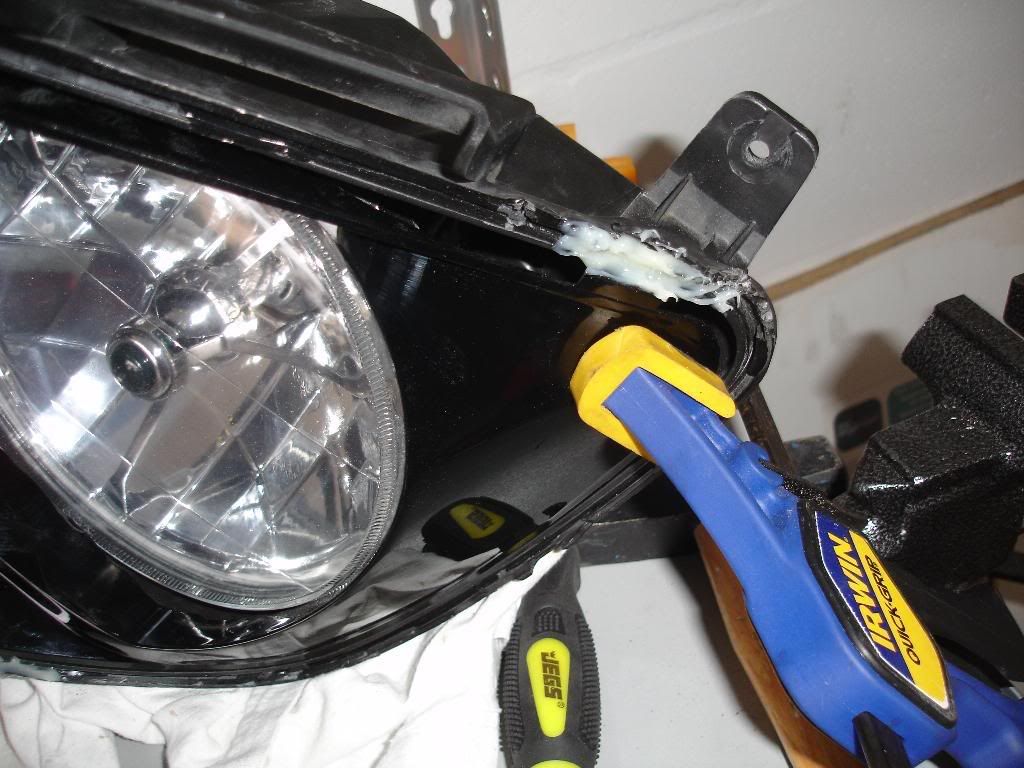
I then began to remove material from the outter bezel. No art to this, just make it sit on the headlight flush.
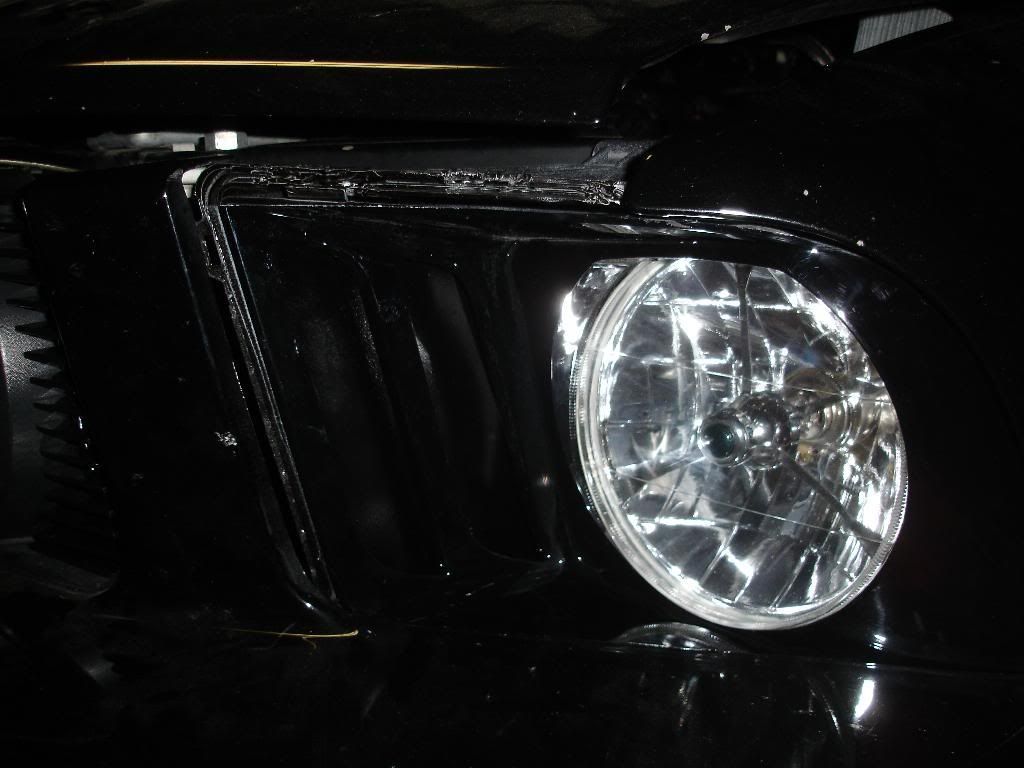
Once I had it in a spot where it would close I used some the extra strenght 15 minute drying time JB weld on all 4 tabs. Once that
was dry I went back and filled in a couple other spots. An eventually sprayed the glue black.

EXTENSIONS.
Buy some headlights like these from eBay. You may also want to find an extra set of headlights to do the mod to.
First I started off by separating the plastic lens cover from the housing. Sorry I missed that photo-op. In order to get it apart I baked it in the oven at 175* for 8 minutes and then checked to see if it was ready to come apart. It wasn't so I would then do it at 3 minute intervals. It's important to check on it constantly so that you don't soften the plastic which will cause it to cave in and melt on itself. After it's good and hot, get it apart however you are able to. Be careful no to scratch the black
inner part of the headlight housing. It's a very soft plastic and you will be using that piece.
After getting it all apart flip it over.
Use a 3" hole cutter and take out the center of back along with the inner lens.
Once the hole is drilled you will have something like that. It's important for you to keep the inner reflective part of the hold headlight. That is the surface that will support the new headlight and allow you to still adjust it like OEM.
Get 6 hose clamps and flatten them out.
I pre-drilled the screw holes since the screws I was using weren't self tapping.
I then found three spots close to equal distance apart and attached the straps.
I then aligned the headlight in the correct position, pulled the straps through right and checked fitment.
The light wasn't sitting correctly. So I pulled it back out and noticed the bulb cover of the reflector on the old light was getting in the way. So I cut it down so it was no long an issue.
I then pulled the strap as tight as I could get it and marked both where I would cut it along with which slit I would need to drill for the screw.
I then began to remove material from the outter bezel. No art to this, just make it sit on the headlight flush.
Once I had it in a spot where it would close I used some the extra strenght 15 minute drying time JB weld on all 4 tabs. Once that
was dry I went back and filled in a couple other spots. An eventually sprayed the glue black.
 07-01-2010, 12:55 PM
#5
5th Gear Member

Join Date: Sep 2009
Location: KY, was MA
Posts: 2,797
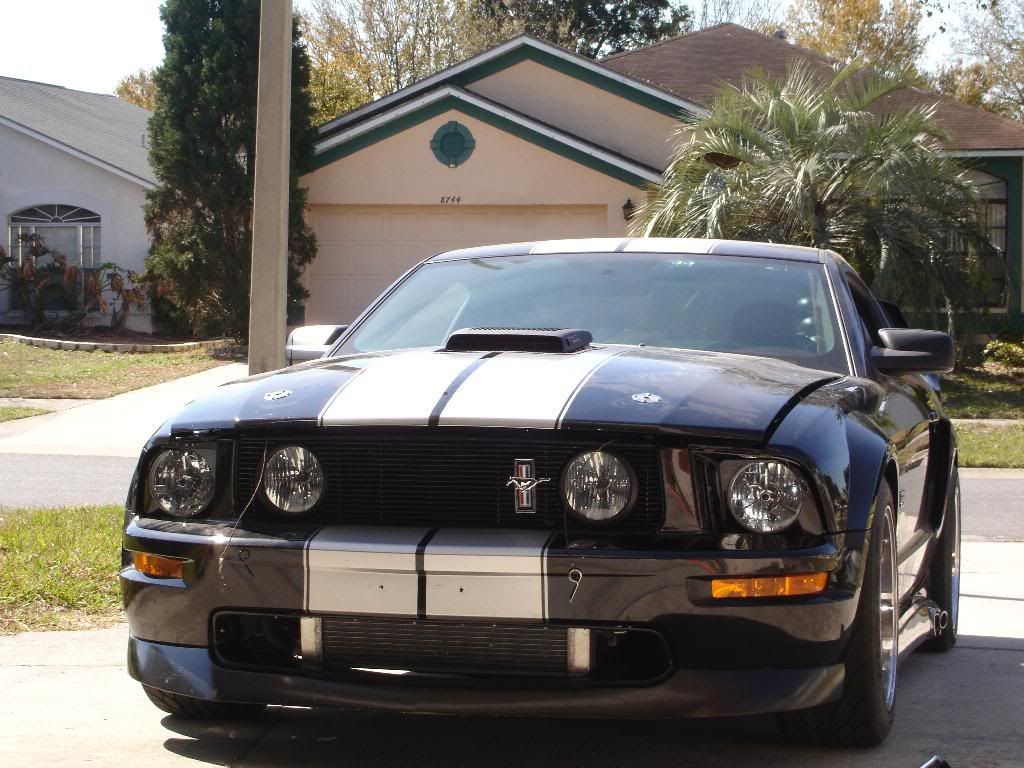
That's pretty neat, but is there any kind of finish bezel that goes along the other edges?
A peice that covers the groove where the stock clear lense sat? It looks unfinished, black helps hide it but on a lighter color it would look funny IMO.
Overall I like it, it's subtle changes like this that make people do a double take since it's not common.
A peice that covers the groove where the stock clear lense sat? It looks unfinished, black helps hide it but on a lighter color it would look funny IMO.
Overall I like it, it's subtle changes like this that make people do a double take since it's not common.
07-01-2010, 05:02 PM
#8
5th Gear Member
Join Date: Sep 2009
Location: KY, was MA
Posts: 2,797
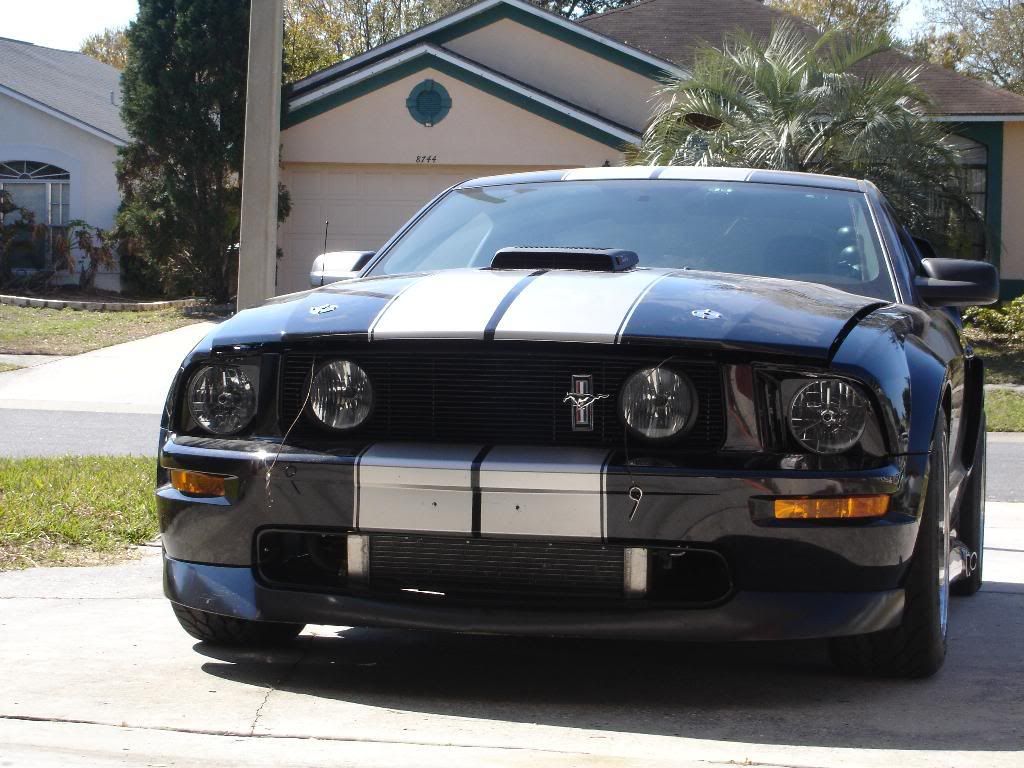
AHH ok, I didn't know they made stuff like that. I read what you typed but I thought about covering the radiator on the top....not the front. Now if you said you have a grille that extends THEN I would have got it lol

