


2011 Mustang Stereo Build



Thread Starter
1st Gear Member
Joined: Jun 2013
Posts: 62
From: WA

Next is the layers of fiberglass
I use 1.5Oz chopped mat. I cut them into two strip sizes 1"x6" and 2"x2". I then separate them in two separate buckets. I try not to do any cutting when I'm actually laying them because it makes for a giant mess. I lay them in two layer segments alternating direction. I lay the two layers then let it dry then lay two more layers for a 10" box it takes about 10 layers for a 12" more. I test the strength by standing on it. If it can hold my fat butt it can hold the pressure. I way 190lbs so if you way more then your definitely good enough.
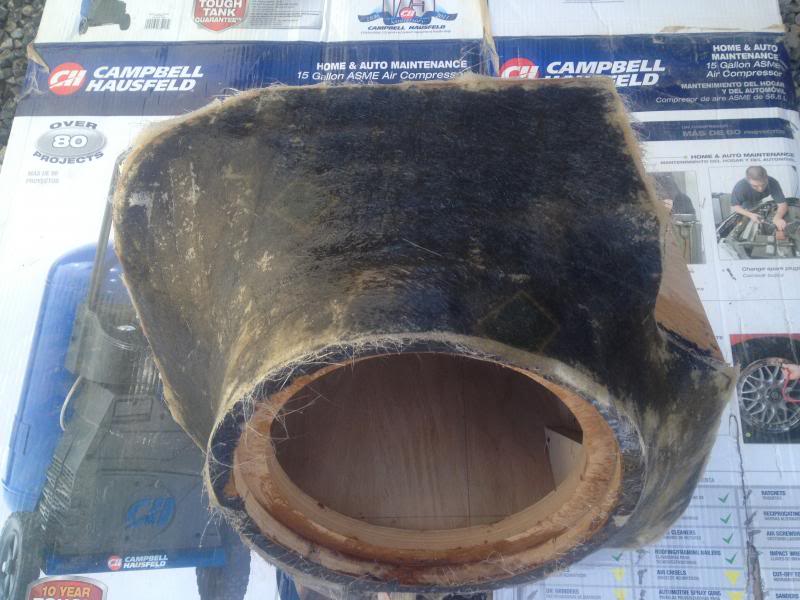
Try to minimize bubbles by using the roller. I sand it between coats it provides better adhesion and you shouldn't layer over flaws or large bumps because it is going to make sanding that much harder later.
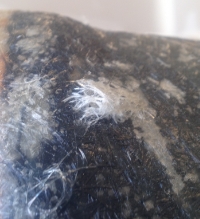
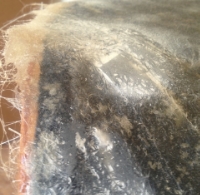
I use 1.5Oz chopped mat. I cut them into two strip sizes 1"x6" and 2"x2". I then separate them in two separate buckets. I try not to do any cutting when I'm actually laying them because it makes for a giant mess. I lay them in two layer segments alternating direction. I lay the two layers then let it dry then lay two more layers for a 10" box it takes about 10 layers for a 12" more. I test the strength by standing on it. If it can hold my fat butt it can hold the pressure. I way 190lbs so if you way more then your definitely good enough.

Try to minimize bubbles by using the roller. I sand it between coats it provides better adhesion and you shouldn't layer over flaws or large bumps because it is going to make sanding that much harder later.



Thread Starter
1st Gear Member
Joined: Jun 2013
Posts: 62
From: WA
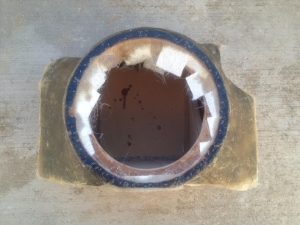
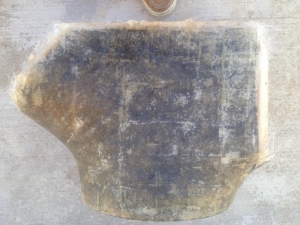
I have put 10 layers of fiberglass on. I highly recommend wearing long sleeves gloves and breathing protection when applying fiberglass. I one layer over the speaker ring to cover the staples that were used to attach the fabric to the rings. As you see I left the edges long and applied the resin past the edge of the box it makes it easier to trim later.


Thread Starter
1st Gear Member
Joined: Jun 2013
Posts: 62
From: WA
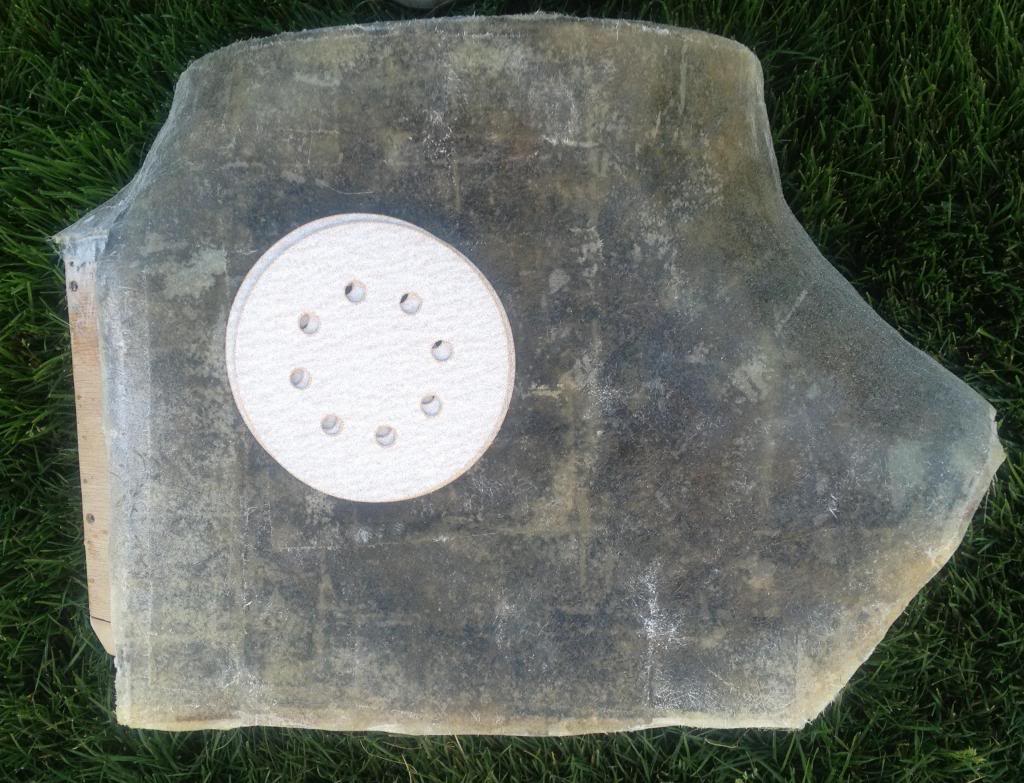
Next I trimmed the excess off with my cutoff wheel and sanded down the edges (the picture is after the cutoff wheel that's why the edges are not strait)
Next I carpeted the box using fabric that I bought from JoAnn fabrics (they have a ton of shades of felt that will match you trunks carpet and they always are running sales). I first apply a coat of 3M spray adhesive to the box and a coat on the fabric. I wait about 1-2 min then I lay the fabric on the box and smooth out the wrinkles with a strait edge. I filled the box with filler from a cotton pillow that I bought for 5 dollars at Fred Meyers.
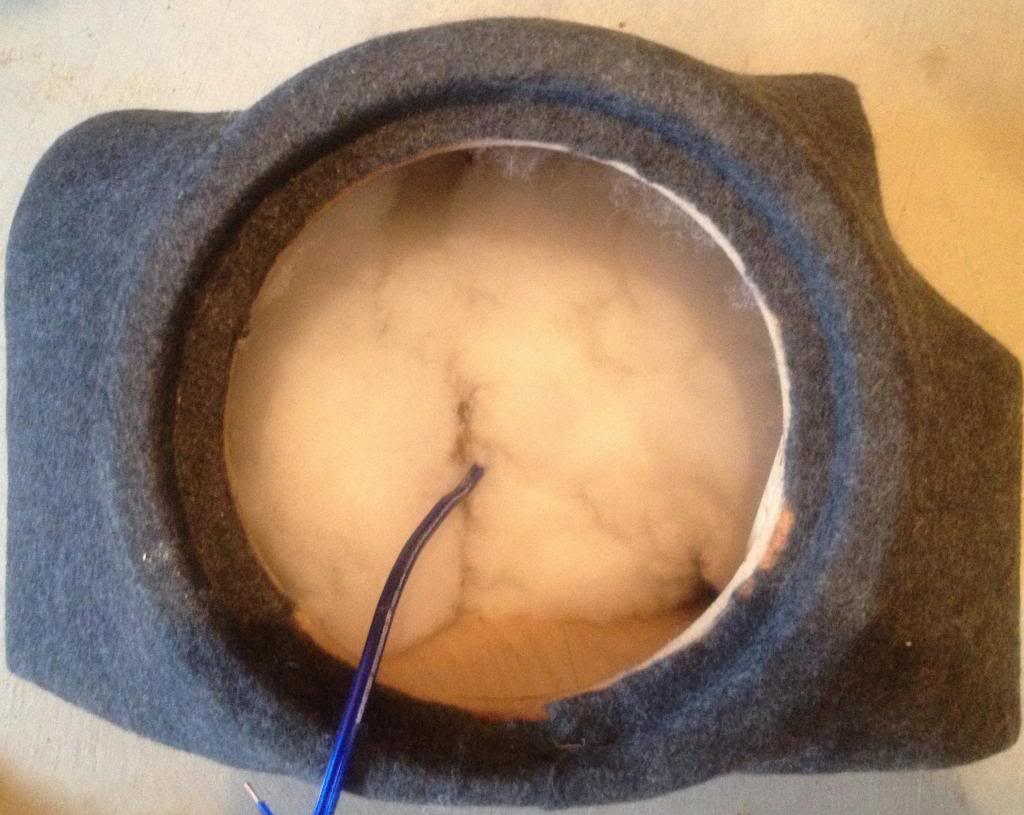

Next I carpeted the box using fabric that I bought from JoAnn fabrics (they have a ton of shades of felt that will match you trunks carpet and they always are running sales). I first apply a coat of 3M spray adhesive to the box and a coat on the fabric. I wait about 1-2 min then I lay the fabric on the box and smooth out the wrinkles with a strait edge. I filled the box with filler from a cotton pillow that I bought for 5 dollars at Fred Meyers.

Thread Starter
1st Gear Member
Joined: Jun 2013
Posts: 62
From: WA
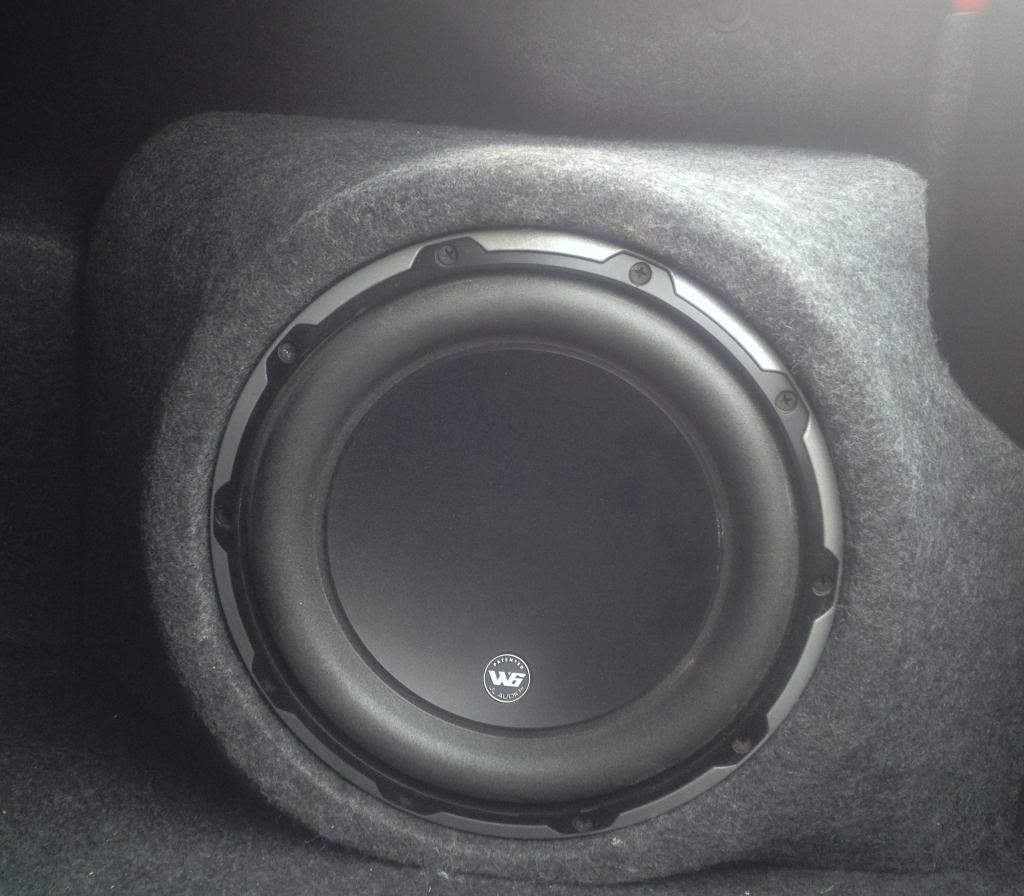
I installed the sub into the enclosure using drywall screws. Alot of people are against this but I have never had a problem. MDF is about the same density as drywall. Sorry about the picture quality all of these are with my iPhone. I will be posting finished product pictures at the end with my DSLR.

Last edited by mmarker; Aug 17, 2013 at 11:38 AM.

Thread Starter
1st Gear Member
Joined: Jun 2013
Posts: 62
From: WA
DOORS
Tools/Material Required:
Ford definitely did not want people putting aftermarket speakers in these doors. The 8" door sub is not really a sub its more like a crappy midrange driver. As you can see by the below pictures the magnet is half the size of my FOCAL 6.5" driver.
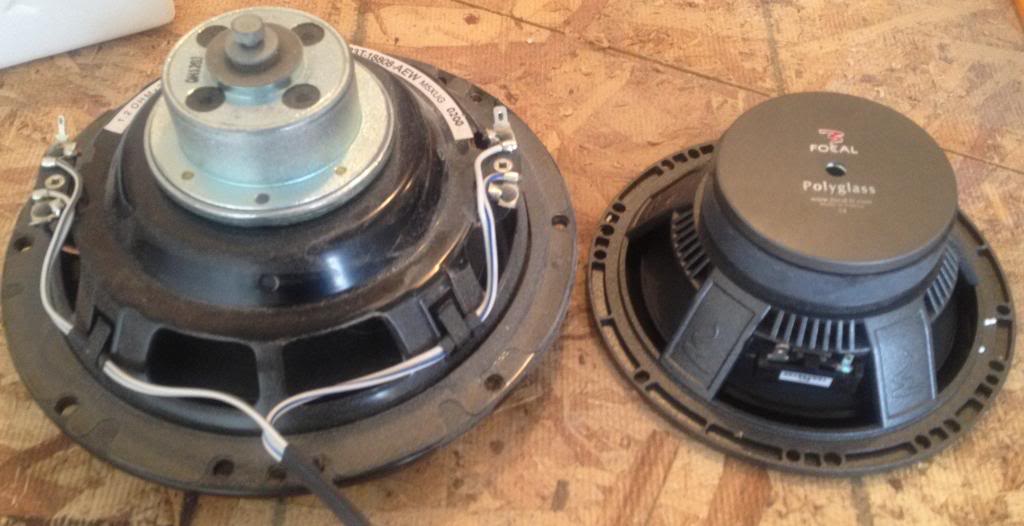
It looks like they used a magnet off the fridge door for the door driver.
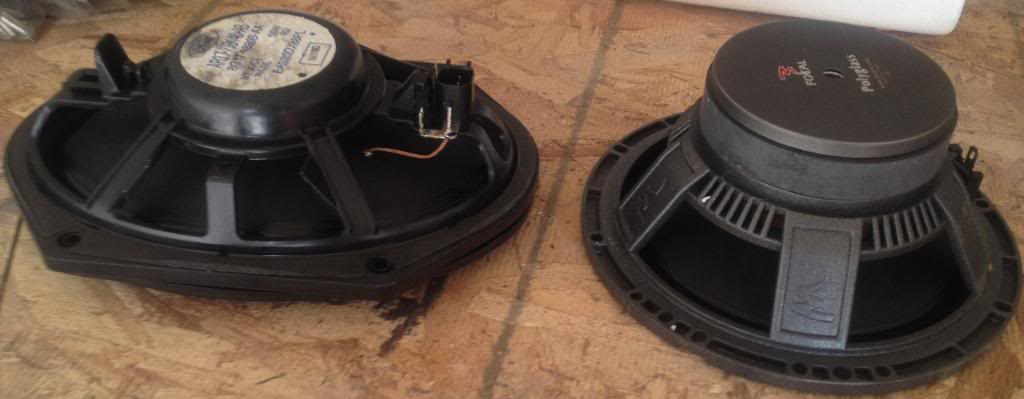
Tools/Material Required:
- Pencil
- Jigsaw I like the Bosch blades
- Router w/Spiral Cut bit/templates/circle jig
- MDF Wood (3/4")
- Drill with drillpits/hole saws
- Compass
- Tape Measure
- Sandpaper. Recommend investing in a rotary sander.
- PPE. Rubber Gloves, Breathing Protectiong.
Ford definitely did not want people putting aftermarket speakers in these doors. The 8" door sub is not really a sub its more like a crappy midrange driver. As you can see by the below pictures the magnet is half the size of my FOCAL 6.5" driver.

It looks like they used a magnet off the fridge door for the door driver.

Last edited by mmarker; Aug 18, 2013 at 11:00 AM.