In need of new sig
 05-01-2009, 08:27 PM
#1
4th Gear Member
Thread Starter
Join Date: Feb 2007
Location: Va Beach
Posts: 1,069
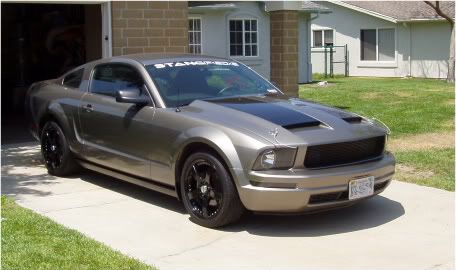
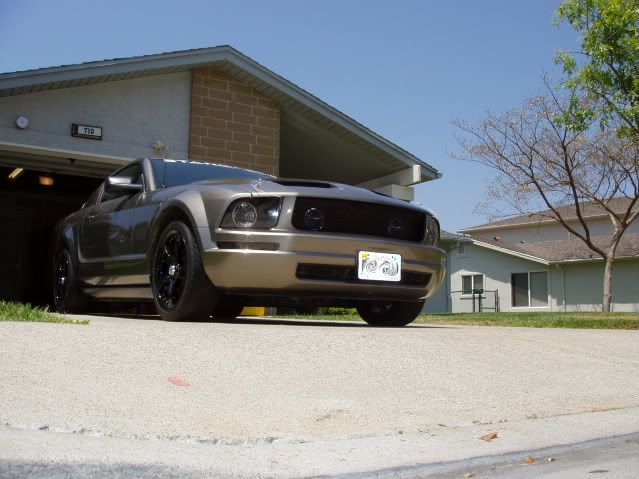
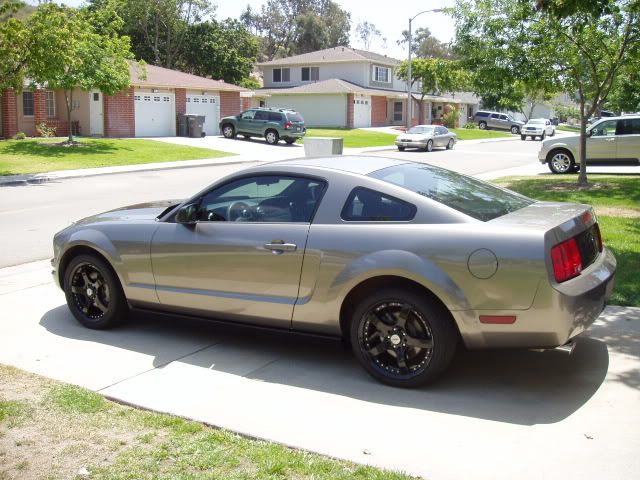
Well, my ride's gone through some changes since last year, and I need to update my sig. Here's some pics that I have. Thanks in advance.
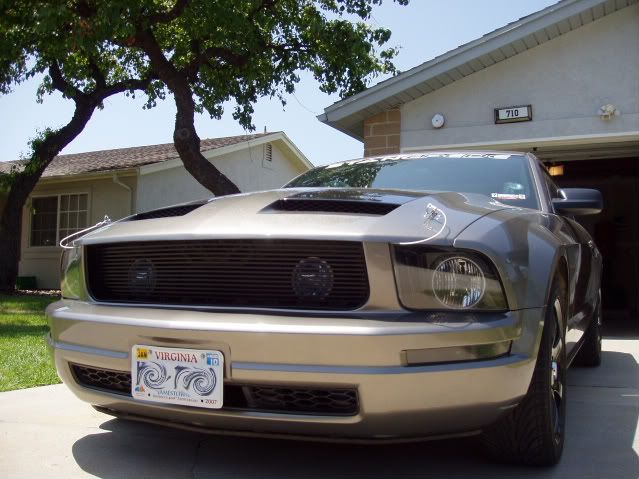
and the Stangpede logo from this pic

and the Stangpede logo from this pic
 05-02-2009, 04:56 PM
#2
'Dr. X'
Join Date: Apr 2008
Location: Toto's Kansas
Posts: 4,388
i can try to think of something for ya, but my allergies are driving me crazy today and i'm not able to focus very well; it may be sometime tomorrow before i can get to it 
in the meantime, is there anything else specific you'd like incorporated in the sig?
in the meantime, is there anything else specific you'd like incorporated in the sig?
05-02-2009, 09:28 PM
#3
4th Gear Member
Thread Starter
Join Date: Feb 2007
Location: Va Beach
Posts: 1,069
Xeno to the rescue!!!!!! Thanks a mill. Well, definitely the NYC background like in the sig you did for me before. Maybe the pics of the car changing...something like Joe's (Mellowyellow) https://mustangforums.com/forum/west...ngeles-15.html. But I'll leave it to you. I trust your judgement. Hope you feel better soon. Take your time, I'm in no rush.
 )
) 
 05-03-2009, 11:02 PM
#10
'Dr. X'
Join Date: Apr 2008
Location: Toto's Kansas
Posts: 4,388
i actually figured out how to do animated gifs on my own, so i don't have any 'real' tutorials; but i can give you a mini tutorial of my own  . what you really need is the 'save for web' option (which i'd guess all ps versions would have). what i usually do is have all the 'background' images merged into one layer, and the same with all the 'foreground' images. then paste in whatever images you want to transition between the background and foreground layers.
to get them to transition, start with two of the transition layers visible; but have one at 100% opacity and the other at 0%. flatten the image and save as a .jpg with a number after the file name, i.e. name_of_file 1.jpg(you may be able to save as a jpg without flattening but i haven't tried it that way). after it's saved, go to 'undo history' and undo the flatten image step; then change the opacities to 75% and 25% respectively (or 80/20 for a little smoother transition). flatten and save and change the number of the file name, i.e. name_of_file 2.jpg. then undo the flatten image step and change opacities again; this time to 50% and 50% respectively (or 60/40). flatten and save. keep repeating until you get to 0% and 100% respectively. now, you keep doing the same for the other transitions.
when you have all the transition steps saved, open them all up and copy and paste them in order (from 1 to how many files you have) into one file (you will have many layers when you're done). at this point, i usually save the file again as a .psd (photoshop) file in case you have to make any subtle changes.
now, this is where you begin the animation process. go to 'file' and select 'save for web'. in this window, select the 'animate' option as well as the 'loop' option. change the image duration; i usually prefer the .07 to .1 second range for the smoothest transition (there should be an option to test the animation before saving) and save the file as a .gif
assuming all went well, you should now have an animated gif a good way to 'visualize' this more, is to open any animated gif (especially one with transitions like the sig i made) and look at the layers to see how they blend together.
. what you really need is the 'save for web' option (which i'd guess all ps versions would have). what i usually do is have all the 'background' images merged into one layer, and the same with all the 'foreground' images. then paste in whatever images you want to transition between the background and foreground layers. to get them to transition, start with two of the transition layers visible; but have one at 100% opacity and the other at 0%. flatten the image and save as a .jpg with a number after the file name, i.e. name_of_file 1.jpg(you may be able to save as a jpg without flattening but i haven't tried it that way). after it's saved, go to 'undo history' and undo the flatten image step; then change the opacities to 75% and 25% respectively (or 80/20 for a little smoother transition). flatten and save and change the number of the file name, i.e. name_of_file 2.jpg. then undo the flatten image step and change opacities again; this time to 50% and 50% respectively (or 60/40). flatten and save. keep repeating until you get to 0% and 100% respectively. now, you keep doing the same for the other transitions.
when you have all the transition steps saved, open them all up and copy and paste them in order (from 1 to how many files you have) into one file (you will have many layers when you're done). at this point, i usually save the file again as a .psd (photoshop) file in case you have to make any subtle changes.
now, this is where you begin the animation process. go to 'file' and select 'save for web'. in this window, select the 'animate' option as well as the 'loop' option. change the image duration; i usually prefer the .07 to .1 second range for the smoothest transition (there should be an option to test the animation before saving) and save the file as a .gif
assuming all went well, you should now have an animated gif
a good way to 'visualize' this more, is to open any animated gif (especially one with transitions like the sig i made) and look at the layers to see how they blend together.
Last edited by Xeno; 05-03-2009 at 11:04 PM.

Thread
Thread Starter
Forum
Replies
Last Post
Diode Dynamics
Vendor For Sale / Group Buy Classifieds
28
05-26-2022 12:02 PM