
Trunk Weatherstrip


Thread Starter
2nd Gear Member
Joined: Mar 2006
Posts: 313
From:
Has anybody ever installed this type of trunk weatherseal?
Which way does it get glued to the trunk lid, top side of weaterhstrip (as shown in picture) towards the lid (up)?
Left hand side (in picture) towards the inside?
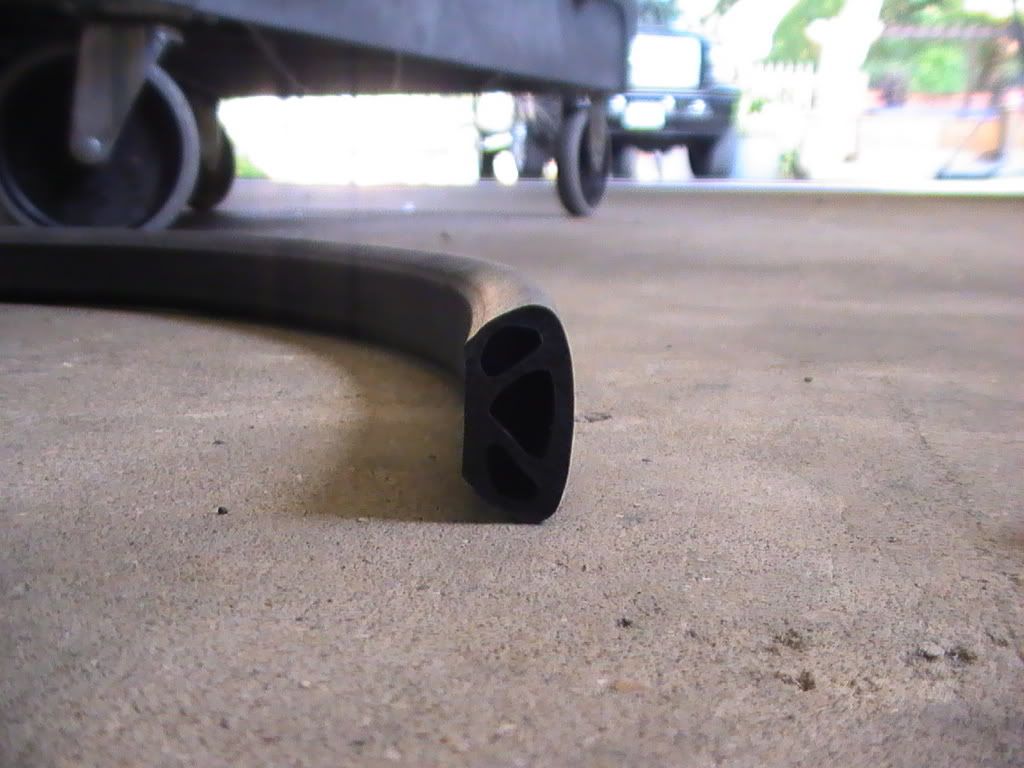
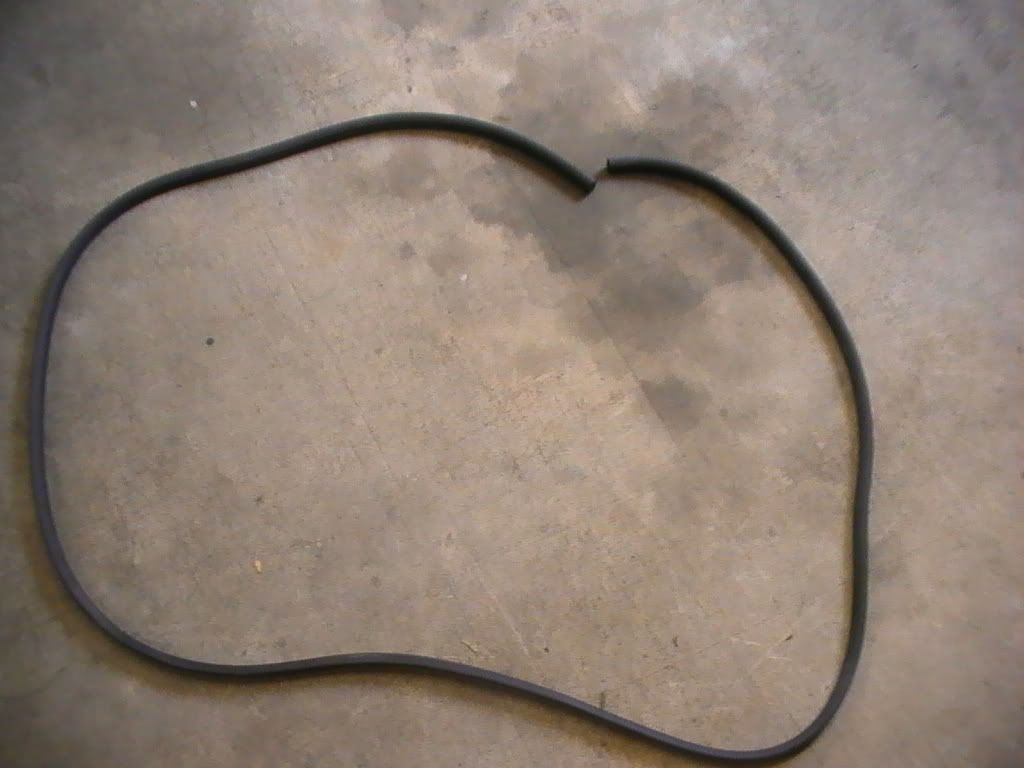
This is how the strip naturally lays.
Which way does it get glued to the trunk lid, top side of weaterhstrip (as shown in picture) towards the lid (up)?
Left hand side (in picture) towards the inside?
This is how the strip naturally lays.

2nd Gear Member
Joined: Apr 2007
Posts: 154
From:
Looking at the top picture, it appears that the left side (flat) glues to the underside of the decklid. I put the seam where the ends meet in the center of the decklid towards the front of the car.
Thread Starter
2nd Gear Member
Joined: Mar 2006
Posts: 313
From:
After looking at the picture, I came to the same conclusion.
But wouldn't you want the seam towards the back of the lid, for when it rains?
EDIT: (Like you will ever have that beautiful car in the rain. ha)
But wouldn't you want the seam towards the back of the lid, for when it rains?
EDIT: (Like you will ever have that beautiful car in the rain. ha)

5th Gear Member
Joined: Mar 2007
Posts: 2,623
From:
Ever put one on? It's messy. The best 'sticky' stuff is the yellow 3M8001 adhesive in a tube. There's also the black 3M8008. Use an acid brush to apply the adhesive to the trunk and to the weather strip and let dry for 15 to 20 minutes. Then put a second layer on the weather strip and attach. (Just like the instructions say.)Have a couple of rolls of 3/4 inch wide masking tape handy for the bends, some rags and thinner in a small can and most important - someone to assist you(in case you screw up you can blame them).
Jim
Jim
5th Gear Member
Joined: Mar 2007
Posts: 2,623
From:
Give Home Depot a try, in their tool department, or Harbor Freight or a plumbing store. Acid brushes look like small paint brushes with 3/4 inch long bristles, a 1/4 inch dia metal shaft about 6 inches long and are used to apply acid for soldering. A dozen may cost $5.00.They are cheap and throw-aways.
Jim
Jim

1st Gear Member
Joined: May 2007
Posts: 134
From:
Hello. Yup, the seam goes on the back near the trunk latch. That's so that the water running down the back window in the rain doesn't just keep right on going through the gap and into the trunk. It can be a very messy job, but it doesn't have to be.
 The way that I always did it was to use tiny drops of superglue in key spots to hold the weatherstrip in place while I carefully applied the weatherstrip adhesive. The superglue grabs almost instantly and holds it in place so that you don't have to be waving the weatherstrip around with the glue all over one side of it and smearing the glue that's on the trunklid itself. Once you have it glued with the weatherstrip glue, just close the trunklid and let that sit overnight and you should be fine. Hope that helps.
Yup, the seam goes on the back near the trunk latch. That's so that the water running down the back window in the rain doesn't just keep right on going through the gap and into the trunk. It can be a very messy job, but it doesn't have to be.The way that I always did it was to use tiny drops of superglue in key spots to hold the weatherstrip in place while I carefully applied the weatherstrip adhesive. The superglue grabs almost instantly and holds it in place so that you don't have to be waving the weatherstrip around with the glue all over one side of it and smearing the glue that's on the trunklid itself. Once you have it glued with the weatherstrip glue, just close the trunklid and let that sit overnight and you should be fine. Hope that helps.
Thread Starter
2nd Gear Member
Joined: Mar 2006
Posts: 313
From:
I have heard that you want to do it in about 6" - 10" strips at a time so you DON'T get that glue everywhere. But that will take a lot of time to finish!
Thanks Jim and Veronica.
Thanks Jim and Veronica.