
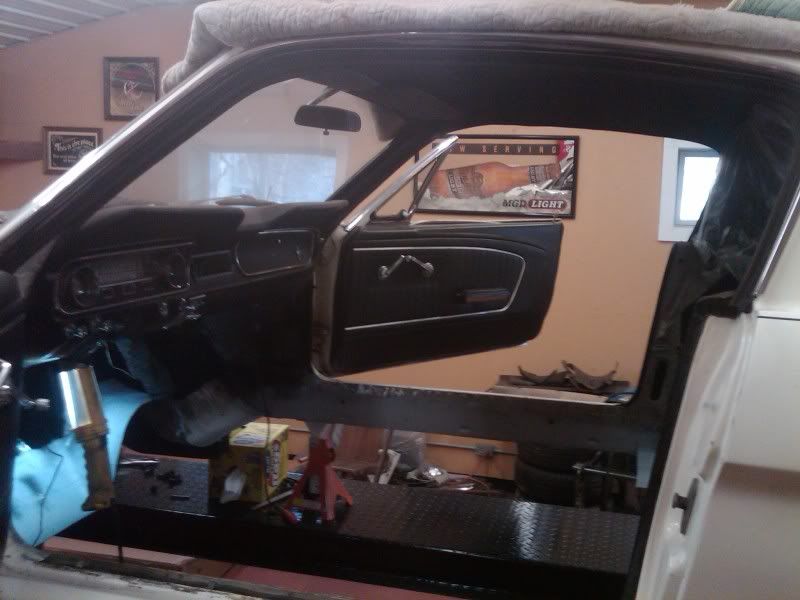
Floor pans


Thread Starter
2nd Gear Member
Joined: Feb 2011
Posts: 299
From: Nawlins, LA.
[QUOTEWhen cutting the remaining pan scraps off, everything comes off of the rockers, correct? When welding the new ones on how do you know how low to weld them to the rockers?[/QUOTE]
Still need some help with this.
Still need some help with this.

6th Gear Member
Joined: May 2009
Posts: 5,232
From: PA
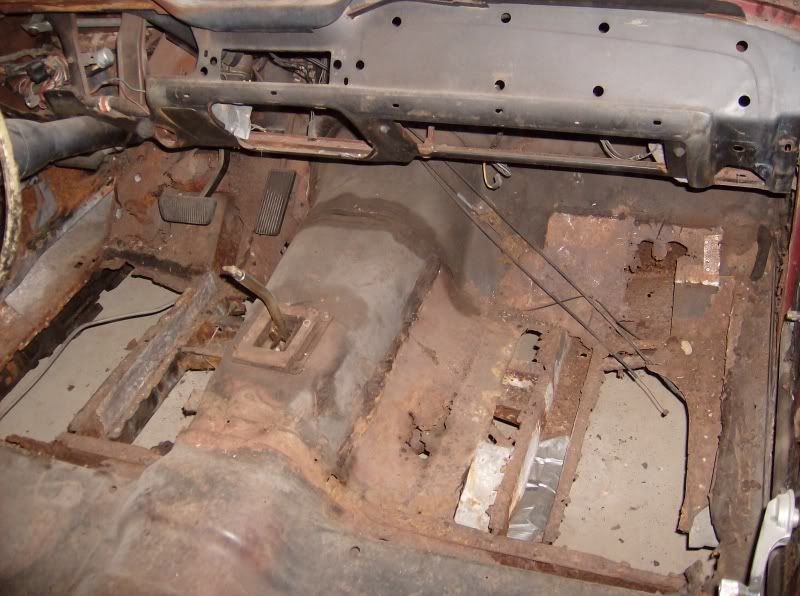
Nice pic showing how everything fits in place nice. I have one question though; being new to this to an extent (replacing welded in panels) what are the area's under the rear seat that are still original metal? The spots I'm referring to in greater detail are roughly 8" square and the floor pan has cut outs around them.
Are these the torque boxes for the rear?
Thanks,
Carter
Are these the torque boxes for the rear?
Thanks,
Carter
6th Gear Member
Joined: May 2009
Posts: 5,232
From: PA
3rd Gear Member
Joined: Jul 2010
Posts: 710
From: Indianapolis
Once the floor is gone, clean up the inner rockers and make any needed repairs.
Then you would typically do a temporary install the floor,trace around the frames floor supports and the trans x-member so you know where everything is (I changed mine at the same time, so they are not pictured) and then take it out and punch holes just inside those lines do the holes are just on top of those structural pieces. Then you punch holes around the perimeter of the new pan, and up on the fold that sits up against the inner rocker.
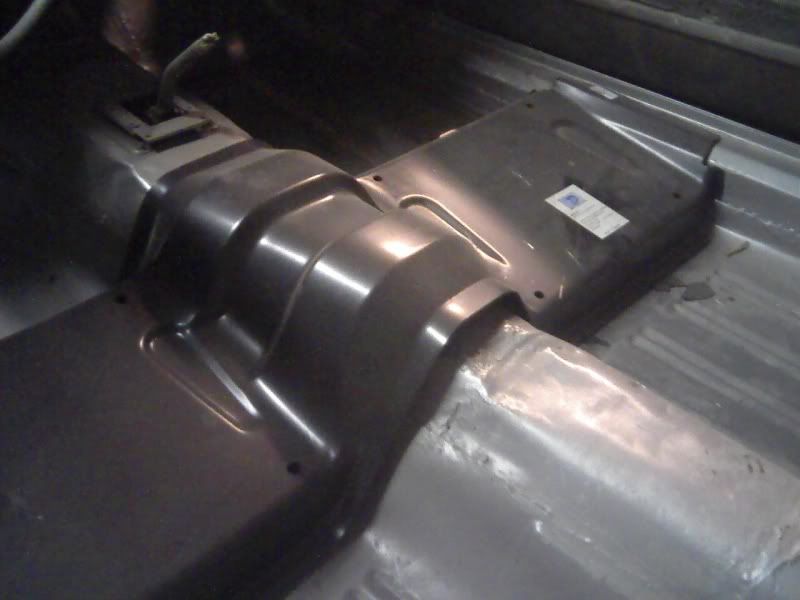
Then you use some tech screws to pull everything down to aid in removing any gaps, then rosette weld the pan in place while moving around the floor.
It looks like this. IF you take some time you can put the new welds where the old spot welds were. AND DONT FORGET TO USE WELD THROUGH PRIMER ANYWHERE YOU OVERLAP!!!

Then you would typically do a temporary install the floor,trace around the frames floor supports and the trans x-member so you know where everything is (I changed mine at the same time, so they are not pictured) and then take it out and punch holes just inside those lines do the holes are just on top of those structural pieces. Then you punch holes around the perimeter of the new pan, and up on the fold that sits up against the inner rocker.
Then you use some tech screws to pull everything down to aid in removing any gaps, then rosette weld the pan in place while moving around the floor.
It looks like this. IF you take some time you can put the new welds where the old spot welds were. AND DONT FORGET TO USE WELD THROUGH PRIMER ANYWHERE YOU OVERLAP!!!
3rd Gear Member
Joined: Jul 2010
Posts: 710
From: Indianapolis
Also, here is a really great step-by-step article on just how to do it!
http://www.mustangandfords.com/techa...l/viewall.html
http://www.mustangandfords.com/techa...l/viewall.html
2nd Gear Member
Joined: Mar 2009
Posts: 345
From: Louisiana
See I wanted to use the one peice floor but was too terrified I'd mess up the alignment on something. Mines a convertible and it needed all new sheetmetal down there.


And you can see where either the repro seat platform isn'nt formed right or I did screw it up after all. Well My body guy and I together.
(the part where the seats actually mount is flush with the floor, the flanges sat against the floorboard perfectly. The tunnel area you see did not )
)
And you can see where either the repro seat platform isn'nt formed right or I did screw it up after all. Well My body guy and I together.
(the part where the seats actually mount is flush with the floor, the flanges sat against the floorboard perfectly. The tunnel area you see did not
)
Last edited by EZFEED; Sep 15, 2011 at 07:13 PM.