When you click on links to various merchants on this site and make a purchase, this can result in this site earning a commission. Affiliate programs and affiliations include, but are not limited to, the eBay Partner Network.
Okay so I figured perhaps the rear braking imbalance could be due to an obstructed hardline. Perhaps it built up rust after 50 years or it had debris in it... I replaced both hardlines from the splitter on the axle. This may have improved things or maybe the pads are just seating in better. I have a patch of pavement I'll try to test it on tomorrow and get some more heat cycles on the pads.
Do anyone have an idea what stopping distance should be with this setup and 17 x 8 wheels running pilot super sports?...A guess? 120ft @ 60mph?
So I figured that it would be fun to get a more modern MC to go with this whole mess. I got the matching Wilwood one with 1" bore 1" stroke its PN 261-13269-p
This has some trick features that I wasnt really aware of until I got to hold it.
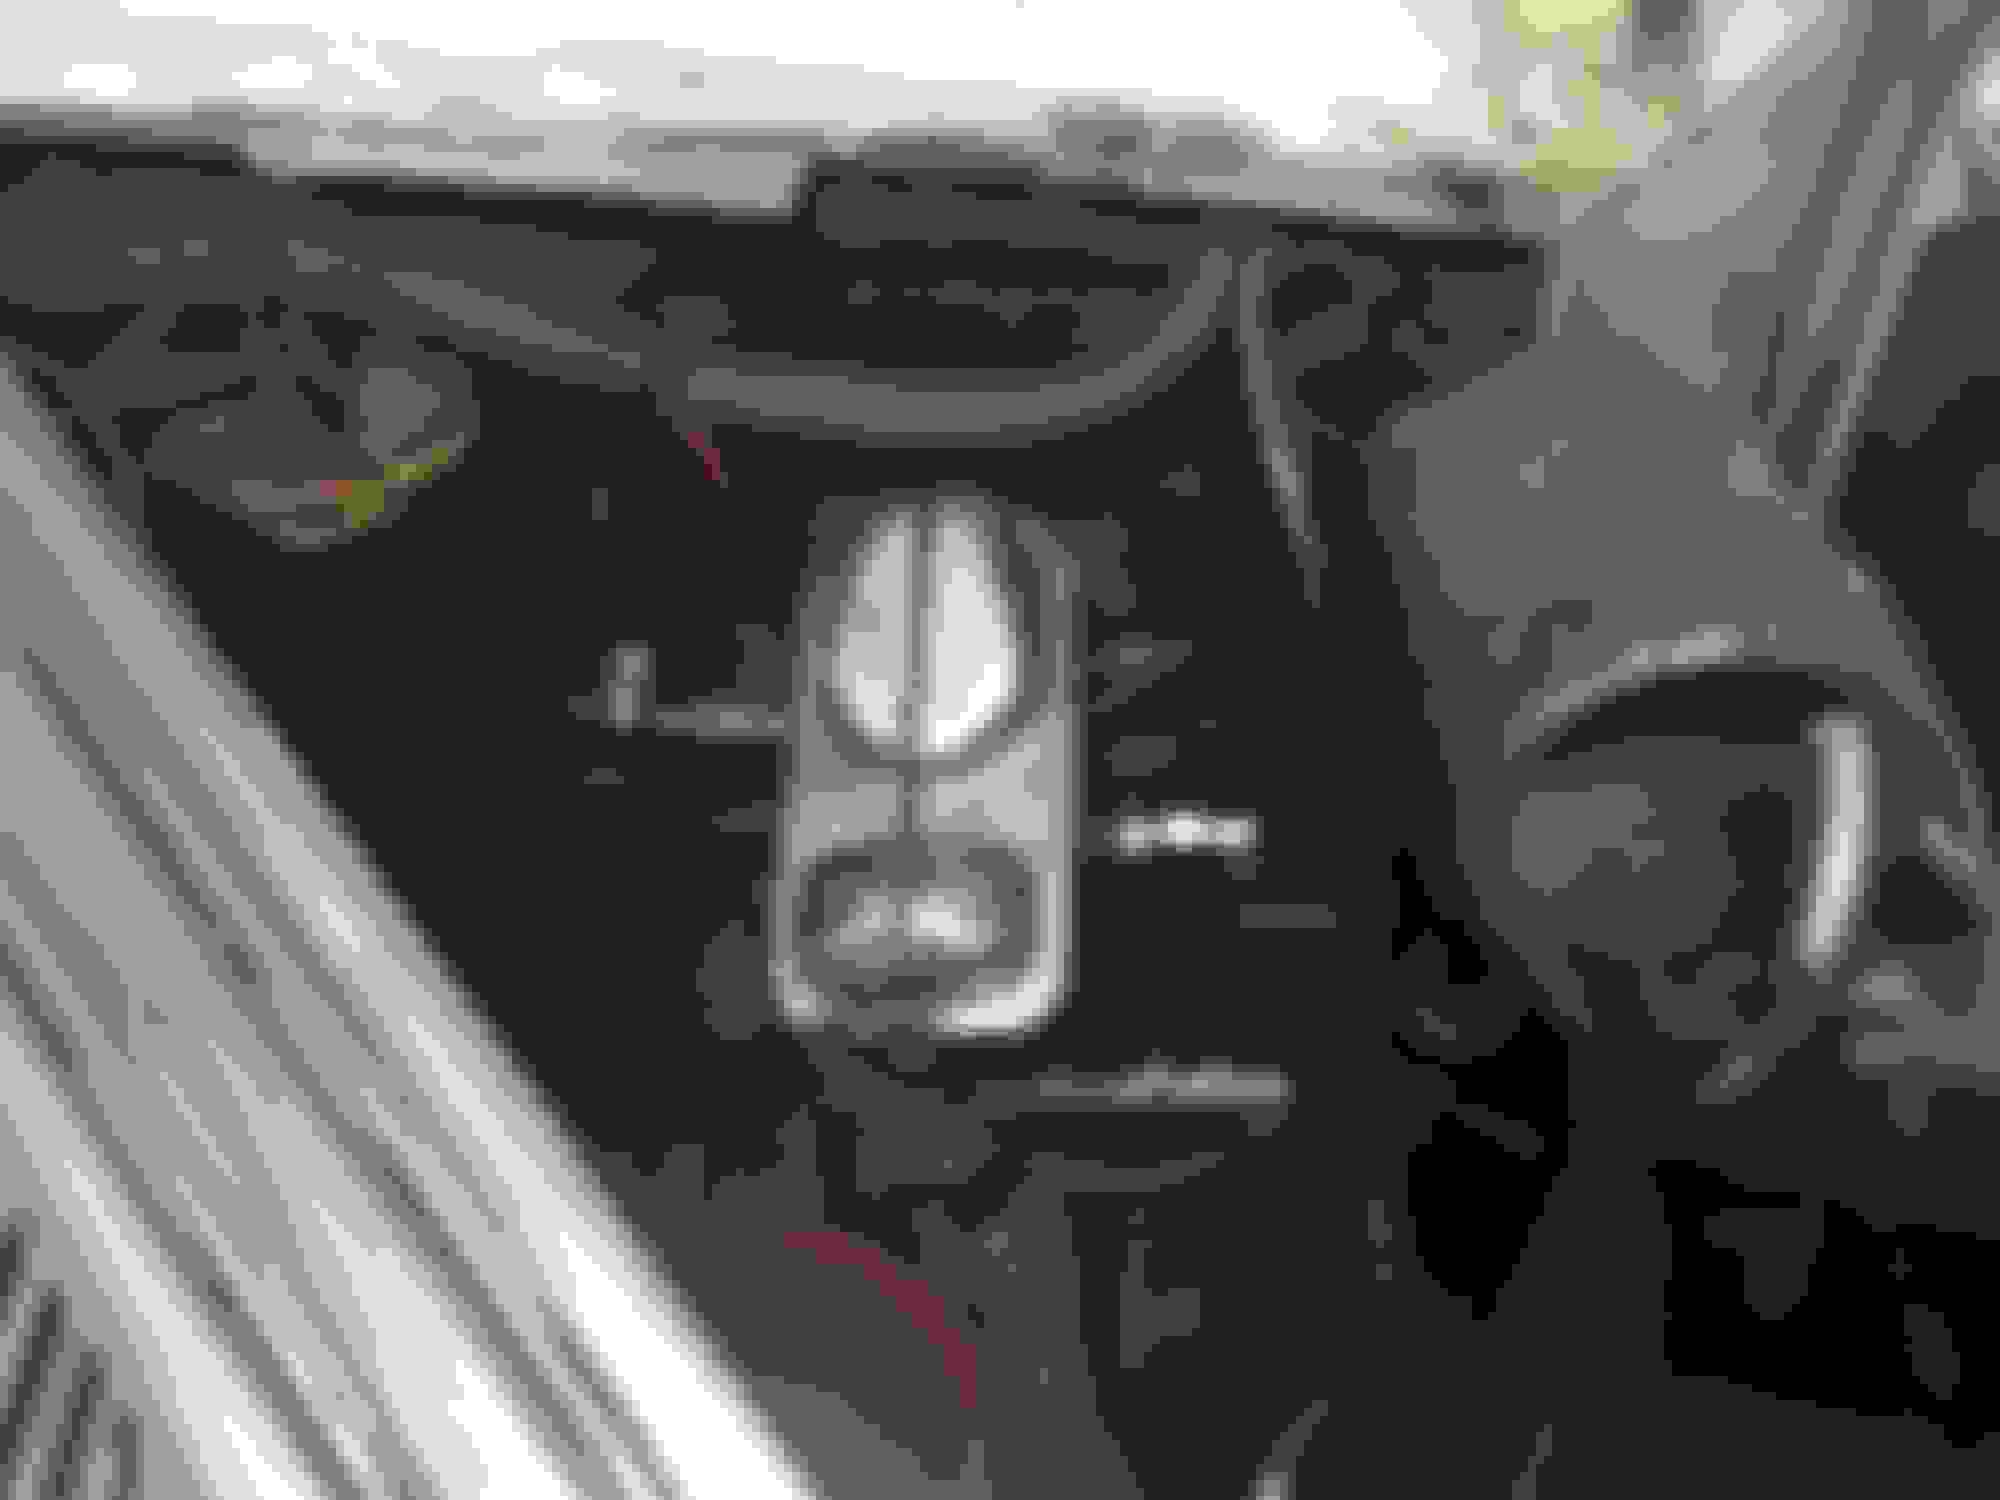
First off it comes with a really cool prop valve that is mounted off to the side very clean like. This prop valve also acts as a distribution block and has a built in pressure sensor to act as a brake light trigger.
I removed this pressure sensor directly and plugged the hole.
The prop valve has front left and front right out so rather than having to route to the dist block then to the FL and FR brake I just run FL and FR right into the prop valve body (note that the prop valve isnt linked to these out ports just the rear its just built on the same body) This made life a lot easier and I got to pull a lot of crap out its just clean and nice.
I got most of the leaks stopped if not all and the rears bled....I am killing the pig.
here is the original setup for the SSBC system I was running.
That's a pretty slick setup. Did it come with all the lines attached? I remember having a hell of a time bending and installing all my m/c and distribution block hard lines.
The only somewhat difficult part was to figure out how to route the new E-brake cable for the parking brake system.
I run a large 3.5" Drive shaft and it eats up a lot of tunnel space and I wanted to avoid having anything in the tunnel as before (cable mounts)
So I ran the Passenger side cable over the rear axle and routed it on the inside most of the floor pan under the driver's seat about 3" away from the tunnel. for the driver's side I simply ran it straight a long right next to the PS side cable.
My original plan was to scrap the lever mechanism and spring and connect direct to the parking brake handle cable. This did not provide enough leverage.
So I utilized the lever mechanism exactly as it had been used but rather than route the E brake cable clevis directly to the lever arm I used the threaded rod with the Z bend that originally connected there and welded a nut to the inside of the clevis and simply threaded the z-bend rod into the clevis.
This worked quite well and it totally avoid crossing the driveline at any point and avoid the tunnel.
some test results
this was with pilot super sports at about 75f on clean dry road. Its pretty real world but is subject to error and the largest amount of error is the distance from the 0 mark cone vs when the brakes are actually applied.
from 60 to 0 I was getting about 95ft how much was I missing the start cone by...a bit not much im sure the car would stop under 120ft no problem 101 to 110 ft at most in these conditions.
 08-05-2017, 11:43 PM