
irs swap write up

Thread Starter
2nd Gear Member
Joined: Sep 2009
Posts: 253
From: maryland
2003 cobra irs conversion.
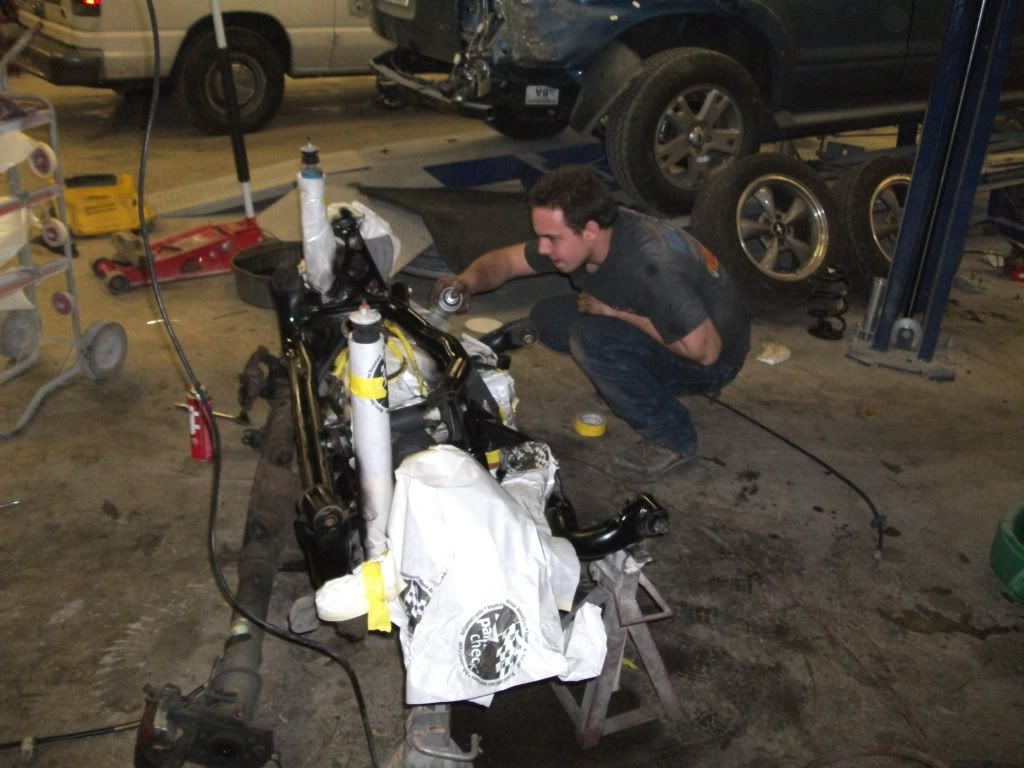
Before we start I want to say keep all your nuts and bolts organized this makes the job much easier when you are putting the rear in the car
You will need to reuse some of the bolts that you removed when taking the SRA out
1. Remove wheels
2. Remove brake calipers and rotors
3. Remove differential cover and drain fluid
4. Assess damages if there are any
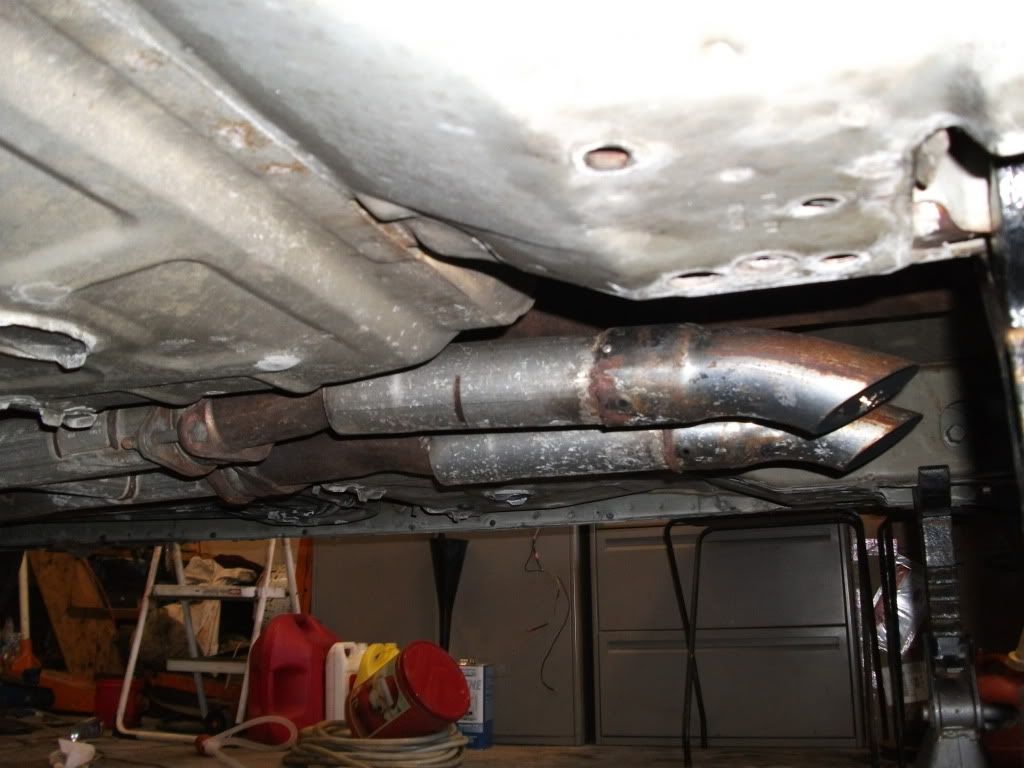
6. remove o2 sensors and mid pipe
7. remove the drive shaft
8. remove the back seat so you can get to the ABS wires and plugs
9.unplug the ABS wires and pull then through the floor and through the torque boxes
10. remove backing plates off sra (you will not be reusing these)
11. remove the parking brake cables from the control arms
12. support front of car and rear if on a lift

13. remove the shocks
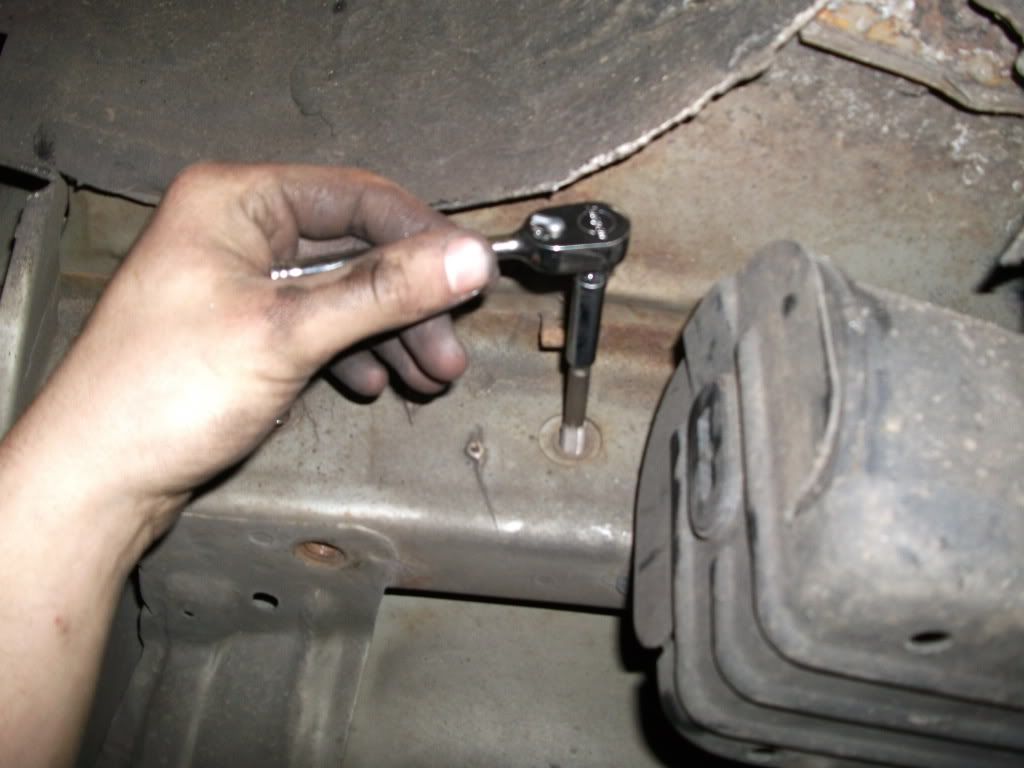
14. unbolt the ucas and lcas( for the ucas you will need a 18mm swivel a 6�� extention and a wrench)
15.remove the brake lines from calipers ( you will not be re using the sra calipers)
16.lower axel to remove the springs
17.remove rear axel
18. remove the exhaust
19. remove the trunk trim to get the the upper shock mounts
20.remove the shocks
Now that the rear is out if your like me you probably have tools everywhere no now is the time to clean up
Installation of the irs
If you are **** like me you will probably will want to paint the rear so it looks decent for show season
Installation
1. Remove or lower fuel tank
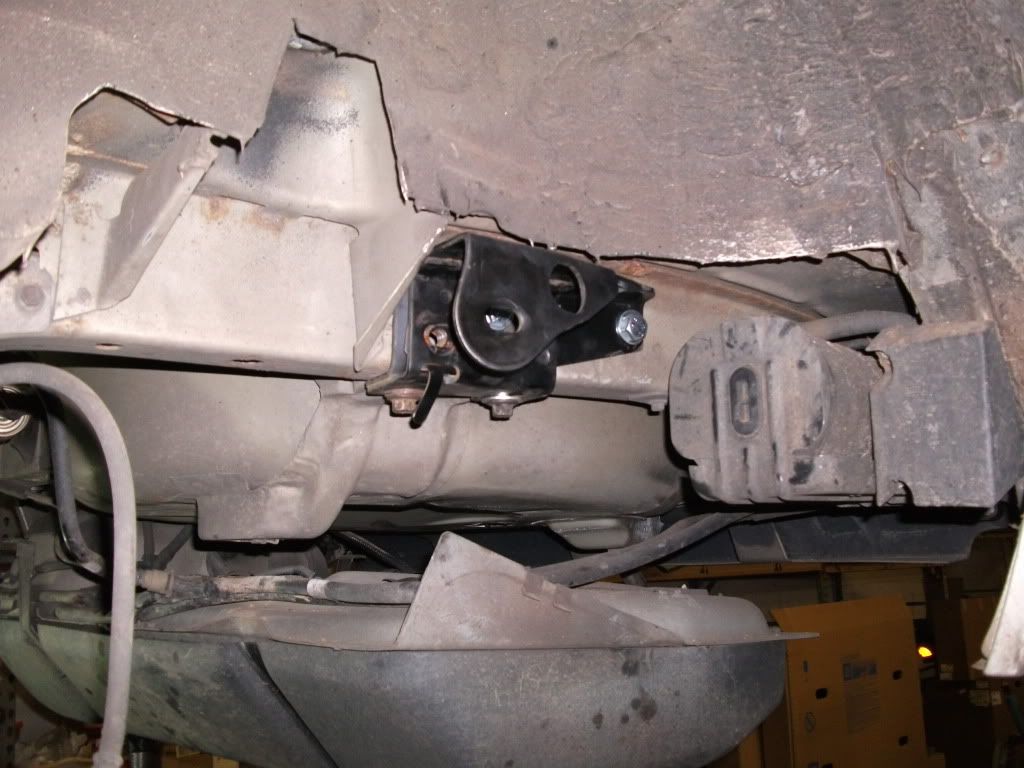
2. Tap the holes for the irs brackets so when installing the bolts you don�t fugg up the threads
3.install the right and left irs mount brackets
(use minimum grade 8 bolts use grade ten if you can for strength)
4.resinstall the fuel tank
(install new fuel filter its pita to do with the rear in the car )
(replace filler neck seal while the tank is out or you might crack the seal and end up like with a leak when the tank is full like I have )
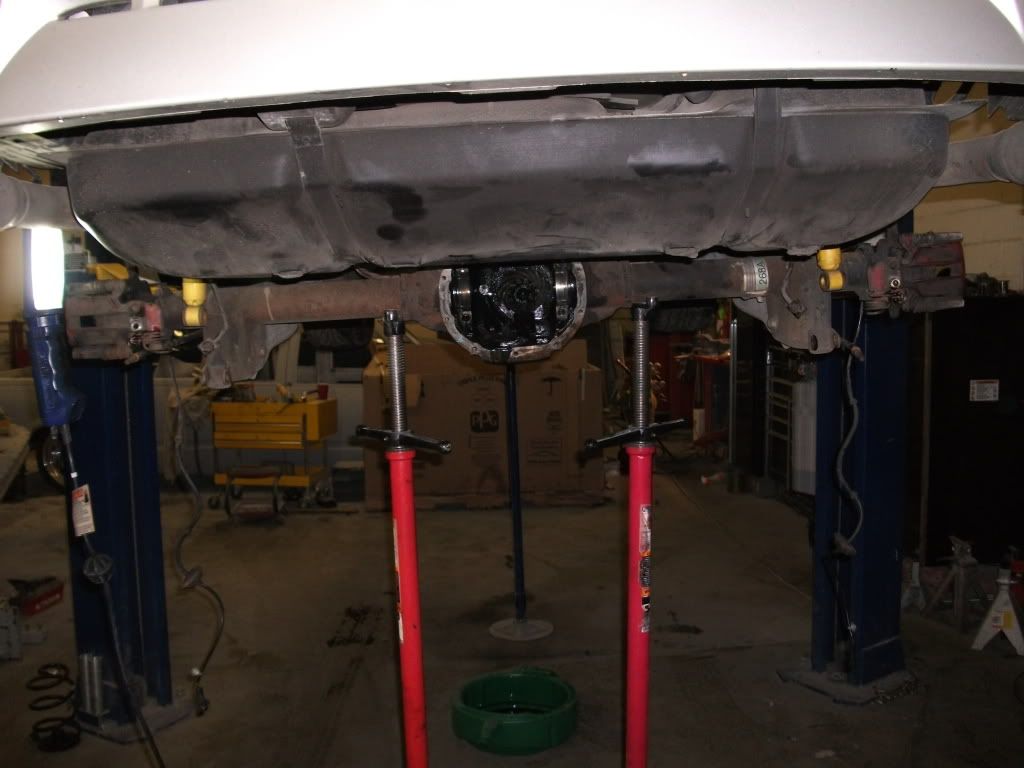
5. Position the rear under the car

6. Use a porta power to open up the front irs mounts so the rear slides in position easier\
(your gonna fight getting it in if you don�t spread the mounts the mount is the same as the lca mount )
7. Install the rear in the car with out the springs
(I found its easier the install the springs once you rear mounts are bolter in )
8.remove the front irs bolts and lower the front of the rear down to install the springs
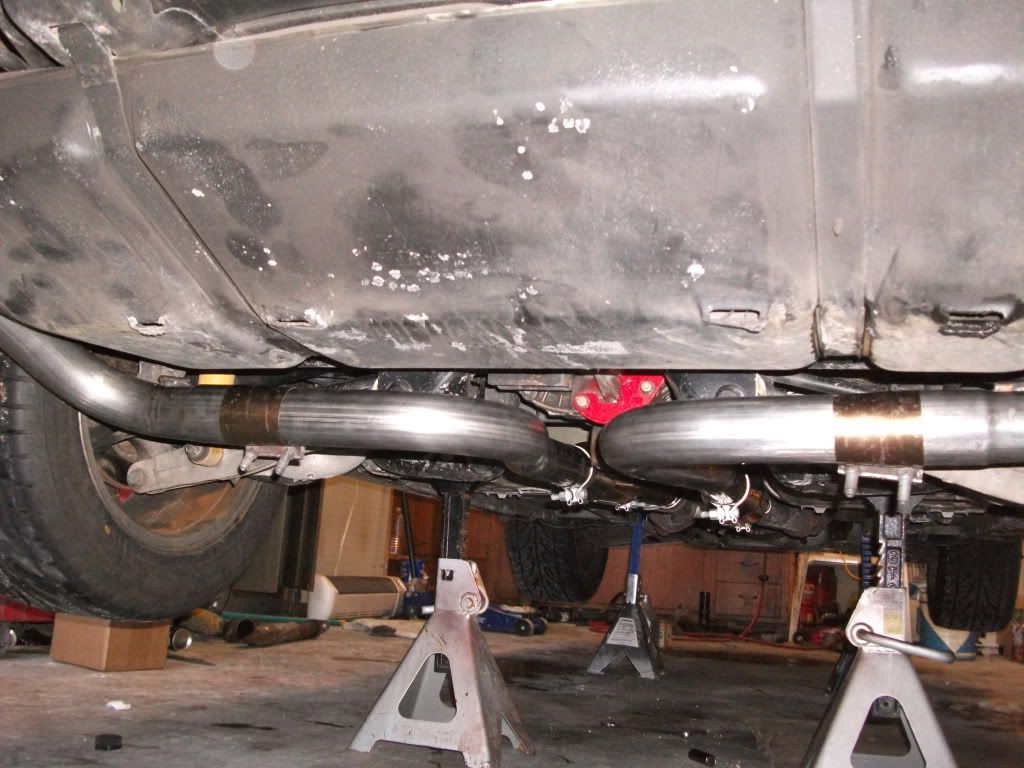
9. install the springs and jack the front of the crossmember back into place and reinstall front irs mounting bolts the front irs mounting bolts are the 14mm bolts you took out of the lcas

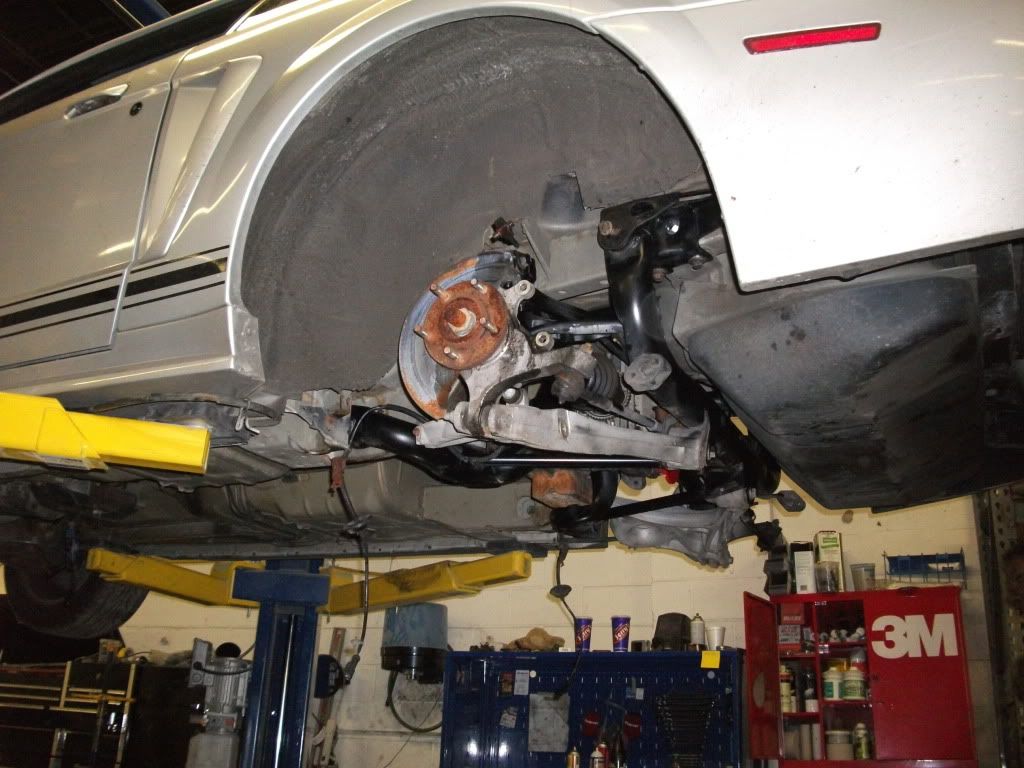
10. install shocks
11.reinstall the driveshaft mine rear came with a universal yoke on it but some come with a cobra only yoke flange you will need to swap the flange if the bolt holes don�t line up
12. reinstall brakes and rotors .and install you brake lines. Brake lines need to be tweeked a little bit to fit don�t bend them too much or you will kink the aluminum and break the line I would suggest buying new cobra b rake lines as well
13. reinstall the e brake cables I suggest using cobra cables since the sra cables are shorter make sure if you do use sra cables tie them no the control arms so they don�t rub on the tires
14. bleed the brakes
15. reinstall your mid pipe and exhaust. My exhaust showed up a week later so I had to run straight pips and dumps
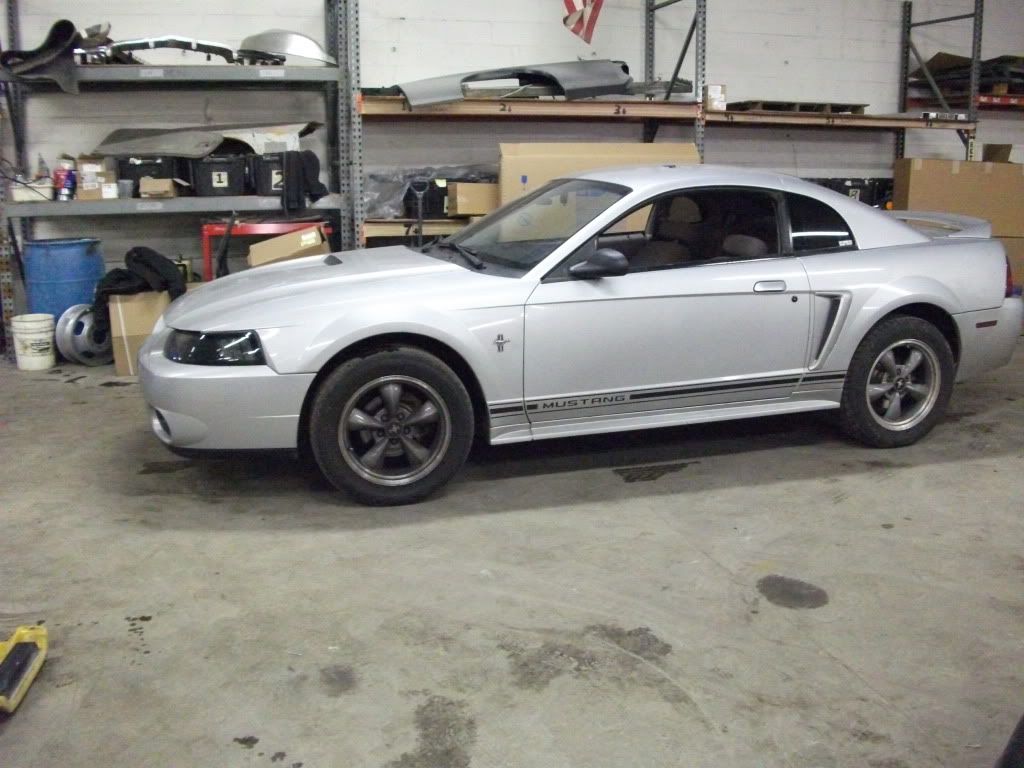
Now that your new irs is installed put the wheels on and TORQUE THEM to 100ft lbs
Don�t get too excited and not torque them like I did I almost had a wheel come off��
enjoy the finished product
And when the exhaust ts hows up install that so you don�t get a ticket like I did for no exhaust system
Well that�s the entirety of the irs swap its pretty straight forward .
Before we start I want to say keep all your nuts and bolts organized this makes the job much easier when you are putting the rear in the car
You will need to reuse some of the bolts that you removed when taking the SRA out
1. Remove wheels
2. Remove brake calipers and rotors
3. Remove differential cover and drain fluid
4. Assess damages if there are any
6. remove o2 sensors and mid pipe
7. remove the drive shaft
8. remove the back seat so you can get to the ABS wires and plugs
9.unplug the ABS wires and pull then through the floor and through the torque boxes
10. remove backing plates off sra (you will not be reusing these)
11. remove the parking brake cables from the control arms
12. support front of car and rear if on a lift
13. remove the shocks
14. unbolt the ucas and lcas( for the ucas you will need a 18mm swivel a 6�� extention and a wrench)
15.remove the brake lines from calipers ( you will not be re using the sra calipers)
16.lower axel to remove the springs
17.remove rear axel
18. remove the exhaust
19. remove the trunk trim to get the the upper shock mounts
20.remove the shocks
Now that the rear is out if your like me you probably have tools everywhere no now is the time to clean up
Installation of the irs
If you are **** like me you will probably will want to paint the rear so it looks decent for show season
Installation
1. Remove or lower fuel tank
2. Tap the holes for the irs brackets so when installing the bolts you don�t fugg up the threads
3.install the right and left irs mount brackets
(use minimum grade 8 bolts use grade ten if you can for strength)
4.resinstall the fuel tank
(install new fuel filter its pita to do with the rear in the car )
(replace filler neck seal while the tank is out or you might crack the seal and end up like with a leak when the tank is full like I have )
5. Position the rear under the car
6. Use a porta power to open up the front irs mounts so the rear slides in position easier\
(your gonna fight getting it in if you don�t spread the mounts the mount is the same as the lca mount )
7. Install the rear in the car with out the springs
(I found its easier the install the springs once you rear mounts are bolter in )
8.remove the front irs bolts and lower the front of the rear down to install the springs
9. install the springs and jack the front of the crossmember back into place and reinstall front irs mounting bolts the front irs mounting bolts are the 14mm bolts you took out of the lcas
10. install shocks
11.reinstall the driveshaft mine rear came with a universal yoke on it but some come with a cobra only yoke flange you will need to swap the flange if the bolt holes don�t line up
12. reinstall brakes and rotors .and install you brake lines. Brake lines need to be tweeked a little bit to fit don�t bend them too much or you will kink the aluminum and break the line I would suggest buying new cobra b rake lines as well
13. reinstall the e brake cables I suggest using cobra cables since the sra cables are shorter make sure if you do use sra cables tie them no the control arms so they don�t rub on the tires
14. bleed the brakes
15. reinstall your mid pipe and exhaust. My exhaust showed up a week later so I had to run straight pips and dumps
Now that your new irs is installed put the wheels on and TORQUE THEM to 100ft lbs
Don�t get too excited and not torque them like I did I almost had a wheel come off��
enjoy the finished product
And when the exhaust ts hows up install that so you don�t get a ticket like I did for no exhaust system
Well that�s the entirety of the irs swap its pretty straight forward .
Thread Starter
2nd Gear Member
Joined: Sep 2009
Posts: 253
From: maryland
i rides awesome. i bought it as a bullitt proof rear. so it had solid aluminum bushings in it(stiffen it up real good) irs brace and upgraded axels and 3.73s and a locker. i been beatin on her pretty hard since its nice out today and it rides handles and locks and hooks awesome . but even withthe way its set up i still get a small biy of wheel hop
Buyer Beware
Joined: Oct 2007
Posts: 3,586
i rides awesome. i bought it as a bullitt proof rear. so it had solid aluminum bushings in it(stiffen it up real good) irs brace and upgraded axels and 3.73s and a locker. i been beatin on her pretty hard since its nice out today and it rides handles and locks and hooks awesome . but even withthe way its set up i still get a small biy of wheel hop

Reverse Gear Member
Joined: Dec 2006
Posts: 8,130
From: Baton Rouge, LA
Never use a grade 10.9 bolt to mount suspension components. If you go to too high a grade you introduce imbrittlement. They'll shear before they stretch. If something happens with the rear-end, you want them to stretch a little before they break or you could be in a much bigger bind. The difference in grades basically is just in how hard or soft the metal is. A grade 2 should never be used on a car/truck, but grade 5 is great for brackets for the engine accesories and things like that. Grade 8 is what I always use and recommend for ANY suspension components. They are strong, but will bend if highly stressed before they shear, and it's pretty obvious that shearing is VERY bad for anything on your suspension. Grade 5 will do the job, but under severe load will stretch when not necessary, although I find it perfectly capable for 99% of the cars on the road that never see any harsh use.
