SN71 project
 01-13-2011, 08:56 PM
#21
2nd Gear Member
Thread Starter
Join Date: Nov 2003
Location: Connecticut
Posts: 283
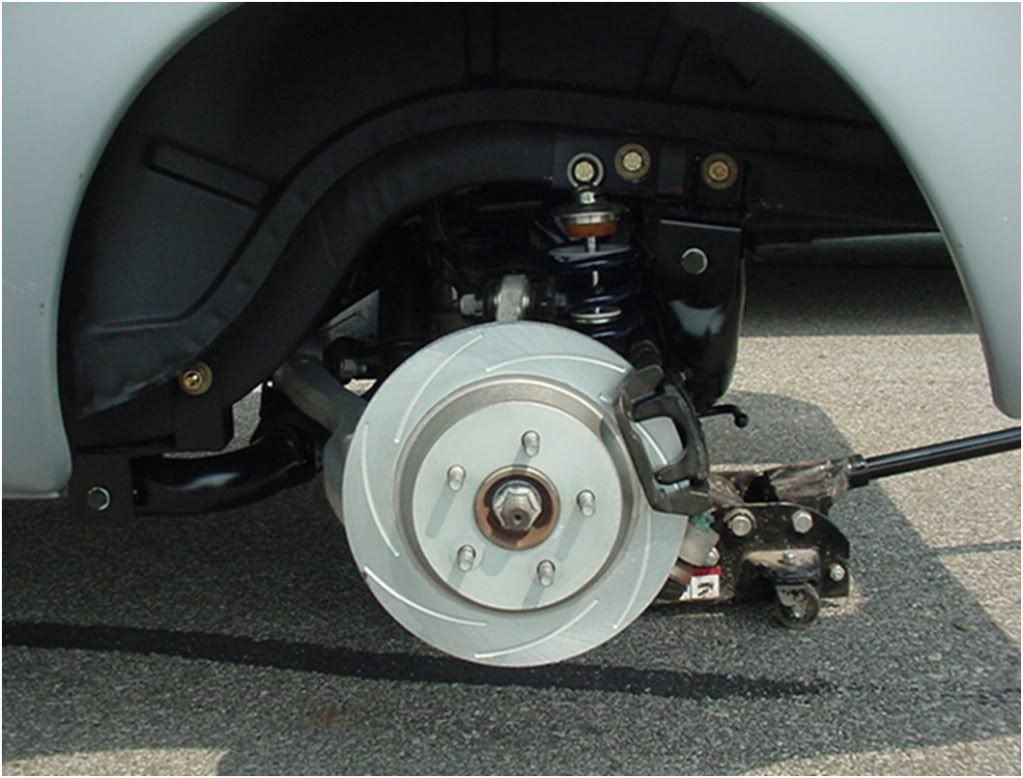
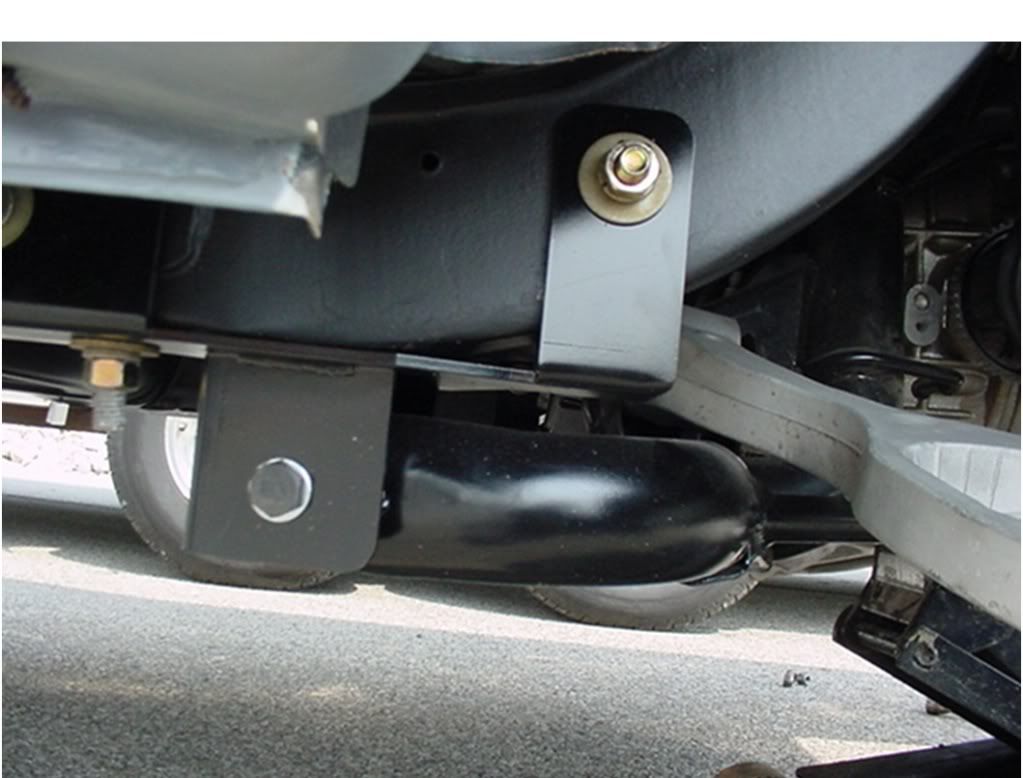
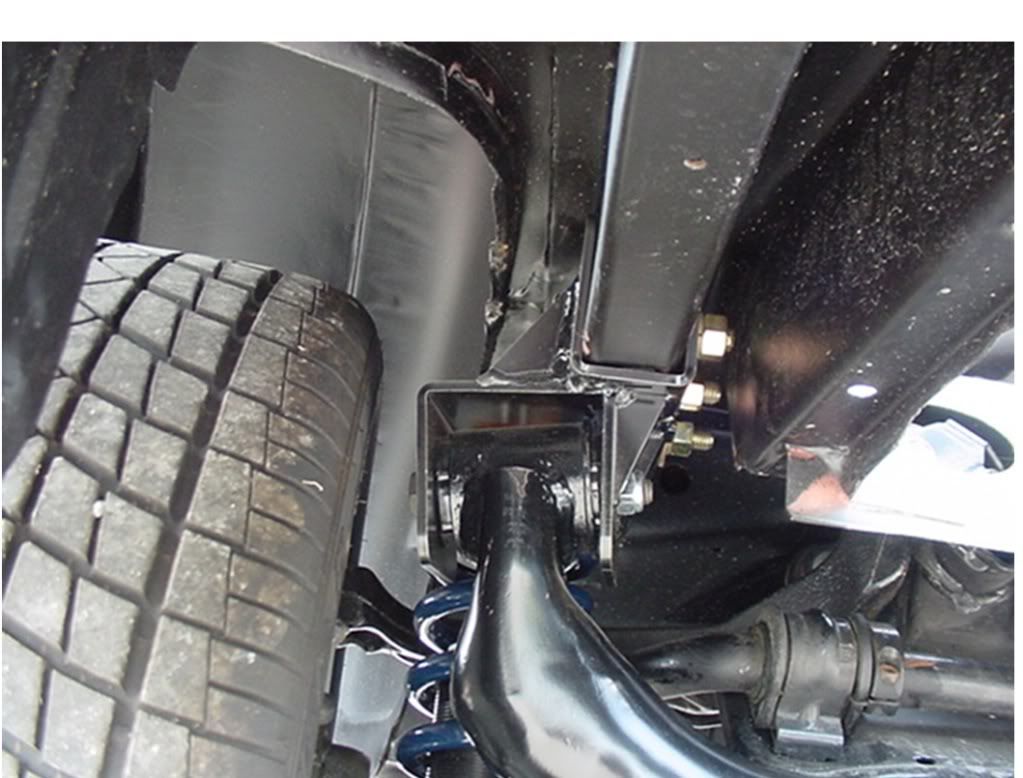
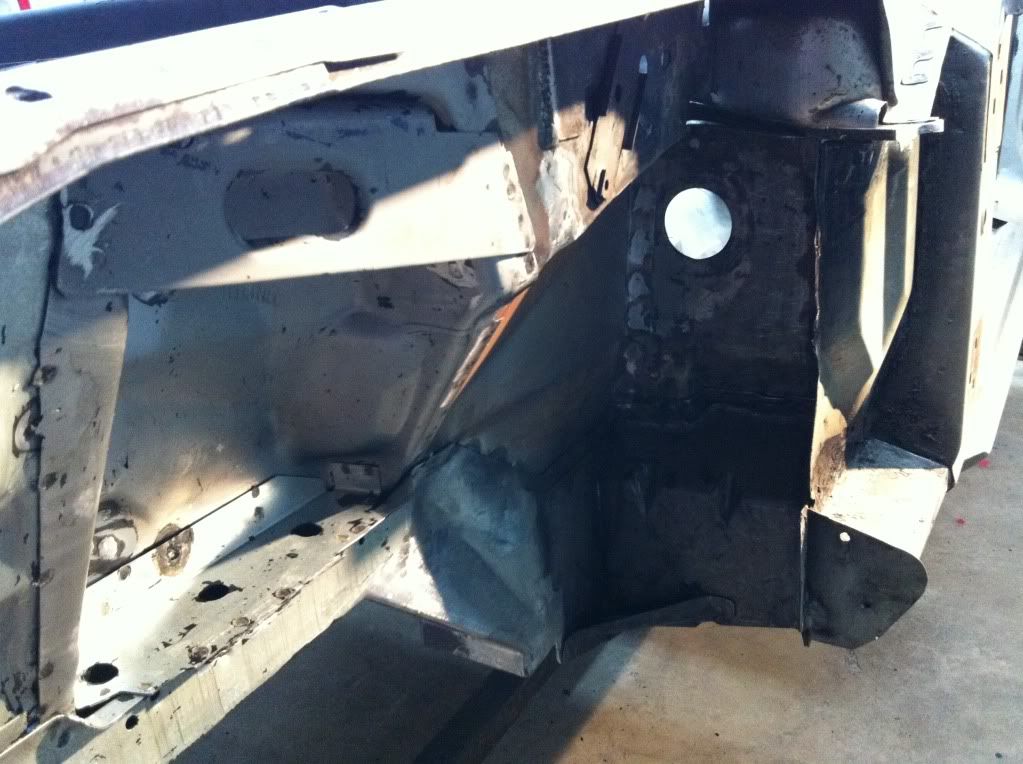
Hope this helps. The biggest difference with these pics and what I did is that these are bolted on brackets and I welded mine in, but they really are a pretty simple set up that lines up damn close to the early model rails.
 09-01-2011, 12:27 AM
#22
2nd Gear Member
Thread Starter
Join Date: Nov 2003
Location: Connecticut
Posts: 283
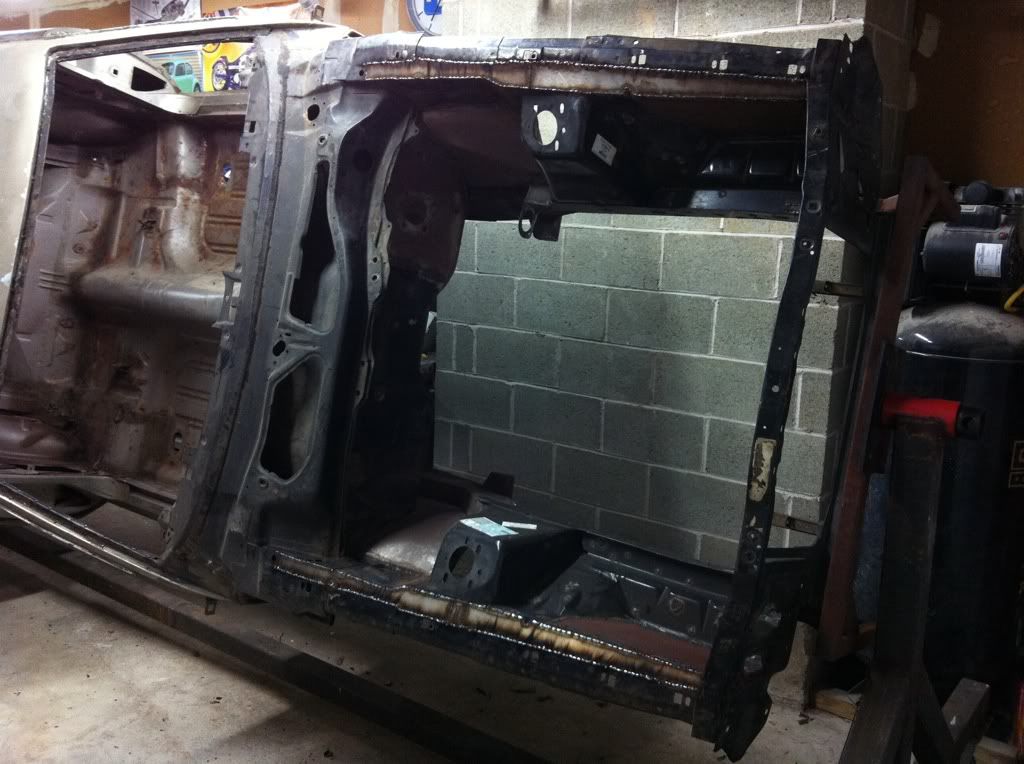
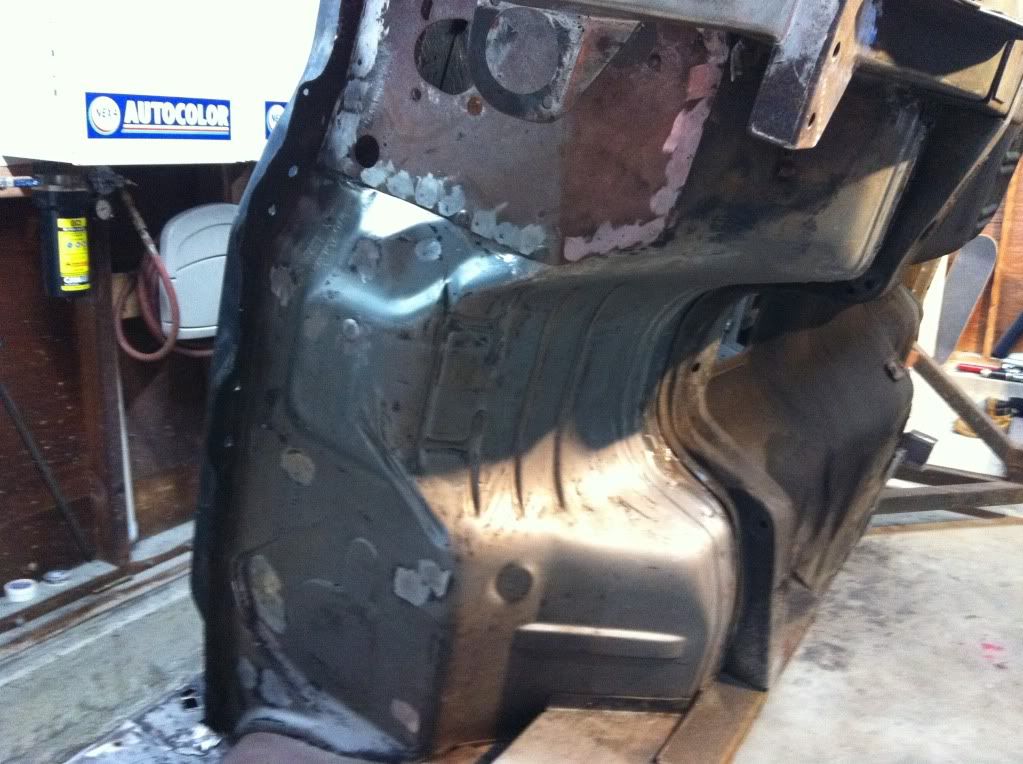
Ok...so it's been a while...a really long while! But I'm finally back on this thing. I got side-tracked building a new deck on my house and a killer treehouse for my kids, which then spiralled into a bunch of other summer backyard makeover stuff! Last week I started back on the car, it's back on the rotisserie and I finished up a few welds on the bottom I couldn't easily get to before, and started with some new, cleaner panels at the top of the inner aprons. I still have to grind all this crap, I plan on getting some of that done this weekend as well as finishing up a small section on each front rail to reinforce the front bumper mounts as a lot of the original structure was cut out and the new rails are much higher than the originals.
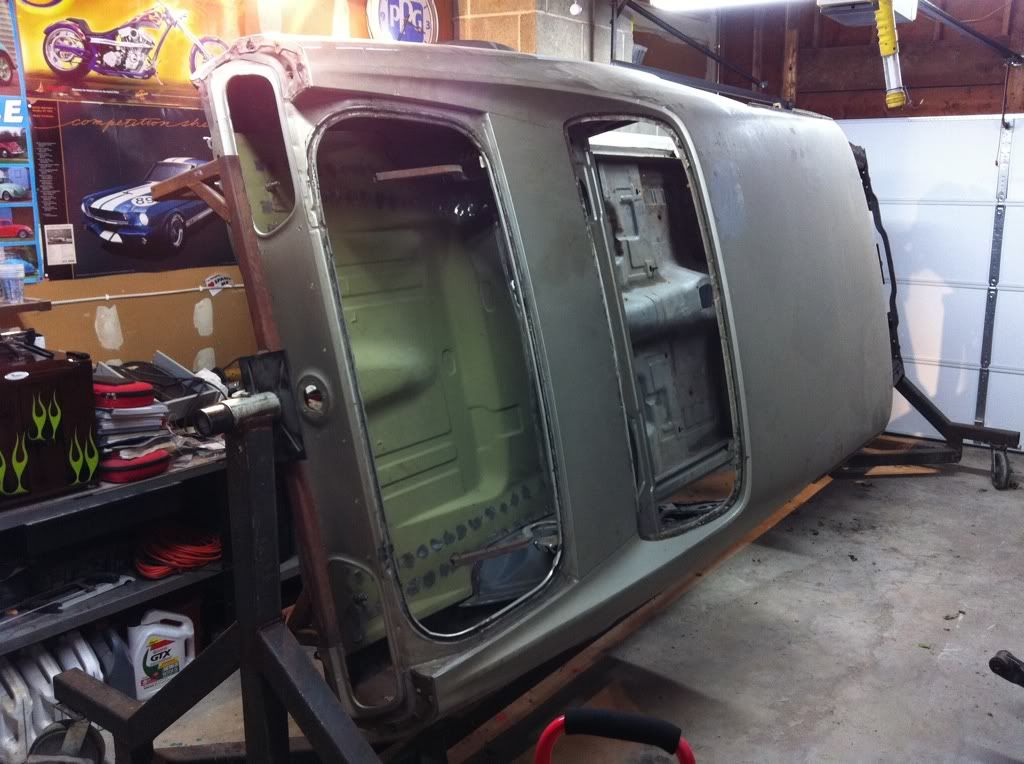
More to come...sooner this time!
More to come...sooner this time!
10-14-2011, 07:34 AM
#23
2nd Gear Member
Thread Starter
Join Date: Nov 2003
Location: Connecticut
Posts: 283
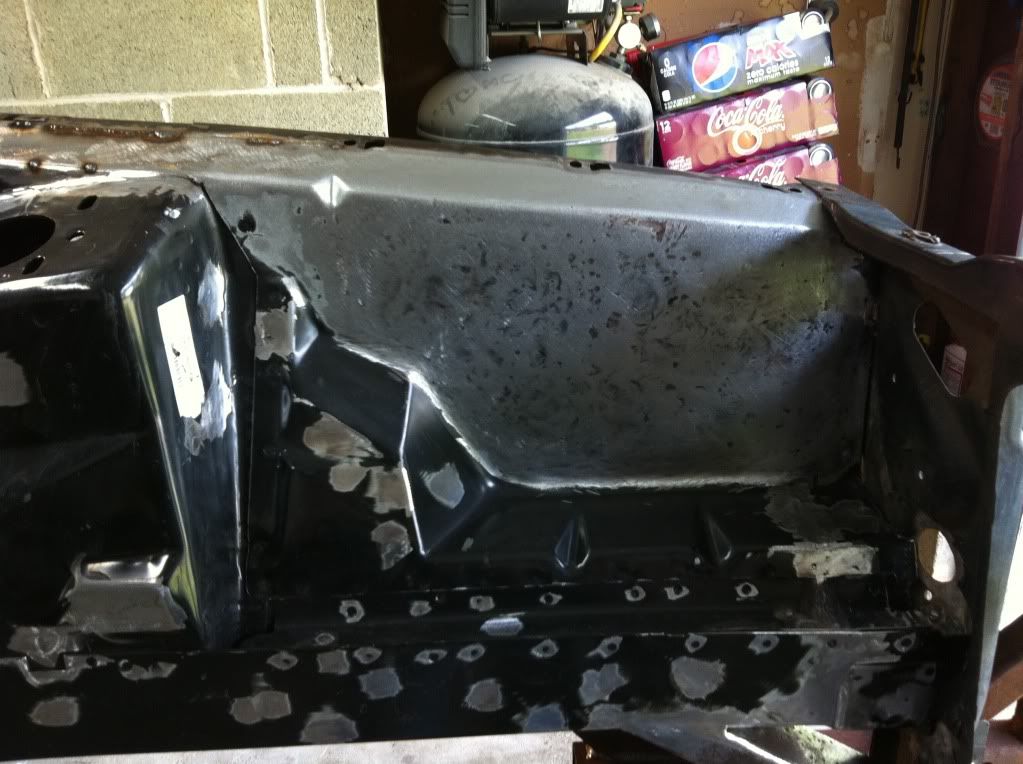
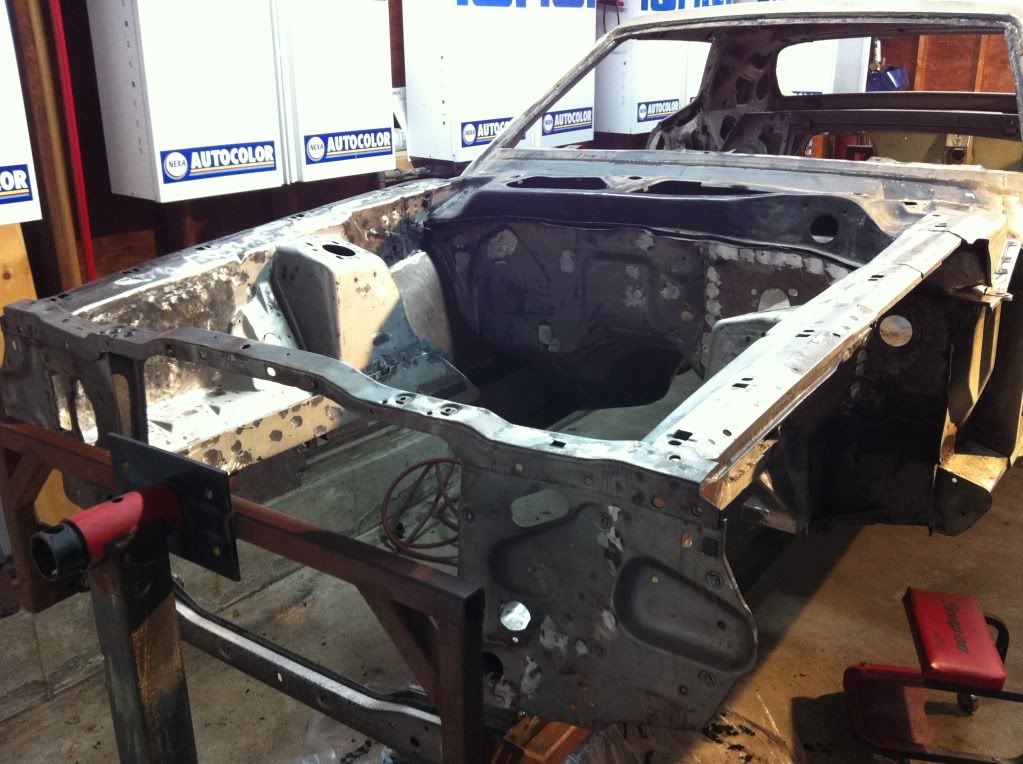
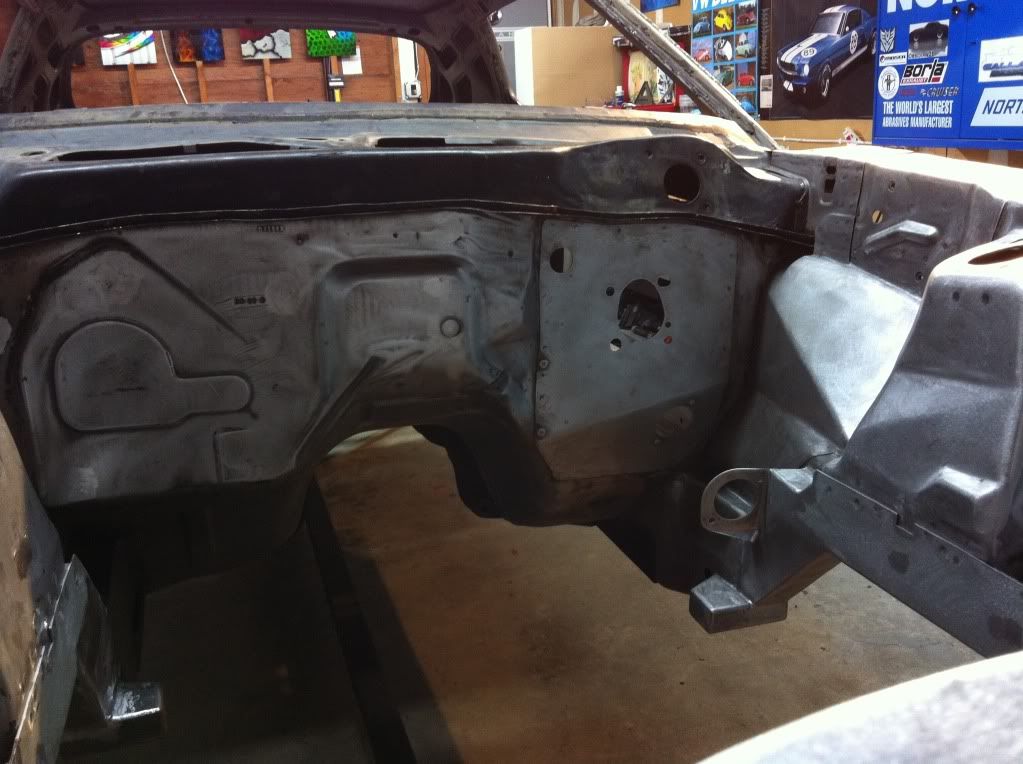
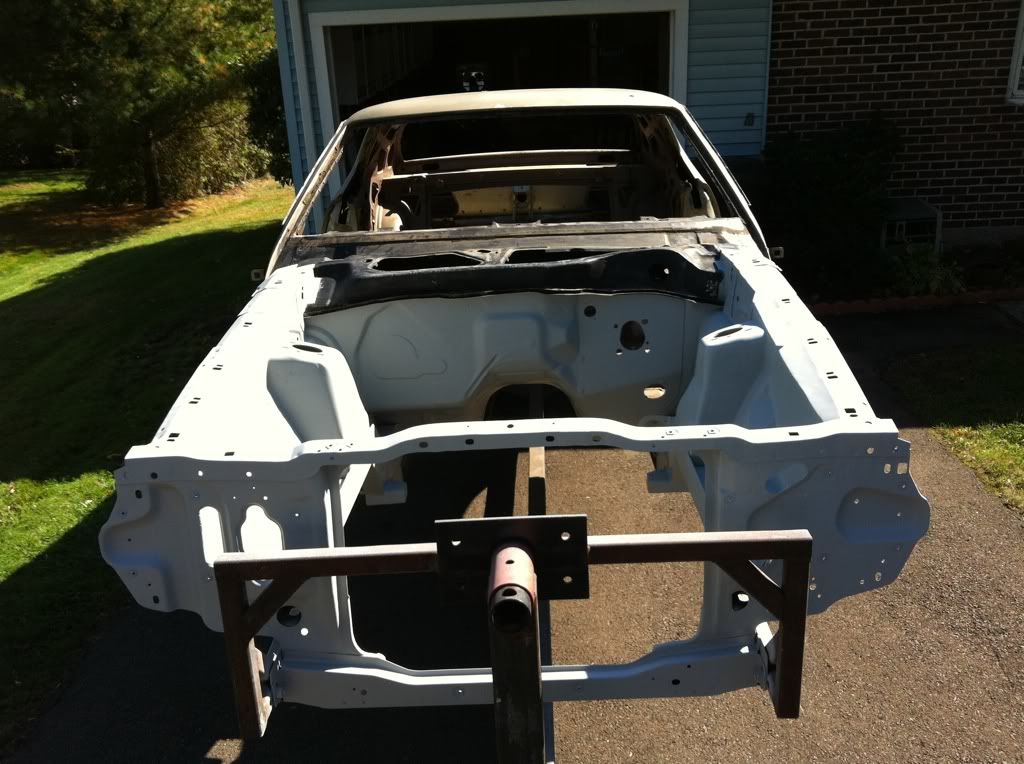
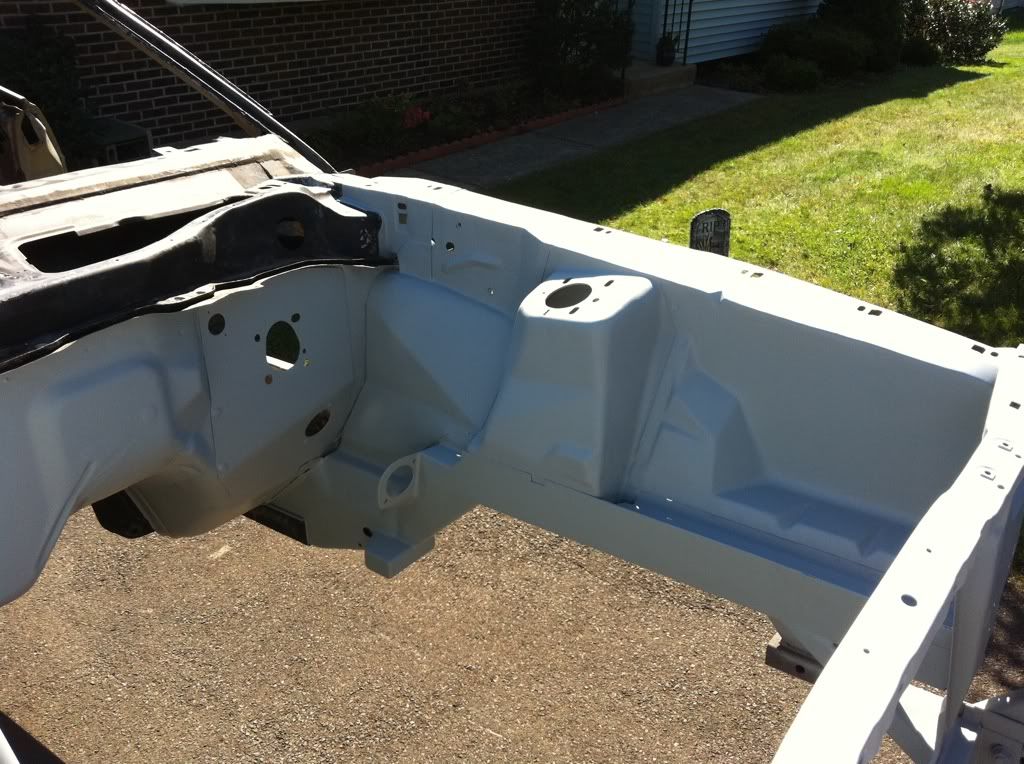
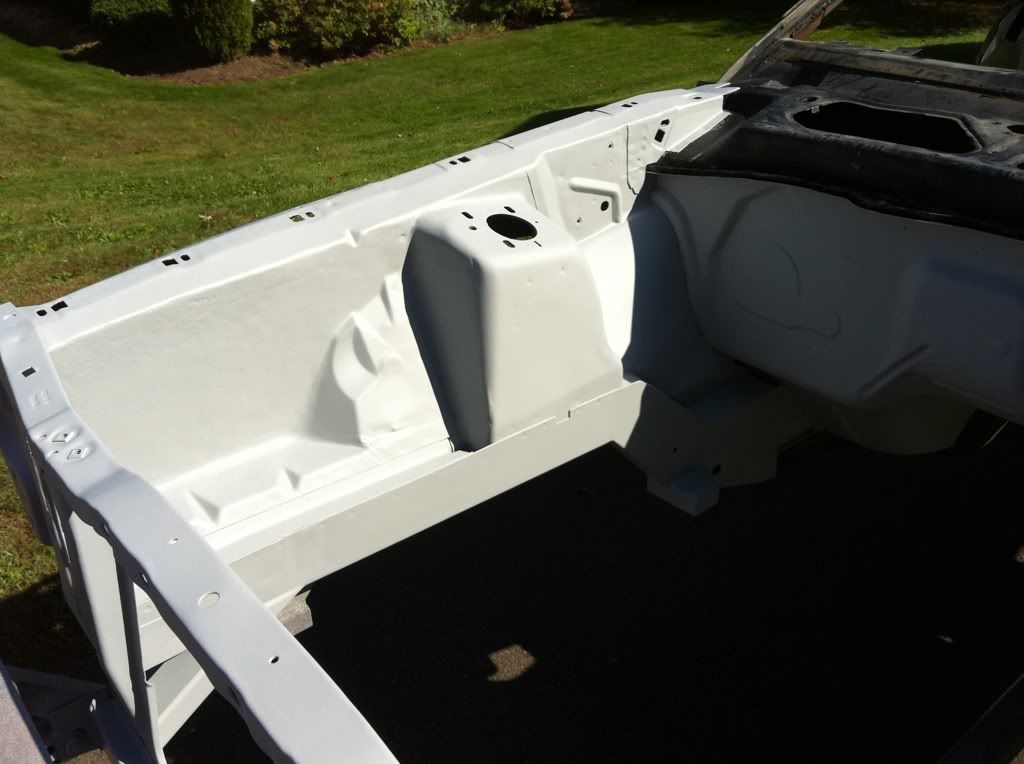
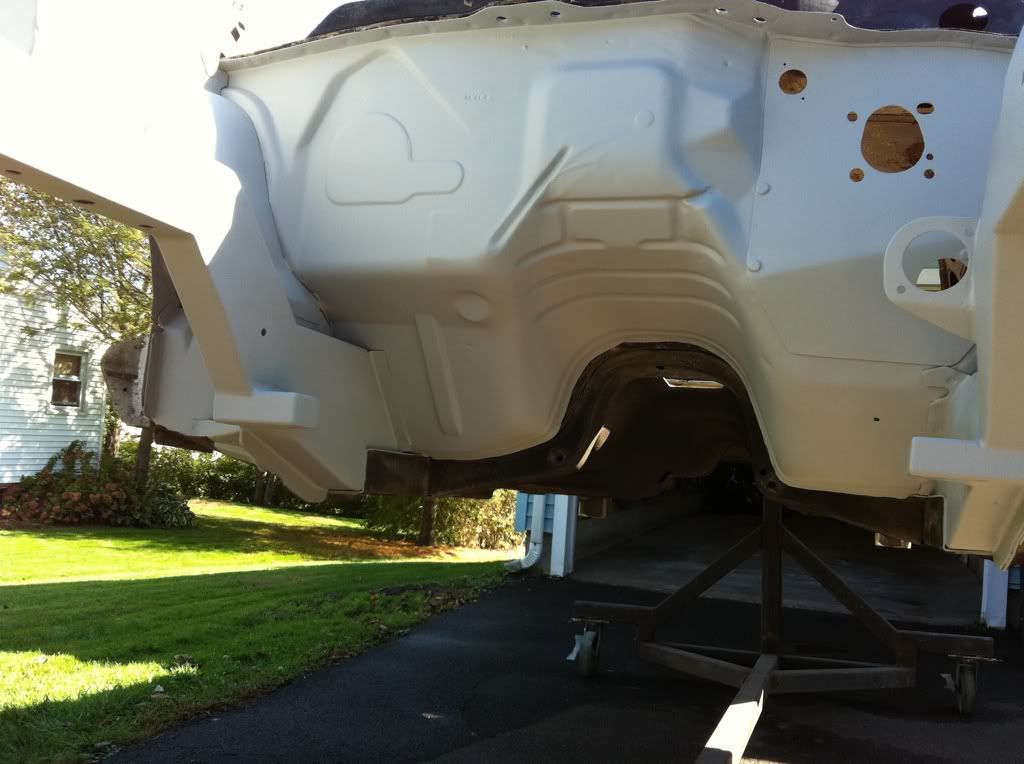
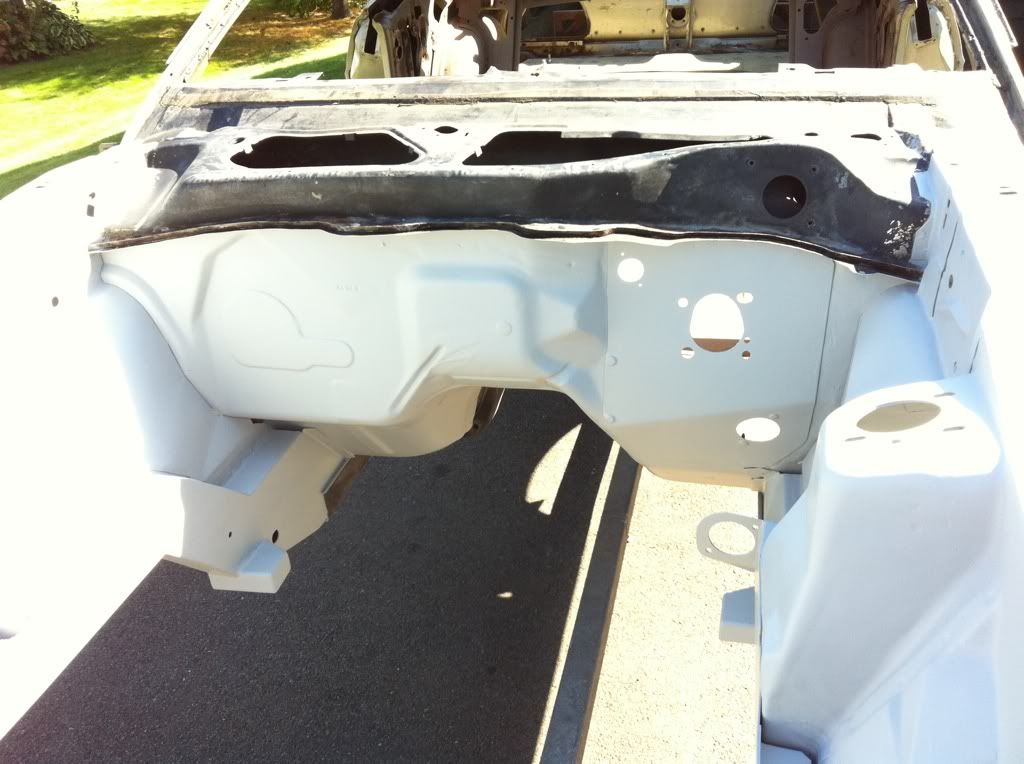
OK...a little over a month since my last post and I've been working on the car a lot more lately. I have the entire engine bay all cleaned up, welds ground...what a PITA!!! straightened, stripped, and sanded. Next step is to metal convert it with phosphoric acid, and prime it, then it's on to the bottom of the floor pans and subframe connectors.

 11-04-2011, 10:41 PM
#27
2nd Gear Member
Thread Starter
Join Date: Nov 2003
Location: Connecticut
Posts: 283
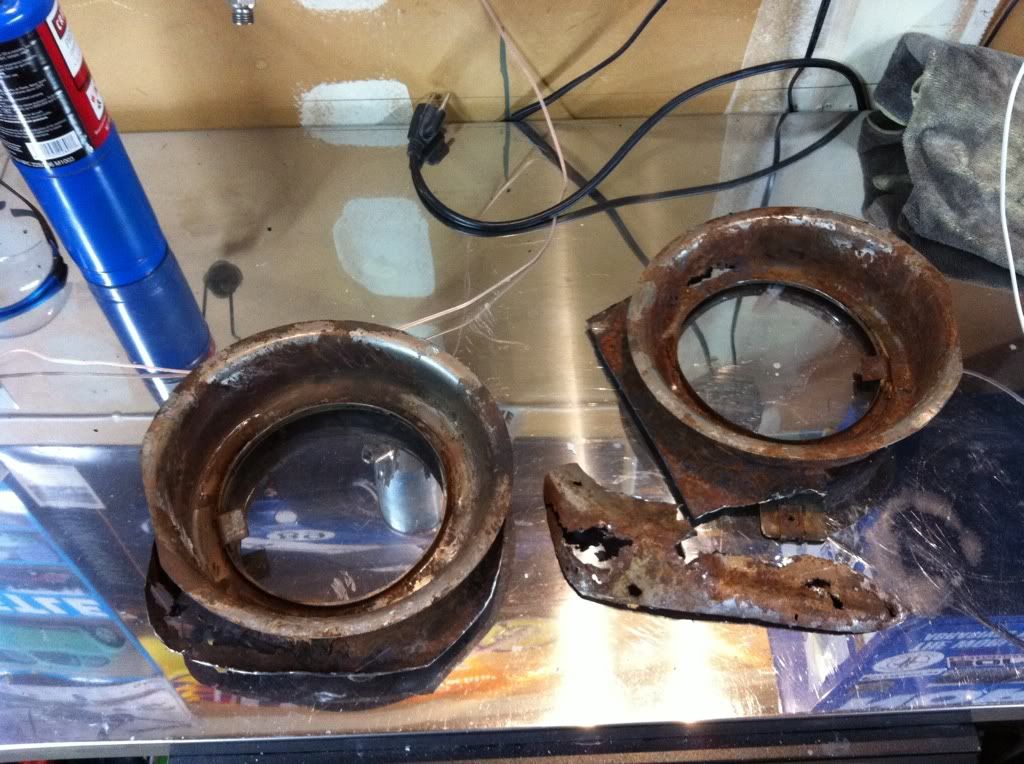
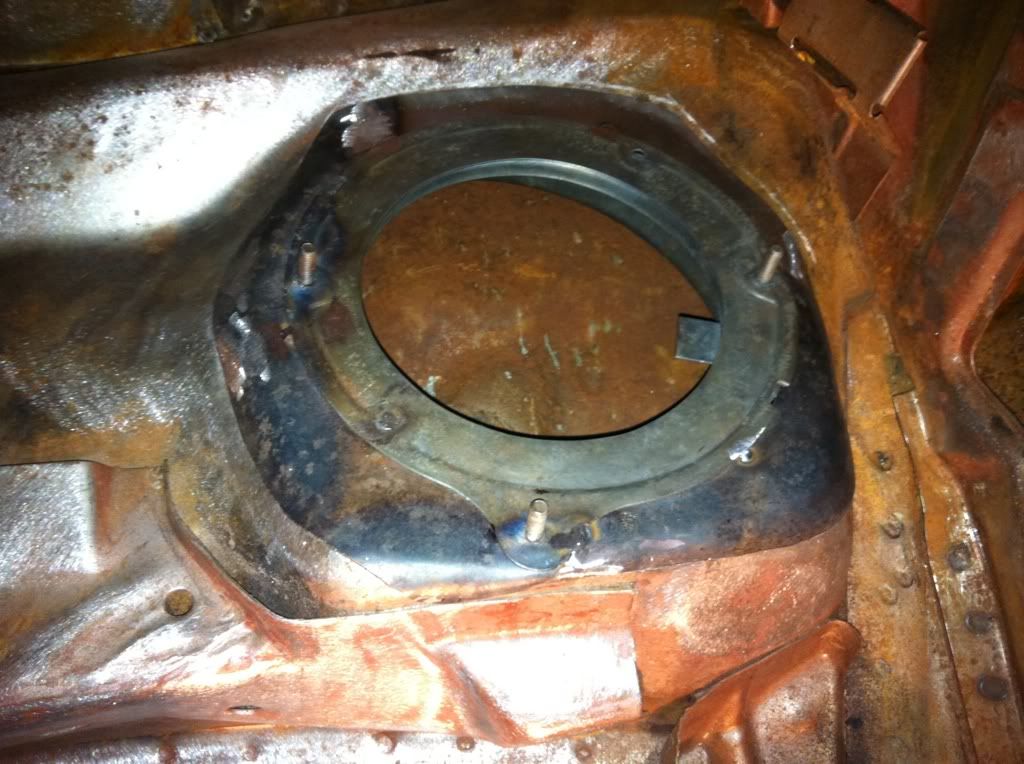
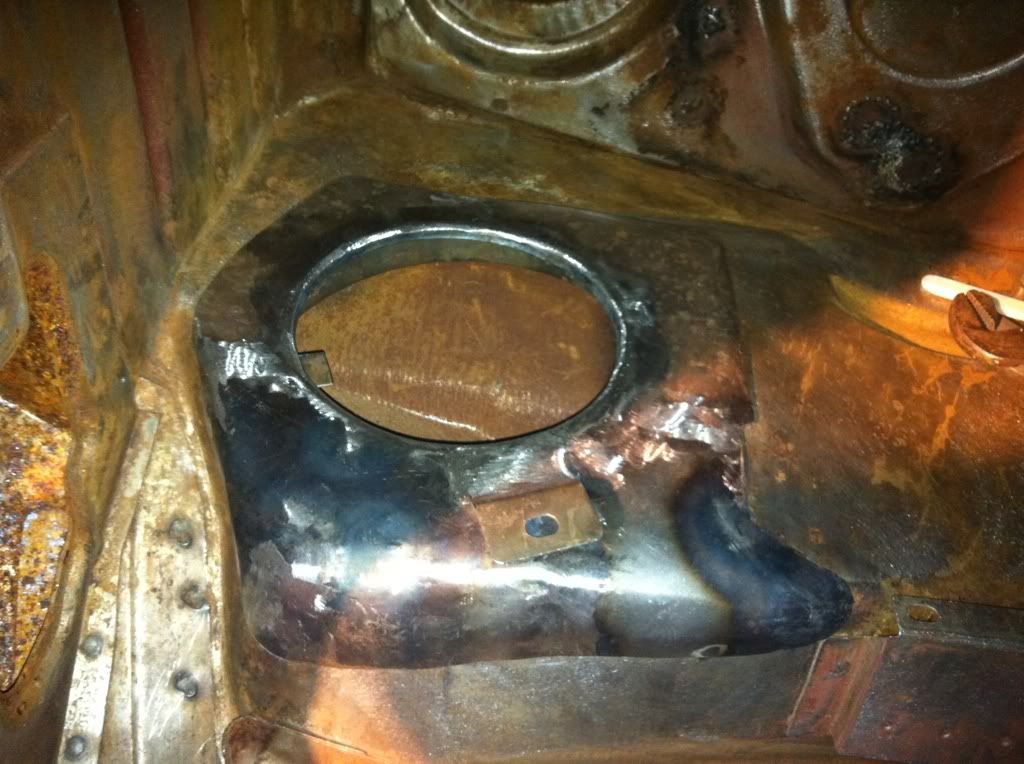
Ok, in the past few weeks I got most of the bottom of the car stripped, and when I went to strip the inside of the floors and firewall to prime, I found some rot around the cowl intakes. So I had to cut out some sections and make patches. Got them all set and I'm going to glue them in with 3M's 8116 panel bonding adhesive. I'm going to wait to glue them in until spring at this point though because I want to prime and seam seal inside the cowl before I glue them in and it's been too cold here in CT lately to prime in my garage. In the meantime I think I'm going to move on to some fun stuff and start shaving my drip rails 
11-05-2011, 09:35 AM
#29
2nd Gear Member
Thread Starter
Join Date: Nov 2003
Location: Connecticut
Posts: 283
I'll just keep putting on more layers to keep myself warm. Unfortunately, I won't be able to keep the metal warm enough for paint products to do their thing correctly. I've got PLENTY of stuff to keep me busy on it through the winter months!
12-13-2011, 07:36 AM
#30
2nd Gear Member
Thread Starter
Join Date: Nov 2003
Location: Connecticut
Posts: 283
Ok, I've got the drip rails shaved which was a bit more of a process than I thought it'd be! I wrote up a quick tutorial on how I did it and posted it on my website here: http://callahandesigns.weebly.com/sh...rip-rails.html
and here's some pics of the finished product:
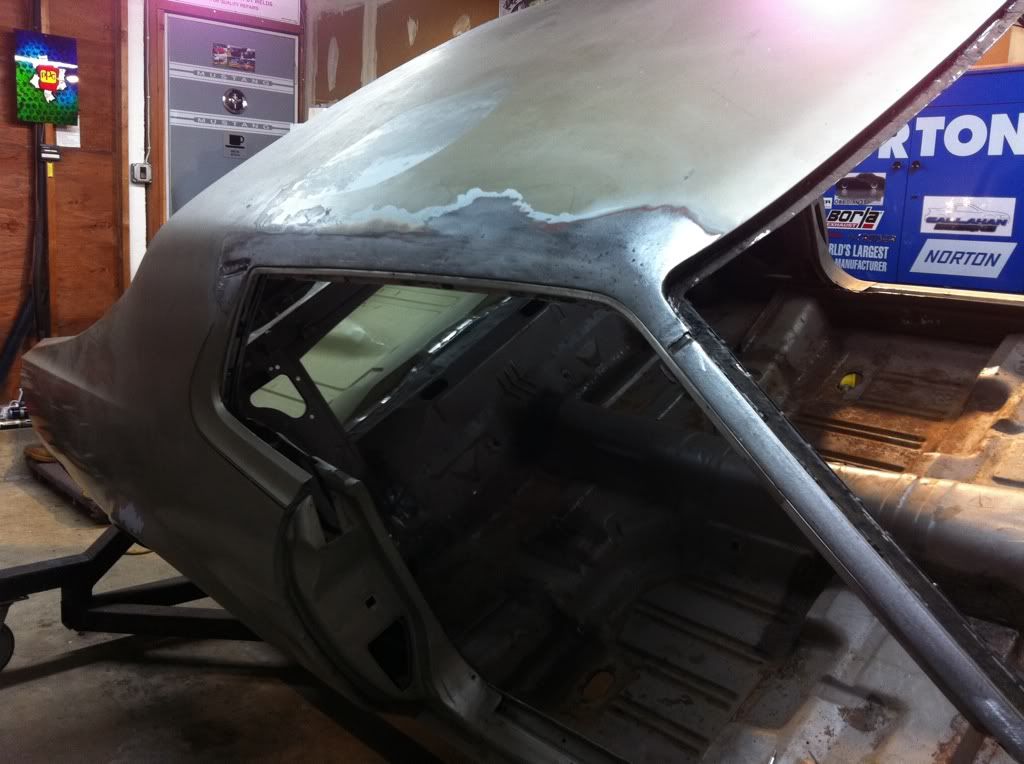
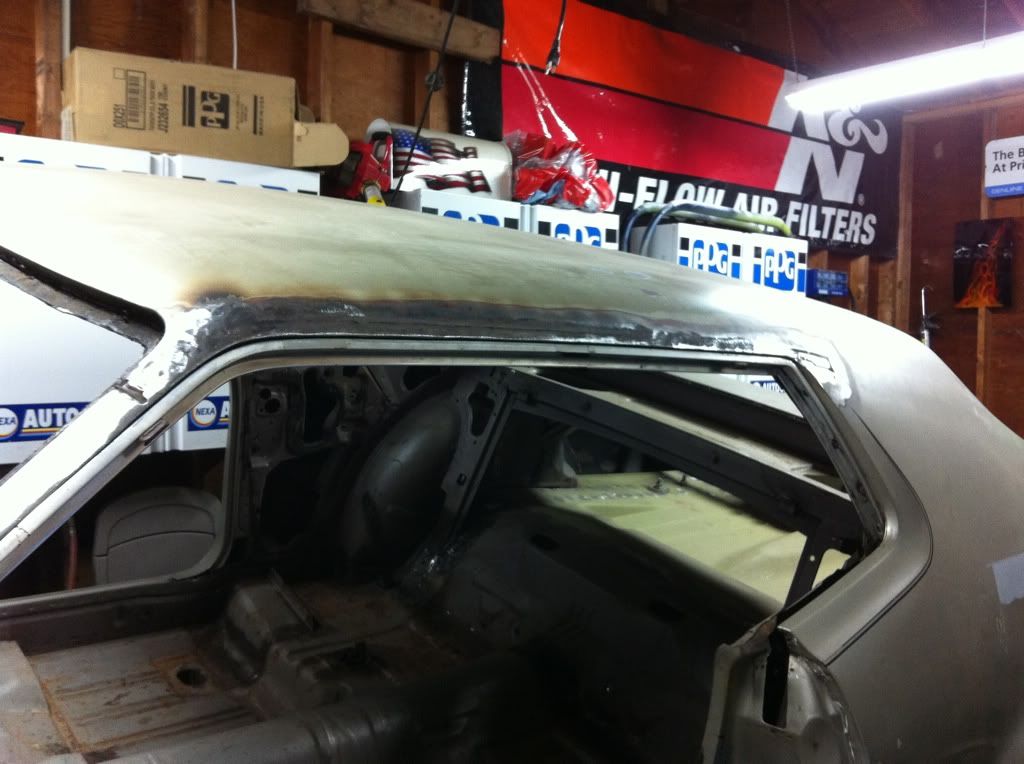
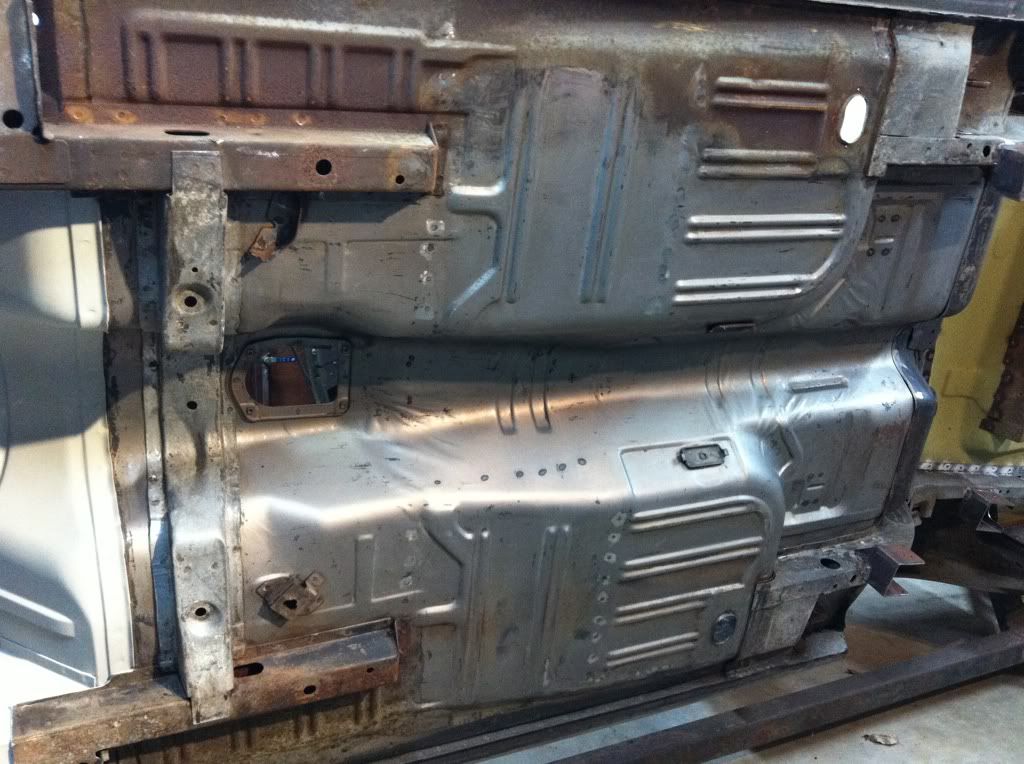
Last night I finished stripping the inside of the floor pans and started scraping the undercoating from the rear wheelhouses...
and here's some pics of the finished product:
Last night I finished stripping the inside of the floor pans and started scraping the undercoating from the rear wheelhouses...