
Charlene

Thread Starter
3rd Gear Member
Joined: Jul 2005
Posts: 630
From: El Paso, TX
Not sure if it'll clear yet but I'm thinking it will (hoping actually.)
You can obtain this exhaust set-up relatively cheap if you're not afraid to do some cutting and fitting.
Jegs 2 1/2" x-pipe $80
DynoMax Race Bullet Mufflers 2 1/2" short body $40 each
$160
You can obtain this exhaust set-up relatively cheap if you're not afraid to do some cutting and fitting.
Jegs 2 1/2" x-pipe $80
DynoMax Race Bullet Mufflers 2 1/2" short body $40 each
$160
Thread Starter
3rd Gear Member
Joined: Jul 2005
Posts: 630
From: El Paso, TX
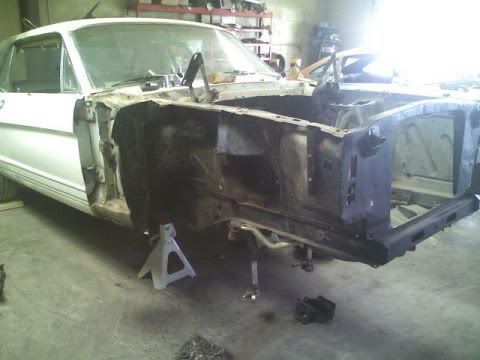
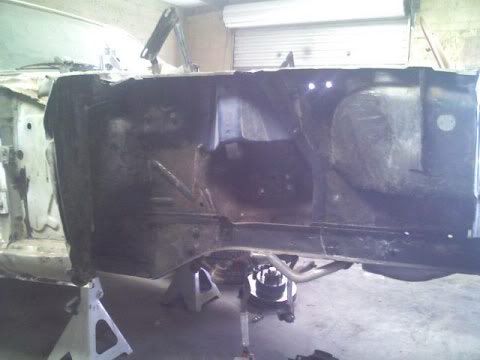
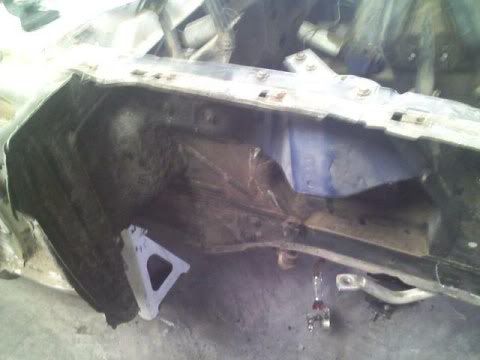
Got off of work a bit early on Friday so I ran down to the shop and wrenched a bit. Took down the front suspension to clean up all the parts. Got the Global West upper arms cleaned up then started stripping all the undercoating from under the fenders and up on the fenderwells. I'm thinking of running a tube from the firewall inside the fenderwell around the spring cover and in front of it on the upper apron.
Thread Starter
3rd Gear Member
Joined: Jul 2005
Posts: 630
From: El Paso, TX
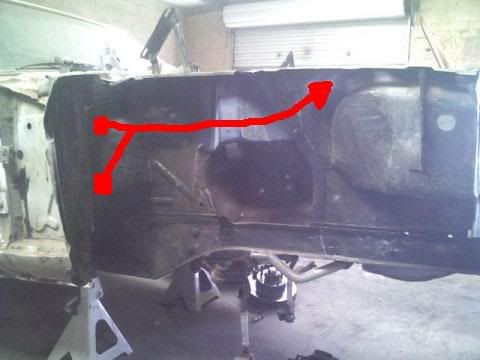
Here is kind of what I'm thinking about. It would tie in to the roll cage on the firewall from the inside and to the monte carlo bar with a plate in the engine bay. I'm thinking 1 5/8" tubing with about a 0.125" to 0.134" wall. Everyone bow to my MS Paint skillz! :lmao:
Thread Starter
3rd Gear Member
Joined: Jul 2005
Posts: 630
From: El Paso, TX
Well, I haven't been on in while and took on a whole new different project so progress has come to a halt. HOwever, some changes have been made to the plans for this build.
Instead of a carb'd 5.0 HO, the car will get a hot 289.
Instead of a T-5, the car will get a 4 speed toploader.
Instead of Wilwood Brakes, the car will get the KH brake set-up from discbrakeswaps.
And instead of black steelies, the car will get 15x7 AR Torq Thrust-D's.
I really want the car to have a 60's muscle car feel to it and handle. Will be finishing college in December and should start a new job in January so I'm hoping the project will really take off then.
Fred
Thread Starter
3rd Gear Member
Joined: Jul 2005
Posts: 630
From: El Paso, TX
Yikes, took me long enough to get these done. I went ahead and stuck with the 3/4" hardware. Now I have to get them bolted in.


And I like this comparison just because it really puts things in perspective.
5/8", 3/4", and 1-1/4" rod ends side by side.

5/8" vs 1-1/4" with misalignment spacers

Hopefully in the next two weeks I will be getting an adjustable monte carlo bar made for the car.
And I like this comparison just because it really puts things in perspective.
5/8", 3/4", and 1-1/4" rod ends side by side.
5/8" vs 1-1/4" with misalignment spacers
Hopefully in the next two weeks I will be getting an adjustable monte carlo bar made for the car.
Thread Starter
3rd Gear Member
Joined: Jul 2005
Posts: 630
From: El Paso, TX
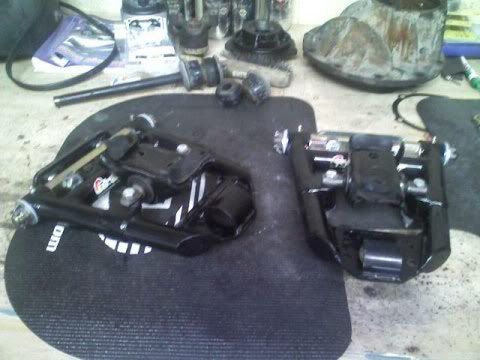
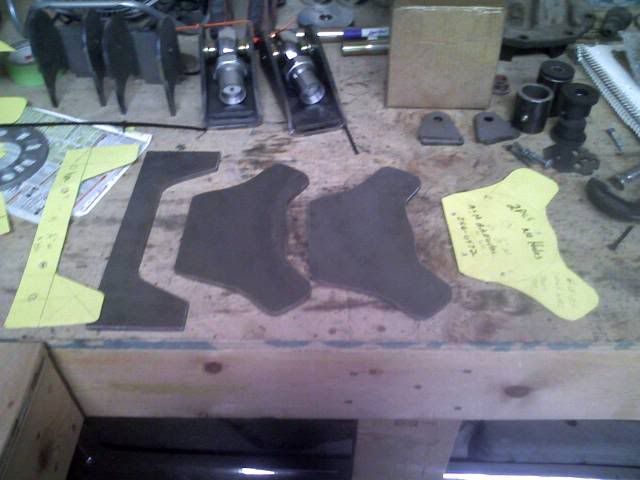
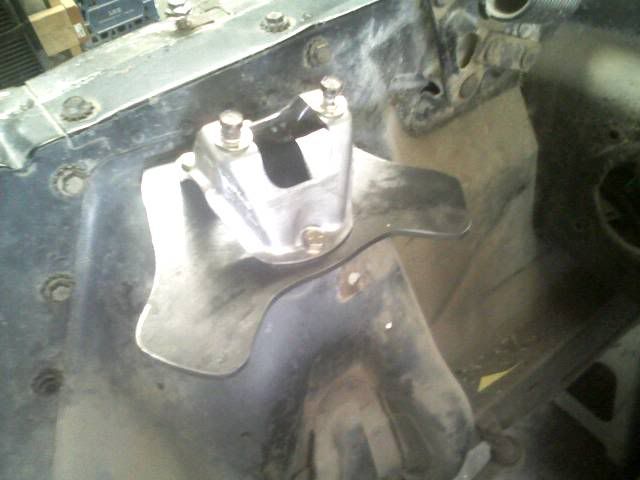
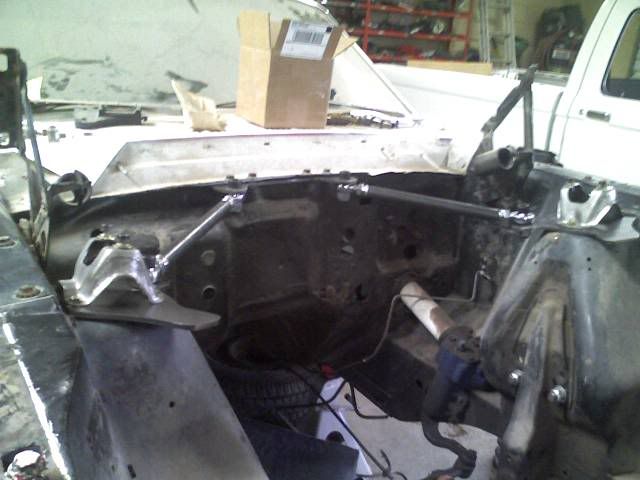
I changed up my design for the monte carlo bar and export brace a bit and this is where I'm at as of the end of today:
WARNING: No fancy super light weight billet aluminum, or CNC laser cut to precise tolerances parts here folks.
Had finished up some templates right before Christmas and dropped them off at a friend's shop sot that he could cut them for me.
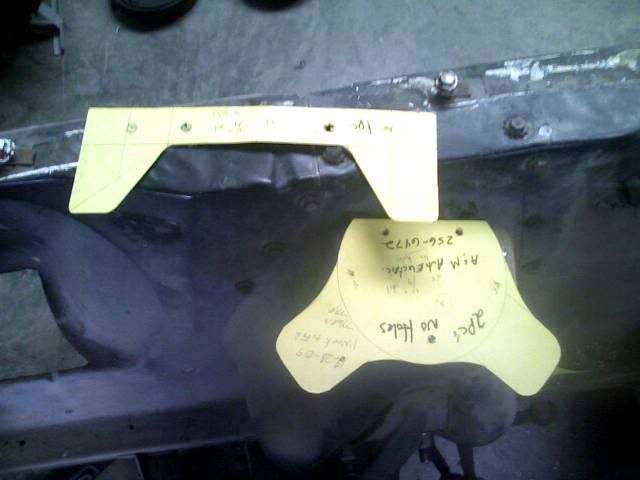
Firewall mount
Shock Tower mount

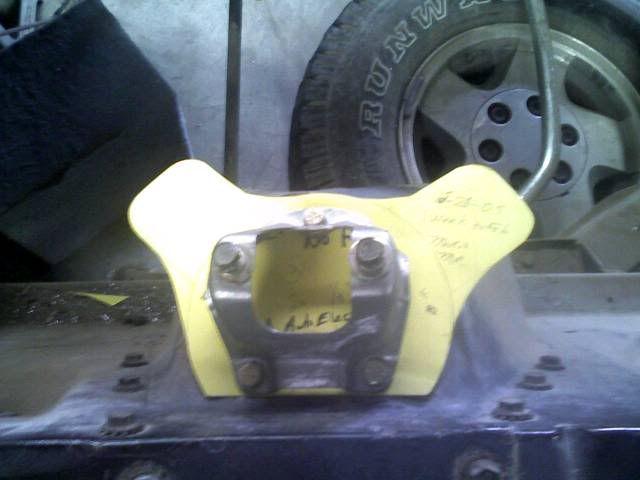
1/4" steel
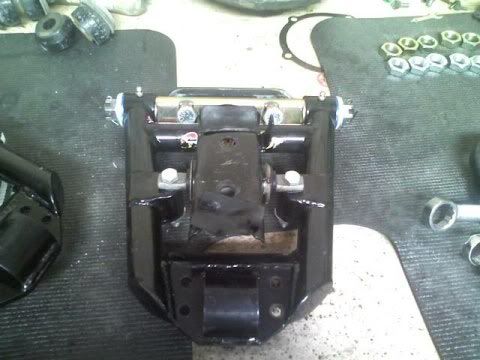
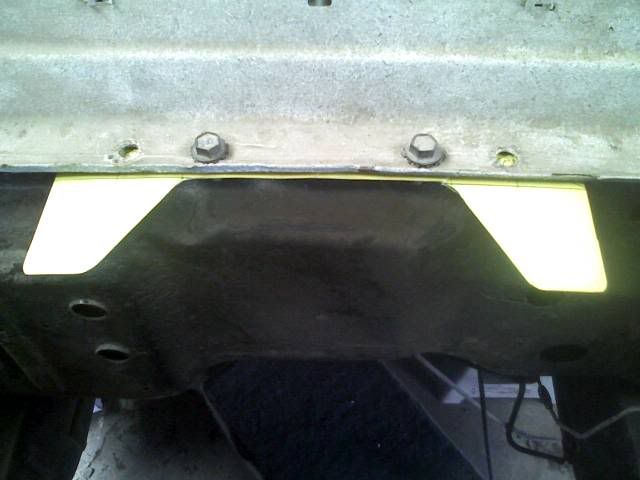
Drilling holes to mount
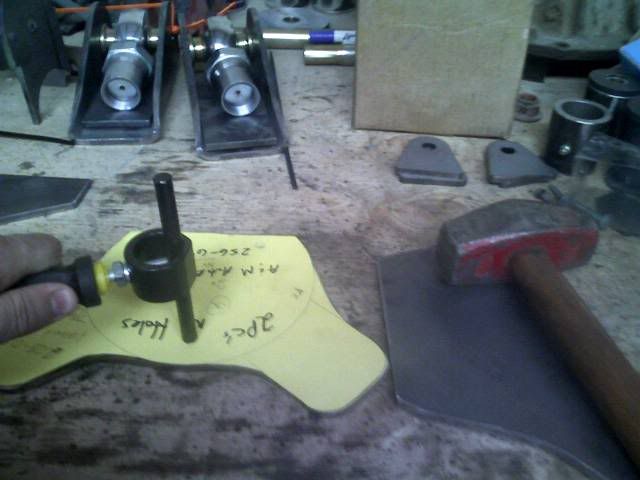
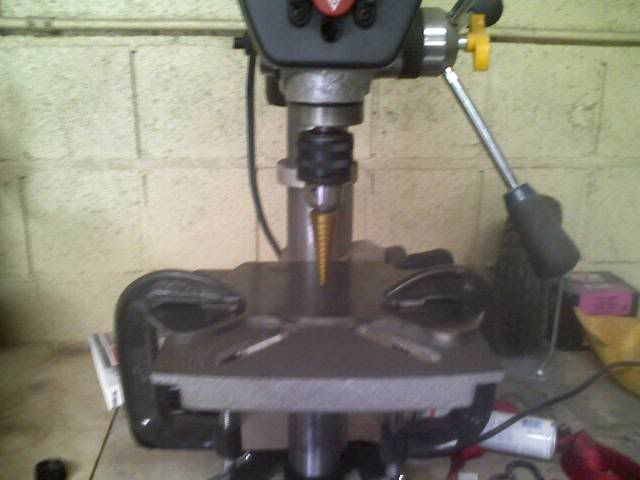
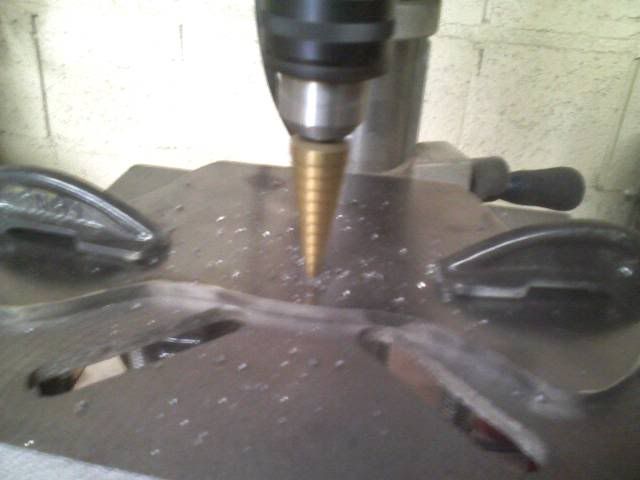
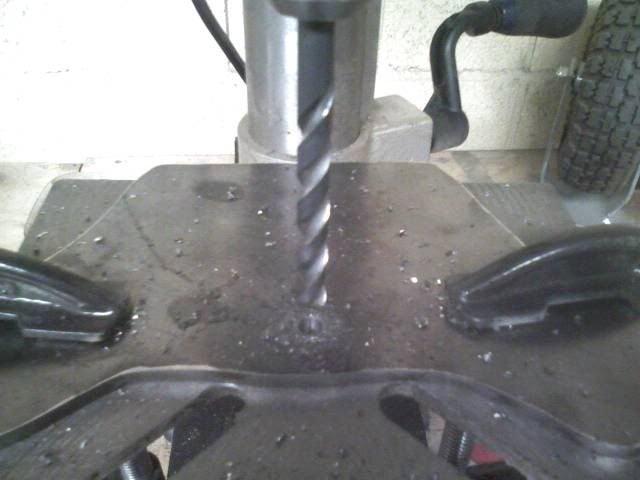
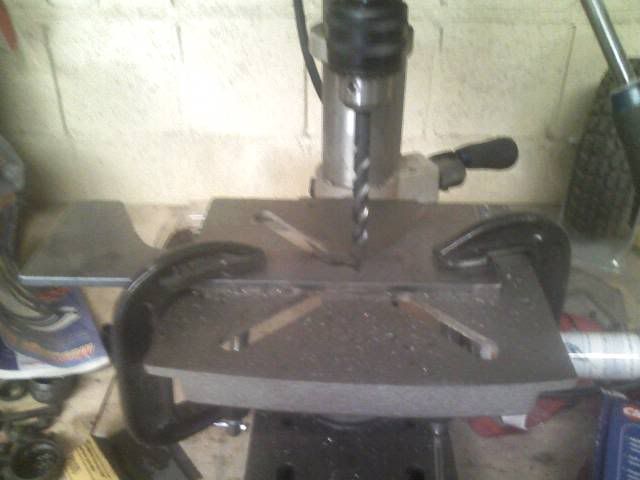
Mounted
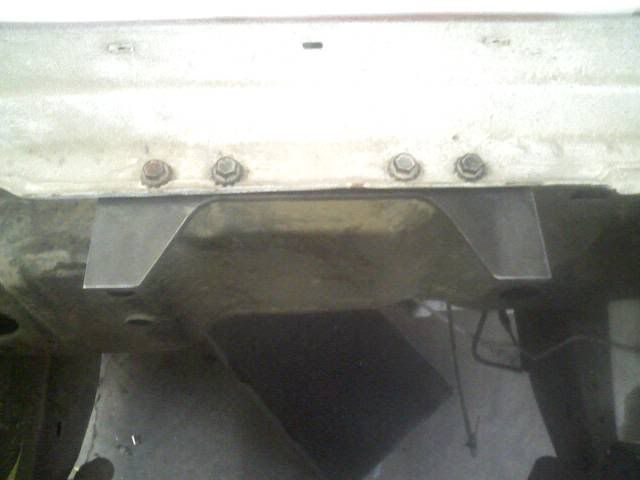
Tomorrow, I'm going to be making the links that connect all these brackets together and mocking everything up.
Fred
WARNING: No fancy super light weight billet aluminum, or CNC laser cut to precise tolerances parts here folks.
Had finished up some templates right before Christmas and dropped them off at a friend's shop sot that he could cut them for me.
Firewall mount
Shock Tower mount
1/4" steel
Drilling holes to mount
Mounted
Tomorrow, I'm going to be making the links that connect all these brackets together and mocking everything up.
Fred
Thread Starter
3rd Gear Member
Joined: Jul 2005
Posts: 630
From: El Paso, TX
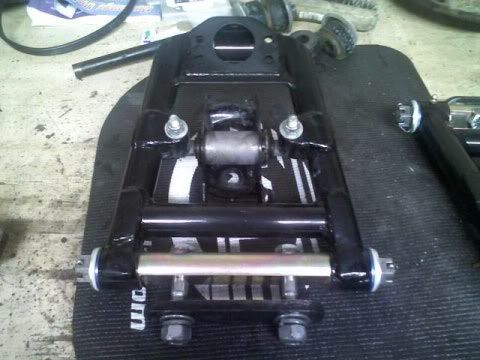
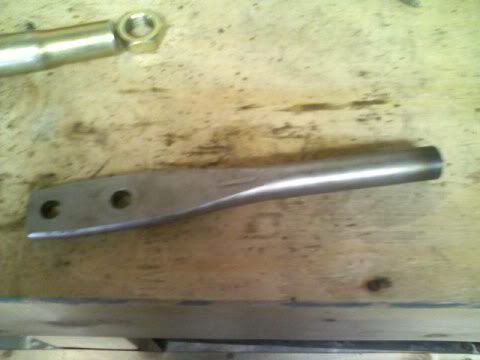
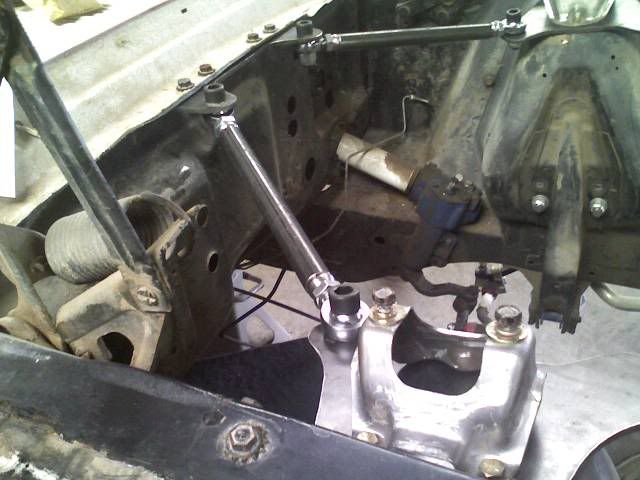
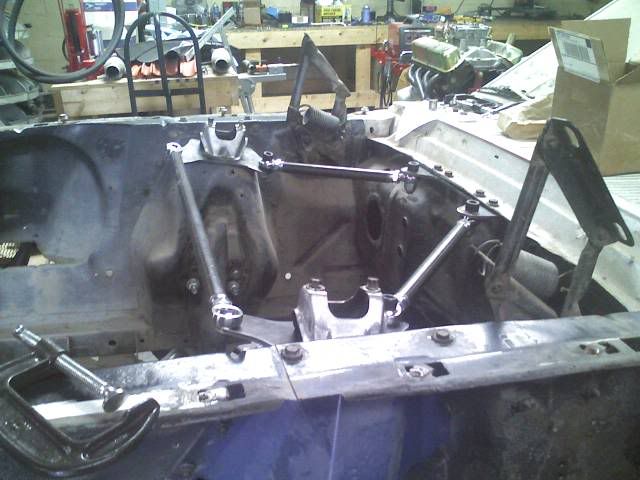
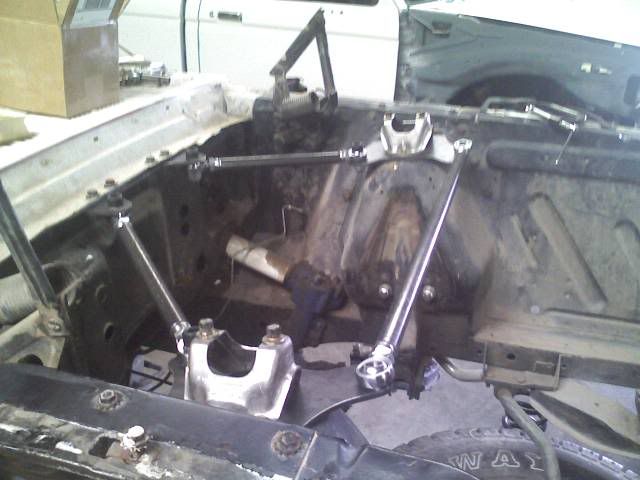
Used some scrap tubing I had laying around to mock stuff up before I cut up some perfectly good mild steel.
First I used some spare hardware I had laying around to mock up the first link
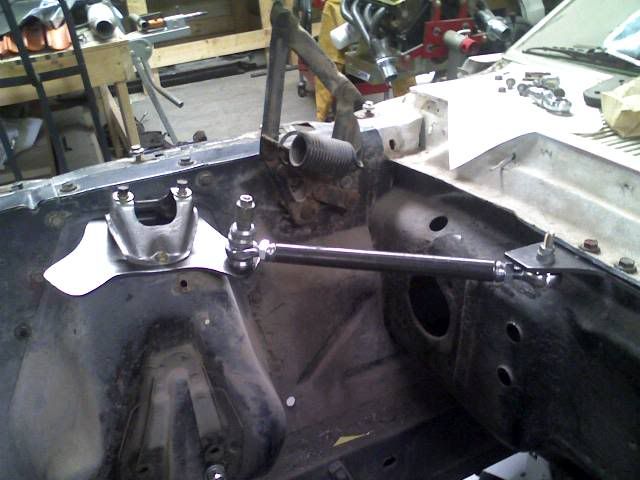
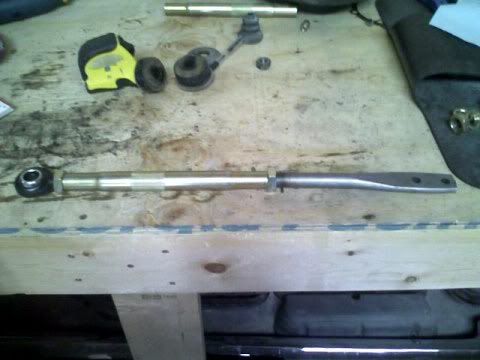
Then I switched over to 5/8" hardware
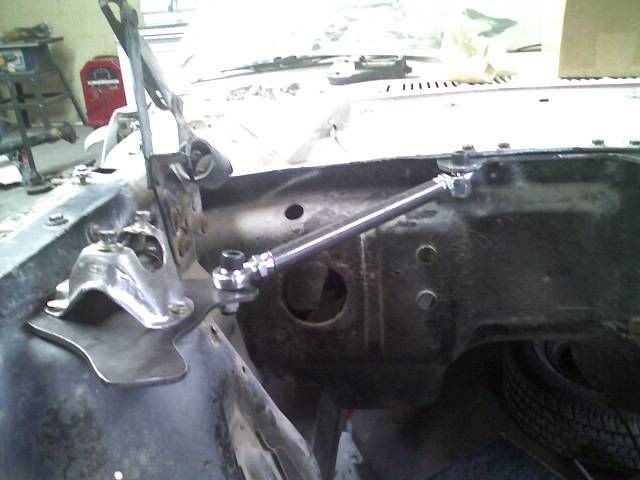
Then the other side
Both
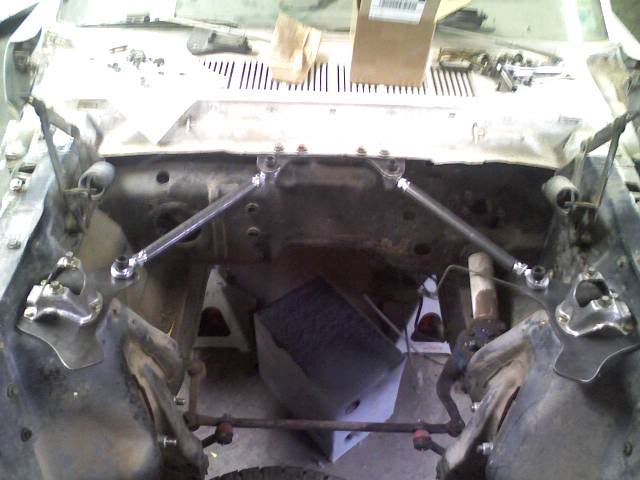
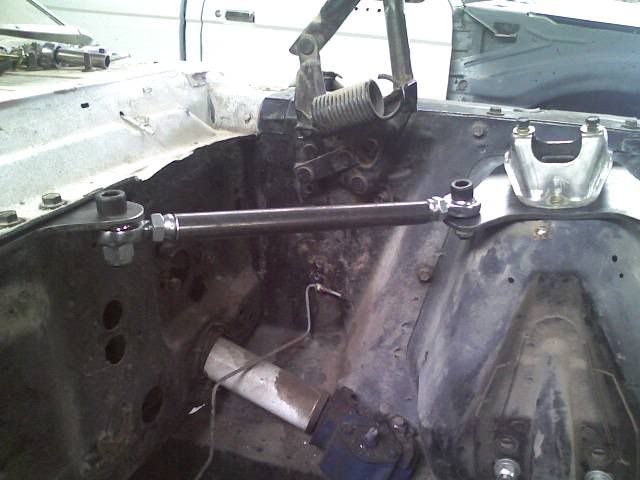
Then I mocked up the center piece but have not drilled any holes yet. Need to drop in the motor to make sure I will clear the distributor when I decided where to mount this link.
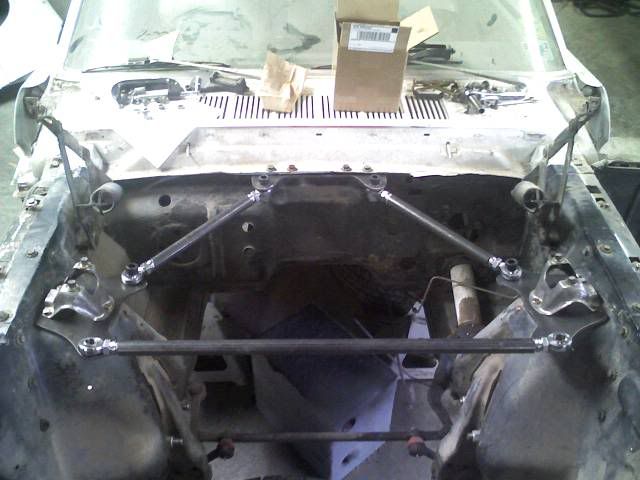
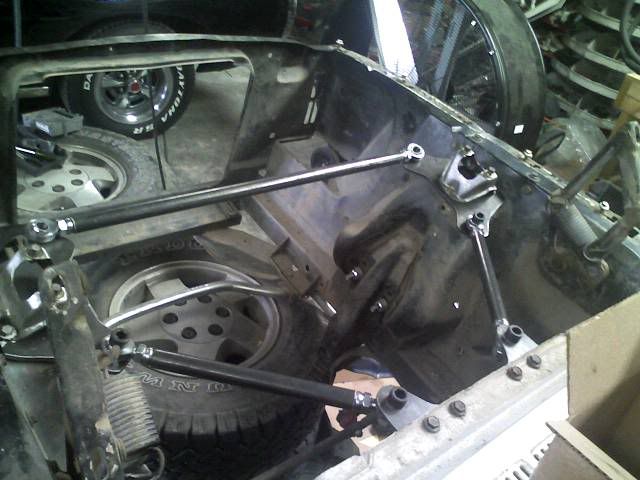
I need to order some tapered cone spacers to make sure I have a comfortable clearance on the misalignment for the firewall links.
First I used some spare hardware I had laying around to mock up the first link
Then I switched over to 5/8" hardware
Then the other side
Both
Then I mocked up the center piece but have not drilled any holes yet. Need to drop in the motor to make sure I will clear the distributor when I decided where to mount this link.
I need to order some tapered cone spacers to make sure I have a comfortable clearance on the misalignment for the firewall links.
