Brian's 67 Resto-Mod Project


1st Gear Member
Joined: Aug 2010
Posts: 86
From: Mississippi
Good ole rustoleum! I am using the same thing for the interior floor pans. I got lucky and didn't have any major rust so I am scuffing it laying a little primer on it then top coating with rustoleum semi gloss black. Should give me a good foundation for dynamat, or something like it.
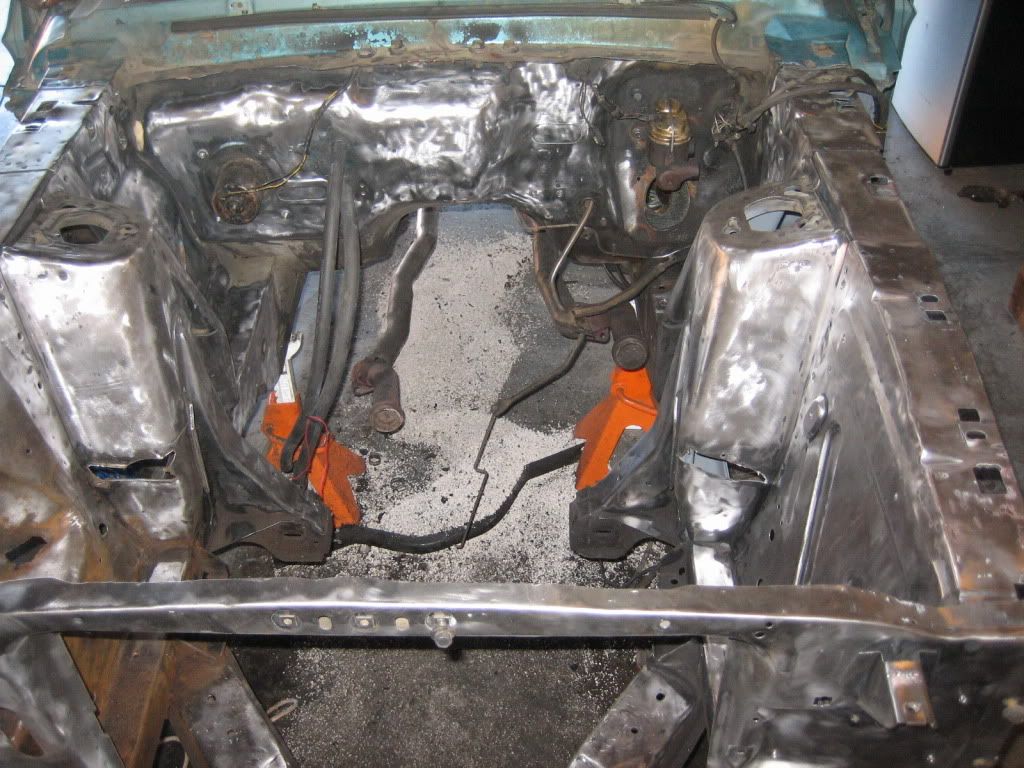
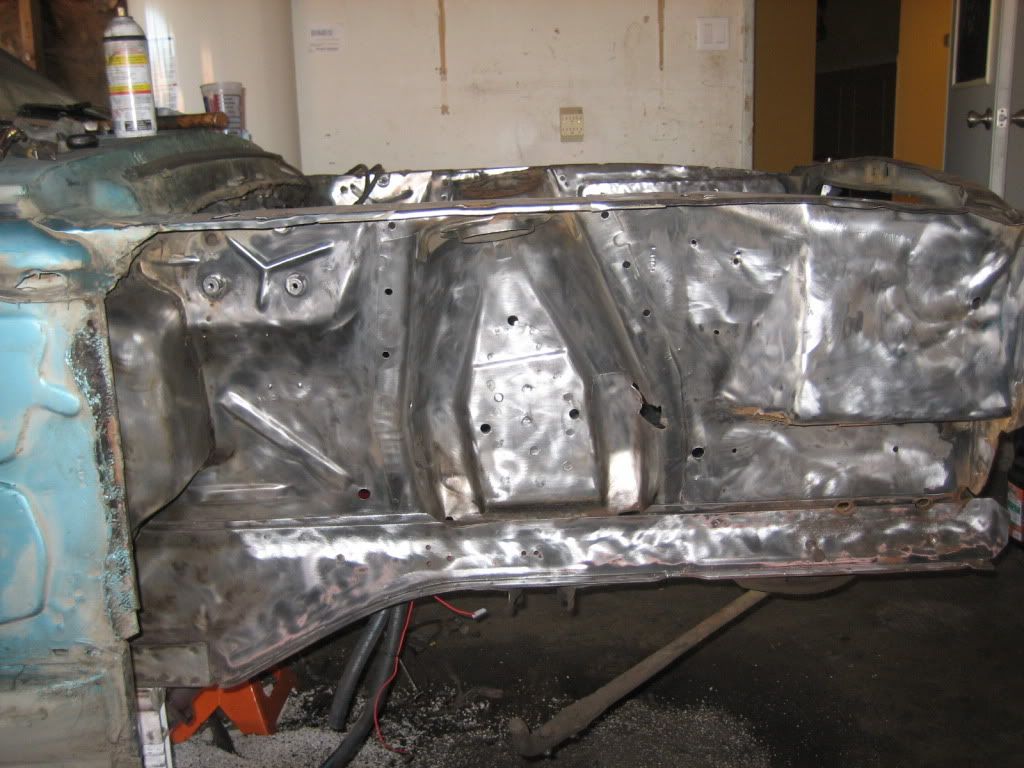
I plan on welding in some patches for my shock towers. They cut a pretty ragged hole in both of mine so I will have to square it up first then lay a patch in. Shouldn't be too bad.
I plan on welding in some patches for my shock towers. They cut a pretty ragged hole in both of mine so I will have to square it up first then lay a patch in. Shouldn't be too bad.
3rd Gear Member
Joined: Jul 2010
Posts: 710
From: Indianapolis
Yeah, I would not change out towers for that, I would just clean up the edges and patch it. It could turn out invisible if you trat it like you would a fender or body panel....just dont skimp on the metal thickness. Maybe you could find a donor tower to get metal from?
1st Gear Member
Joined: Aug 2010
Posts: 86
From: Mississippi
I shouldn't have a problem getting a few small pieces for the patch - I work for a metal fabrication shop and they always have pieces of "scrap" laying around. I just need to check the thickness of the tower and I should be able to find something real close.

2nd Gear Member
Joined: Aug 2010
Posts: 161
From: Albany, New York
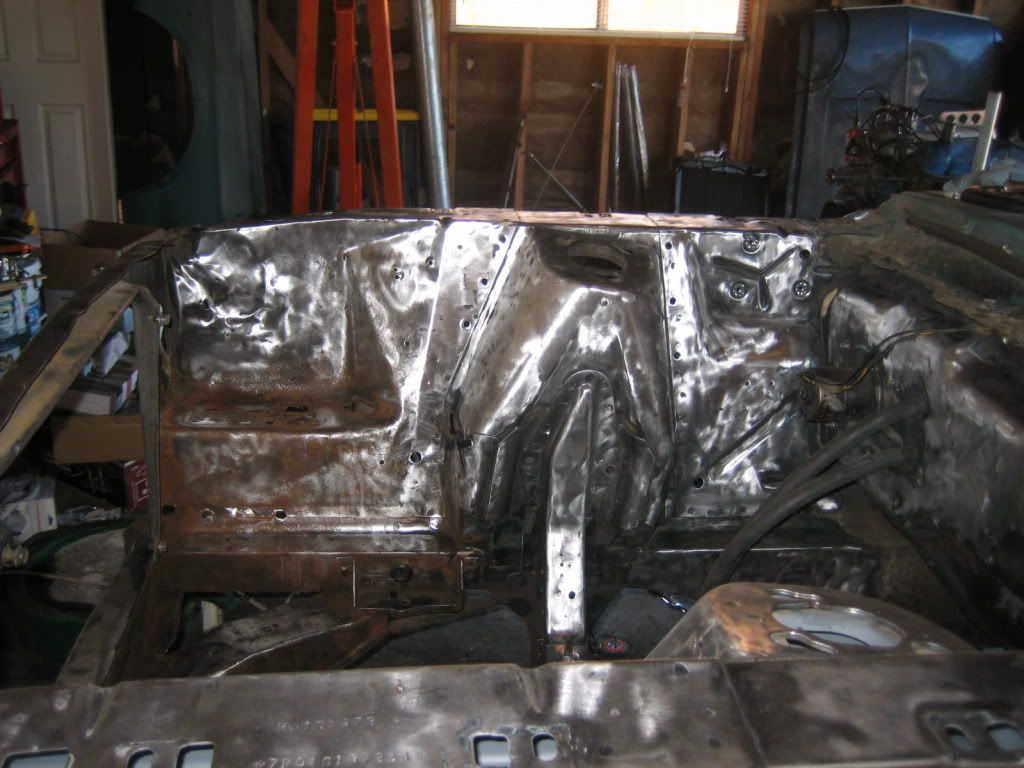
Yeah the shock towers is a huge blow to for me as well. Apparently back in the days people would torch the holes to get to the grease fittings in the A-arms. I am just going to continue my project and have them repaired when I have the car painted.
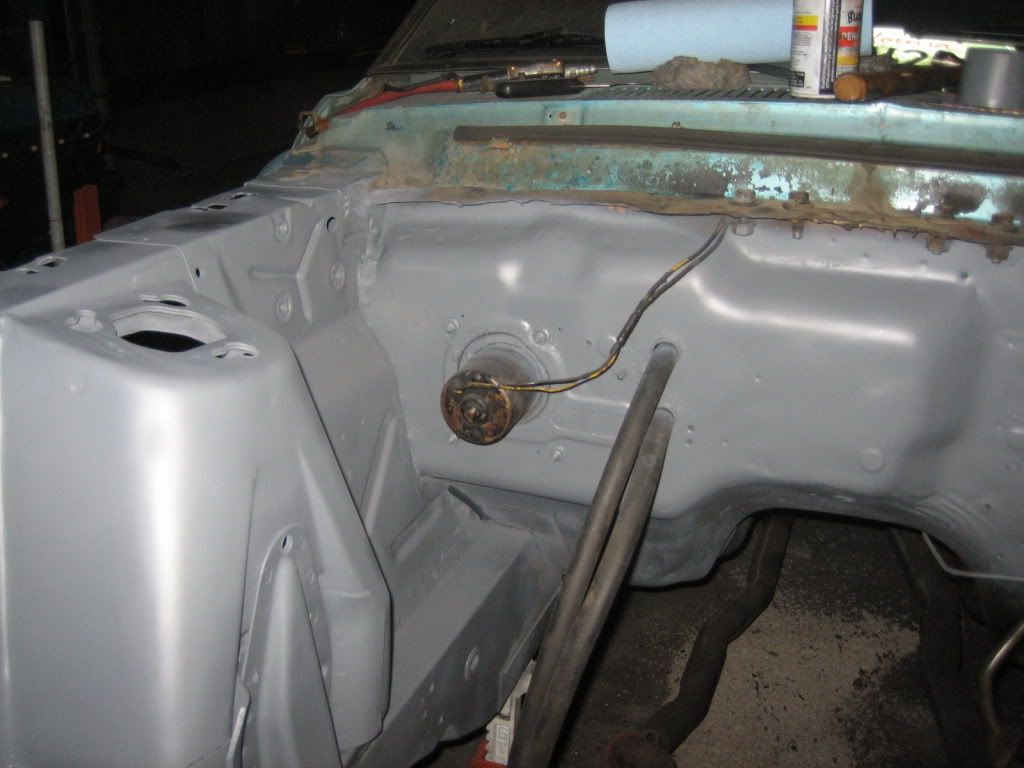
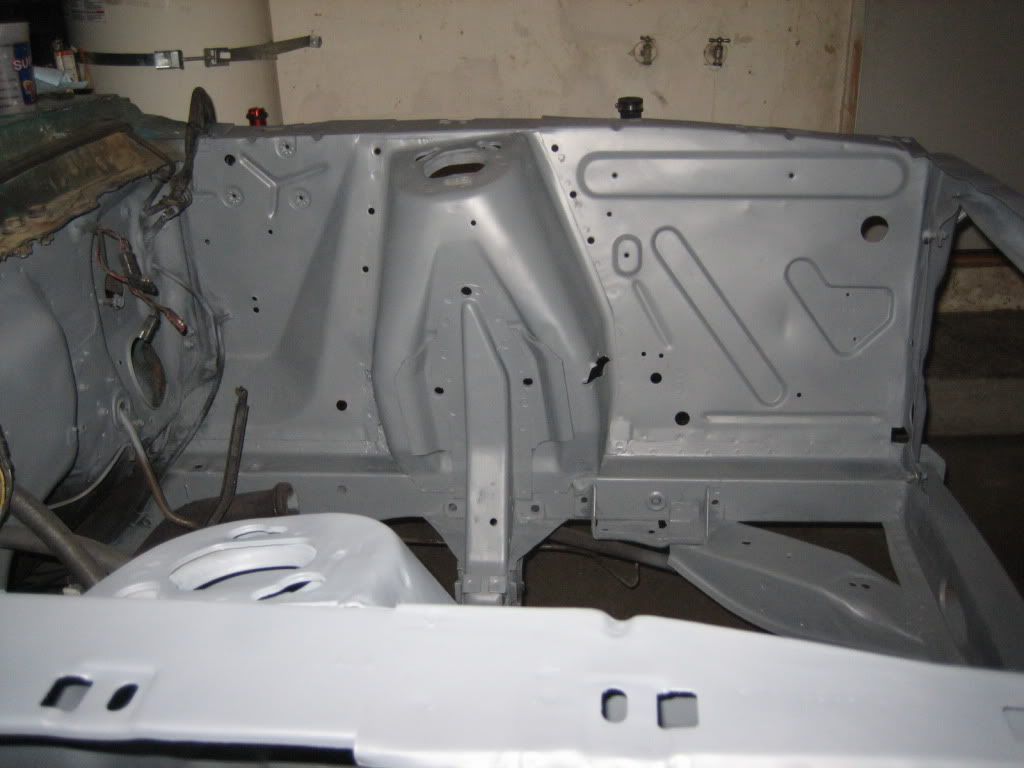
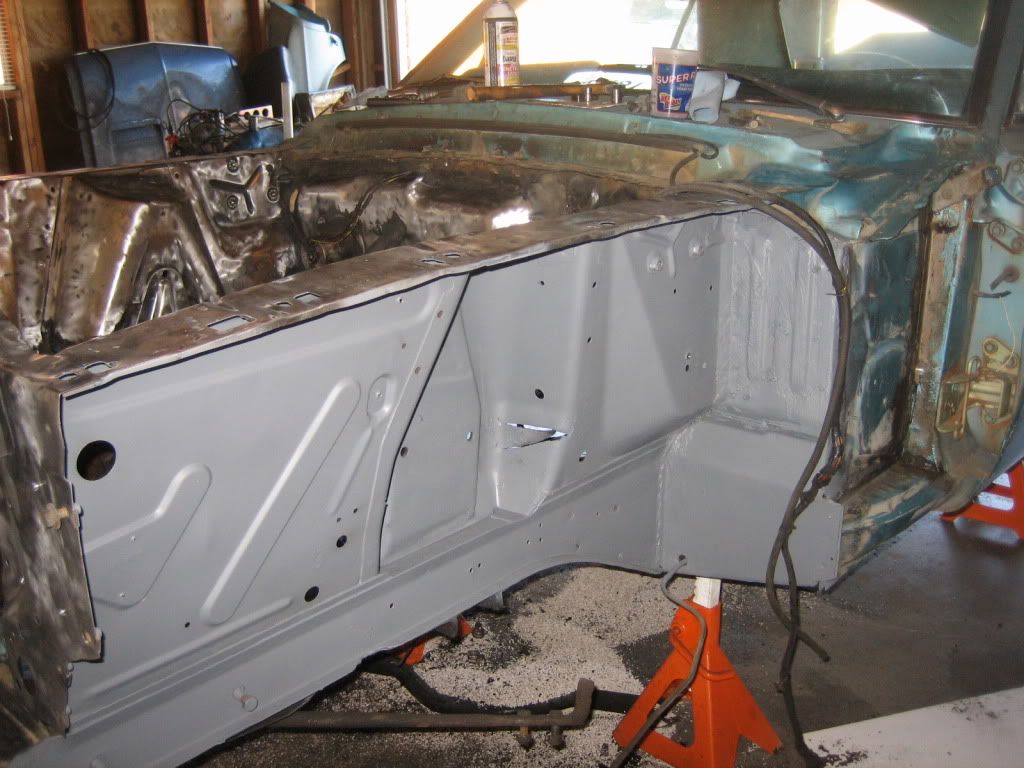
On the paint I'm just using a spray can, Rustoleum engine primer that can withstand 500 degrees. I only sprayed the primer on one side to see how it would look. Once I'm finished with all the sanding I will primer the entire engine bay and other side. Then I am going to Rustoleum semi-gloss black in a spray can over everything. I am hoping to have everything primed by the end of this weekend. I'm about 80% done with the sanding at this point.
Thanks and good luck on your project!! Shoot me a link to your posts or start a thread. I love seeing other people's progress and ideas.
https://mustangforums.com/forum/clas...7-mustang.html
Thread Starter
1st Gear Member
Joined: Jun 2010
Posts: 80
From: Manteca, California
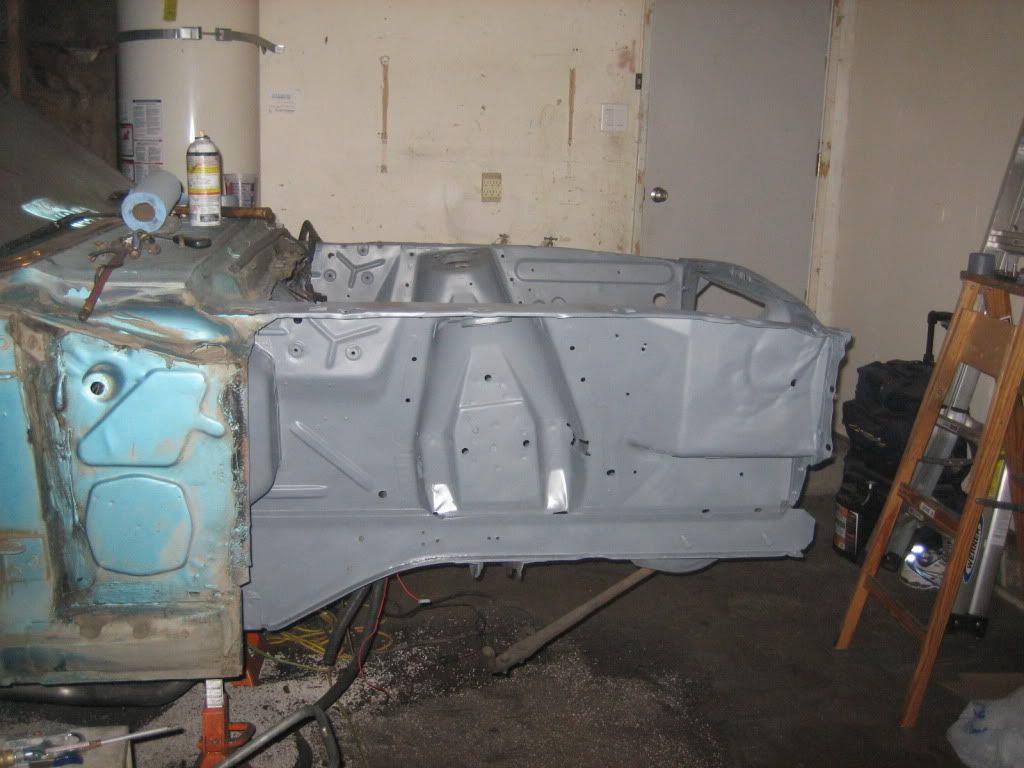
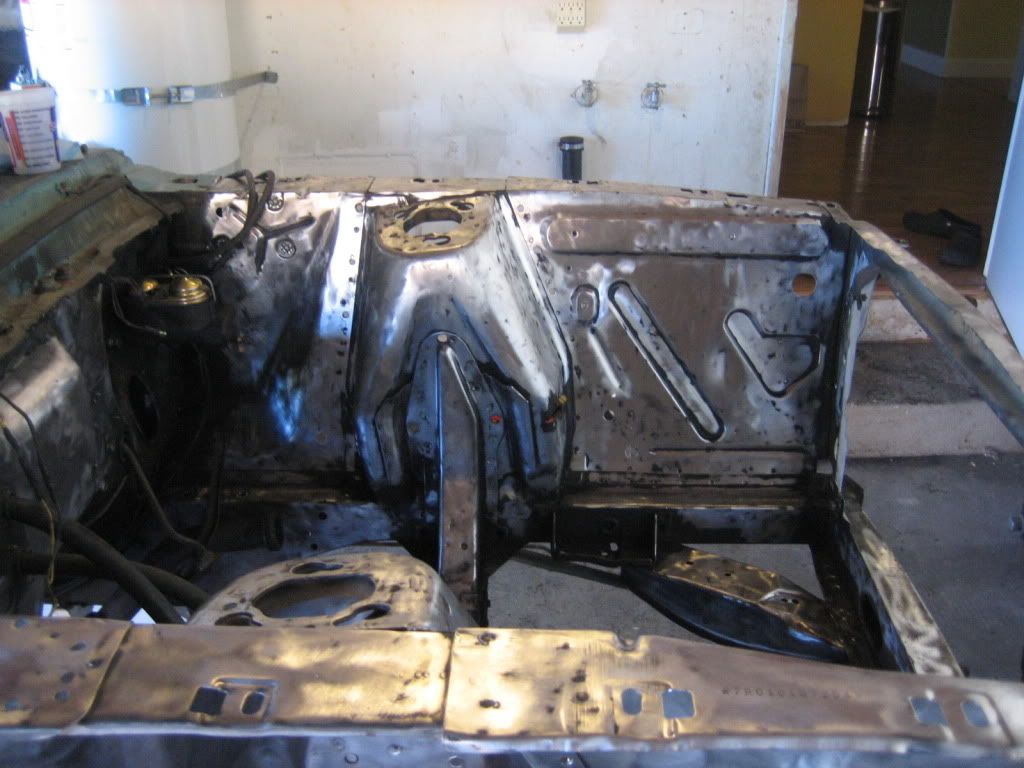
Well here is the progress as of today will have it all primed by tomorrow. The only thing holding me up is the master cylinder. Looking through my shop manual to try to figure out how to remove it. Once I get it out I will finish the prep and start priming........

4th Gear Member
Joined: Apr 2010
Posts: 1,643
From: Madison, Georgia
Unless you're talking of something more complicated, it should just be those two bolts. It also connects to the brake with a pin that runs all the way though. Hard to explain but you just gotta get the pin out and those bolts.
Thread Starter
1st Gear Member
Joined: Jun 2010
Posts: 80
From: Manteca, California
Well finally I have finished all the prep and have the complete engine bay primed inside and out.... I'm going to let the primer set over night and spray the black semi gloss tomorrow morning. I hope the semi gloss comes out as nice as the primer did.