Ford Mustang V6 1994-2014: How to Install Wheel Spacers
Learn how to install wheel spacers in your Mustang with the help of this article.
This article applies to the Ford Mustang V6 (2005-2014).
Although the Ford Mustang design derives from many years of legendary sports cars and even racing experience, at the time of production many queues are toned down a bit in order to be more civil and appropriate for the general public as well as daily driver. Therefore, the Mustang's tires and wheels sometimes don't have the spaced out look that enthusiasts desire. Spacers are an adapter that fits in between the hub and the actual wheel, which builds a gap in between the two; therefore, delivering a wider stance and sportier look. Installing these are very simple, but make sure to only buy high quality spacers from a reputable company.
Materials Needed
- Floor jack and jack stands
- Lug nut wrench
- New spacers
Step 1 – Choose spacer size
Each spacer is built with a different width, therefore will provide a smaller or bigger gap in between your hub and the wheel. It is important to determine what the parameters for how big or small of a gap you can have, as exceeding those parameters could negatively affect handling and be unsafe.
Step 2 – Jack up car
Once you've determined the size spacer desired, you must jack up your car. Follow these steps:
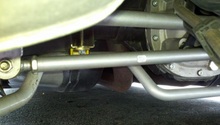
- Locate the jacking points in your car, which most commonly are behind the front wheels and ahead of the rear wheels. Other jacking points are in the front and rear frame crossmembers.
- Position the floor jack and jack up the car.
- Support your Mustang on the jack stands.

Pro Tip
Never work under a car that is only supported by a floor jack.
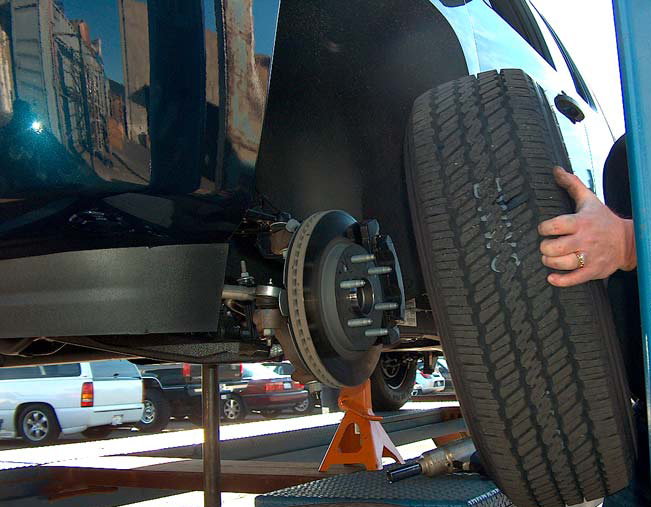
Step 3 – Remove wheels
With the car jacked up, remove the wheels where you will install the spacers. Follow these steps:
- Use the lug nut wrench to remove the wheel nuts.
- Then remove the wheel.
Step 4 – Install spacers
The spacers have multiple holes in them, so fit the holes in the existing threaded posts where the wheels normally mount on and tighten the spacer with the provided nuts.
Step 5 – Wrap up
The rest is done in reverse order as before. Follow these steps:
- Mount wheels on the new posts on the spacers.
- Hand-tighten down lug nuts.
- Lower car to the ground.
- Finish tightening lug nuts.
Featured Video: How to Install Wheel Spacers
Related Discussions
- Are Wheel Spacers Safe - MustangForums.com
- Wheel Spacers - Mustangforums.com
- Wheel Spacers Installed - MustangForums.com